Picture this: you’ve carefully adorned your walls with charming decorations using those handy Glue Dots. But now, the real challenge begins – removing them without causing any damage to your precious paint job. Fear not. In this guide, we’re about to spill the beans on foolproof techniques that will banish those stubborn Glue Dots while keeping your walls looking flawless.
Whether you’re a renter determined to protect your security deposit or a homeowner committed to maintaining pristine walls, we’ve got your back. No more tedious scraping or resorting to harsh chemicals. Our methods are all about convenience, effectiveness, and tender love for your painted surfaces.
With these straightforward yet powerful approaches, you’ll bid farewell to Glue Dot remnants and restore your walls’ original allure in a flash. Join us as we reveal the secrets of freeing yourself from clingy dots without compromising the beauty of your painted paradise.
Peeling Method: Gently Peel Away the Glue Dot
Contents
- 1 Peeling Method: Gently Peel Away the Glue Dot
- 2 Heat Method: Soften the Adhesive with Warm Air
- 3 Oil Method: Loosen the Adhesive with Cooking Oil
- 4 Alcohol Method: Dissolve the Adhesive with Rubbing Alcohol
- 5 Test an Inconspicuous Area Before Applying Any Methods
- 6 The Importance of Patience and Care When Removing Glue Dots
- 7 Common Mistakes to Avoid When Removing Glue Dots from Walls
- 8 Conclusion
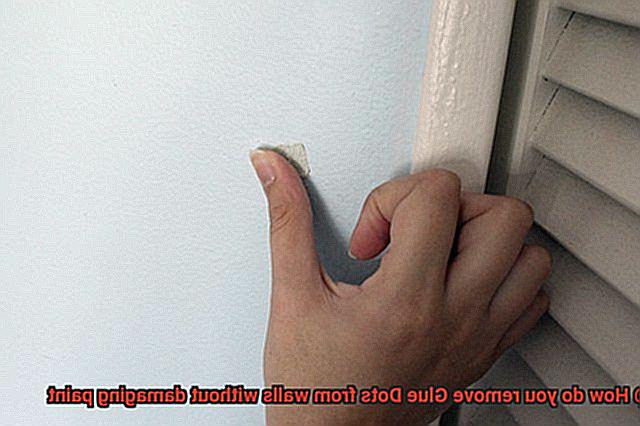
The peeling method is a tried and true technique for gently removing glue dots from walls without causing any damage. It requires careful attention and patience, but when done correctly, it can leave your walls looking as good as new. Here is a step-by-step guide to mastering the art of peeling away those stubborn glue dots.

First and foremost, make sure that the glue dot is fully dry before you begin the peeling process. If it’s still wet or sticky, it will be much harder to remove without causing damage. Once you’ve confirmed that the dot is dry, it’s time to get started.
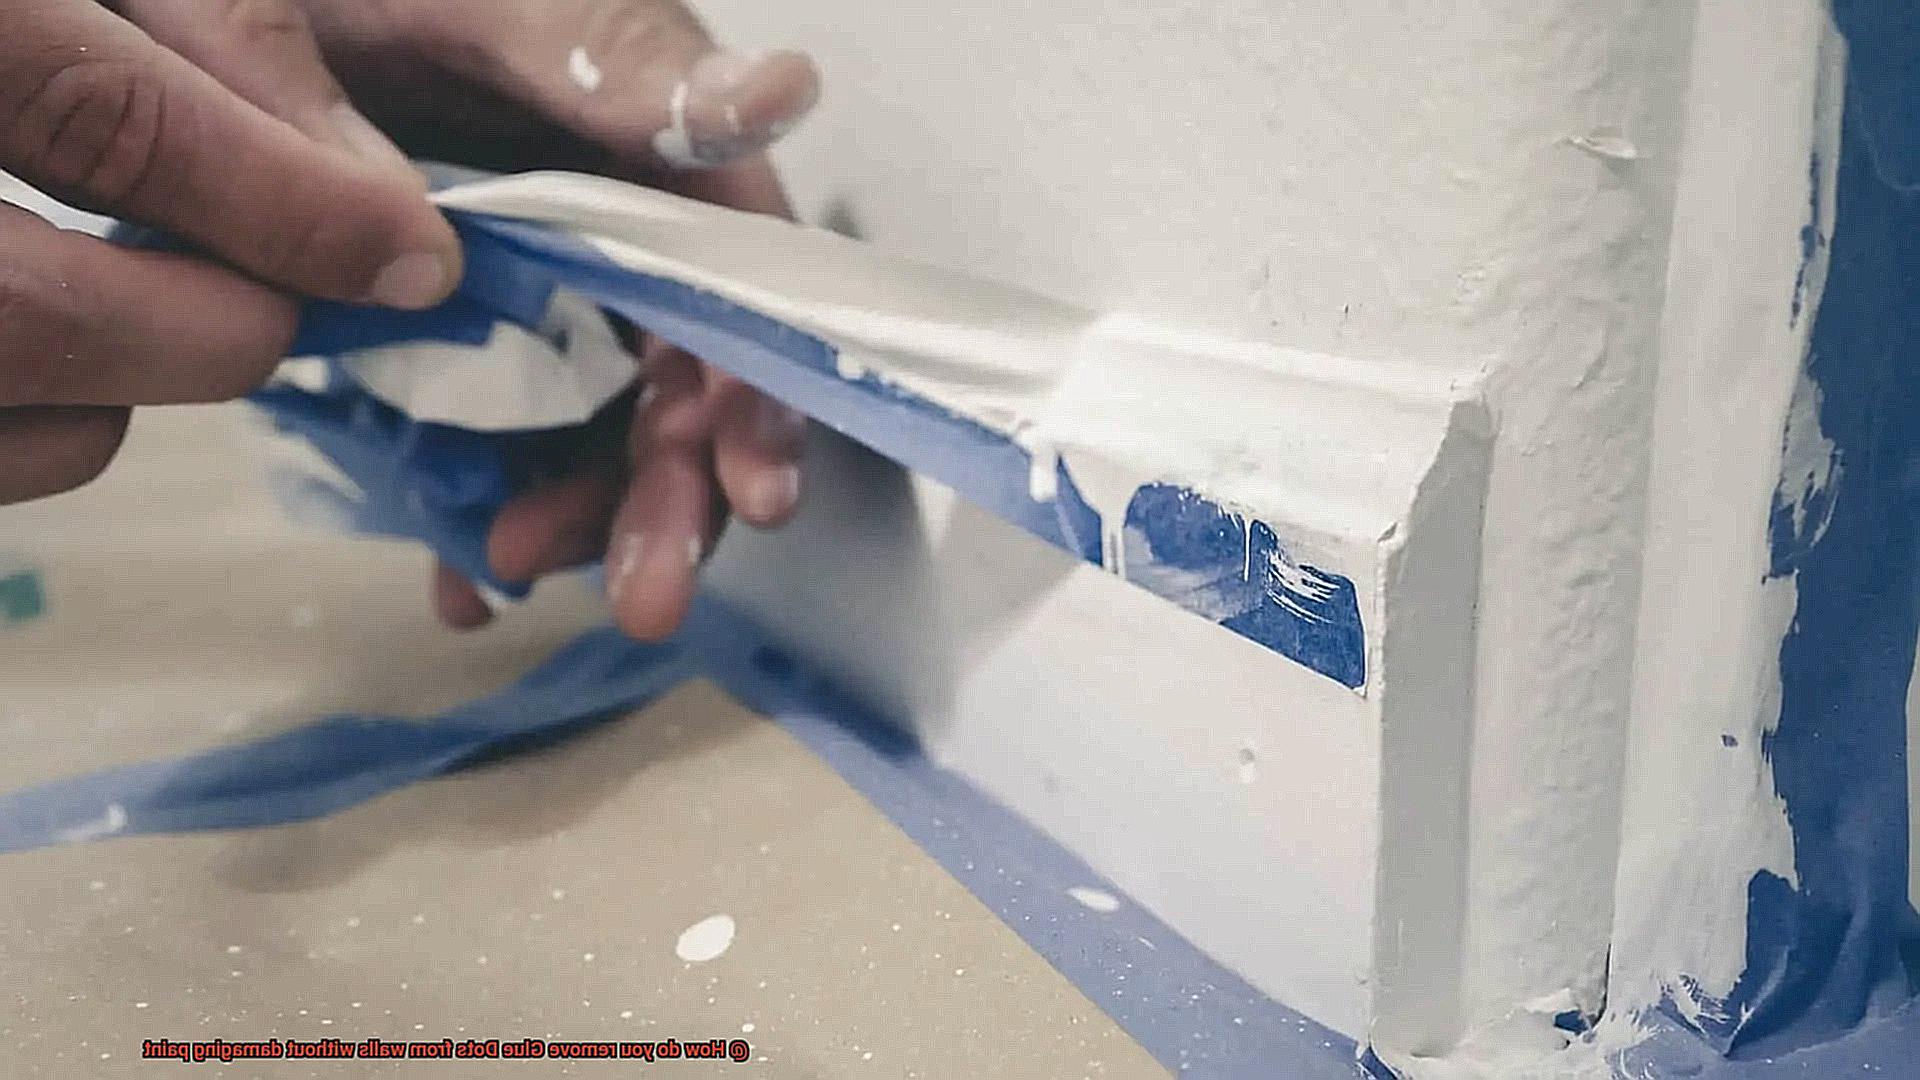
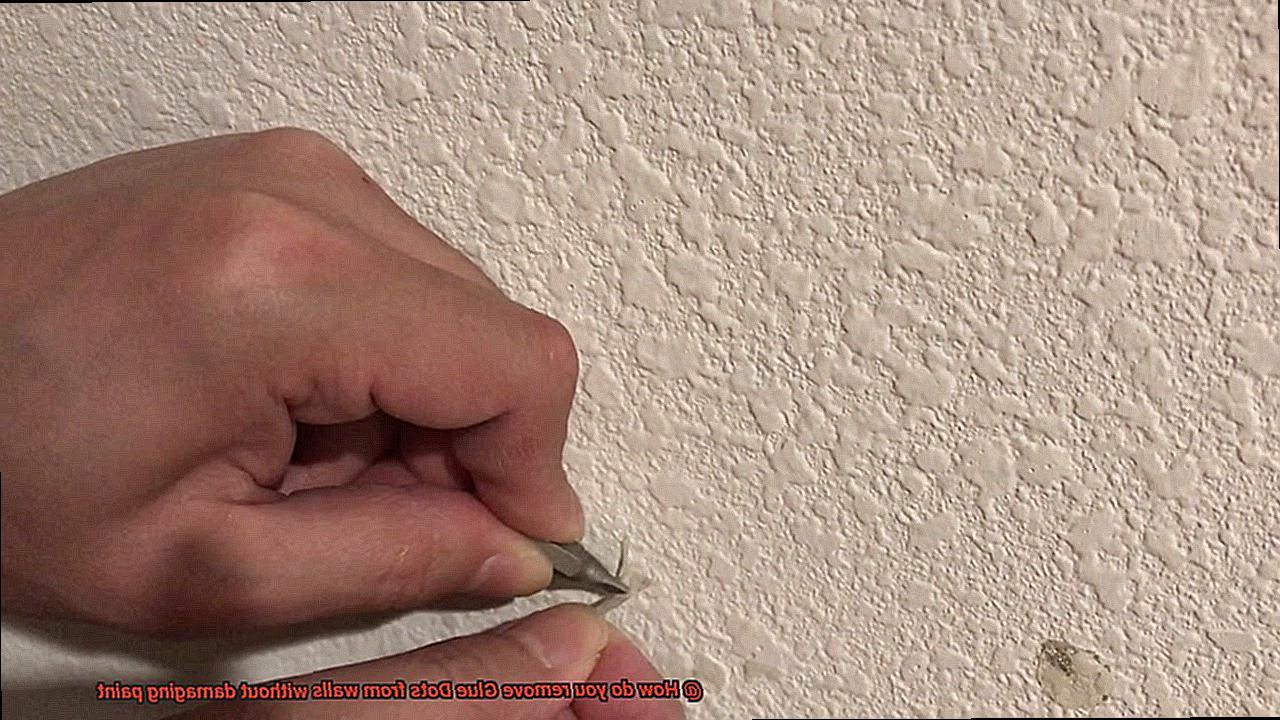
Locate the edge of the glue dot and gently lift it with your fingernail or a plastic scraper. The key here is to use a non-abrasive tool to avoid scratching or scuffing the paint. Slowly peel away the glue dot from the wall in a smooth and controlled motion. Apply even pressure to prevent any tearing or leaving behind residue.
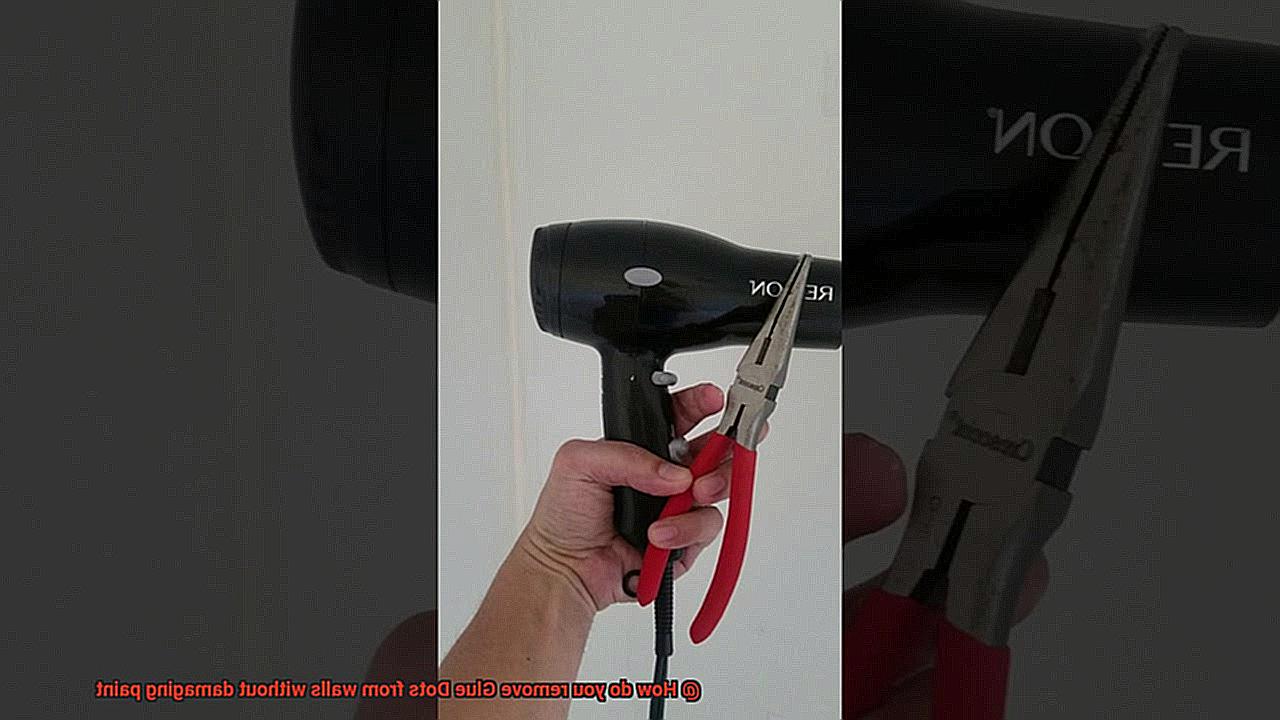
If the glue dot proves to be stubborn and refuses to budge, don’t fret. You can try applying some heat to soften the adhesive. Grab your trusty hairdryer and set it on its lowest setting. Direct the warm airflow onto the glue dot for a few seconds, and watch as the adhesive loosens up, making it easier to peel away.
Patience is crucial during this process, especially if the glue dot has been on the wall for a long time. Avoid rushing or pulling too forcefully, as this can result in paint damage or leave behind sticky residue.
Once you have successfully removed the glue dot, take a moment to inspect the wall for any remaining residue. If there are small remnants left behind, fear not. Grab a mild adhesive remover or some rubbing alcohol and apply it to a soft cloth. Gently wipe away any leftover residue, making sure to test the cleaning solution on an inconspicuous area first to avoid any discoloration or damage.
Finally, wipe down the wall with a clean, damp cloth to remove any leftover cleaning products and ensure a smooth finish.
Heat Method: Soften the Adhesive with Warm Air
The heat method is a fantastic solution for removing stubborn adhesive from walls without causing any harm to the paint. Here’s a step-by-step guide on how to effectively use this method:
- Gather your tools: To start, you’ll need either a hairdryer or a heat gun. Set the device to low or medium heat, as high heat can potentially damage the paint.
- Prepare the area: Before diving in, ensure that the wall is clean and free from any dust or debris. It’s also wise to safeguard the surrounding area with a drop cloth or newspaper to catch any adhesive that may come loose during the process.
- Apply warm air: Hold the hairdryer or heat gun a few inches away from the glue dot and direct the warm air straight at it. Move the device in a circular motion to evenly distribute the heat. As the adhesive warms up, it will gradually soften and become more malleable.
- Peel off the adhesive: Once the adhesive has reached its pliable state, gently tug on the edges of the glue dot using your fingers or a plastic scraper. Exercise caution to avoid scraping or scratching the wall while doing so. If necessary, continue applying warm air to the glue dot while peeling it off slowly.
- Repeat if necessary: If you find that the adhesive begins to cool down and harden again, pause and reapply warm air until it softens once more. Repeat this process until all of the adhesive has been successfully removed.
- Clean up: After triumphantly removing the glue dots, clean any residue left behind using a mild soap and water solution or a gentle adhesive remover. Always adhere to the manufacturer’s instructions when working with cleaning products.
Keep in mind that different surfaces may require different techniques for adhesive removal. While this heat method works wonders for walls, it may not be suitable for materials like fabric, wood, or plastic. In such cases, it’s best to consult specific instructions or seek professional advice.
Oil Method: Loosen the Adhesive with Cooking Oil
The oil method is a simple and effective technique for removing adhesive residues from walls. By using common cooking oils such as vegetable oil or olive oil, you can easily loosen and remove glue dots without damaging the paint. Here are the steps to follow:
Gather your materials:
- Cooking oil (vegetable oil or olive oil)
- Soft cloth or sponge
- Mild soap and water
Apply the oil:
- Start by applying a small amount of oil directly onto the glue dot.
- Make sure to cover the entire adhesive area.
Allow the oil to penetrate:
Rub in a circular motion:
- Gently rub the glue dot with a soft cloth or sponge in a circular motion.
- Apply light pressure to avoid damaging the wall.
Continue rubbing:
- Keep rubbing until you start to see the glue dot lifting off the wall.
- If necessary, apply more oil and continue rubbing until the adhesive is completely removed.
Wipe off excess oil:
Clean the area:
- To remove any residue left behind by the oil, clean the area with mild soap and water.
- Use a sponge or cloth to gently scrub the wall.
Benefits of using the oil method:
- Safe and non-toxic: Cooking oils are safe to use on walls and won’t cause harm to the paint or surface.
- Accessible and affordable: Most households have cooking oils readily available, making it a convenient and cost-effective method.
- Gentle on paint: The oil method is gentle and won’t damage or discolor the paint on your walls.
Precautions and tips:
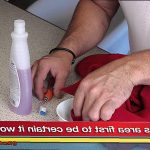
- Test on a small area first: Before using this method on a larger area, test it on a small, inconspicuous spot of your wall to ensure there are no adverse reactions or damage to the paint.
- Avoid excessive oil: Using too much oil can lead to greasy stains on the wall, so apply it in small amounts as needed.
- Use a scraper if necessary: If stubborn glue dots persist, you can use a plastic scraper or credit card to gently lift them off after applying the oil.
- Thoroughly clean the area: After removing the adhesive, make sure to clean the area thoroughly with mild soap and water to remove any leftover residue.
Alcohol Method: Dissolve the Adhesive with Rubbing Alcohol
The alcohol method is a fascinating and effective technique for removing glue dots from walls without causing any harm to the paint. Rubbing alcohol, also known as isopropyl alcohol, possesses powerful adhesive-dissolving properties that make it an ideal solution for this task. So, how exactly does this method work?
To begin, gather your materials: rubbing alcohol, cotton balls or a soft cloth, and a plastic scraper or your trusty fingers. First things first, test a small, inconspicuous area of the wall to ensure that the rubbing alcohol won’t cause any damage or discoloration to the paint. This precautionary step is vital to avoid any unpleasant surprises.
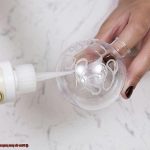
Once you’re confident that the rubbing alcohol is safe to use, dip a cotton ball or soft cloth into it. Gently dab the glue dots with the alcohol-soaked cotton ball, ensuring that they get thoroughly saturated. Watch in awe as the rubbing alcohol starts dissolving the adhesive, making it easier for you to remove those stubborn glue dots.
But don’t stop there. Let the rubbing alcohol sit on the glue dots for a few minutes. This magical waiting period allows the alcohol ample time to fully dissolve the adhesive and loosen those pesky glue dots from the surface.
Now comes the exciting part—removing the glue dots. After a few minutes have passed, either gently rub the glue dots with your fingers or employ a plastic scraper to scrape them off the wall. Be cautious, though; avoid applying excessive pressure that could potentially damage the paint. If necessary, don’t hesitate to reapply more rubbing alcohol and repeat the process until every last trace of those glue dots is eliminated.
Once you’ve triumphantly removed all the glue dots, it’s time to clean up any residue left behind by the rubbing alcohol. Wipe down the wall with a clean cloth dampened with water, leaving your walls clean and free from any sticky remnants.
Finally, exercise patience and allow the wall to dry completely before applying new adhesive or touching up any areas that may have been affected during the removal process. This ensures that the surface is primed and ready for any future applications or touch-ups.
While the alcohol method is generally safe for most painted walls, it’s always wise to test a small area first and proceed with caution. Keep in mind that this method may not be suitable for delicate or textured surfaces as it could potentially cause damage.
Test an Inconspicuous Area Before Applying Any Methods
While the alcohol method can be a saving grace, it’s crucial to test an inconspicuous area before attempting any removal method. This step ensures both the effectiveness and safety of the process, protecting your walls from potential damage.
Why Test an Inconspicuous Area?
Assess Effectiveness:
By testing a small, hidden area, you can determine if your chosen removal method will truly eliminate the glue dots without compromising the paint on your walls. Different types of glue dots may require different methods of removal, and testing allows you to find the most effective solution.
Prevent Discoloration or Damage:
Different paint finishes may react differently to removal methods. Testing in an inconspicuous area allows you to spot any adverse reactions like discoloration, fading, or paint peeling before tackling the entire wall. This prevents potentially irreversible damage to your walls’ appearance.
Find Alternative Methods:
If you encounter negative reactions during the test, such as paint damage, it’s better to explore other removal options than risk further harm. Testing gives you the opportunity to evaluate alternative methods and find one that works best for your specific situation.
How to Test an Inconspicuous Area:
Choose a Hidden Spot:
Select an area behind furniture or in a corner that matches the paint finish of the rest of your wall. This ensures that the test results will accurately represent how the removal method will affect the visible areas of the wall.
Apply Removal Method:
Use a cloth or sponge to gently dab or rub a small amount of your chosen removal solution onto the glue dot in the inconspicuous area. Avoid excessive scrubbing to prevent paint damage.
Observe Reactions:
Watch for any signs of discoloration, fading, or damage to the paint surface after a few minutes. If there are no adverse effects, proceed with confidence. However, if you notice any negative reactions, stop immediately and try a different removal method.
The Importance of Patience and Care When Removing Glue Dots
The importance of patience and care when removing glue dots from walls cannot be overstated. Rushing the process or using aggressive techniques can result in damage to the wall’s paint or underlying surface. Taking the time to approach the removal process with gentleness and patience will help preserve the integrity of the wall and ensure a clean removal.
One key aspect of being patient when removing glue dots is allowing any adhesive residue to loosen or soften before attempting to remove it. Applying a gentle heat source, such as a hairdryer, to the glue dot for a few seconds can make it more pliable and easier to remove without causing any damage.
Using the right tools and techniques is also crucial in protecting the wall. Using a plastic scraper or a credit card can help lift the edges of the glue dot without scratching or damaging the surface. Gently sliding the scraper under the glue dot and applying even pressure can gradually loosen it from the wall.
If the glue dot is particularly stubborn, a gentle adhesive remover may be necessary. However, testing the remover in an inconspicuous area first is essential to ensure it does not cause any discoloration or damage to the paint. Applying a small amount of remover to a clean cloth and gently dabbing at the glue dot can help dissolve the adhesive without harming the wall.
Avoiding excessive force or pulling is another important aspect of patience and care when removing glue dots. Tugging at the glue dot forcefully can cause it to stretch or tear, leaving behind a sticky residue that is even more challenging to remove. Instead, applying steady and gentle pressure while lifting the glue dot will help prevent any damage and ensure a clean removal.
Throughout the entire removal process, it is crucial to remain patient and avoid becoming frustrated. Hasty decisions or aggressive actions can lead to damage to the wall. Taking the time to approach the task calmly and methodically will yield better results and protect the integrity of both the paint and surface.
Common Mistakes to Avoid When Removing Glue Dots from Walls
When it comes to removing those pesky glue dots from your walls, there are several common mistakes that you should avoid at all costs. These mistakes can lead to damage to the paint and wall surface, making the task even more challenging and frustrating. So, let’s take a closer look at these mistakes and how to avoid them:
- Using excessive force: It may be tempting to forcefully scrape or pull at the glue dots, but this can result in damage to the paint or even cause the drywall to chip or crack. Instead, handle the removal process with care and patience.
- Using sharp objects: Knives or razor blades may seem effective in removing stubborn adhesive, but they can easily gouge or scratch the wall surface. Instead, opt for non-abrasive methods and tools specifically designed for removing adhesive.
- Applying heat directly: While heat can soften the glue, making it easier to remove, it can also damage the paint or cause it to bubble or blister. Use moderate heat and keep it at a safe distance from the wall surface to avoid any mishaps.
- Using harsh chemicals or solvents without precautions: Strong chemicals or solvents can damage the paint and pose health risks if not used properly. Play it safe by using mild and safe adhesive removers specifically designed for removing glue dots.
- Rushing the process: Removing glue dots from walls is not a task that should be rushed. Taking your time and working methodically will prevent careless mistakes and potential damage to the paint. Follow a step-by-step procedure and be patient throughout the process.
- Neglecting to test a small area: Different types of paint and wall surfaces may react differently to adhesive removers or removal techniques. To avoid any surprises, test a small area first to determine the effectiveness and safety of the chosen method before proceeding with the entire wall.
0yUQD_QY11Y” >
Conclusion
To safely remove Glue Dots from walls without harming the paint, it’s crucial to approach the task with caution and employ the right strategies.
The tried and true peeling method is a gentle technique that involves delicately lifting the edge of the glue dot using a non-abrasive tool, then slowly peeling it away from the wall.
Want to make things even easier? Apply some heat with a hairdryer to soften the adhesive and facilitate removal.
Another effective method is using cooking oil. Yes, you heard it right – this pantry staple can work wonders. Just apply a tiny amount of oil onto the glue dot, let it sit for a few minutes, and then gently rub in circular motions until the adhesive lifts off like magic.
For those stubborn glue dots that refuse to budge, rubbing alcohol comes to the rescue. Its potent adhesive-dissolving properties make it an excellent solution. Simply dab or rub some rubbing alcohol onto the glue dot, and watch as it dissolves before your eyes, making removal a breeze.
Remember: always test any removal method in an inconspicuous area first to ensure there are no unexpected reactions or damage to your precious paint job.
Avoid common blunders like applying excessive force, resorting to sharp objects, or using harsh chemicals – they’ll only lead to regrets. Instead, take your time during the removal process and exercise patience throughout.
By following these expert tips and techniques, you’ll successfully bid farewell to those pesky Glue Dots while keeping your walls immaculate.