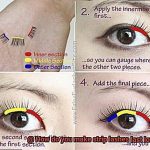
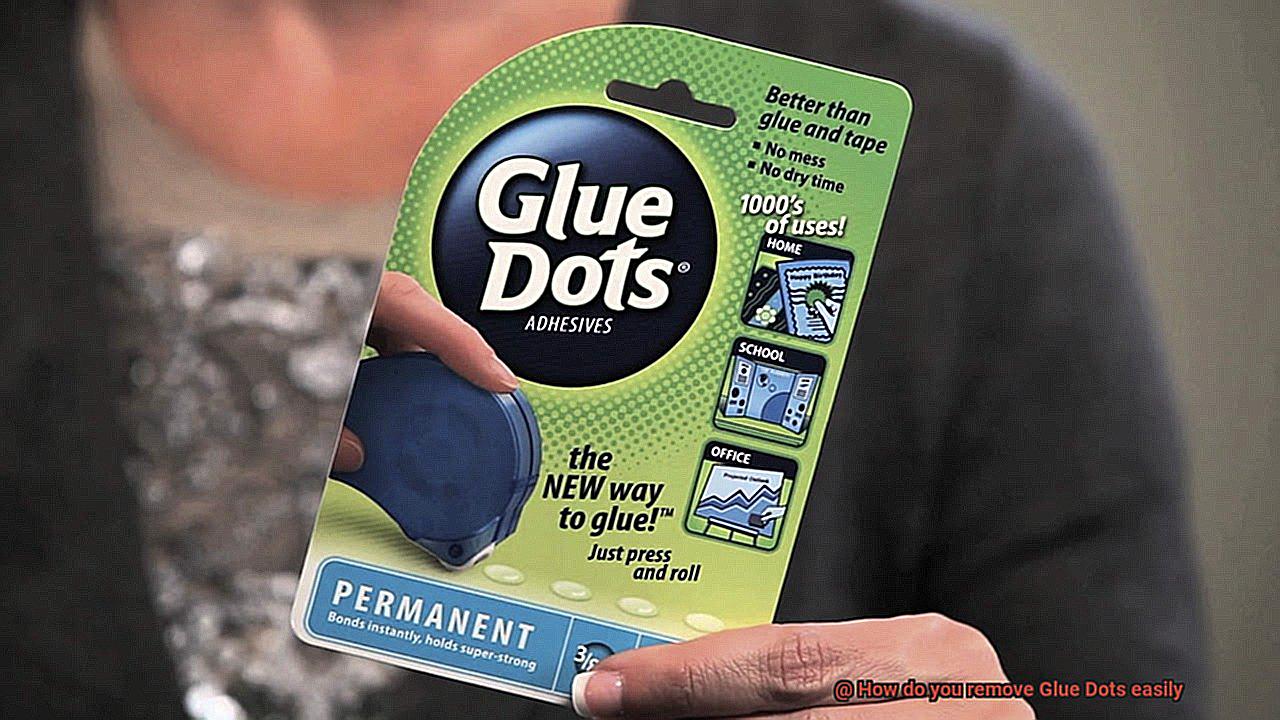
Tired of those pesky Glue Dots that stick to everything?
We’ve got your back. Say goodbye to adhesive residue on household items, craft projects, or even clothing.
In this blog post, we’ll show you how to effortlessly remove Glue Dots without a trace. From using heat or moisture to household items and specialized products, we’ll explore the best methods for tackling this sticky situation.
Get ready for clean, adhesive-free surfaces with no more stubborn Glue Dots.
Identifying the Surface Type
Contents
- 1 Identifying the Surface Type
- 2 Removing Glue Dots from Smooth Surfaces
- 3 Removing Glue Dots from Porous Surfaces
- 4 Removing Glue Dots from Delicate Items
- 5 Using Adhesive Removers to Dissolve Residue
- 6 Tips for Avoiding Damage to the Surface
- 7 Testing Solvents on a Small Area First
- 8 Cleaning the Surface After Removal of Glue Dots
- 9 Conclusion
Removing glue dots can be a challenging task, but it becomes much easier when you consider the surface type you are working with. Different surfaces react differently to removal methods, and using the wrong technique can result in damage or discoloration. This article emphasizes the importance of correctly identifying the surface type before attempting to remove glue dots and provides helpful tips for successful removal.
Identifying the Surface Type:
To accurately identify the surface type, follow these key steps:
- Visual Inspection: Examine the area where the glue dots are applied. Look for signs or labels that indicate the material of the surface. Glass surfaces often have a transparent and smooth appearance, while metal surfaces may have a cold and metallic sheen.
- Conduct a Test: If unsure about the surface type, perform a simple test in an inconspicuous area. Apply a small amount of water to the surface using a cloth or sponge and observe its behavior. Water beading up without absorption suggests a non-porous surface like glass or plastic. Quick absorption indicates a porous surface like fabric or wood.
Considerations for Different Surfaces:
Each surface type has unique properties that impact glue dot removal. Here are some considerations for popular surface types:
Smooth and Non-Porous Surfaces (e.g., glass, metal, plastic):
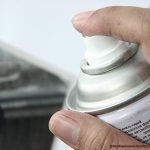
- Heat Method: Gently heat the glue dot with a hairdryer or heat gun to soften the adhesive, making it easier to peel off.
- Adhesive Removers: Use solvents like rubbing alcohol or specialized adhesive removers to dissolve the adhesive for easy removal.
Porous Surfaces (e.g., fabric, paper):
- Gentle Peeling: Start by gently peeling off any loose edges of the glue dot using your fingers or tweezers.
- Delicate Adhesive Removers: Use specialized adhesive removers designed for delicate surfaces to remove any remaining residue.
Delicate Items (e.g., photographs, artwork):
Professional Assistance: Consult a professional conservator or art restoration expert for safe glue dot removal on valuable items.
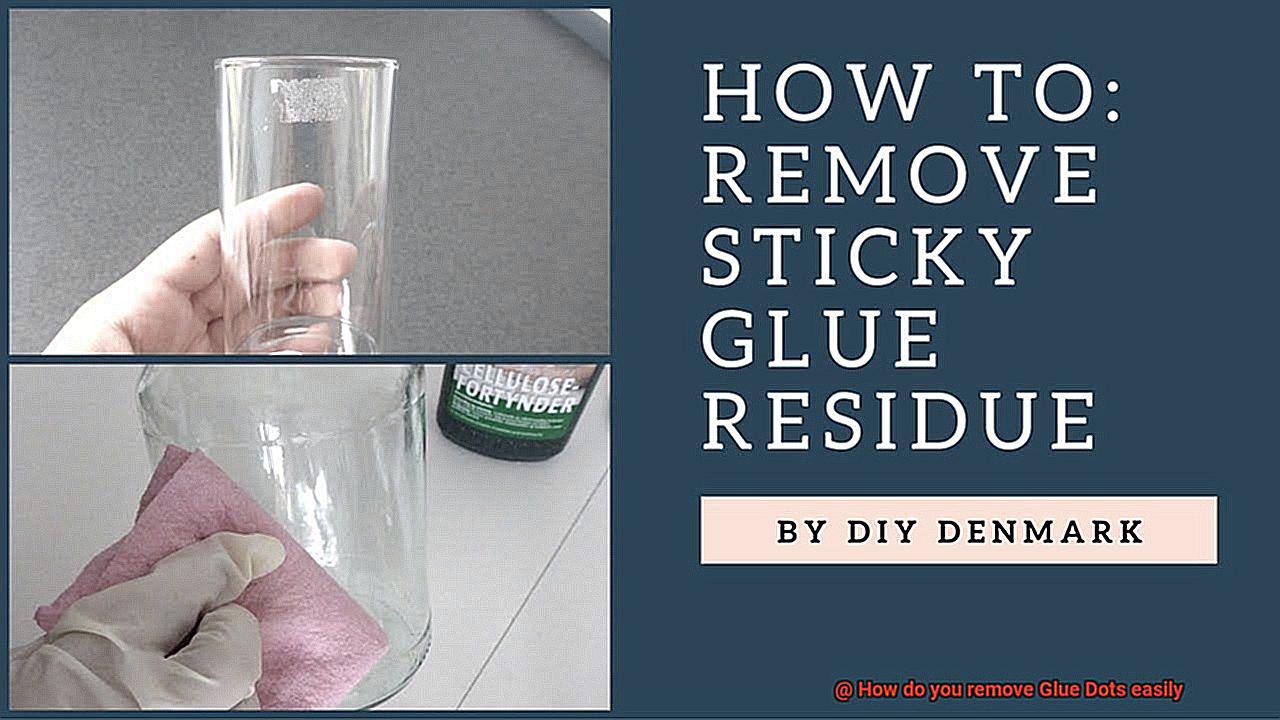
Removing Glue Dots from Smooth Surfaces
We’ve all been there – you peel off a label or sticker, only to be left with a stubborn glue dot clinging to your smooth surface. It’s frustrating, but fear not. As an expert on all things adhesive, I’ve got the knowledge and techniques to make this sticky situation a thing of the past.
Method 1: The Heat is On
When it comes to removing glue dots, heat can be your best friend. Grab your trusty hairdryer and set it on low heat. Hold it a few inches away from the glue dot and move it back and forth until the adhesive softens. Once it’s pliable, gently peel it off using your fingers or a plastic scraper. Voila. No more glue dot.
Method 2: Rubbing Alcohol to the Rescue
Rubbing alcohol is another handy tool in your arsenal for removing glue dots. Dampen a cotton ball or clean cloth with rubbing alcohol and gently rub the affected area. Apply slight pressure as you go, and watch as the alcohol dissolves the adhesive, making it easy to wipe away. Remember to use small, circular motions for best results.
Method 3: Vinegar – The Secret Weapon
If you don’t have rubbing alcohol on hand, fear not. Vinegar can work wonders too. Soak a clean cloth or sponge in vinegar and gently rub the glue dot. Let the vinegar sit on the adhesive for a few minutes before attempting to remove it. The acidity of the vinegar will help loosen the glue dot, making it easier to peel away.
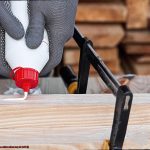
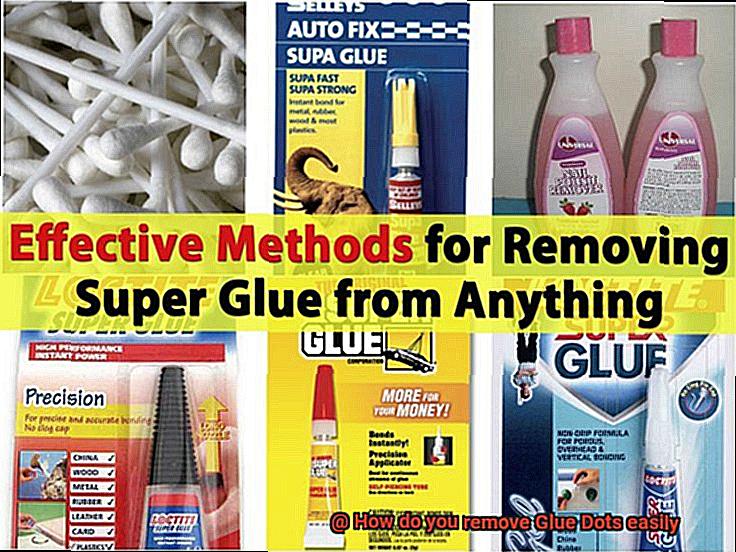
Method 4: Adhesive Removers – A Professional Touch
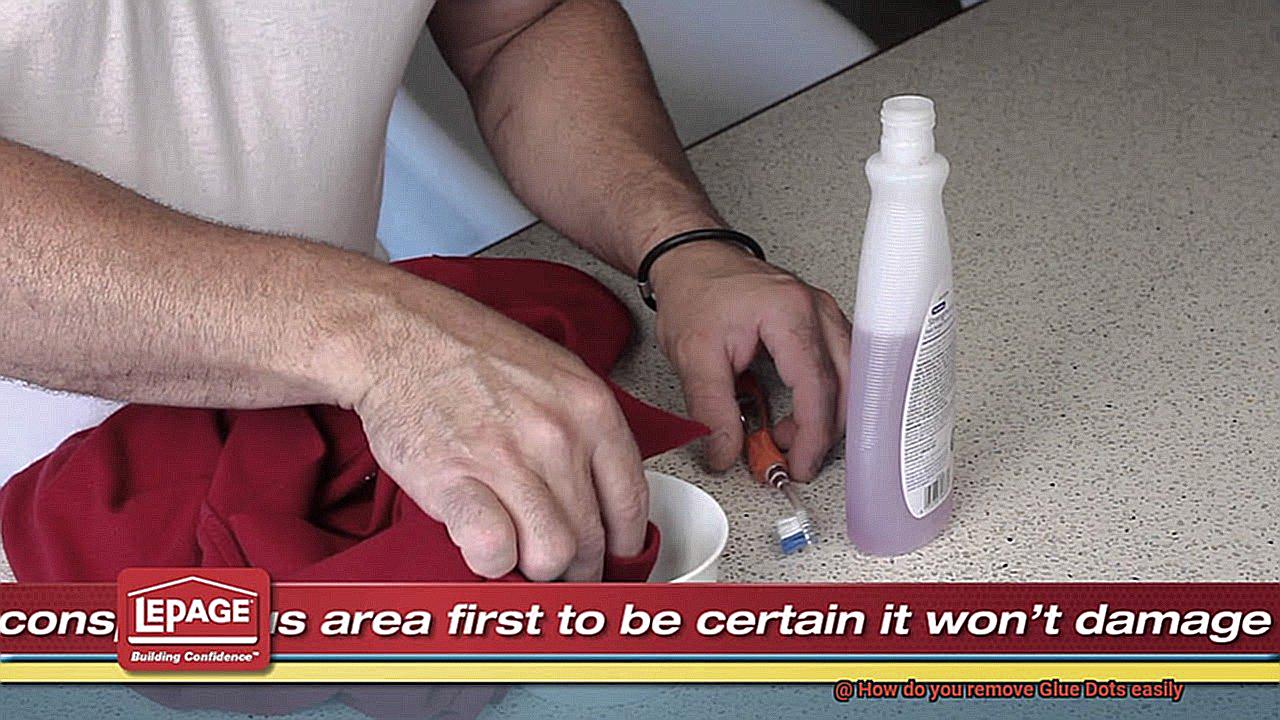
For those stubborn glue dots that just won’t budge, it’s time to bring out the big guns – adhesive removers. There are many commercial removers available that are specifically designed to dissolve adhesives without damaging the surface. Follow the manufacturer’s instructions, apply the remover to the glue dot, and let it sit for a few minutes. Then, gently scrape off the glue dot using a plastic scraper or your fingernail.
Method 5: Oil-Based Products – A Natural Solution
When all else fails, turn to nature’s pantry for help. Oil-based products like cooking oil, baby oil, or WD-40 can work wonders in loosening adhesive. Apply a small amount of the product to the glue dot and let it sit for a few minutes. The oil will weaken the adhesive, making it easier to remove. Wipe away any residue with a clean cloth or sponge.
Remember, before you dive into removing glue dots from your smooth surfaces, always test any method or product on a small, inconspicuous area first to ensure it won’t cause damage or discoloration. And be gentle while removing the glue dots – we don’t want any scratches or scrapes on our beloved surfaces.
Removing Glue Dots from Porous Surfaces
Glue Dots are versatile adhesives that we encounter in various aspects of our lives, from crafting projects to packaging and home improvements. However, when it comes to porous surfaces like wood, fabric, or paper, removing Glue Dots can present a sticky challenge. Fear not. In this comprehensive guide, we will explore a range of techniques to help you bid farewell to those stubborn adhesive residues.
Harness the Power of Heat:
One highly effective method involves the use of heat. Grab your trusty hairdryer or heat gun and gently warm up the Glue Dot. As the adhesive softens under the heat, it becomes easier to peel off. Exercise caution not to apply excessive heat, as it may cause damage or burns.
Solvents and Adhesive Removers:
Another option is to turn to solvents or adhesive removers specifically designed for glue removal. These specialized products work by dissolving the adhesive, making it easier to remove the Glue Dot. Remember to carefully follow the instructions provided by the manufacturer and test the solvent on a small area before applying it to the entire surface.
Gentle Approach for Delicate Surfaces:
When dealing with delicate or sensitive porous surfaces like fabric or paper, a gentle approach is essential. Begin by carefully peeling off as much of the Glue Dot as possible using your fingers or a plastic scraper. Then, dampen a cloth with warm water and gently rub the remaining residue in circular motions. The warmth and moisture will aid in loosening the adhesive for easier removal.
For Larger Areas:
If you’re faced with a larger area covered in Glue Dots, try applying a small amount of rubbing alcohol or acetone on a cloth and gently dabbing it onto the adhesive. Take care not to saturate the surface with excessive liquid, as it may harm certain materials. Allow the solvent to sit for a few minutes before attempting to remove the Glue Dots.
Commercial Adhesive Removers:
In more stubborn cases, employing a commercial adhesive remover specifically formulated for porous surfaces may be necessary. These products are designed to dissolve the adhesive without causing any damage. Always read and adhere to the instructions provided by the manufacturer, and remember to test the product on a small, inconspicuous area beforehand.
Clean and Prevent:
After successfully removing the Glue Dots, ensure that you thoroughly clean the surface to eliminate any remaining residue. Use warm soapy water or a mild detergent along with a soft cloth to gently scrub the area. Rinse with clean water and pat dry. Remember, prevention is always better than dealing with sticky situations. Consider using alternative adhesion methods that are less likely to leave residue or be difficult to remove, such as double-sided tape or removable adhesive strips.
Removing Glue Dots from Delicate Items
Whether it’s your beloved piece of jewelry, a fragile porcelain figurine, or an expensive electronic device, removing glue dots can be a daunting task. But fear not. With the right steps and considerations, you can safely bid farewell to those stubborn adhesive dots without causing any damage.
First and foremost, let’s explore the various methods to remove glue dots from delicate items. One effective technique is the application of gentle heat. By employing a hairdryer on its lowest heat setting or a heat gun on the lowest setting, you can soften the adhesive, making it easier to remove. However, exercise caution and ensure that your delicate item can tolerate heat without sustaining harm. Some materials may be sensitive to heat and could become damaged, so proceed with vigilance.
Another approach involves using an adhesive remover specifically designed for delicate surfaces. These removers are formulated to dissolve adhesive without compromising delicate materials. It is crucial to select a remover that is compatible with the specific material of your item. When using an adhesive remover, meticulously adhere to the instructions provided by the manufacturer. Apply a small amount of the remover to a cloth or cotton swab, and gently rub it over the glue dot.
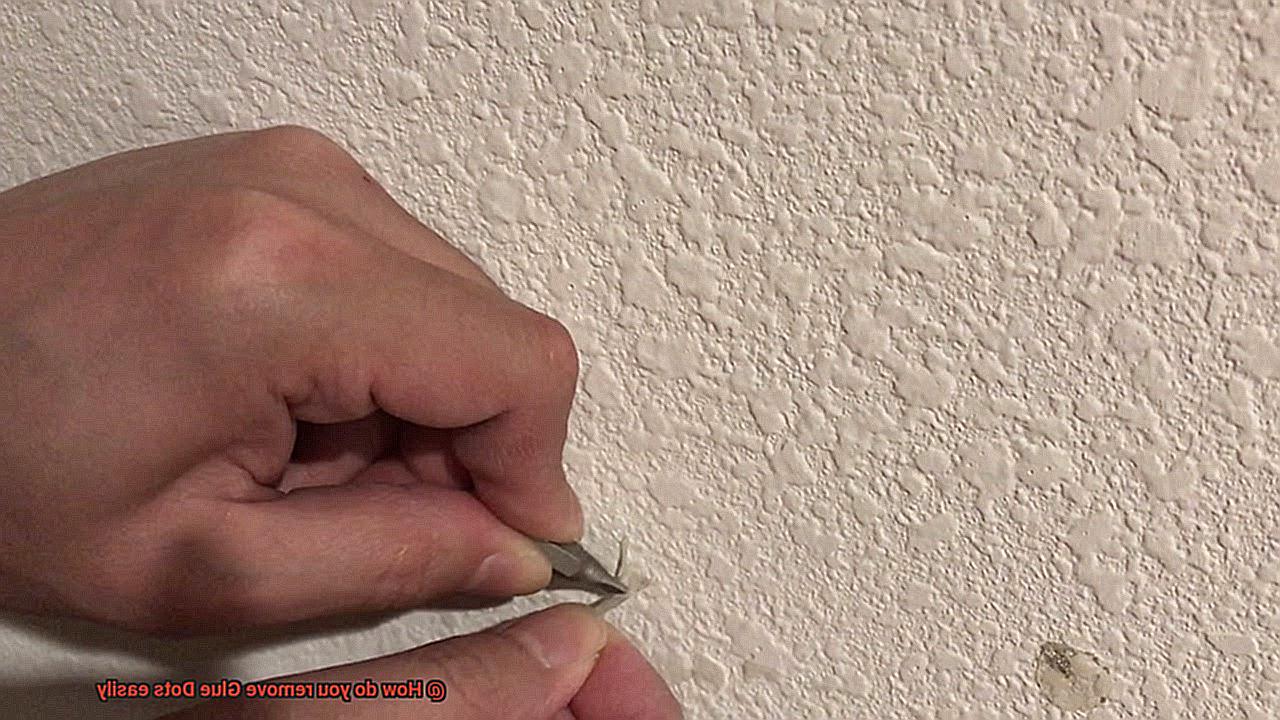
For particularly stubborn glue dots, employing a gentle scraping tool can prove beneficial. A plastic scraper or a credit card wrapped in a soft cloth can assist in lifting the adhesive without scratching or damaging the delicate item. Remember, patience is key during this process to avoid accidental damage or residue left behind.
Once you have successfully removed the glue dot, it is advisable to cleanse the area with mild soap and water or an appropriate cleaning solution suitable for the specific material of your item. Always perform a test of any cleaning method or adhesive remover on a small, inconspicuous area before applying it to the entire surface. This precaution ensures compatibility and prevents any unwanted damage.
Using Adhesive Removers to Dissolve Residue
In this guide, we will explore the world of adhesive removers and how they can help you dissolve and remove stubborn residue from various surfaces. Whether it’s glue dots, tape, or stickers, adhesive removers are here to save the day. So, let’s dive right in and discover the secrets of these magical products.
Choosing the Right Adhesive Remover:
Before we embark on our journey to remove residue, it’s essential to choose the right adhesive remover for your specific surface. Different surfaces may require different types of removers, so take a moment to research and find a product that is safe for your cherished possessions.
Testing, Testing, 1-2-3:
Once you have selected your adhesive remover, it’s always a good idea to test it on a small, inconspicuous area of the surface first. This precautionary step will ensure that the remover does not cause any damage or discoloration.
The Application Technique:
Now that we’ve got the basics covered, it’s time to get down to business. Apply a small amount of adhesive remover onto a clean cloth or sponge. Gently rub the residue in a circular motion, allowing the remover to work its magic for a few minutes.
Wipe Away the Residue:
Prepare to witness a magical transformation. Grab a fresh cloth or sponge and wipe away the dissolved residue. Repeat this process if necessary until all traces of stubborn residue are banished.
Thoroughly Clean and Dry:
To achieve a pristine finish, it’s crucial to thoroughly clean the surface after using an adhesive remover. Use a mild soap and water solution to remove any remaining residue from the surface. Once cleaned, make sure to dry the surface thoroughly to prevent any moisture-related mishaps.
The Final Touch:
Some adhesive removers may leave a residue of their own behind. But worry not, we have a solution. Dampen a clean cloth or sponge with rubbing alcohol and gently remove any remaining residue from the surface. Voila. Your beloved possessions are restored to their former glory.
Tips for Avoiding Damage to the Surface
Glue dots may seem harmless, but they can leave behind a sticky mess if not handled properly. Fortunately, there are several tips and techniques you can use to remove glue dots without causing any damage to the surface. From being gentle and kind to testing in an inconspicuous area, these tips will ensure a clean and damage-free surface. Let’s dive in.
Be Gentle and Kind:
When removing glue dots, it’s crucial to take a gentle approach to protect the surface from any harm. Avoid using excessive force or harsh chemicals that can leave scratches or discoloration. Instead, opt for gentle methods that gradually loosen the adhesive without causing any damage. Remember, slow and steady wins the race.
Test, Test, Test:
Before tackling glue dot removal in a visible area, always conduct a test run in an inconspicuous spot. This allows you to determine if your chosen method is suitable for your surface without risking any unsightly damage. Better safe than sorry. Choose a small and hidden area such as the bottom corner or backside of the object for this test.
Heat Things Up:
Heat can be your secret weapon against stubborn glue dots on smooth surfaces like glass or plastic. Use a hairdryer on low heat or a heat gun (with caution.) to warm up the glue dot.
Once it softens, gently peel it off with your fingers or a plastic scraper. The adhesive will surrender in no time.
Rubbing Alcohol to the Rescue:
Rubbing alcohol is a trusty sidekick when it comes to removing glue dots from various surfaces. Dab a cotton ball or cloth with rubbing alcohol and gently apply it to the glue dot.
Let it work its magic for a few minutes before using a soft cloth or your fingers to gently rub away the glue dot. Adios, sticky mess.
Oil to the Rescue:
In some cases, oil-based substances like cooking oil, baby oil, or WD-40 can save the day. Apply a small amount of oil onto a cloth or cotton ball and gently rub it onto the adhesive. Let it sit for a few minutes to break down the glue, then wipe it away with a clean cloth. The glue dot will surrender to the power of oil.
Adhesive Removers
Specific adhesive removers are available that safely remove glue dots without causing any damage. These magical potions dissolve the adhesive, making it easier to bid farewell to those pesky dots. Just follow the instructions provided and use them in a well-ventilated area. Say goodbye to glue dots and hello to a spotless surface.
Testing Solvents on a Small Area First
We’ve all experienced the frustration of trying to remove those stubborn glue dots that cling to surfaces like a tenacious pest. Whether they’re on glass, plastic, or fabric, glue dots can be a nightmare to get rid of. But fear not. In this article, we’ll delve into the importance of testing solvents on a small area first, ensuring a safe and effective removal process for those pesky adhesive nuisances.
Choosing the Right Solvent:
Glue dots are notorious for their adhesive strength, making it crucial to select the correct solvent that will break down the glue without causing any harm. By testing solvents on a small, inconspicuous area, you can assess their effectiveness and safety. This step allows you to observe any potential discoloration or staining that may occur and avoid any unintended damage.
Assessing Effectiveness:
Not all glue dots are created equal, and different types may require specific solvents for removal. Testing solvents on a small area first ensures that you are using the most effective solution for breaking down the adhesive. This prevents wasting time and effort on ineffective solvents that won’t do the job adequately.
Preventing Surface Damage:
Preserving the integrity of the surface underneath is one of the primary concerns when removing glue dots. Testing solvents on a small area allows you to observe any adverse reactions, such as material damage or disintegration. If negative reactions occur, you can immediately stop and explore alternative solvents that are more compatible with the surface.
Prioritizing Safety Precautions:
When dealing with solvents, prioritizing safety is paramount. Testing solvents on a small area helps identify potential allergic reactions or skin irritations that may occur during the removal process. Always work in a well-ventilated area and wear protective gloves to minimize any risks.
Cleaning the Surface After Removal of Glue Dots
Glue dots are a handy adhesive solution, but their removal often leaves behind a sticky mess. Fear not. In this comprehensive guide, we will walk you through the steps to clean surfaces after removing those pesky glue dots. With the right tools and techniques, you’ll have your surfaces looking pristine in no time.
Step 1: Gather the necessary materials:
- Mild detergent or dish soap
- Warm water
- Soft cloth or sponge
- Scraper or plastic card (for stubborn residue)
Step 2: Create a soapy solution:
Mix a small amount of mild detergent or dish soap with warm water. Remember, less soap is more effective, as excessive suds can complicate the cleaning process.
Step 3: Gently scrub the area:
Dip your cloth or sponge into the soapy solution and gently scrub the area where the glue dots were located. Use circular motions and apply light pressure to remove any remaining adhesive residue.
Step 4: Tackle stubborn residue:
For those persistent remnants that refuse to budge, employ a scraper or plastic card. Carefully scrape off the glue, ensuring not to scratch or damage the surface underneath.
Step 5: Dissolve leftover adhesive:
If traces of glue persist, apply a small amount of rubbing alcohol or adhesive remover to a clean cloth. Gently rub the affected area to dissolve any lingering adhesive.
Step 6: Rinse and dry:
Thoroughly rinse the surface with clean water to remove any soap or cleaning solution residue. Pat dry with a soft towel or allow it to air dry completely before using or applying anything else.
Remember these tips:
- Different surfaces may require specific cleaning methods or products. Always consult the manufacturer’s instructions or seek professional advice if unsure.
- Be patient and gentle when removing glue dots, as aggressive scraping can damage delicate surfaces.
- Test any cleaning solution on a small, inconspicuous area before applying it to the entire surface to ensure it does not cause any damage or discoloration.
Conclusion
Removing Glue Dots can be a frustrating task, but fear not. There are several effective methods that will make the process a breeze. Say goodbye to sticky residue and hello to a clean surface.
One of the simplest ways to remove Glue Dots is by using heat. Grab a hairdryer and set it to a low or medium heat setting. Hold the dryer about six inches away from the Glue Dot and gently warm it up. As the adhesive heats up, it will become softer and easier to remove. You can then peel off the Glue Dot with your fingers or use a plastic scraper for stubborn spots.
If you don’t have a hairdryer on hand, another method involves using an oil-based product like cooking oil or baby oil. Apply a small amount of oil onto the Glue Dot and let it sit for a few minutes. The oil will penetrate the adhesive, making it less sticky. Then, using your fingers or a cloth, gently rub away the Glue Dot until it lifts off completely.
For those who prefer chemical solutions, rubbing alcohol is an excellent option. Moisten a cotton ball or cloth with rubbing alcohol and dab it onto the Glue Dot. Allow the alcohol to soak into the adhesive for a few minutes before gently rubbing it away. Be cautious when using this method on delicate surfaces as alcohol may cause discoloration or damage.
If none of these methods work, don’t panic. There are specialized adhesive removers available in most hardware stores that can tackle even the toughest Glue Dots. These products are formulated specifically for removing adhesives without harming surfaces.
In conclusion, removing Glue Dots doesn’t have to be an arduous task anymore. Whether you opt for heat, oil-based products, rubbing alcohol, or specialized removers, there’s a solution that suits your needs.