Are you tired of staring at stubborn dried nail glue on your nails?
We’ve all been there – whether it’s from a spontaneous DIY manicure gone wrong or a mishap at the salon. But fear not, my fellow nail enthusiasts.
In this blog post, we’re diving into the world of nail glue removal and exploring the most effective techniques to banish those pesky remnants from your beautiful fingertips. From gentle home remedies to high-powered nail polish removers, we’ve got you covered.
Your nails will be forever grateful.
Method 1: Acetone Soak
Contents
We’ve got the perfect solution for you. In this article, we will guide you through a foolproof and straightforward method to remove dried nail glue using an acetone soak. Acetone, a potent solvent widely utilized in the beauty industry, is your secret weapon to dissolve stubborn adhesives. So, let’s dive into the step-by-step process of this incredible method.
Step 1: Gather Your Materials
Before embarking on the acetone soak, ensure you have all the essential materials within reach. You’ll need acetone, cotton balls or pads, aluminum foil, and a cuticle pusher or orange stick. By having these items at hand, you’ll ensure a seamless and efficient process.
Step 2: Prep Your Nails
To kickstart the acetone soak, begin by filing the surface of your nails. This step helps eliminate any excess glue or rough edges, allowing the acetone to penetrate the dried glue more effectively.
Step 3: Soak with Acetone
Take a cotton ball or pad and saturate it with acetone. Make sure it’s moist but not dripping. Place the soaked cotton directly on top of the nail where the dried glue is stubbornly clinging.
Step 4: Secure with Aluminum Foil
To maximize the potency of acetone, wrap each finger with a small piece of aluminum foil. This ingenious technique will secure the soaked cotton ball in place and prevent evaporation, ensuring an optimal environment for dissolving the dried glue.
Step 5: Allow for Soaking Time
Give the acetone-soaked cotton balls some time to work their magic. Let them sit on your nails for approximately 10-15 minutes. During this waiting period, the acetone will gradually loosen the grip of the dried nail glue, making it easier to remove.
Step 6: Gently Remove Glue
Once the soaking time is up, delicately remove the aluminum foil from your fingers. Now, armed with a cuticle pusher or an orange stick, carefully scrape off any remaining glue. Exercise caution to avoid damaging your nails while bidding farewell to that stubborn adhesive.
Step 7: Repeat if Necessary
If traces of glue still persist on your nails, don’t despair. Simply repeat the process until every last bit of glue has vanished. Patience is key here, as persistent glue may require multiple treatments.
Step 8: Moisturize Your Nails
Remember, acetone can be harsh on both nails and skin. Therefore, it’s crucial to restore hydration after this process. Apply a nourishing cuticle oil or a comforting hand cream to revitalize and maintain the health of your nails.
Method 2: Rubbing Alcohol
Are you tired of dealing with stubborn dried nail glue that refuses to budge? Look no further than the trusty bottle of rubbing alcohol. This method is not only remarkably effective but also gentle on your skin and nails.
In this comprehensive guide, we will walk you through the steps of using rubbing alcohol to effortlessly remove dried nail glue from various surfaces.
So, let’s dive right in and discover the magic of rubbing alcohol.
Step 1: Gather your materials
Before you begin, ensure that you have all the necessary materials within reach. Grab a bottle of rubbing alcohol (isopropyl alcohol), some cotton balls or pads, and a towel for drying.
Step 2: Soak the cotton ball
Take a cotton ball or pad and saturate it with rubbing alcohol. You want it to be slightly damp but not dripping wet.
Step 3: Gently rub the affected area
With the soaked cotton ball, gently massage the area where the dried nail glue adheres. Apply slight pressure and employ circular motions to help loosen the glue. Be patient and persistent as removing the glue may take a bit of time.
Step 4: Let it sit (if needed)
If the glue proves to be obstinate and resists removal, allow the rubbing alcohol to sit on the glue for a few minutes. This will aid in further dissolving the glue, making it easier to remove.
Step 5: Rinse and dry
Once the glue starts to dissolve and come off, rinse the area with water to eliminate any residue. Gently pat it dry with a towel.
Step 6: Moisturize
Keep in mind that rubbing alcohol can be drying, so it is essential to moisturize your skin or nails after using it. Apply a nourishing oil or lotion to keep your skin hydrated.
Remember, this method is not suitable for artificial nails or nail extensions, as rubbing alcohol can damage these materials. Stick to using it on natural nails and skin only.
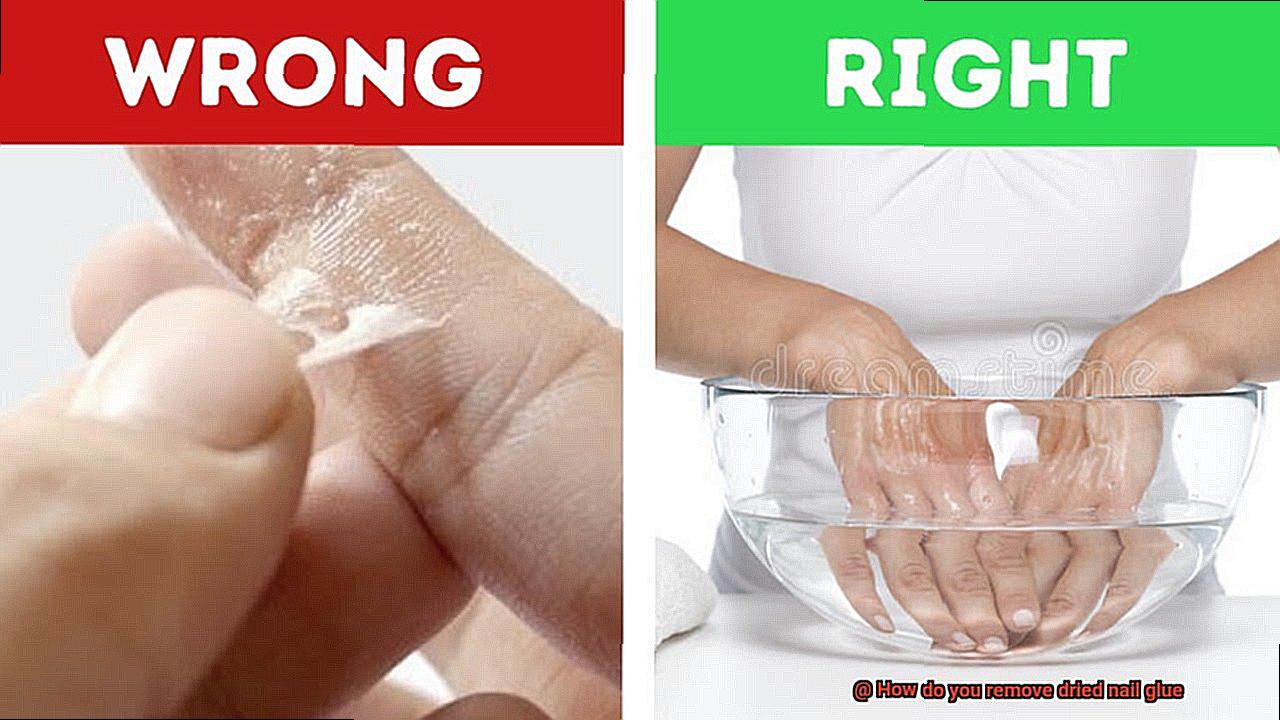
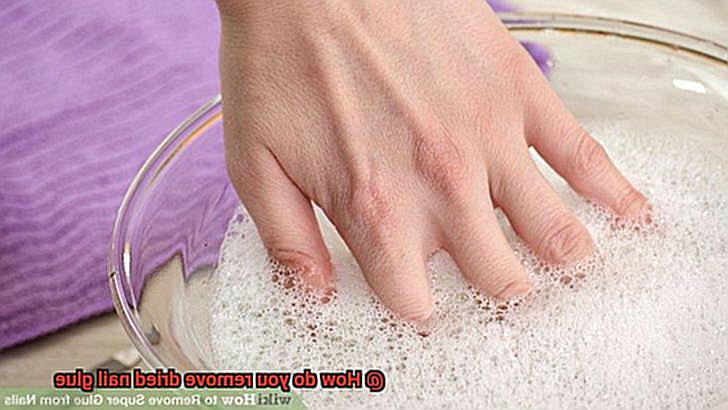
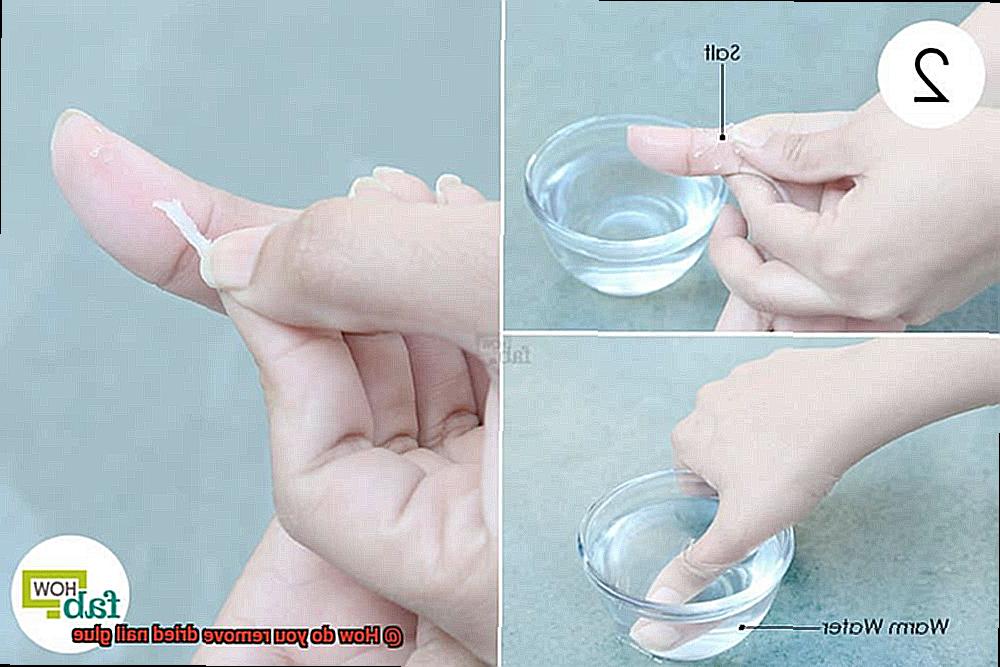
Method 3: Warm Soapy Water
We’ve got your back with Method 3: Warm Soapy Water. This method is like a gentle spa treatment for your nails, effectively bidding farewell to that stubborn glue and restoring your nails to their former glory. So let’s dive into the details and get those nails looking fabulous again.
To begin, grab yourself a basin or bowl and fill it up with warm water. The temperature should be just right – not too hot that it causes damage, but warm enough to work its magic. Now, add a few drops of mild dish soap or hand soap to the water and give it a gentle mix until it forms a luxurious soapy solution.
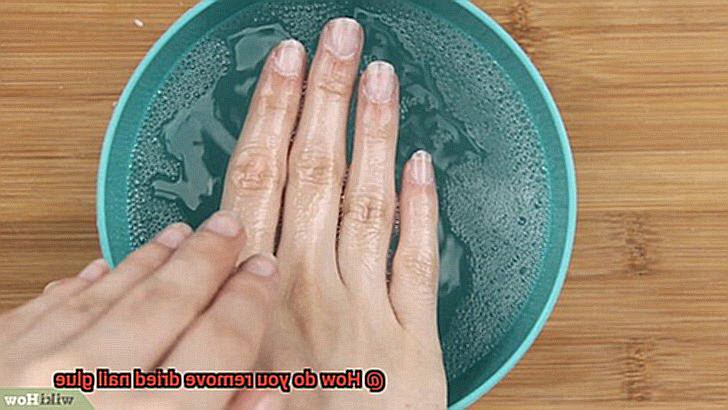
Now it’s time to pamper those nails. Submerge your nails in the warm soapy water for about 10-15 minutes. This step is crucial as it helps soften the dried nail glue and makes it easier to remove. Imagine yourself in a serene spa, relaxing and enjoying some “me” time while your nails soak up the goodness.
Once you’ve soaked long enough, it’s time to take action. Equip yourself with a soft-bristled toothbrush or a nail brush and gently scrub your nails. Focus on the areas where the glue is dried and hardened, but remember not to go overboard with the pressure. We want to avoid any damage to those precious nails of yours. Use gentle circular motions to loosen the glue from your nails, revealing their natural beauty.
After giving your nails a good scrubbing, rinse them thoroughly with clean water to remove any lingering soap residue. It’s important to ensure that all traces of soap are gone before moving on to the next steps. Once rinsed, carefully pat your nails dry with a clean towel, making sure they are completely dry before proceeding.
If you still spot traces of dried nail glue, don’t panic. You can repeat the process again until all the stubborn glue is removed. However, keep in mind that warm soapy water may not work for all types of nail glue. In such cases, you can explore other methods like using acetone or nail polish remover. Just tread carefully with these stronger solvents, as they can be harsh on your nails and skin.
Method 4: Lemon Juice or Vinegar
Are you tired of battling with stubborn dried nail glue? Look no further, because there’s a game-changing solution right in your pantry – lemon juice or vinegar. These common household ingredients can be your secret weapon in the fight against sticky glue residue.
Let’s dive into the power of lemon juice. Not only is it a refreshing addition to your water, but it also works wonders on dried nail glue. The high acidity of lemon juice is the key to its effectiveness. It effortlessly breaks down the glue without causing any harm to your precious nails. There are two fantastic options for using lemon juice. You can either soak your nails in a bowl of freshly squeezed lemon juice for a rejuvenating 10-15 minutes, or apply a cotton ball soaked in lemon juice directly onto the glued area. After a few minutes, gently rub the area with a soft cloth or toothbrush to loosen the glue. Rinse and dry your nails, and voila – say goodbye to glue and hello to flawless perfection.
Now, let’s explore the wonders of vinegar, specifically white vinegar. This versatile pantry staple is not just for cooking and cleaning; it’s also an incredible option for removing dried nail glue. Like lemon juice, vinegar contains acid that effectively breaks down the glue. Prepare a magical concoction by mixing equal parts warm water and vinegar in a bowl, creating a solution that will soften the glue and make removal a breeze. Soak your nails in this glorious elixir for 15-20 minutes, allowing it to work its magic. After soaking, gently scrub the glued area with a soft cloth or toothbrush, rinse with warm water, and dry those nails like a pro.
However, my friends, a word of caution is in order. While lemon juice and vinegar are generally safe for your nails, excessive use or sensitive skin might cause some drying or irritation. To avoid any mishaps, it’s always wise to do a patch test on a small area of your skin before going all out on your nails.
Alternative Methods
We’ve all experienced the frustration of trying to remove dried nail glue that seems impossible to budge. But fear not. I’m here to share some alternative methods that will have you bidding farewell to sticky residue in no time. Say goodbye to expensive nail glue removers and let’s explore natural and readily available ingredients that can work wonders.
Acetone-free nail polish remover:
If you have sensitive skin or allergies to acetone, this option is perfect for you. Soak a cotton ball or pad with acetone-free nail polish remover and place it on the affected area. Give it a few minutes to soften the dried glue, then gently rub in circular motions until the glue starts to lift. Repeat if needed.
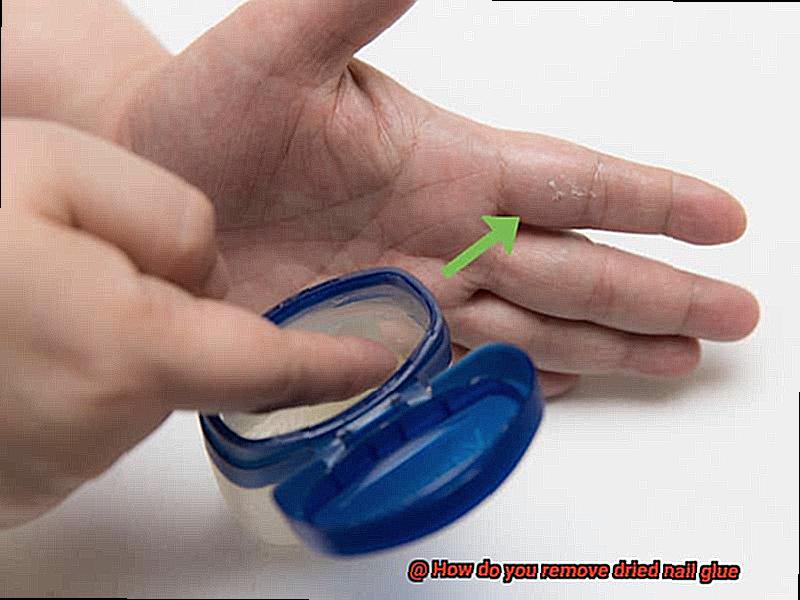
Olive oil or coconut oil:
Unlock the power of your kitchen cupboard with these versatile solutions. Apply a small amount of olive oil or coconut oil onto the affected area and massage gently. Let it sit for a few minutes to break down the adhesive properties of the glue. Then, use a soft cloth or cotton pad to wipe away the softened glue. Rinse with warm water and pat dry.
Lemon juice:
Harness the natural acidity of lemon juice as an excellent alternative method. Squeeze fresh lemon juice onto a cotton ball or pad and dab it onto the affected area. Allow it to sit for a few minutes before gently rubbing in circular motions to loosen the dried glue. Rinse with warm water and pat dry.
Rubbing alcohol:
Another effective alternative method is using rubbing alcohol. Soak a cotton ball or pad with rubbing alcohol and apply it to the glued area. Let it sit for a few minutes, then gently rub in circular motions until the glue starts to dissolve. Rinse with warm water and pat dry.
Precautions and Tips
Removing dried nail glue can be a delicate task, but taking the right precautions and following helpful tips can ensure a safe and successful removal process. Whether you find yourself with accidental spills or need to remove old glue before applying a fresh manicure, these guidelines will protect your nails and guarantee effective removal.
Prioritize Safety:
Safety should always come first when removing dried nail glue. Choose a well-ventilated area to work in, preventing any potential harm from inhaling fumes emitted by the products used during the removal process. Protect your hands and nails by wearing gloves throughout the procedure, shielding your skin from possible irritation caused by nail glue remover.
Test on a Small Area:
To avoid unfavorable reactions or damage to your nails, testing the nail glue removal method on a small, inconspicuous area is essential. Apply a small amount of the chosen method to ensure its effectiveness and safety for your nails. This precaution will help prevent any harm or discoloration before applying it to your entire nail.
Patience is Key:
Removing dried nail glue requires patience. Rushing through the process may result in nail damage. Take your time and carefully follow the instructions for each removal method selected. Remember, slow and steady wins the race when it comes to preserving nail health.
Opt for Gentle Techniques:
Protect your natural nails from damage during the removal process by using gentle techniques. Avoid using excessive force or harsh tools that may scratch or harm the surface of your nails. Instead, choose soft tools like wooden cuticle sticks or orangewood sticks for delicate scraping.
Acetone-Based Removers:
One of the most common methods for removing dried nail glue is using acetone-based removers. These products are specifically formulated to dissolve and soften the glue, making removal easier. However, keep in mind that acetone can be drying to the skin and nails. After removing the glue, moisturize your nails and cuticles with a nourishing oil or lotion.
Soaking Method:
An effective technique is to soak your nails in acetone or an acetone-based remover. Fill a small bowl or container with the solution and immerse your fingertips for 10-15 minutes. This soaking process will help loosen and soften the dried glue, making it easier to gently scrape off using a wooden cuticle stick or orangewood stick.
Seeking Professional Help
We’ve all experienced the struggle of removing dried nail glue without harming our precious nails. While DIY methods may be tempting, seeking professional help from a nail salon or beauty expert is the optimal choice for a safe and effective removal process. This blog post explores the various reasons why professionals are best equipped to handle this task, ensuring your nails remain healthy and undamaged.
Expertise and Experience:
Nail salons and beauty professionals possess expert knowledge in nail care and have extensive experience dealing with stubborn nail glue. They understand the proper techniques and have access to professional-grade products and tools that effectively dissolve and remove the glue without causing any harm to your nails.
Time and Effort Saving:
Attempting to remove dried nail glue on your own can be a time-consuming and frustrating endeavor. By visiting a professional, you can save valuable time and effort. Professionals efficiently remove the glue using their expertise and specialized equipment, resulting in a more seamless process.
Safety First:
Safety is paramount when it comes to nail care. Professionals prioritize safety by working in well-ventilated areas and employing appropriate protective measures. They are also knowledgeable about potential sensitivities or allergies to chemicals used in nail salons, enabling them to suggest alternative methods or products that suit your needs better.
Personalized Advice and Aftercare:
Seeking professional help to remove dried nail glue is a wise choice, especially if you are uncertain about the proper techniques or the depth of glue penetration. Nail salons and beauty professionals are the go-to experts in this scenario. They are extensively trained in nail care and have experience dealing with various nail-related issues, including stubborn nail glue. Equipped with professional-grade products and tools, they can effectively dissolve and remove dried nail glue without causing damage.
Visiting a nail salon or beauty professional not only guarantees a job done right but also saves you time and effort. Their expertise and specialized equipment enable them to safely remove dried nail glue, leaving your natural nails unharmed. Additionally, these professionals offer valuable advice on aftercare, recommending suitable products to maintain your nails’ health and appearance.
uJohVi5GVvo” >
Also Read: How do you remove dried Gorilla Glue?
Conclusion
In conclusion, fear not the battle against dried nail glue. With the right techniques and products at your disposal, you can bid farewell to those stubborn remnants and restore your nails to their natural, breathtaking beauty.
One powerful weapon in your arsenal is the acetone soak. Follow a simple step-by-step process: file your nails, immerse them in acetone, and gently scrape away the glue. Witness the remarkable results unfold before your eyes. Alternatively, consider the gentle touch of rubbing alcohol. It gracefully dissolves the glue without causing harm to your delicate skin or precious nails.
For those who prefer a more tender approach, let warm soapy water work its magic. Soak your nails in this soothing solution and delicately scrub away the dried glue with a soft-bristled toothbrush or nail brush. Watch as the remnants surrender to the gentle caress of cleanliness.
If you seek allies from nature’s bounty, look no further than lemon juice or vinegar. Their high acidity unleashes its power upon the glue, breaking it down without inflicting harm upon your precious nails.
Throughout this endeavor, prioritize safety above all else. Work diligently in a well-ventilated area and don protective gloves to shield yourself from any potential mishaps. Always conduct a small test on a discreet area before proceeding with full force to avoid any unexpected reactions. Embrace patience as your virtue of choice and opt for gentle techniques that protect your natural nails from harm’s way.
Should you find yourself uncertain about tackling dried nail glue alone or simply yearning for professional expertise, do not hesitate to seek aid from a trusted nail salon or beauty expert. Their vast knowledge, honed experience, and specialized tools will ensure that every trace of glue is safely eradicated without compromising the health of your beloved nails.
Remember this: whether you embark on a DIY adventure or enlist professional assistance, removing dried nail glue is indeed an attainable feat when approached with unwavering patience and meticulous care.