Are you a craft lover who’s had their fair share of dried hot glue mishaps?
We’re here to rescue your projects from the clutches of stubborn glue.
Say goodbye to frustration and hello to success as we explore the world of removing dried hot glue. In this blog post, we’ll uncover tried and tested methods that will save your creations.
So grab your trusty glue gun and let’s dive in together to bid farewell to dried hot glue once and for all.
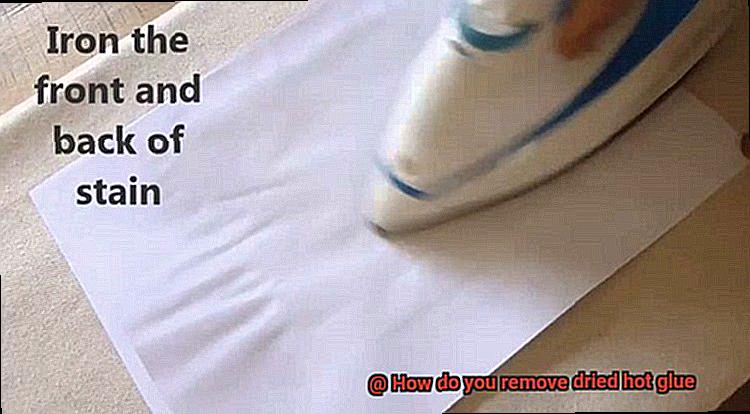
Method 1: Using heat
Contents
- 1 Method 1: Using heat
- 1.1 Step 1: Gather your tools – Prepare for battle
- 1.2 Step 2: Ignite the heat – Prepare for action
- 1.3 Step 3: Unleash the heat – The battle begins
- 1.4 Step 4: Soften and conquer – Victory is within reach
- 1.5 Step 5: Overcoming obstinacy – Perseverance is paramount
- 1.6 Step 6: The final triumph – Cleaning up the battlefield
- 2 Method 2: Using solvents
- 3 Method 3: Freezing the glue
- 4 Method 4: Using lubricants
- 5 Method 5: Sanding the surface
- 6 Precautions and considerations
- 7 Tips for success
- 8 Conclusion
Step 1: Gather your tools – Prepare for battle
Before embarking on your mission, make sure you have a trusty hairdryer by your side. This common household item will be your ultimate weapon against dried hot glue.
Step 2: Ignite the heat – Prepare for action
Plug in your hairdryer and crank it up to its highest heat setting. Give it a moment to unleash its fiery potential before proceeding to the next phase.
Step 3: Unleash the heat – The battle begins
Position yourself about 6-8 inches away from the dried glue, locking eyes with it as if challenging its hold on your project. Direct the nozzle of the hairdryer straight at the heart of the glue. With a back-and-forth motion, unleash a torrent of scorching air upon the adhesive, ensuring every inch is subjected to its blistering power.
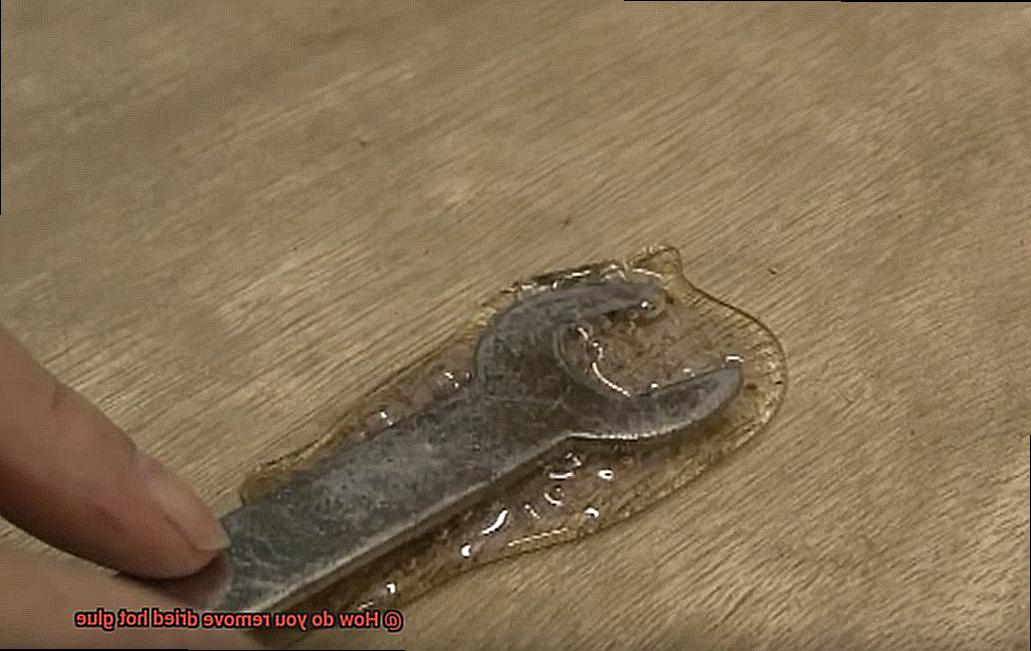
Step 4: Soften and conquer – Victory is within reach
As you subject the dried glue to intense heat, witness its once unyielding grip begin to falter. The adhesive succumbs to the heat’s seductive dance, transforming into a pliable foe. Seize this moment of vulnerability. Armed with a plastic scraper or even your own fingers (but exercise caution.), gently lift and peel off the softened glue. Remember, a gentle touch is key to prevent collateral damage to the surface beneath.
Step 5: Overcoming obstinacy – Perseverance is paramount
In your quest for perfection, you may encounter pockets of defiance within the dried hot glue. Fear not. Continue applying heat until these stubborn spots yield to their inevitable demise. Patience is your ally here; take your time and exercise care as you remove these final remnants of adhesive resistance.
Step 6: The final triumph – Cleaning up the battlefield
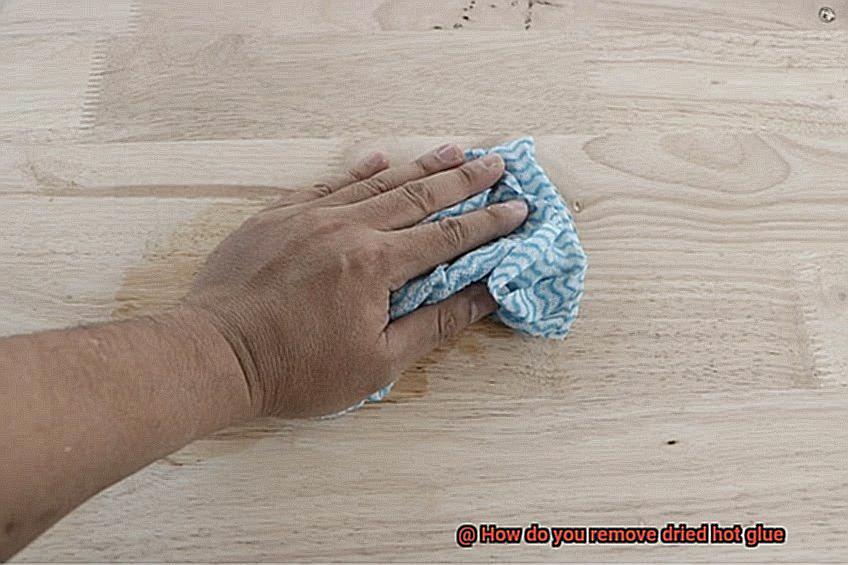
With the last traces of dried hot glue vanquished, it’s time to restore order to your project’s domain. Use a mild soap and water solution to delicately cleanse the area, eliminating any lingering stickiness that may have survived the heat onslaught.
Method 2: Using solvents
In this comprehensive guide, we will explore the second method to tackle this sticky situation: using solvents. These magical substances are your secret weapon for breaking down the adhesive properties of hot glue, making it easier to remove. But before you jump in, let’s go over some important tips and precautions to ensure a successful outcome.
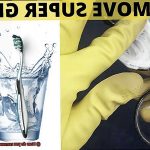
Rubbing Alcohol:
One of the most commonly used solvents is rubbing alcohol. It’s easily accessible and safe for most surfaces. Soak a cloth or cotton swab in rubbing alcohol and gently dab the affected area. Allow the alcohol a few minutes to work its magic, then watch as the dried glue peels off with ease.
Acetone:
For tougher cases, acetone can come to your rescue. This solvent is commonly found in nail polish removers, but be cautious as it may damage certain surfaces. Test it on a small, inconspicuous area first to ensure it won’t cause any harm. If safe to use, soak a cloth or cotton swab in acetone and gently rub the dried glue until it dissolves. Remember, patience is key here, so give the solvent a few minutes to work its wonders.
Mild Dish Soap and Warm Water:
Delicate surfaces like fabric or carpet require a gentler approach. Create a solution by mixing a few drops of mild dish soap with warm water in a bowl. Dip a clean cloth into the solution and gently dab the affected area, careful not to saturate the fabric or carpet. Blot the area with a dry cloth to absorb any excess moisture along with the dissolved glue.
Remember these crucial precautions when using solvents:
- Work in a well-ventilated area to avoid inhaling strong fumes.
- Follow manufacturer instructions and wear protective gloves and eyewear if necessary.
- Test any solvent on a small, inconspicuous area before applying it to the entire surface to prevent damage or discoloration.
Once you have successfully removed the dried hot glue with solvents, clean the surface with a mild detergent or soap to remove any residue. Rinse thoroughly and ensure the area is completely dry before using it again.
However, please note that solvents may not be suitable for all surfaces, especially those sensitive to chemicals or easily damaged. If unsure, seek professional advice or try alternative methods.
Method 3: Freezing the glue
I have the perfect solution for you: freezing the glue. Yes, you heard it right. Freezing the glue can make it a breeze to scrape or peel off without causing any damage. It’s the ideal method for those small areas of glue or materials that can’t handle harsh chemicals or excessive heat.
So, let’s dive into this freezing method and get rid of that pesky glue once and for all. Grab yourself a plastic bag or Ziploc freezer bag, some ice cubes or an ice pack, and a small scraping tool like a plastic knife or credit card. Are you ready? Let’s do this.
First things first, place the ice cubes or ice pack inside the plastic bag and seal it tightly. Make sure you have enough ice to cover the entire area of dried glue. If you’re using an ice pack, simply position it directly on top of the glue.
Now comes the exciting part. Carefully place the bag with the ice over the dried hot glue. Let it sit there for at least 30 minutes to an hour, depending on how thick and large the glue is. As the cold temperature sets in, the glue will harden and become more brittle.
After the designated time has passed, remove the bag of ice and check out the state of the glue. It should feel cold and firm to the touch. Now, take your trusty scraping tool and start gently lifting and scraping away the frozen glue from the surface. Be extra cautious not to damage or scratch the material underneath.
But what if the glue doesn’t come off easily? Don’t worry; I’ve got your back. You can reapply another round of cold treatment using fresh ice cubes or an ice pack. Repeat this process until every last bit of that dried hot glue is successfully removed.
Now, you may notice some residue remaining on the surface even after removing as much of the frozen glue as possible. Not to fret. We’ve got a solution for that too. Grab a mild adhesive remover or rubbing alcohol and apply it to a clean cloth. Use this cloth to gently wipe away any leftover adhesive. Just remember, always test these products on a small, inconspicuous area first to ensure they won’t cause any damage or discoloration.
However, it’s crucial to note that freezing the glue may not be suitable for all surfaces or materials. Always check the manufacturer’s recommendations or consult a professional before attempting this method on valuable or delicate items.
Method 4: Using lubricants
This ingenious technique softens the glue, making it a breeze to peel or scrape off. But which lubricant should you choose? Let’s explore the options.
First up, we have the trusty rubbing alcohol. This household hero is a master at breaking down hot glue’s adhesive properties. Soak a cotton ball or cloth in rubbing alcohol, then gently rub it onto the dried glue. Give the alcohol a few minutes to penetrate the glue, then use your fingers or a scraper to peel off the softened adhesive. Just remember to steer clear of delicate or sensitive surfaces, as rubbing alcohol can cause damage.
Next on our list is acetone, found in nail polish removers. Like rubbing alcohol, acetone dissolves the adhesive properties of hot glue, making it easier to remove. Apply a small amount of acetone to a cloth or cotton ball, then gently rub it onto the dried glue. Let it sit for a few minutes before attempting to remove the softened adhesive. Be cautious though – acetone can harm surfaces like plastic or painted materials.
If you prefer a commercial solution, adhesive removers are your go-to option. These powerful products are specially formulated to tackle tough adhesives like hot glue. They contain a potent blend of solvents and lubricants that effectively break down the glue, making removal a breeze. Just be sure to follow the manufacturer’s instructions and test the product on a small area before using it on the entire glued surface.
When using lubricants to remove dried hot glue, take your time and work slowly and gently to avoid any damage to the underlying surface. You may need to repeat the process or use different lubricants for complete removal. Afterward, clean the area with mild soap and water to eliminate any residual lubricant or adhesive remover.
Method 5: Sanding the surface
Are you tired of staring at that unsightly dried hot glue on your favorite surface, wondering how on earth you’re going to get rid of it? Well, fret not, my fellow glue enthusiasts. Method 5: Sanding the surface is here to save the day and restore your beloved surface to its former glory.
How does sanding work its magic, you ask? It’s as simple as can be. By using sandpaper or a sanding block with a medium to coarse grit, you can gradually wear away the stubborn glue and reveal the underlying surface. But before you jump right in, let’s talk about some important points to consider.
Choose the Right Grit:
When it comes to sanding off dried hot glue, a medium to coarse grit is your best bet. The grit refers to the size of the abrasive particles on the sandpaper, with higher numbers indicating finer grits and lower numbers indicating coarser grits. So grab yourself some medium to coarse grit sandpaper and let’s dive into action.
Test, Test, Test:
Hold your horses before you go all out. It’s crucial to test the sanding process on an inconspicuous area first. This little experiment will help ensure that your material can handle the abrasive action of sandpaper without getting damaged or scratched. Safety first, folks.
Gentle Circular Motions:
Once you’ve determined that sanding is safe for your material, it’s time to get down to business. Grab your sandpaper and start gently sanding the dried hot glue using circular motions. Begin with light pressure and gradually increase if needed—remember, we want to remove the glue, not cause any harm.
Check Your Progress:
Here’s a pro tip for you: periodically wipe away any dust or residue left behind by the glue to check your progress. This will give you a better idea of how much more sanding is required. And don’t forget to take breaks when needed to prevent overheating or excessive wear on the sandpaper. We don’t want any burnt-out sandpaper heroes.
Restore Smoothness and Shine:
Once you’ve successfully bid farewell to the dried hot glue, you might notice that the sanded area appears slightly rough or dull compared to the surrounding surface. But fear not.
You can easily restore its smoothness and shine by using progressively finer grits of sandpaper or a polishing compound specifically designed for your material. Just follow the manufacturer’s instructions, and voila. Your surface will be as good as new.
It’s important to note that while sanding is a reliable method for removing dried hot glue, it may not be suitable for all materials. Delicate surfaces like certain fabrics or thin plastics might need alternative methods to avoid any potential harm.
Precautions and considerations
Hot glue, a versatile adhesive, can be a lifesaver for various projects. But what about when it’s time to remove dried hot glue? It’s crucial to approach this task with caution, safeguarding both yourself and the surface you’re working on.
In this article, we’ll delve into the necessary precautions and considerations that pave the way for a safe and effective hot glue removal process.
- Protect Yourself: Don’t underestimate the risks associated with dried hot glue. Before embarking on a removal mission, arm yourself with gloves. These protective shields shield your hands from potential burns or skin irritation caused by the scorching temperatures of the glue.
- Work in a Well-Ventilated Area: As you prepare to tackle the dried hot glue, make sure you’re doing so in a well-ventilated space. The fumes emitted during the removal process can be overpowering, causing discomfort or even respiratory irritation. Swing open those windows or set up a fan to let fresh air sweep away those pesky fumes.
- Assess the Surface or Item: Remember, not all materials react the same way to heat and chemicals. Each surface is unique, so before proceeding with removal, take a moment to carefully evaluate it. Delicate fabrics or certain plastics may crumble under intense heat or harsh solvents. Handle these sensitive materials with extra care.
- Test Solvents or Methods: Don’t dive headfirst into removing dried hot glue without testing your solvents or methods first. Apply them to a small, inconspicuous area to ensure they won’t wreak havoc on the material at hand. This trial run allows you to gauge their effectiveness and determine which ones are up to the task.
- Know Your Material: One size does not fit all when it comes to removing dried hot glue. Different surfaces and items demand specific techniques or solvents. Take the time to research and understand your material. By doing so, you can select the most suitable method that guarantees successful removal without causing harm.
- Seek Professional Advice if Needed: When it comes to valuable or delicate items, it’s wise to seek professional advice or assistance. These experts possess the knowledge and experience required to navigate the removal process safely and effectively, minimizing the risk of damage.
Tips for success
Dried hot glue can be a stubborn and challenging substance to remove, especially if it’s on delicate or valuable surfaces. In this article, we will provide you with seven tips for successfully removing dried hot glue, ensuring a clean and damage-free result.
Act quickly
Time is of the essence when it comes to removing dried hot glue. As soon as you notice it, take action immediately. The longer the glue sits, the harder it becomes to remove.
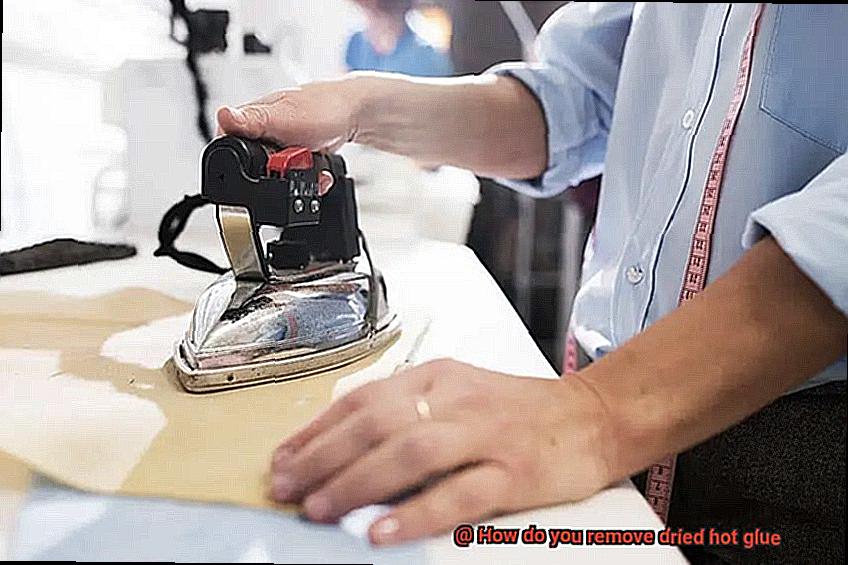
Use heat
Applying heat is an effective method for softening dried hot glue. Use a hairdryer or heat gun on a low setting to gently warm the glue. Once it becomes pliable, carefully scrape it off with a plastic scraper or your fingernail.
Test in an inconspicuous area
Before using any removal method or product, test it on a small, hidden area of the surface to ensure it won’t cause damage or discoloration.
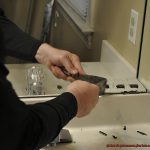
Scraping tools
Depending on the surface and thickness of the dried hot glue, you may need to use scraping tools. Plastic scrapers or credit cards work well for delicate surfaces, while metal spatulas or putty knives are more suitable for tougher materials. Be cautious not to scratch or damage the underlying surface while scraping.
Solvents and adhesive removers
There are various solvents and adhesive removers available that can help dissolve dried hot glue. Acetone, rubbing alcohol, nail polish remover, or commercial adhesive removers are common options. Apply a small amount of the chosen solvent onto a clean cloth or cotton ball and gently rub it over the glue until it begins to soften and come off.
Soaking and dampening
For larger areas or stubborn dried hot glue, soaking the affected part in warm soapy water or a mixture of vinegar and water can help loosen the adhesive. Allow the glue to soak for a few minutes, then gently scrape or wipe it away using a soft cloth or sponge.
Patience and persistence
Removing dried hot glue can be a time-consuming process, especially if it has adhered firmly to the surface. Stay patient and persistent throughout the removal process, repeating the chosen method as necessary. Avoid rushing or using excessive force, as this can cause damage to the surface.
YnmcP_DRbTo” >
Also Read: How do you remove dried glue from rubber?
Conclusion
Removing dried hot glue can be a frustrating task, but with the right techniques and a little patience, it can be done.
One method is to use heat to soften the glue. You can do this by using a hairdryer on its highest setting and directing the hot air onto the glue.
As the glue heats up, it will become more pliable and easier to remove. Another option is to use rubbing alcohol or acetone.
Simply soak a cotton ball or cloth in either of these substances and gently rub it over the dried glue until it starts to dissolve. It may take some time and effort, but eventually, the glue should come off.
Be careful not to damage the surface underneath though.