We’ve all been there – staring at that annoying dried glue clinging stubbornly to our once flawless painted walls. It’s enough to make you want to tear your hair out. Whether it’s a DIY project gone wrong or remnants of a previous adhesive mishap, dealing with dried glue on painted walls can be a real headache. But fret not. Armed with the right knowledge and a gentle touch, you can restore your walls’ pristine beauty without causing any harm.
In this ultimate guide, we’ll dive into the best methods for removing dried glue from painted walls. From foolproof techniques to expert advice, we’ll equip you with everything you need to tackle this sticky situation head-on. So grab your cleaning gear and let’s get down to business.
Tip 1: Identify the Glue Type:
Contents
- 0.1 Tip 1: Identify the Glue Type:
- 0.2 Tip 2: Test, Test, Test:
- 0.3 Tip 3: Handle with Care:
- 0.4 Tip 4: Power of Solvents:
- 1 Identifying the Type of Glue
- 2 Removing White School Glue or Craft Glue
- 3 Removing Super Glue or Cyanoacrylate Adhesive
- 4 Removing Construction Adhesive and Epoxy Resin
- 5 Testing Cleaning Solutions on an Inconspicuous Area
- 6 Follow Manufacturer’s Instructions for Cleaning Products and Solvents
- 7 Scraping, Soaking, and Scrubbing Techniques to Remove Glue
- 8 Prevention Tips to Avoid Dried Glue Stains on Walls
- 9 Conclusion
Before diving into any removal technique, it’s crucial to figure out what kind of glue you’re up against. Water-based glues like school glue may call for a different approach than solvent-based adhesives. Identifying the glue’s composition will ensure that you choose the most effective method, guaranteeing successful removal without any unintended consequences.
Tip 2: Test, Test, Test:
To avoid any unfortunate surprises, always test your chosen solution or method on an inconspicuous area of the wall before proceeding. This simple step can save you from potential disasters like paint discoloration or peeling.
Tip 3: Handle with Care:

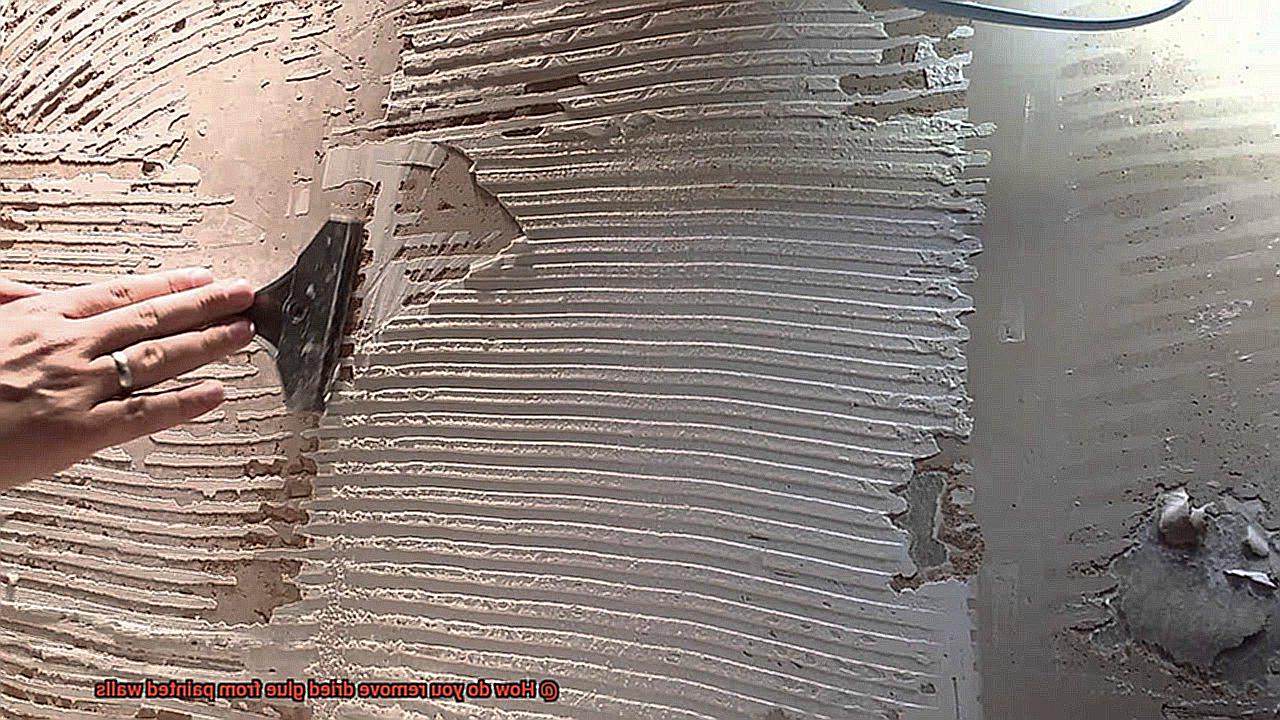
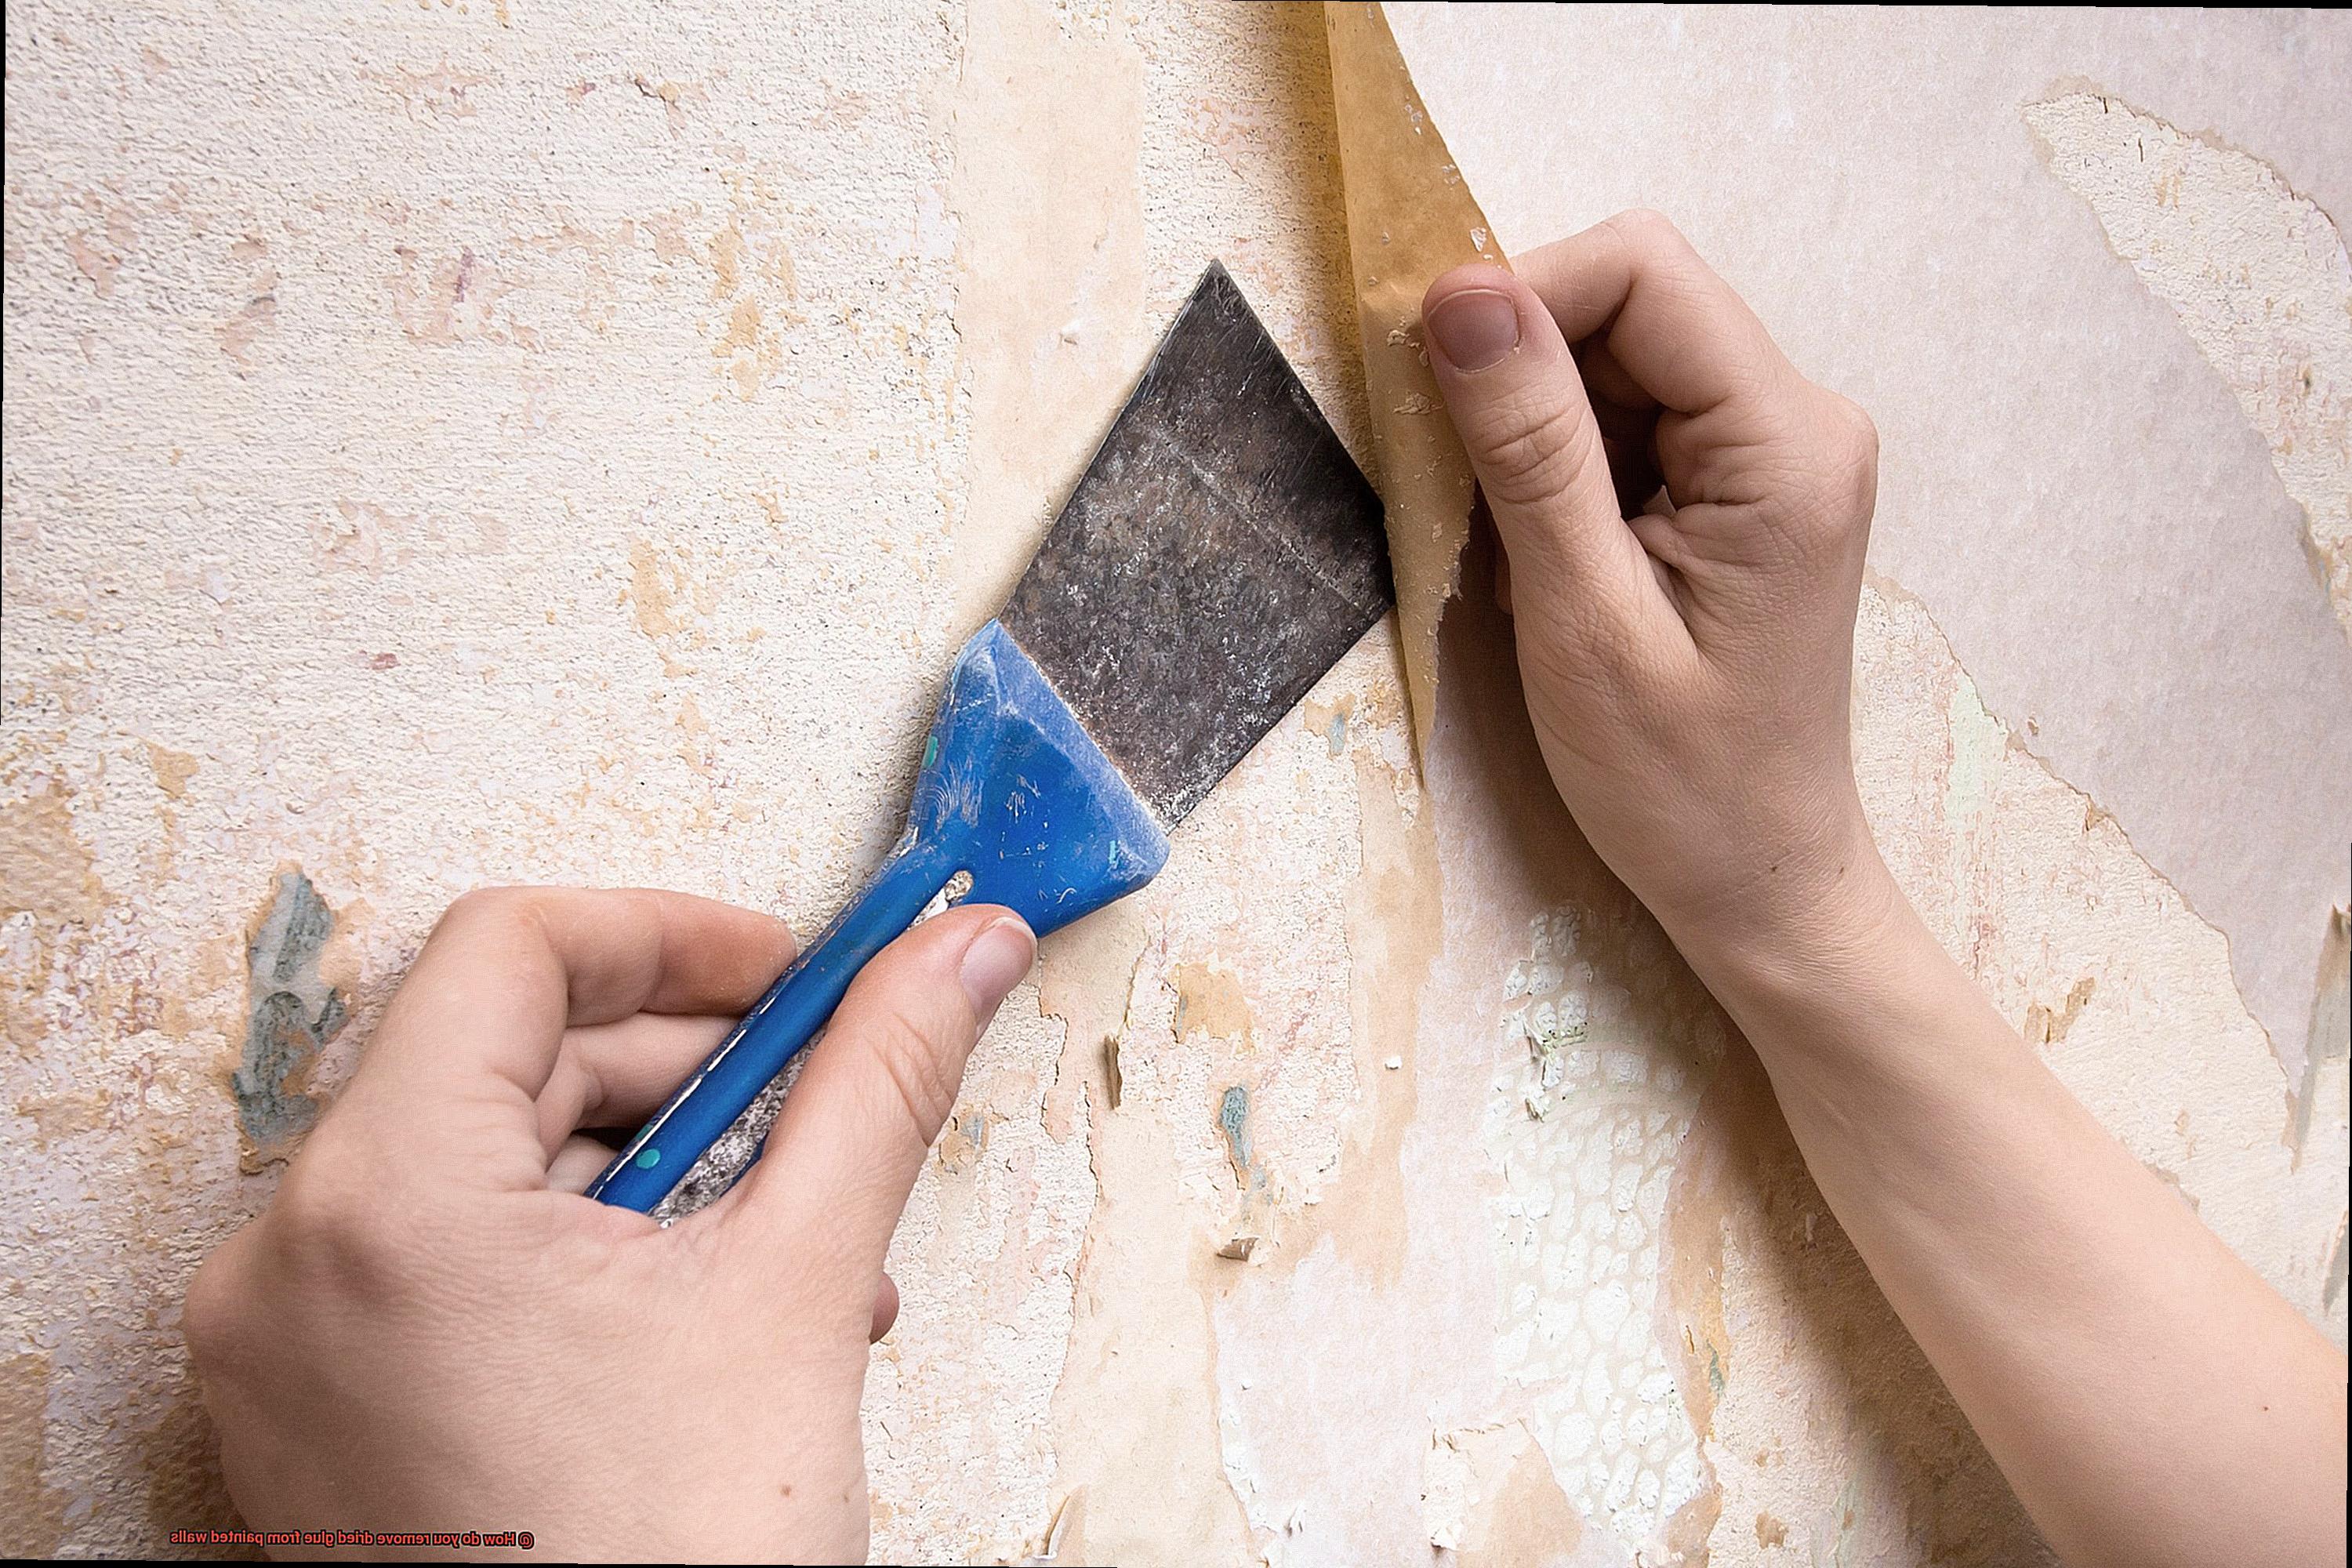
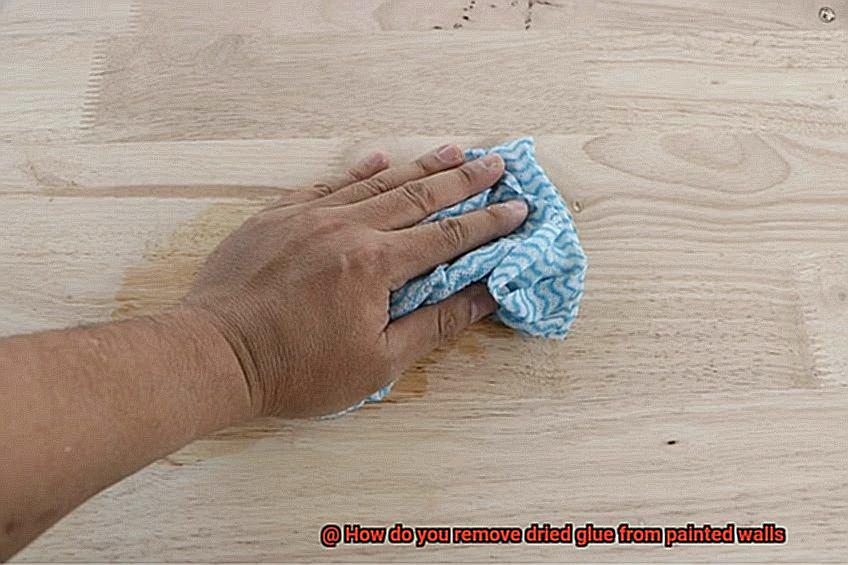
For most dried glue situations, it’s best to start with gentle removal methods. Begin by using a plastic scraper or even a trusty credit card to delicately scrape off as much dried glue as possible without damaging the paint surface. Another trick is placing a damp cloth over the glue and letting it soak for a few minutes to soften the adhesive before gently scraping it away.
Tip 4: Power of Solvents:
When dealing with stubborn dried glue, solvents can be your secret weapon.
Products like rubbing alcohol, non-acetone nail polish remover, or commercial adhesive removers work wonders in breaking down the adhesive and making it easier to remove from painted walls.
Just remember to apply the solvent onto a soft, lint-free cloth and gently rub the affected area, avoiding excessive pressure that could harm the paint underneath.
Identifying the Type of Glue
Imagine walking into a room and being greeted by unsightly dried glue marring your beautifully painted walls. But fear not. With the right knowledge and a dash of creativity, you can restore your walls to their former glory. In this comprehensive guide, we’ll unveil the secrets of identifying different types of glue and provide you with step-by-step instructions for safe and effective removal.
Identifying the Type of Glue:
The first step in this epic battle against glue is identifying the enemy. Let’s explore some common glues you may encounter in your quest for pristine walls:
White School Glue or Craft Glue:
Behold, the white, water-based glues. If you spot these culprits on your walls, chances are they are either white school glue or craft glue. Fortunately, they are relatively easy to defeat. Drown the dried glue with warm water, then arm yourself with a gentle sponge or cloth to scrub it away. Be a hero and avoid using harsh chemicals or abrasive tools that can harm your paint.
Adhesive Tape or Sticky Tack:
Do not underestimate their stickiness. Adhesive tape and sticky tack leave behind a residue that can be quite stubborn. Prepare for battle by unleashing the power of a hairdryer to soften the glue. Once weakened, delicately peel it off like a master spy. Should any residue remain, call upon the mighty rubbing alcohol or a mild adhesive remover to vanquish it.
Construction Adhesive or Epoxy Glue:
Prepare yourself for a more formidable opponent: construction adhesive and epoxy glue. These heavy-duty glues require specialized weapons in the form of adhesive removers or solvents. Follow their instructions diligently, but do not forget to test them in a discreet area before unleashing their power on the entire battlefield.
The Removal Process:
Now that you have identified the type of glue, it’s time to prepare for the ultimate showdown. Follow these general steps to emerge victorious:
- Prepare the Arena: Shield the surrounding surfaces by draping them with a drop cloth or plastic sheeting, for this battle may get messy.
- Test Your Arsenal: Before applying any solution or remover, test it on an inconspicuous area of the wall to ensure it does not cause damage or discoloration. Stay vigilant.
- Scrape Off Excess Glue: Equip yourself with a plastic putty knife or credit card and gently scrape off as much dried glue as possible without harming the paint.
- Engage the Removal Method: Adapt your strategy based on the type of glue you face, utilizing the specific removal methods mentioned earlier in this guide.
- Rinse and Clean: The battle is won, but the aftermath remains. Rinse the area with warm water and a mild detergent, then wipe away any lingering residue with a soft cloth or sponge.
Removing White School Glue or Craft Glue
Removing white school glue or craft glue from painted walls can be a daunting task, but with the right approach, it is possible to restore your walls to their former glory. Here’s a step-by-step guide to help you tackle this sticky situation.
Step 1: Gather your supplies
Before you begin, gather the necessary supplies. You’ll need a bucket or bowl, warm water, a small amount of dish soap, a clean sponge or cloth, a plastic scraper or an old credit card, and a clean towel or cloth.
Step 2: Create a soapy solution
Mix warm water with a small amount of dish soap in the bucket or bowl. This simple but effective solution will be your secret weapon against the dried glue.
Step 3: Prepare the sponge or cloth
Dip the sponge or cloth into the soapy water mixture. Ensure that it is thoroughly soaked but not dripping wet. Excess water can damage the paint, so exercise caution.
Step 4: Gently scrub the glue
Using gentle pressure, scrub the dried glue on the wall with the soapy sponge or cloth. Allow the soapy water to work its magic on the stubborn adhesive. Avoid applying excessive force to prevent paint damage.
Step 5: Employ the plastic scraper
If the glue proves resistant, bring out the plastic scraper or an old credit card. Use this tool to gently scrape off the dried glue from the wall. Exercise caution to avoid scratching or damaging the paint surface.
Step 6: Rinse away residue
Once the glue has been successfully removed, rinse the area with clean water to eliminate any soap residue. This step ensures a clean and adhesive-free surface.
Step 7: Dry it up
Finally, pat the wall dry with a clean towel or cloth. Ensure that it is completely dry before admiring your glue-free walls.
Removing Super Glue or Cyanoacrylate Adhesive
Removing Super Glue or Cyanoacrylate adhesive from painted walls can be quite the challenge, but fear not, with the right techniques, it can be conquered.
Let’s dive into the methods that will help you bid farewell to that stubborn glue.
Method 1: Acetone – The Super Solvent
Acetone is a powerful solvent that can break down the adhesive properties of Super Glue. Here’s what you do: dampen a clean cloth or sponge with acetone. Gently dab the cloth onto the dried glue, being careful not to scrub too hard and damage the paint.
Let the acetone sit on the glue for a few minutes to soften it before gently wiping it away. Remember to test a small, inconspicuous area of the wall first to ensure that the acetone doesn’t damage or discolor the paint.
Method 2: Warm Water and Dish Soap – A Gentle Touch
If you prefer a less harsh method, warm water and dish soap can also do the trick. Mix warm water with a few drops of mild dish soap in a bowl. Dampen a clean cloth or sponge with the soapy water and gently dab it onto the dried glue.
Allow the soapy water to sit on the glue for a few minutes to soften it before gently wiping it away. For more stubborn glue stains, you can use a plastic scraper or an old credit card to carefully scrape off the softened glue. Be cautious not to scratch or damage the paint.
Method 3: Commercial Adhesive Removers – The Heavy Hitters
If neither acetone nor soapy water proves effective, don’t throw in the towel just yet. You can try using commercial adhesive removers specifically designed for Cyanoacrylate adhesives.
These gems can be found at hardware or home improvement stores and should be used according to the manufacturer’s instructions. Just remember to use proper ventilation and protective gloves when handling these removers, as they may contain harsh chemicals.
Once you’ve successfully bid adieu to the dried Super Glue, it’s time for a little cleanup. Grab some mild dish soap and water and give the area a good scrub to remove any residue left behind by the adhesive remover. And don’t forget, if the glue removal process caused any damage or removed paint, touch up those areas with a matching color. You can consult a professional or use a paint chip sample to find the closest match.
Removing Construction Adhesive and Epoxy Resin
Picture this: a beautifully painted wall marred by stubborn construction adhesive or epoxy resin. You’re left wondering how to remove it without causing any damage. Fear not, my friend. In this guide, we’ll explore tried-and-true methods to bid farewell to that sticky mess and restore your walls to their former glory.
Heat it up.
One of the most effective approaches is using heat. Grab a heat gun or hairdryer, directing hot air onto small sections of the adhesive. As it softens, gently scrape it off with a putty knife or scraper. Patience is key here; rushing risks damaging the paint or drywall.
Solvents to the rescue.
For stubborn residues, bring out the big guns – solvents. Choose one safe for painted surfaces and test it on an inconspicuous area first. Apply directly to the adhesive, allowing it to penetrate. Then, use a soft cloth or sponge, rubbing the area in circular motions to lift off the adhesive. Rinse with clean water and pat dry.
Suds and scrub.
A gentler approach involves warm water and dish soap. Create a mixture and dip a sponge or cloth into it. Scrub the adhesive in circular motions, letting the soap break it down for easier removal. Rinse with clean water afterward to eliminate any soap residue.
Commercial adhesive removers – when all else fails
Sometimes, you need a heavy hitter. Look for adhesive removers designed for construction adhesive and epoxy resin. Follow instructions carefully, as each product may have specific guidelines. Apply the remover, let it sit, and gently lift off softened adhesive with a scraper. Thoroughly rinse afterward.
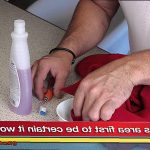
Testing Cleaning Solutions on an Inconspicuous Area
When it comes to removing dried glue from painted walls, it’s essential to take the time to test cleaning solutions on an inconspicuous area. Skipping this step can lead to disastrous outcomes, such as faded patches of paint or even worse, a discolored and damaged wall. To avoid these potential consequences, it is crucial to understand how different types of paint and surfaces react to cleaning solutions before applying them to a larger area.
To begin the testing process, choose a spot on the wall that won’t be easily noticeable, such as behind a piece of furniture or in a corner. Before applying any cleaning solution, make sure to clean the area with mild soap and water to remove any dirt or dust that could interfere with the testing process.
Next, take a small amount of the chosen cleaning solution and apply it to a clean cloth or sponge. Remember, it is important to avoid applying the solution directly onto the wall to prevent damage or discoloration. Gently rub the cleaning solution onto the test area using circular motions and observe any changes in paint color or surface texture.
After a few minutes, rinse the test area with clean water and pat it dry with a cloth. Take a close look at the test area for any signs of damage or adverse reactions to the cleaning solution. If there are no visible effects, it indicates that the cleaning solution is safe to use on the rest of the painted wall.
However, if there are any negative effects, it’s best to try another cleaning solution or seek professional assistance. Different types of paint and surfaces may require different cleaning methods and solutions, so it’s always a good idea to consult the manufacturer’s instructions or seek advice from professionals.
Follow Manufacturer’s Instructions for Cleaning Products and Solvents
When it comes to the battle against stubborn dried glue stains on your painted walls, heed the call to follow the manufacturer’s instructions for cleaning products and solvents. Your walls will thank you, and here’s why:
- Different glues, different methods: Glues are as diverse as the colors of a rainbow, each demanding specific cleaning methods and products. By consulting the manufacturer’s instructions, you ensure that you’re armed with the right solution for the precise type of glue you’re up against.
- Protect your paint: Using the wrong cleaning product or solvent can potentially unleash chaos upon your once-pristine walls. Manufacturers provide guidelines on which products are safe to use, shielding your paint from any unsightly mishaps.
- Consider your paint type: Not all cleaning products are created equal when it comes to different types of paint. Manufacturers recommend specific solutions based on the paint on your walls, preserving their pristine appearance. So, take heed of those instructions and keep your walls looking like works of art.
Now let’s delve into some common cleaning products and solvents that manufacturers often endorse for vanquishing dried glue from painted walls:
- Mild soap and water: This gentle option dances gracefully with most glues, leaving your paint unscathed.
- Vinegar solution: A concoction of equal parts vinegar and water can wield its power against certain types of glue, erasing their presence.
- Rubbing alcohol: This mighty solvent stands tall against tougher adhesive residues, ensuring they don’t stand a chance.
Remember to always follow the step-by-step instructions provided by the manufacturer. They will be your guiding light in using these cleaning products and solvents safely and effectively.
To ensure your safety during this crusade, keep these precautions in mind:
- Don gloves to shield your hands from any harm.
- Allow fresh air to flow freely through the room where you’re working, ensuring proper ventilation.
- Avoid any direct contact between your skin or eyes and chemical-based cleaning solutions, for they are formidable adversaries.
If specific instructions are absent, embark on your mission with gentle cleaning methods and gradually intensify the strength of the solution if necessary. And never hesitate to reach out to the manufacturer directly if you have any doubts or questions clouding your path.
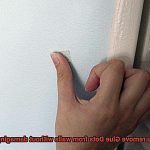
Scraping, Soaking, and Scrubbing Techniques to Remove Glue
Dealing with stubborn glue stains on your painted walls can be a frustrating and time-consuming task. But fear not, as there are effective techniques to help you remove that pesky glue without damaging your beautiful paint job. Let’s dive right in and explore the scraping, soaking, and scrubbing methods that will save the day.
First up is scraping. This technique involves using a scraper or putty knife to gently scrape off the dried glue. Before you start scraping, it’s crucial to test a small area to ensure the paint doesn’t chip or peel off. Once confirmed, hold the scraper at a slight angle and apply gentle pressure. Start at one edge of the glue and work your way towards the center with short, controlled strokes. Take your time and be patient to avoid accidental damage.
Next is soaking. This technique works wonders for larger areas or stubborn glue stains. Grab a clean cloth or sponge and prepare a soaking solution using warm water with mild dish soap or a mixture of equal parts water and vinegar. Dampen the cloth or sponge with the solution and gently press it against the dried glue. Allow it to soak for a few minutes to soften the glue. Then, use the cloth or sponge to wipe away the softened glue. Repeat until all glue is gone.
If scraping and soaking didn’t do the trick, it’s time for some scrubbing action. But be cautious. You don’t want to damage your paint. Grab a soft-bristled brush or nylon scrub pad and dampen it with warm water. Gently scrub the dried glue in a circular motion, applying minimal pressure. If needed, add a small amount of mild dish soap to help loosen the glue. Keep scrubbing until the glue is completely removed.
Remember these safety precautions for a successful glue removal process: test techniques on a small, inconspicuous area first, work slowly and patiently, follow manufacturer instructions for cleaning products and solvents, and protect yourself by wearing gloves and working in a well-ventilated area.
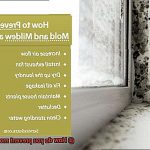
Prevention Tips to Avoid Dried Glue Stains on Walls
Prevention is key when it comes to avoiding dried glue stains on your walls. Glue stains can be unsightly and challenging to remove, making it essential to take proactive measures to keep your walls clean and free from adhesive marks. By following these prevention tips, you can ensure that your walls remain sparkling clean and avoid the hassle of dealing with stubborn glue stains.
Be Mindful of Where You Use Glue:
One of the simplest ways to prevent glue stains on walls is to be mindful of where you use glue. Try to avoid using glue near painted walls whenever possible. Opt for a separate surface like a table or workbench instead. By doing so, you minimize the risk of accidental spills or drips that can lead to dried glue stains on your walls.
Use Protective Coverings:
If you must use glue near walls, consider protecting them with plastic sheets or drop cloths. These coverings serve as a barrier between the glue and your walls, catching any drips or spills. They are especially useful during crafting projects or activities involving children, where accidental spills are more likely to occur. Protective coverings save you from the headache of having to remove dried glue stains later.
Have a Damp Cloth Handy:
Always keep a damp cloth or sponge nearby when working with glue. This simple step can make a significant difference in preventing dried glue stains on your walls. As soon as you notice any excess glue on the wall, gently wipe it away with the damp cloth or sponge before it dries. Taking immediate action ensures that the glue doesn’t have a chance to adhere to the wall’s surface and become stubborn to remove.
Follow Instructions:
Different glues may have specific recommendations for preventing stains on walls. It is crucial to read and follow the instructions on the glue packaging carefully. These instructions may include tips on how to avoid unwanted stains, such as applying the glue evenly or using a specific technique. By adhering to the instructions, you can minimize the risk of ending up with dried glue stains on your walls.
Explore Alternatives:
Consider using alternative adhesive options whenever possible. Removable adhesive strips or hooks are great alternatives for hanging lightweight decorations without the risk of leaving dried glue stains on your walls. These alternatives allow you to enjoy the flexibility of decorating your walls without worrying about the aftermath of removing glued items. Exploring alternatives can save you time and effort in both application and cleanup.
0yUQD_QY11Y” >
Conclusion
Removing dried glue from painted walls is no easy feat, but fear not. With some clever techniques and a sprinkle of patience, you can effortlessly restore your walls to their former glory. There are a handful of methods you can experiment with, depending on the type of glue and the wall’s surface. Let’s dive in.
First things first, gently scrape off as much of the dried glue as possible using a plastic scraper or an old credit card. Take care not to unleash your inner Hulk and damage the paint job while at it. Now, grab a clean cloth and apply a smidgen of rubbing alcohol or nail polish remover. Dab away at the remaining glue residue with gentle strokes.