Whether you’re a DIY pro or just had a little sticky situation with your ceramic tiles, tackling dried glue can feel like a never-ending battle. But fear not, my friends, because I’m about to spill the beans on how to effortlessly banish that stubborn adhesive from your precious tiles.
We all know the frustration of having ugly remnants of goo ruining the flawless look of our surfaces. But don’t fret; I’ve got your back with some tried-and-true methods that’ll have those tiles looking brand spanking new.
So grab your cleaning gear and get ready to bid farewell to that pesky dried glue once and for all.
Common Methods for Removing Dried Glue from Ceramic Tile
Contents
- 1 Common Methods for Removing Dried Glue from Ceramic Tile
- 2 Scraping Off the Glue with a Razor Blade or Scraper
- 3 Softening the Glue with Heat
- 4 Using Solvents or Adhesive Removers
- 5 Making a Homemade Cleaning Solution
- 6 Specialized Solutions for Epoxy and Super Glue
- 7 Testing Products in an Inconspicuous Area of the Tile
- 8 Applying and Removing Solutions Carefully
- 9 Conclusion
The unsightly sight of dried glue on your beautiful ceramic tile can be a frustrating dilemma. But fear not. We have a treasure trove of tried and tested methods to help you remove that stubborn glue and restore your tile’s pristine look. Let’s dive in.
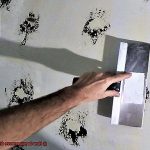
The Gentle Approach: Scraping
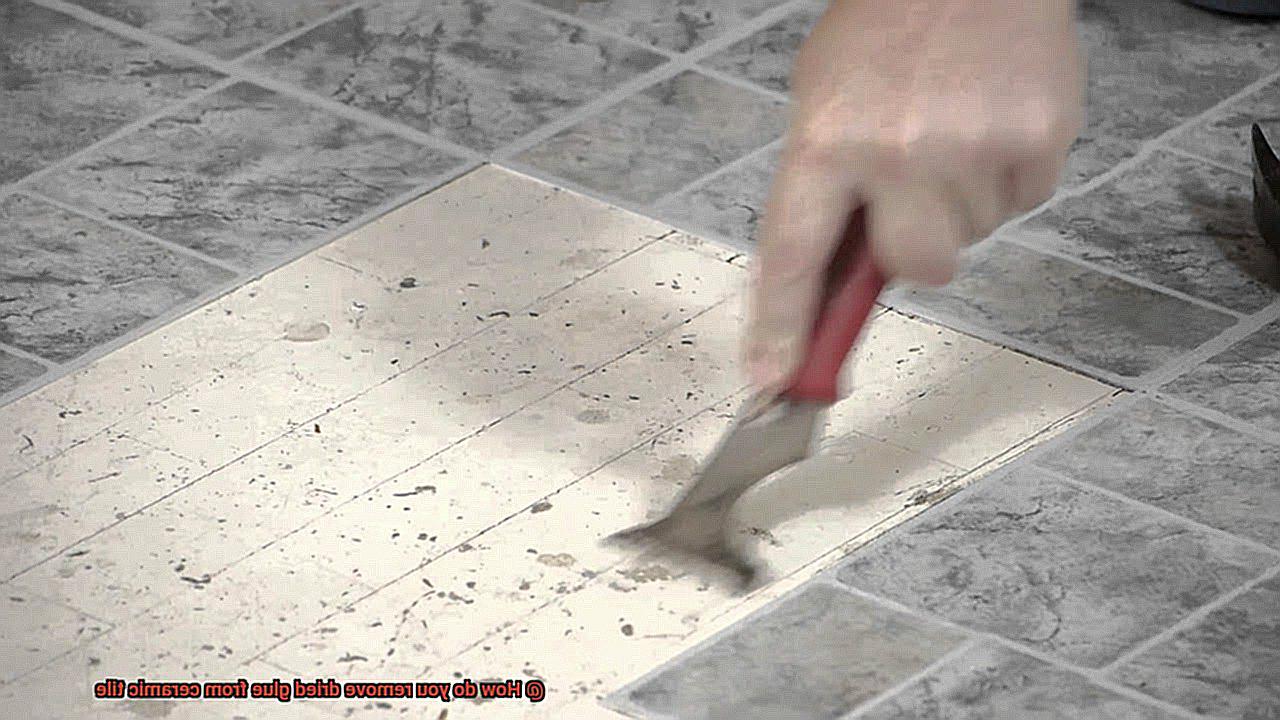
When dealing with small areas or thin layers of glue, a razor blade or scraper can be your trusty companion. Gently scrape off the dried glue, ensuring you hold the blade at a shallow angle to avoid scratching the tile surface. Take your time and exercise caution for optimal results.
Heat It Up: Softening with Heat
If scraping fails to do the trick, it’s time to bring out the big guns and soften the glue with heat. Grab your trusty hairdryer or heat gun and direct its warmth at the dried glue for a few minutes. Once softened, grab your scraper and gently remove the glue. Remember, moderation is key to avoid damaging surrounding materials or your precious tile.
Solvent Power: Adhesive Removers
For tougher glues that refuse to budge, specialized adhesive removers or solvents come to the rescue. These magic potions can be found at hardware stores or home improvement centers. Carefully follow the instructions and test them on a small area before applying them to the entire affected zone. Witness their wonders as they break down the glue and make it easier to remove.
Acetone for Stubborn Glues
Epoxy or super glue can be particularly pesky, but fret not. Acetone is here to save the day. Caution is crucial when handling this potent chemical – work in a well-ventilated area and don protective gloves. Apply a small amount of acetone onto a cloth or sponge, gently rub it on the dried glue until it softens, then wipe it away like a magician erasing a trick.
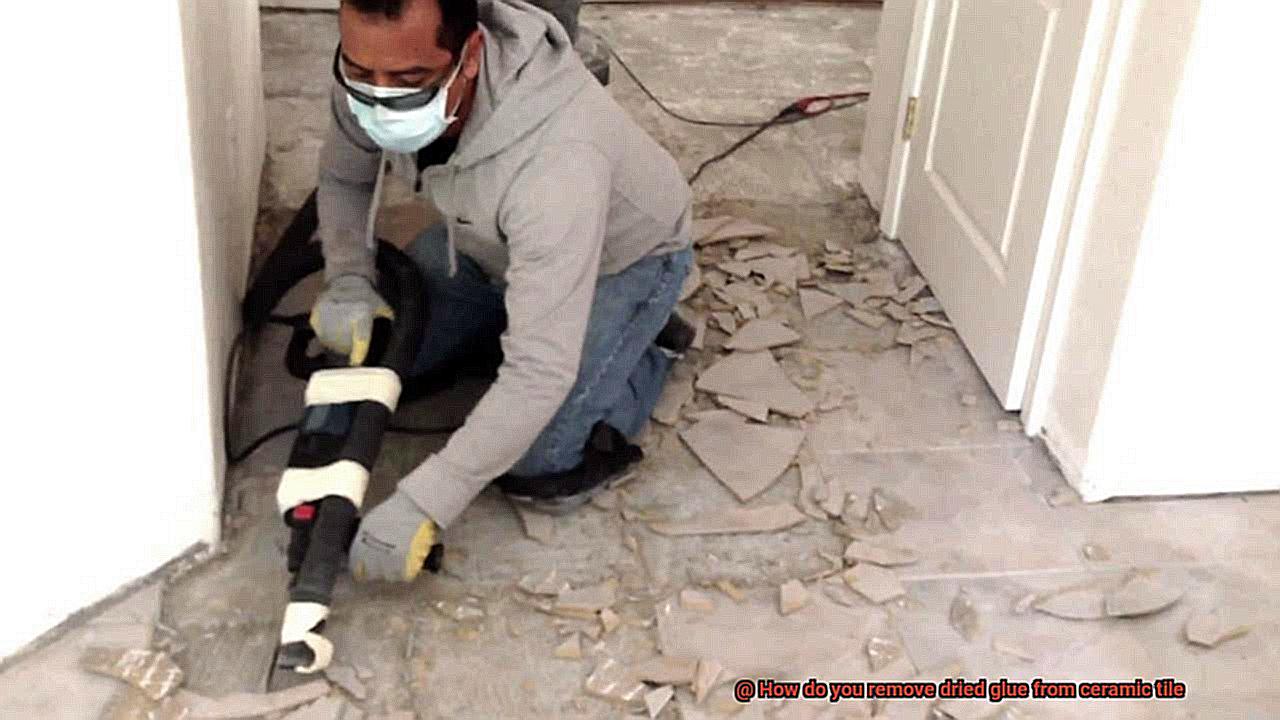
Last Resort: Sanding
When all else fails, the gentle art of sanding may be necessary. Armed with fine-grit sandpaper, embark on a careful journey to remove the dried glue, being mindful to avoid any damage to the tile surface. Once the glue is banished, embark on a thorough cleaning mission to ensure no residue remains.
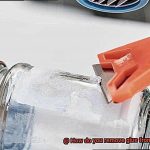
Scraping Off the Glue with a Razor Blade or Scraper
Scraping off the glue with a razor blade or scraper is an effective method for removing dried glue from ceramic tiles. With the right tools and technique, you can restore your tiles to their pristine beauty.
Before you begin, gather the necessary tools. You’ll need a sharp razor blade or scraper suitable for ceramic surfaces. A dull blade won’t do the trick, so make sure it’s in good condition. Have a clean cloth or paper towels nearby to wipe away any loose glue particles.
Hold the razor blade or scraper at an angle of approximately 45 degrees. This angle allows for efficient scraping without damaging the tile surface. Remember, gentle pressure is key to avoid scratches.
Gently slide the blade across the dried glue in one direction, rather than back and forth. This prevents slips that could damage the tile. As you scrape, you’ll notice the glue loosening and coming off in small pieces. Wipe away these remnants with a cloth or paper towels regularly to assess your progress.
If you encounter stubborn areas, slightly increase the angle of the blade or apply a bit more pressure. However, be cautious not to press too hard as this can lead to tile damage.
Sometimes, removing dried glue requires multiple attempts. If traces of glue remain after scraping, repeat the process until the surface is clean. Patience and persistence are key.
To ensure success and avoid any mishaps, it’s important to take precautions. Test on a small inconspicuous area first, as some delicate or highly polished tiles may be more vulnerable to scratching. Avoid using excessive force to prevent tile damage. Keep your fingers away from the blade to avoid any accidents.
Softening the Glue with Heat
Step 1: Gather Your Supplies
Before embarking on your glue-removing mission, make sure you have all the necessary supplies at hand. Grab a hairdryer or heat gun, a trusty plastic scraper or credit card, and some warm soapy water for cleaning.
Step 2: Test on a Small Area
To avoid any potential damage, it’s crucial to test the heat method on a small, inconspicuous area of the ceramic tile first. This step will help you determine if there are any adverse effects on the tile’s surface.
Step 3: Apply Heat with a Hairdryer
If you’ve opted for the hairdryer method, plug it in and crank up the heat to its maximum setting. Direct the scorching hot air towards the dried glue, gently moving the hairdryer back and forth. Watch in amazement as the heat gradually softens the glue, making it easier to remove.
Step 4: Scrape Off the Softened Glue
Once the glue has reached its melting point, take your trusty plastic scraper or credit card and delicately scrape off the softened goo. Exercise caution to avoid scratching or damaging the delicate tile surface.
Step 5: Intensify with a Heat Gun (Optional)
If your glue proves to be more stubborn than expected, it’s time to bring out the big guns—literally. The heat gun comes into play, but be warned: it’s a fiery beast. Keep it moving and at a safe distance from the tile to prevent any unwanted damage or discoloration.
Step 6: Repeat if Necessary
In some cases, you may find that the glue requires multiple rounds of heating to fully soften and remove. Patience is key. Don’t give up until every last trace of glue is eradicated.
Step 7: Clean the Tile
After triumphantly removing the glue, take a moment to bask in your victory. But don’t forget the final step. Give the ceramic tile a thorough clean with warm soapy water, ensuring that no sticky residue remains. This will restore the tile’s pristine appearance and leave it ready to shine.
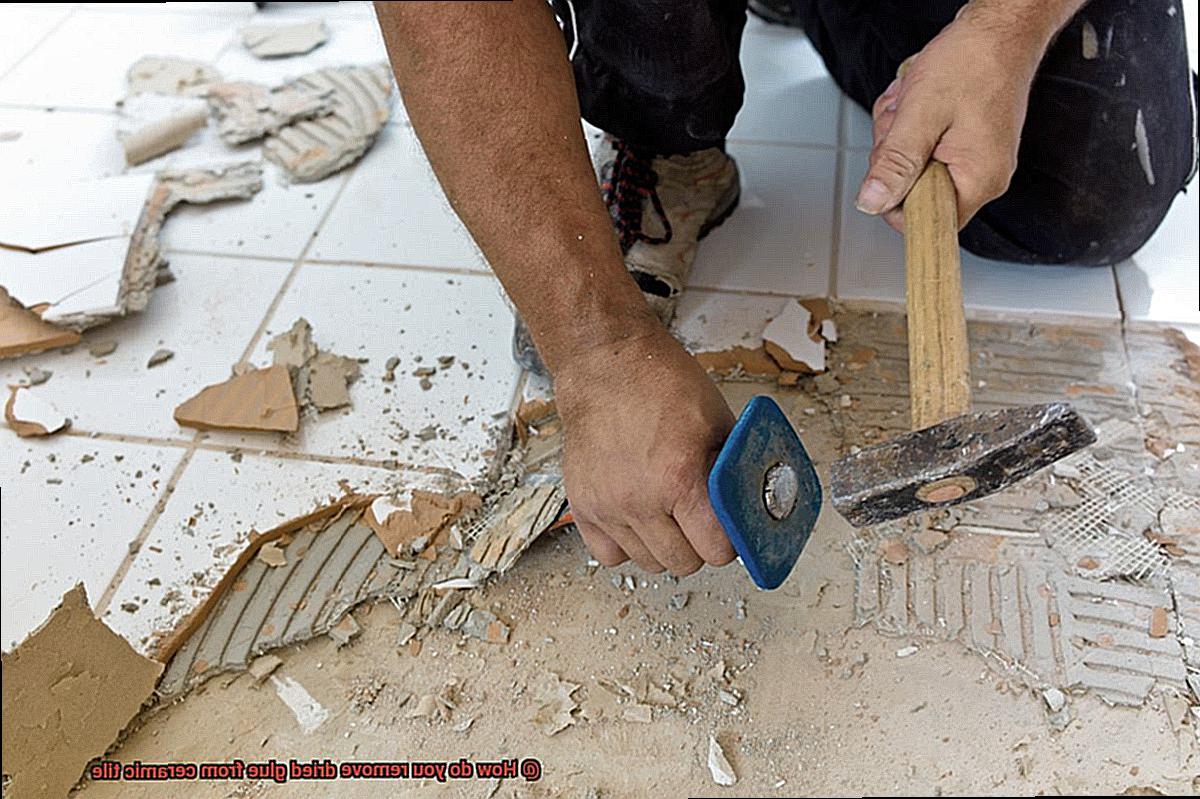
Using Solvents or Adhesive Removers
Solvents and adhesive removers are powerful tools that can make your cleaning woes disappear like magic. Whether you’re dealing with dried glue on your ceramic tile or stubborn adhesive residue, these solutions are here to save the day.
First and foremost, let’s talk about solvents. These chemicals are like superheroes in the cleaning world, capable of dissolving or breaking down glue with ease. One popular solvent is acetone, which can be found in nail polish remover or purchased separately. However, before you dive into action, it’s crucial to test the solvent on a small, inconspicuous area of the tile to ensure it won’t cause any damage or discoloration.
Once you have your trusty acetone in hand, it’s time to bring out the big guns. Apply a small amount of acetone to a clean cloth or cotton ball and gently rub it onto the dried glue. Let it sit for a few minutes, allowing the solvent to penetrate the stubborn substance. It’s like watching a superhero battle unfold right before your eyes.
Now comes the satisfying part – grab a plastic scraper or a soft-bristle brush and start scraping away the softened glue. With each swipe, the once-sticky mess will surrender to your determination. Just be careful not to scratch or damage your precious ceramic tile in the process.
But what if the glue puts up more resistance than expected? Fear not. You can repeat this process as many times as necessary until every last bit of glue is banished from your tiles. And remember, acetone isn’t the only player in town. There are other solvents and adhesive removers available on the market, such as citrus-based solvents or mineral spirits. Just make sure to follow their specific instructions and precautions for optimal results.
Safety should always be a top priority when working with solvents or adhesive removers. Ensure you’re working in a well-ventilated area to avoid inhaling those strong fumes. Additionally, protect your skin by wearing gloves – after all, we don’t want any accidental glue-to-skin bonding incidents.
Once you’ve successfully removed the glue with solvents or adhesive removers, it’s important to give your tiles a good cleaning with soap and water to remove any residue. This final step will ensure that your ceramic tiles are not only glue-free but also gleaming with cleanliness.
Making a Homemade Cleaning Solution
Cleaning Solution for Dried Glue on Ceramic Tiles: A Homemade Approach
Are you tired of staring at that stubborn dried glue on your beautiful ceramic tiles? Fear not. I have some superhero-like solutions that will come to your rescue and banish that sticky residue for good. The best part? You can make these cleaning solutions right at home, saving you time and money.
Dynamic Duo: Warm Water and White Vinegar
Vinegar, with its acidic properties, can break down the glue and make it easier to remove. Mix equal parts warm water and vinegar in a spray bottle, give it a shake, and spray directly onto the dried glue. Allow the vinegar to work its magic for a few minutes. Then, grab a soft brush or sponge and gently scrub away the glue. Rinse with clean water and dry your tiles thoroughly.
Abrasive Solution: Baking Soda
Create a thick paste by mixing baking soda with water. Apply the paste directly to the dried glue and let it sit for about 15 minutes. Watch as the baking soda works its wonders. Grab your trusty brush or sponge and start scrubbing away. Rinse with clean water, and you’ll be amazed at how easily that glue comes off.
Milder Option: Dish Soap
Mix a few drops of dish soap with warm water in a bucket or bowl. Dip a sponge or cloth into the soapy water, wring out any excess liquid, and gently scrub away the dried glue on your ceramic tiles. Rinse with clean water and dry thoroughly. In no time, you’ll have clean, glue-free tiles.
The Big Guns: Rubbing Alcohol or Acetone
If you’re dealing with an enemy that just won’t budge, it’s time to bring out the big guns: rubbing alcohol or acetone. These solvents are powerful and can dissolve even the toughest glue. However, use them with caution as they can be harsh on certain types of tiles. Apply a small amount of rubbing alcohol or acetone onto a cloth or cotton ball and gently rub the dried glue until it starts to dissolve. Wipe away any residue with a clean cloth, rinse the area with water, and admire your victory.
Before using any of these homemade cleaning solutions, it’s always a good idea to test them on a small, inconspicuous area first to ensure they don’t cause any damage or discoloration. And remember, safety first. Wear protective gloves and work in a well-ventilated area when using solvents like rubbing alcohol or acetone.
Specialized Solutions for Epoxy and Super Glue
Imagine the frustration of working on a DIY project or repairing a ceramic tile, only to have epoxy or super glue accidentally end up on your beautiful tiles. Luckily, there are specialized solutions and techniques that can come to your rescue. In this blog post, we will explore effective methods for removing dried epoxy and super glue from ceramic tile without causing any damage.
The Mighty Acetone:
Acetone is one of the most powerful solvents for epoxy and super glue removal. Pure acetone is the best option, but be cautious of acetone-based nail polish removers as they may contain harmful ingredients. Apply a small amount of acetone to a clean cloth or cotton ball and gently rub the affected area in a circular motion. Repeat as necessary until the glue softens and dissolves.
Commercial Adhesive Removers:
If you prefer a ready-made solution, there are commercial adhesive removers specifically designed for epoxy and super glue. These products come in various forms like gels, pastes, or sprays. Follow the manufacturer’s instructions carefully, applying the remover to the glue and allowing it to sit before gently scraping off the softened residue.
Safety First:
When working with acetone or adhesive removers, prioritize safety. Wear protective gloves to avoid skin irritation and work in a well-ventilated area to prevent inhaling fumes.
Testing, Testing, 1-2-3:
Before applying any solution or adhesive remover to your entire tiled surface, test it on a small, inconspicuous area first. This ensures no damage or discoloration is caused by the solution.
Testing Products in an Inconspicuous Area of the Tile
Don’t panic. We have the solution for you. But before you grab any cleaning products, it’s crucial to test them in an inconspicuous area first. Trust us, this small step can save you from potential disaster.
So, why is testing in an inconspicuous area so important? Let’s break it down:
- Different glues, different reactions: Not all glues are created equal. Some may react well to certain cleaning solutions, while others may have adverse effects. By testing in a hidden spot, you can see how your specific glue and tile combo will respond to the product.
- Protect your masterpiece: Tiles are like works of art, and you wouldn’t want to ruin them with a product that damages or discolors the surface. Testing in an inconspicuous area ensures that you won’t accidentally cause any harm to your beloved tiles.
Now that we’ve convinced you of the importance of testing, let’s dive into the process:
- Gather your weapons: Grab a few products commonly recommended for removing dried glue from ceramic tiles. Think dish soap, vinegar, rubbing alcohol, or specialized adhesive removers.
- Choose your battleground: Select a small, hidden area of the tile to conduct your test. This could be a corner or an area covered by furniture or appliances – somewhere that won’t be noticeable if any damage occurs.
- Clean the area: Before applying any cleaning solution, give the area a good scrub with warm water and mild dish soap. This will remove any surface dirt or grime that could interfere with the results.
- Apply the product: Take a clean cloth or sponge and apply a small amount of your chosen cleaning solution to it. Gently rub it onto the dried glue in the inconspicuous area, avoiding excessive force or abrasive materials.
- Observe and evaluate: Let the product sit on the glue for a few minutes, as per the product instructions. Afterward, use a clean cloth or sponge to wipe away the solution and loosened glue. Take note of any changes in the tile’s appearance and check if the glue has been effectively removed.
- Proceed with caution: If the test goes well with no adverse effects, congratulations. You can confidently use the chosen product on the larger affected area. However, if there are any negative results like discoloration or damage to the tile surface, it’s time to consider alternative methods or seek professional help.
Applying and Removing Solutions Carefully
We’ve all experienced the frustration of dried glue on our beautiful ceramic tiles. But fear not. In this article, we will explore the importance of careful application and removal of solutions to safeguard your precious tiles and achieve a successful outcome.
Choosing the Right Solution:
Different glues require specific solvents or techniques for removal. To avoid damage, select the appropriate solution for your glue and tile type. Water-based glues can often be loosened with warm soapy water, while stronger adhesives like epoxy or superglue may require acetone or specialized adhesive removers. Research and identify the best solution for your specific situation.
Test, Test, Test:
Before diving in, test any solution on a small inconspicuous area of the tile. This step is vital when using solvent-based solutions due to potential adverse reactions with certain tile types. Testing prevents damage or discoloration and instills confidence in the removal process.
Applying the Solution:
Once you’ve chosen the right solution, apply it to the dried glue using a soft cloth, sponge, or cotton swab. Work in small sections, allowing the solution to penetrate and loosen the adhesive. Avoid excessive liquid saturation to protect grout lines from damage.
Patience is Key:
After application, exercise patience and allow the solution ample time to work its magic. Rushing into scraping or scrubbing prematurely leads to frustration and potential damage. Give the solution enough time to effectively break down the glue.
Gentle Removal:
Once the adhesive has sufficiently loosened, gently remove it from the ceramic tile. Exercise caution to avoid scratching or damaging the surface. Use a plastic scraper, soft-bristled brush, or non-abrasive sponge with minimal pressure in small, controlled motions. For stubborn areas, reapply the solution and repeat until all glue is removed.
Thoroughly Clean:
After successful removal, thoroughly clean the tile to eliminate any residue from the solution or adhesive. Rinse with clean water and wipe with a soft cloth to ensure a debris-free surface.
nEayQuWBs_w” >
Also Read: How to Remove Gorilla Glue from Tile?
Conclusion
Removing dried glue from ceramic tile can be a frustrating task, but with the right techniques and a little patience, you can restore your tiles to their former glory.
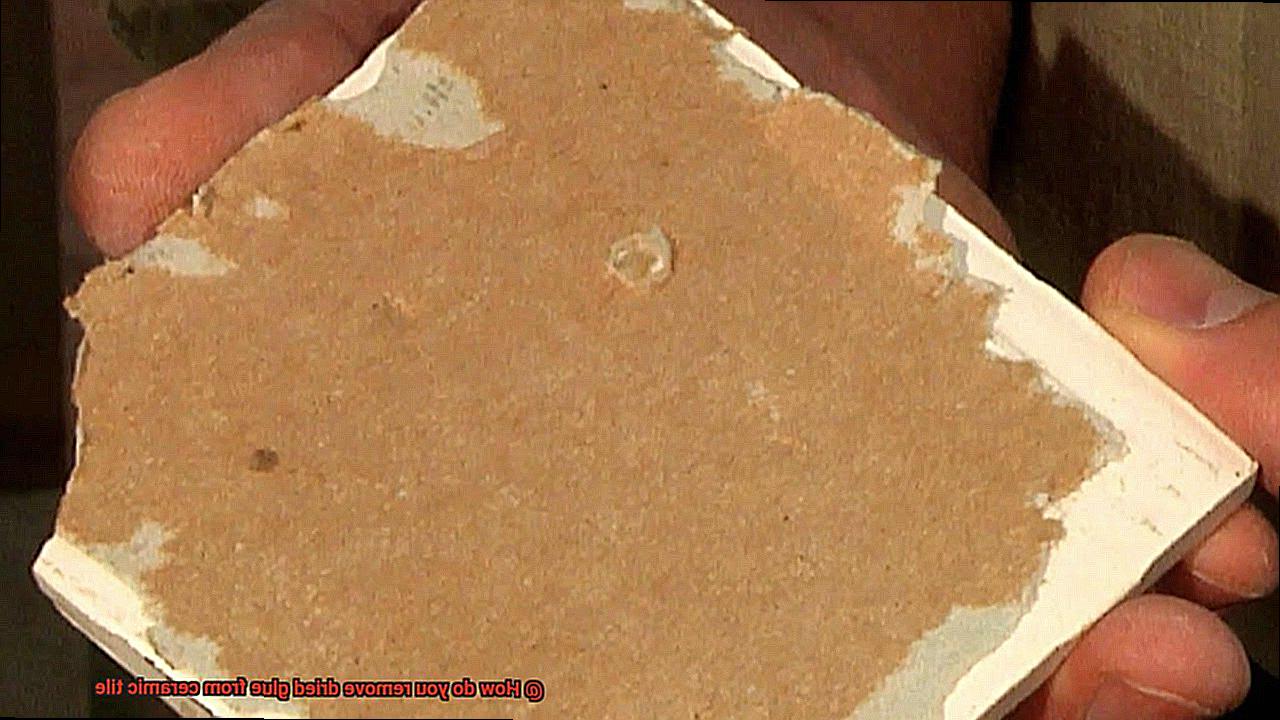
One effective method is to start by scraping off as much of the dried glue as possible using a plastic scraper or putty knife. Be careful not to scratch the tile surface while doing this.
Next, apply a generous amount of acetone or nail polish remover onto a clean cloth and gently rub it onto the remaining glue residue. The acetone will help dissolve the glue and make it easier to remove.
If the glue is particularly stubborn, you may need to repeat this step several times until all traces of glue are gone. Afterward, rinse the area with warm water and mild soap to remove any leftover residue.
Remember to always test any cleaning solution on a small, inconspicuous area of the tile before applying it to the entire surface to ensure that it does not cause any damage or discoloration.