Whether you’re a DIY wizard or just trying to recover from a home improvement disaster, we understand the frustration of those stubborn, dried-up glue stains. But fret not, my friend, because we’ve got your back.
In this post, we’ll unleash a treasure trove of effective methods and pro tips that will make removing that pesky glue as easy as pie. From unleashing the power of oil-based solvents to wielding heat guns like a boss, we’ve got all the tricks up our sleeves.
Buckle up, folks, because it’s time to dive into the world of dried floor glue removal.
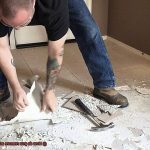
Scraping it Off: An Overview of the Process
Contents
- 1 Scraping it Off: An Overview of the Process
- 2 Using Heat to Soften and Loosen Dried Floor Glue
- 3 Adhesive Removers: How to Use Them Safely
- 4 Natural Solutions for Removing Dried Floor Glue
- 5 Professional Help: When Is It Necessary?
- 6 Tips for Removing Dried Floor Glue without Damaging Your Floors
- 7 Understanding Different Types of Glues and Flooring Materials
- 8 The Benefits of Removing Dried Floor Glue Quickly and Effectively
- 9 Conclusion
Bid farewell to the stubborn dried floor glue. With the right methods and tools, you can conquer this seemingly Herculean task. Whether your flooring is made of concrete, wood, tile, or laminate, fear not. This article will be your guiding light through the dark abyss of scraping off dried floor glue.
Prepare the surface:
Before we embark on this adventure, let’s ensure our battleground is clean and free of debris. Sweep away loose dirt or particles that might stand in our way. Vacuum if necessary, leaving no room for hindrance.
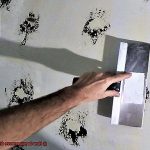
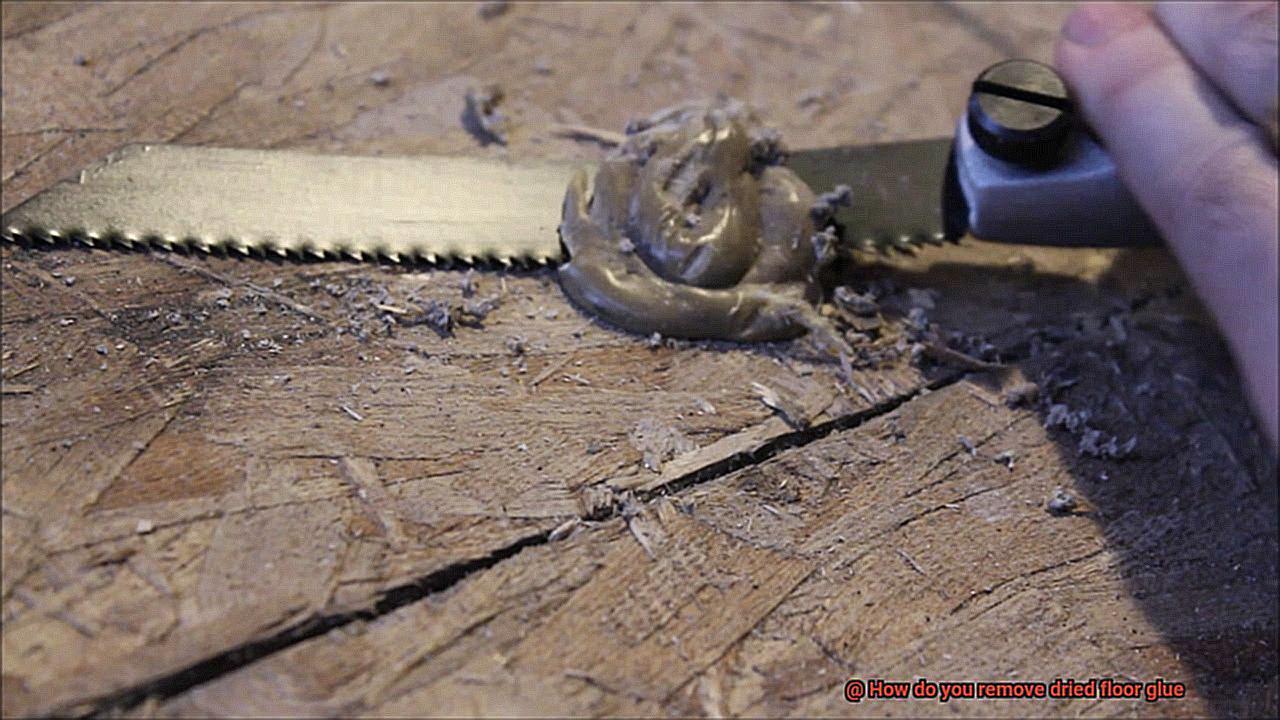
Choose the right scraper:
Ah, the mighty scraper. Our trusty sidekick in this battle against dried floor glue. The choice of scraper depends on the surface and type of glue we face. For those resilient surfaces like concrete or tile, a plastic scraper or putty knife shall serve us well.
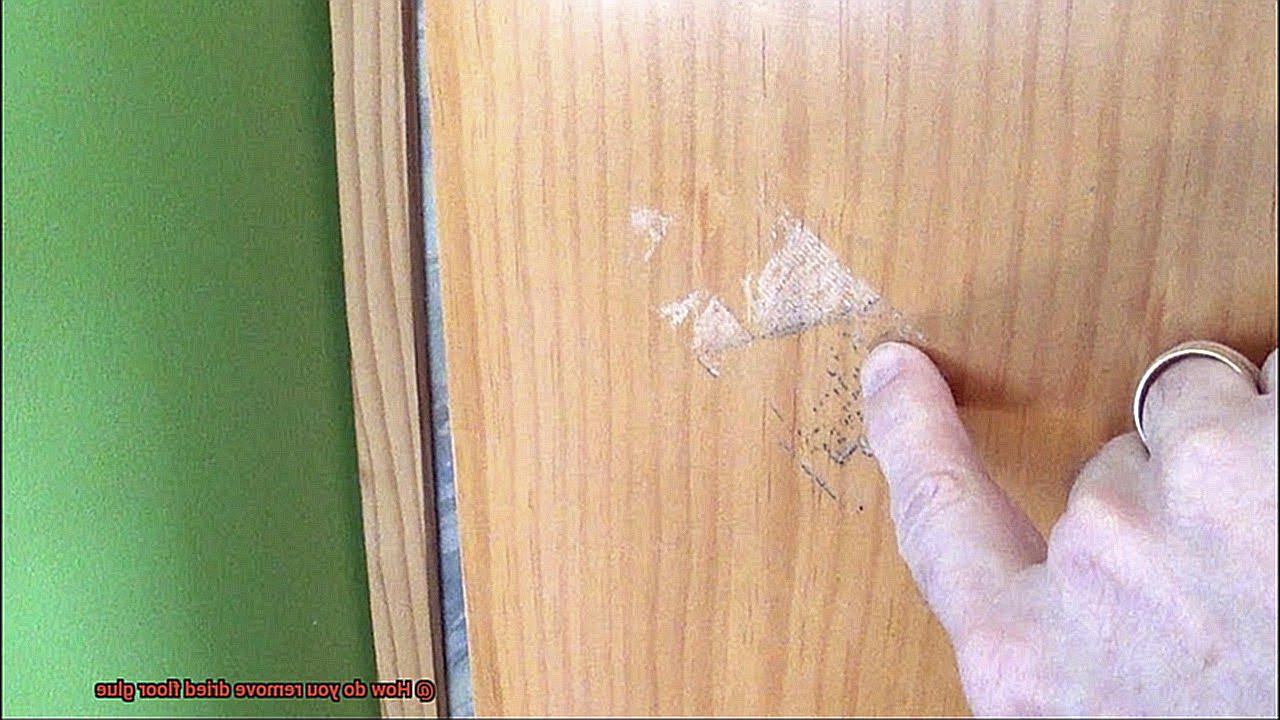
Delicate surfaces such as wood or laminate require a gentler touch. Fear not, for there exist plastic scrapers or specialized glue removers designed to protect these precious materials.
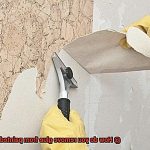
Apply gentle pressure:
As we engage in the sacred act of scraping off dried floor glue, let us remember the importance of tenderness. Apply gentle pressure to avoid any undesired consequences. Slowly but surely, we shall prevail.
Repeat as needed:
In this journey, resilience is key. Do not falter if the first attempt falls short of victory. Multiple rounds of scraping may be necessary to banish every last trace of stubborn glue. Rise again, and again until triumph graces us.
Tackle residue:
Even after our valiant efforts, remnants of the enemy may linger. But fret not. We possess alternative methods to combat this final resistance. Warm soapy water or a commercial adhesive remover shall be our secret weapons against the remaining traces. Just remember, dear warrior, to follow the manufacturer’s instructions when employing chemical products.
Clean the surface:
At long last, as the dried floor glue surrenders its hold, we must cleanse the battlefield. With water or a mild detergent in hand, let us scrub away any remnants of this formidable foe. Leave no residue behind, for our victory shall be absolute.
Using Heat to Soften and Loosen Dried Floor Glue
We have a secret weapon that will soften and loosen even the toughest adhesive. By harnessing the power of heat, you can reclaim your floors and restore them to their former glory. In this comprehensive guide, we will walk you through the safe and effective use of heat to tackle dried floor glue.
Heat Guns and Hairdryers:
When it comes to loosening dried floor glue, heat guns and hairdryers are your trusty companions. These tools emit a stream of hot air that can be directed at the glue, causing it to soften and become more pliable. Remember to keep the tool moving constantly to avoid overheating or damaging the floor surface.
Boiling Water Method:

For larger areas of dried floor glue, the boiling water method is a game-changer. Simply boil a pot of water and pour it directly onto the glue. As the scorching heat seeps into the adhesive, it softens, making it easier to scrape or wipe away. This method is particularly effective for tackling stubborn, thick layers of dried glue.
Safety First:
When using heat as a removal method, safety should always be a top priority. Wear protective gear such as heat-resistant gloves, eye protection, and long sleeves to prevent burns or injuries. Additionally, test a small inconspicuous area of the floor before applying heat to ensure there are no adverse reactions.
Cleaning up the Aftermath:
After successfully softening and loosening the dried floor glue, it’s time to clean up the aftermath. Use a gentle adhesive remover or warm soapy water to eliminate any remaining residue. Thoroughly clean the area to reveal a pristine floor beneath.
Adhesive Removers: How to Use Them Safely
You’ve successfully completed a DIY project, but now you’re faced with the aftermath – dried floor glue. Fear not, my friends, for adhesive removers are here to save the day. However, it’s crucial to understand how to use these magical elixirs safely. After all, we wouldn’t want any casualties in the war against stubborn glue. So, gear up and let’s explore the world of adhesive remover safety.
- Read and Follow Instructions: Each adhesive remover is unique, so it’s important to read and follow the manufacturer’s instructions and safety guidelines. Trust me, using it correctly will save you from any mishaps.
- Protective Gear: In this battle, safety goggles and gloves are essential accessories. You don’t want any skin contact or eye irritation, so suit up before diving into the task.
- Ventilation Matters: Adhesive removers emit potent fumes, making proper ventilation crucial. Open those windows wide or bring in some fans to keep fresh air circulating. Inhaling noxious fumes is definitely not on the agenda.
- Test a Small Area: Before attacking your entire floor, do a practice run on a small, inconspicuous area. Apply a small amount of adhesive remover and observe how your flooring material reacts. We want to avoid any unfortunate surprises like damage or discoloration.
- Application Technique: Once you’ve passed the test, it’s time to go full force. Apply the adhesive remover to the dried floor glue according to the product instructions. Spread it evenly using a brush or sponge – think of yourself as an artist creating a masterpiece.
- Patience is Key: Allow the adhesive remover to sit on the glue for the recommended amount of time. This gives it a chance to penetrate and weaken that stubborn adhesive bond.
- Scraping Strategy: When the time is up, it’s time for some gentle scraping action. Use a scraper or putty knife to lift and remove the softened glue from the floor. Remember, this is a precision operation – be careful not to scratch or damage your beautiful flooring material.
- Repeat if Necessary: If remnants of glue remain, don’t fret. It’s time for round two. Repeat the application of the adhesive remover and scraping process until every last bit of dried glue is banished from your floors.
- Cleanup Duty: Once the battle is won, it’s time to clean up. Give your floor a thorough scrubbing with soap and water to remove any residue from the adhesive remover. We wouldn’t want any sticky surprises later on.
- 10. Proper Disposal: Lastly, dispose of the used adhesive remover and any residue in accordance with local regulations. Pouring it down drains or tossing it in the garbage might not be advised, so check with your local authorities to ensure proper disposal methods are followed.
Natural Solutions for Removing Dried Floor Glue
Whether it’s the aftermath of a DIY project gone wrong or a necessary step in your renovation process, removing old adhesive can be a frustrating task. But fear not. I’m here to guide you through a plethora of natural solutions that will help you bid farewell to that pesky glue. Not only are these methods kind to the environment, but they also prioritize your well-being. So let’s roll up our sleeves and embark on a journey of discovery.
First on our list is the versatile household staple: vinegar. Immerse a cloth or sponge in vinegar and place it directly on the dried glue. Allow it to work its magic for a few hours while you anticipate the satisfying moment when the glue softens. Armed with a scraper or scrub brush, gently lift off the softened glue, revealing the gleaming surface beneath.
But wait, there’s more. Heat can also come to your rescue in this sticky situation. Unleash the power of your hairdryer or heat gun as you apply heat directly to the dried glue. As it warms up, summon your trusty scraper or putty knife to delicately scrape away the softened residue, unveiling a pristine floor beneath.
In our quest for natural solutions, we cannot overlook the mighty baking soda. Create a thick paste by mixing baking soda with water and slather it directly onto the dried glue. Allow it to settle for a few minutes before donning your scrub brush or sponge and bravely scrubbing away the remnants of the adhesive. A quick rinse with water will ensure a fresh finish.
Ah, the tangy allure of lemon juice. Squeeze out that zesty elixir onto the dried glue and let it sit for a few minutes. Feel like Indiana Jones as you wield your scraper or scrub brush to banish the softened glue from existence. Remember to rinse the area with water to complete the victorious mission.
Last but certainly not least, our faithful companion in this glue-removing endeavor is rubbing alcohol. Soak a cloth or sponge in this trusty liquid and place it directly on the dried glue. In a matter of minutes, witness the adhesive surrendering to the might of the alcohol. With your scraper or scrub brush as your weapon of choice, gently lift off the softened glue. And don’t forget to rinse with water for a triumphant finish.
Professional Help: When Is It Necessary?
We understand your frustration and are here to discuss when it’s time to bring in the professionals. So, sit back, relax, and let’s explore the factors that determine the need for expert assistance.
Complexity of the Task:
Imagine trying every DIY method in the book, only to find that the glue remains stubbornly adhered. If the adhesive has hardened or been neglected for too long, it’s time to call in the experts. These professionals possess a wealth of experience, armed with specialized tools and techniques to tackle even the most tenacious glue residues.
Type of Flooring:
Different flooring materials require specific removal techniques. Using the wrong approach can result in irreversible damage that necessitates replacement. Professionals are like flooring whisperers – they possess an innate understanding of what your floor needs and will remove the glue without causing harm.
Time and Effort:
Let’s face it – removing dried floor glue is no picnic. It is a labor-intensive and time-consuming task that drains your energy. If you have a large area to tackle or lack the time and patience, hiring professionals can save you from hours of scraping and sweating. Instead, you can focus on more important tasks or simply relax while experts handle the job efficiently.
Safety Concerns:
Here’s a word of caution – some adhesive removers or solvents contain hazardous chemicals if mishandled. Professionals are well-versed in their safe usage, minimizing potential risks. They prioritize safety for themselves and your surroundings during the removal process, ensuring a worry-free experience.
Restoration and Repair:
Sometimes, removing dried floor glue isn’t enough to restore your flooring to its former glory. If significant damage has occurred or if you desire a flooring makeover, professionals can provide expert guidance on restoration options or even assist with new floor installation. They’ll help you achieve that dreamy, flawless finish you’ve been longing for.
Tips for Removing Dried Floor Glue without Damaging Your Floors
When it comes to removing dried floor glue, caution and proper techniques are key to avoiding damage to your floors. Damaged floors can be costly to repair or replace, so it’s crucial to take the necessary precautions. In this article, we will explore essential tips for safely and effectively removing dried floor glue without causing any harm to your floors.
The Importance of Gentle Removal:
Dried floor glue not only makes your floors look unsightly, but improper removal can also result in scratches, discoloration, or even permanent damage to the flooring material. This damage can be expensive to fix, making it vital to exercise caution when removing dried floor glue.
Understanding Your Flooring Material:
Different flooring materials require different removal techniques. Hardwood, laminate, vinyl, and tile each have their own unique characteristics that should be considered. For example, hardwood floors need gentle scraping with a putty knife, while laminate floors may benefit from using warm water and a soft cloth. By understanding your flooring material, you can choose the appropriate removal method.
Step-by-Step Guide for Each Flooring Type:
For hardwood floors, begin by gently scraping off the dried glue with a scraper or putty knife. For laminate floors, soften the glue by soaking a soft cloth in warm water and delicately rub it away. Vinyl floors can be cleaned using warm water and dish soap or a commercial adhesive remover. Tile floors may require a mixture of vinegar and warm water or a commercial adhesive remover.
Additional Tips and Tricks:
Before using any cleaning solution or adhesive remover, always test it on a small, inconspicuous area of the floor to ensure it won’t cause discoloration or damage. When working with adhesive removers or harsh chemicals, wear protective gloves and goggles for your safety. Remember that removing dried floor glue may take multiple attempts or techniques, so be patient and persistent.
Prevention is Key:
To minimize the risk of glue spills or drips, take precautions during the installation of new flooring. Use drop cloths or protective coverings to catch any spills and clean them up immediately. By preventing glue from drying on your floors in the first place, you can avoid the hassle of removing it later.
Understanding Different Types of Glues and Flooring Materials
Glues and flooring materials are essential components in construction and renovation projects. They play a crucial role in ensuring the durability and longevity of the floors.
In this essay, we will explore the different types of glues commonly used and the various flooring materials that require glue for installation. Additionally, we will discuss effective methods to remove dried floor glue from each type of flooring material.
Vinyl Flooring:
Vinyl flooring is a popular choice due to its durability and versatility. To remove dried glue from vinyl floors, heat is your best friend. Use a hairdryer or heat gun to warm up the glue, making it easier to scrape off. Be cautious and use a plastic putty knife or scraper to avoid scratching the vinyl surface. Start with low heat and gradually increase if needed.
Carpet Flooring:
Carpet flooring adds comfort and warmth to any space. To remove dried glue from carpet, a combination of moisture and gentle scraping is ideal. Moisten the dried glue with warm water or a commercial adhesive remover, allowing it to soften for a few minutes.
Then, gently scrape off the glue using a scraper or putty knife while being careful not to damage the carpet fibers.
Wood Flooring:
Wood flooring brings natural beauty and elegance to a room. When removing dried glue from wood floors, caution is crucial. Apply a commercial adhesive remover or a mixture of warm water and vinegar to soften the glue. Gently scrape off the softened glue using a plastic scraper, ensuring not to scratch or gouge the wood surface.
Tile or Stone Flooring:
Tile or stone flooring offers durability and aesthetic appeal. Specialized adhesive removers designed for these materials are necessary for removing dried glue. Apply the adhesive remover to the dried glue and let it sit for a few minutes. Use a scraper or putty knife to remove the softened glue, taking extra care not to scratch or damage the tiles or stones.
Seeking Professional Help:
In some cases, removing dried floor glue can be challenging or uncertain. If unsure or unsuccessful with DIY methods, it is advisable to seek professional help. Flooring experts or professional cleaning services have the knowledge and tools to handle even the toughest dried glue situations without causing any damage to your floors.
The Benefits of Removing Dried Floor Glue Quickly and Effectively
We’ve all encountered that stubborn dried floor glue at some point, and let’s be honest, it’s not a pretty sight. But did you know that there are more benefits to removing dried floor glue quickly and effectively than just improving the appearance of your flooring? In this article, we’ll explore the various advantages of tackling this task promptly, from preserving the beauty and longevity of your floor to creating a safer environment.
Restoring the Beauty:
Removing dried floor glue promptly helps to restore the overall appearance of your flooring, creating a clean and polished look. Say goodbye to unsightly residue and hello to a floor that looks brand new. No more embarrassing stains or sticky patches to detract from the aesthetic appeal of your space.
Preventing Damage:
Glue residue can be abrasive and cause scratches or scuff marks on your floor’s surface. Over time, these blemishes can accumulate, dulling the finish of your flooring. By removing the glue quickly, you can avoid unnecessary damage and maintain the longevity of your investment. Preserve the pristine condition of your floor and protect its value.
Ensuring Safety:
Another crucial benefit of removing dried floor glue promptly is safety. Glue residue can be slippery, especially when exposed to moisture, posing a significant risk for accidents. Whether you have young children running around or elderly family members who need extra stability, removing dried floor glue minimizes the chances of slips, trips, and falls. Create a safe environment that everyone can walk on with confidence.
Time Efficiency:
The longer dried floor glue remains on your flooring, the more difficult it becomes to remove. It can harden further and require more intensive cleaning methods or even professional assistance. Addressing the issue promptly saves you time and effort in the long run. Don’t waste precious hours scrubbing away at stubborn glue when you could be enjoying your beautifully clean floor instead.
Easier Installation:
Removing dried floor glue quickly ensures a clean surface for easier installation of new flooring or other renovations. Whether you’re planning to upgrade to sleek tiles or install luxurious hardwood, starting with a residue-free surface is essential. Proper adhesion and a smooth installation process are guaranteed when you start on a clean slate. Save yourself from additional prep work or the potential need to redo the removal process if not done correctly initially.
SL6fg-r2Bjo” >
Also Read: How To Remove Glue From Laminate Flooring?
Conclusion
Removing dried floor glue can be a daunting task, but with the right techniques and tools, you can restore your floors to their former glory.
First, gather your supplies: a scraper or putty knife, adhesive remover, warm water, a sponge or cloth, and a lot of patience. Begin by scraping off as much of the dried glue as possible using the scraper or putty knife.
Apply the adhesive remover generously to the remaining glue and let it sit for a few minutes to soften the adhesive. Then, using your scraper or putty knife again, gently scrape away the softened glue.
Repeat this process until all the glue is removed. Once you have cleared away the majority of the glue, dampen your sponge or cloth with warm water and wipe down the area to remove any residue left behind.
Finally, allow your floor to dry completely before enjoying its renewed beauty.