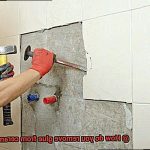
Ever found yourself in a sticky situation, where a hidden treasure leaves an annoying mark on your pristine countertops? It’s enough to make you want to tear your hair out. But fear not, my friends. We’ve got the inside scoop on how to tackle this pesky problem. In this blog post, we’re diving deep into the world of adhesive residue and sharing foolproof methods to bid it farewell, so your countertops can shine like new.
Hook:
Imagine this: you finally manage to peel off that stubborn sticker or adhesive strip, only to be greeted by an unsightly residue on your gorgeous countertop. As you stand there contemplating how to restore its former glory, fear not. Like an expert archaeologist unearthing ancient treasures, we’re here to guide you on a journey towards banishing adhesive residue from your countertops for good.
Main Points:
- Know Your Enemy: Before charging into battle, it’s crucial to understand what you’re up against. We’ll shed light on the different types of adhesive residue you may encounter and explain why certain removal methods work better than others.
- Arm Yourself: No warrior goes into combat unarmed. We’ll equip you with an arsenal of household products and specialized adhesive removers, discussing their strengths and weaknesses. From trusty hot water and soap to more potent solutions, there’s a weapon for every situation.
- Master the Art of Removal: Armed with knowledge and supplies, we’ll take you through step-by-step removal processes. Whether dealing with residues on natural stone, laminate, or stainless steel countertops, we’ve got comprehensive solutions for each surface type.
- Tips and Tricks: They say prevention is better than cure. We’ll share valuable insights on how to avoid future sticky situations, providing handy tips to protect your countertops and keep them free from residue for longer.
Don’t let adhesive residue tarnish the beauty of your countertops any longer. With our expert guide, you have the power to bid farewell to stickiness and restore your surfaces to their former glory. So buckle up, put away those tool belts, and get ready for a transformative journey towards adhesive-free bliss. It’s time to reclaim your countertops.
Types of Adhesive Residue
Contents
- 1 Types of Adhesive Residue
- 2 Commercial Adhesive Remover
- 3 Household Items to Remove Adhesive Residue
- 4 Cleaning Delicate Countertop Materials
- 5 Heat Method for Laminate and Plastic Countertops
- 6 Cautionary Tips When Using Solutions or Methods
- 7 Testing Solutions on Small Areas
- 8 Multiple Attempts May Be Necessary
- 9 Conclusion
Say goodbye to the frustration of stubborn adhesive residue on your countertops. Whether you’re dealing with sticker residue or tape gunk, we’ve got the solutions you need. In this blog post, we will delve into the various types of adhesive residue commonly found on countertops and provide you with expert advice on how to remove them effectively. Get ready to restore the flawless beauty of your countertops with our practical tips.
Sticker Residue:
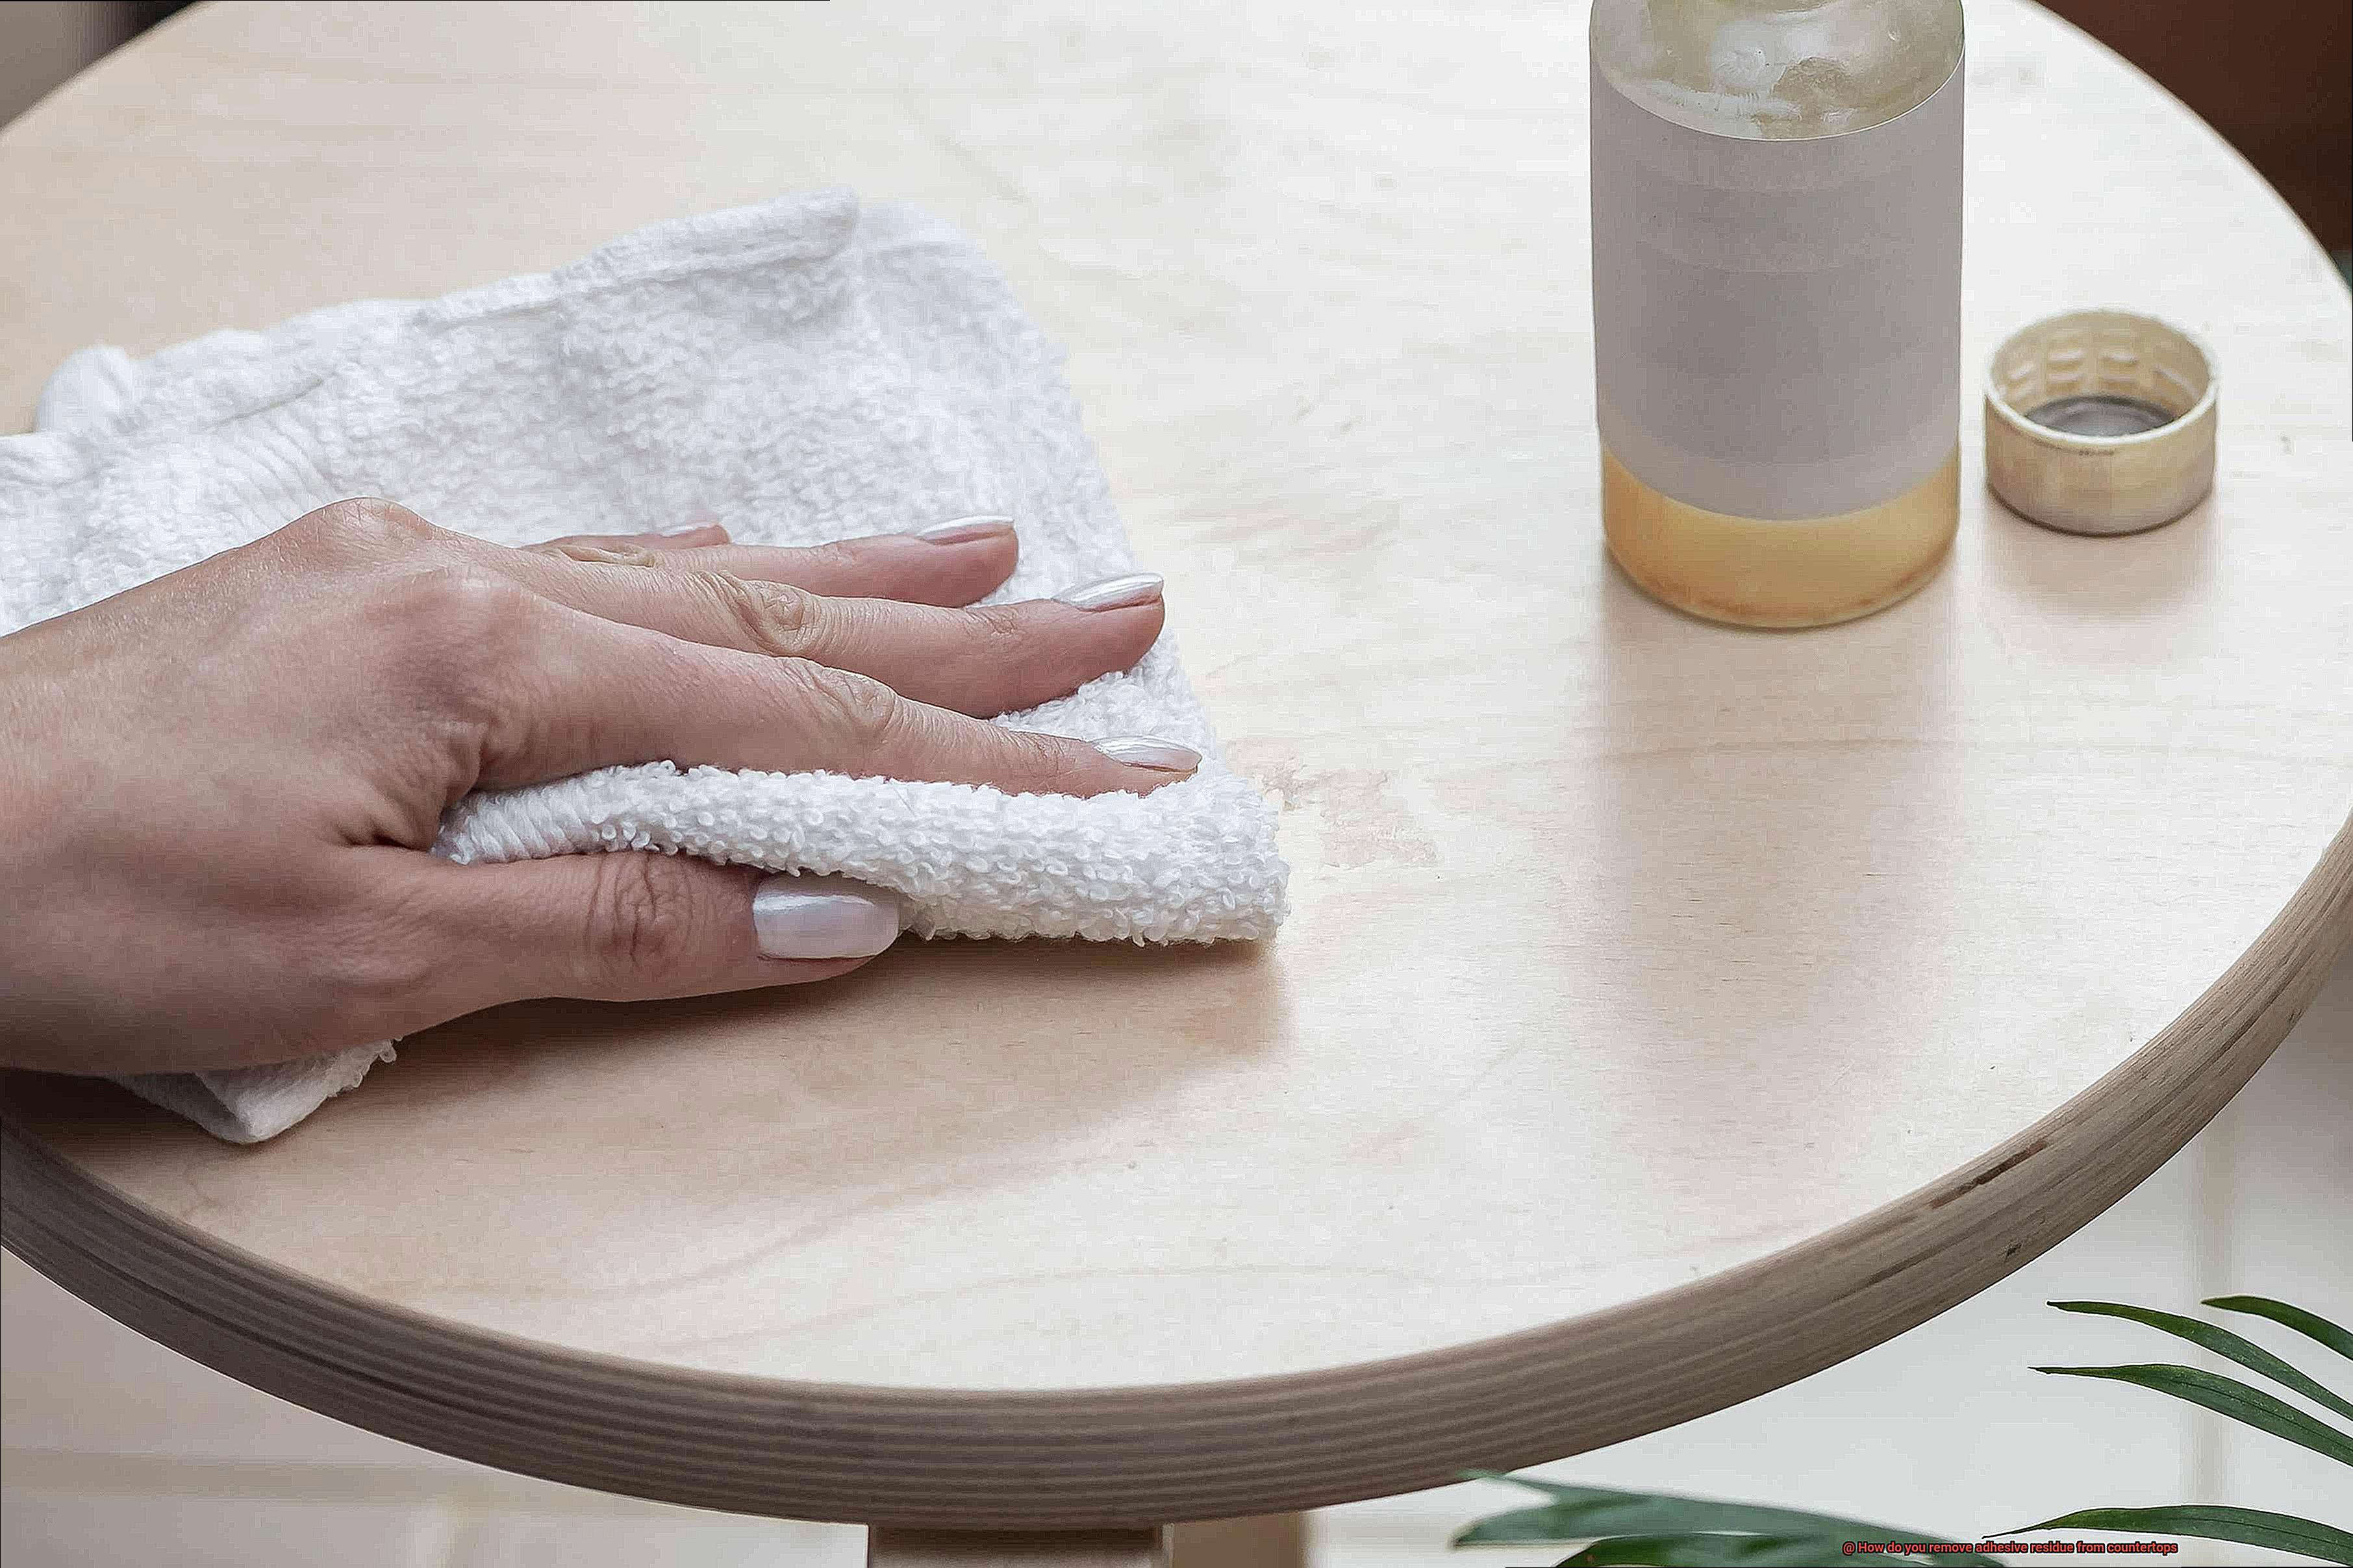
Adding stickers to your countertops can be a fun way to personalize your space, but removing them can leave behind a sticky mess. To banish sticker residue, unleash the power of rubbing alcohol or vinegar. Dab a soft cloth with either of these liquids and gently rub the residue in circular motions. Watch as the adhesive loosens its grip. For more stubborn residue, employ a plastic putty knife to scrape it off delicately, ensuring not to scratch the countertop surface. A final wipe with a damp cloth will eliminate any remaining traces of adhesive.
Tape Residue:
When tape is your go-to solution for quick fixes or temporary installations, it’s frustrating when it leaves behind sticky residue. Fear not. Begin by carefully peeling off as much tape as possible. Then, arm yourself with warm, soapy water and a cloth. Tenderly massage the residue using small circular motions, allowing the soapy solution to work its magic. For extra-stubborn residue, introduce heat into the equation. A hairdryer or heat gun will soften the adhesive, making it easier to wipe away with your soapy cloth. Remember to test the heat on an inconspicuous area beforehand.
Glue Residue:
Different glues leave behind different residues, but worry not – we have the solutions you need. For super glue residue, it’s time to bring out the big guns: acetone-based nail polish remover. Apply a small amount to a cloth and gently massage the affected area until the residue loosens its grip. However, exercise caution, as certain countertop materials may be sensitive to acetone. When it comes to white glue residue, a gentle approach is key. Create a mixture of warm water and mild dish soap, and use a sponge or cloth to softly scrub away the residue.
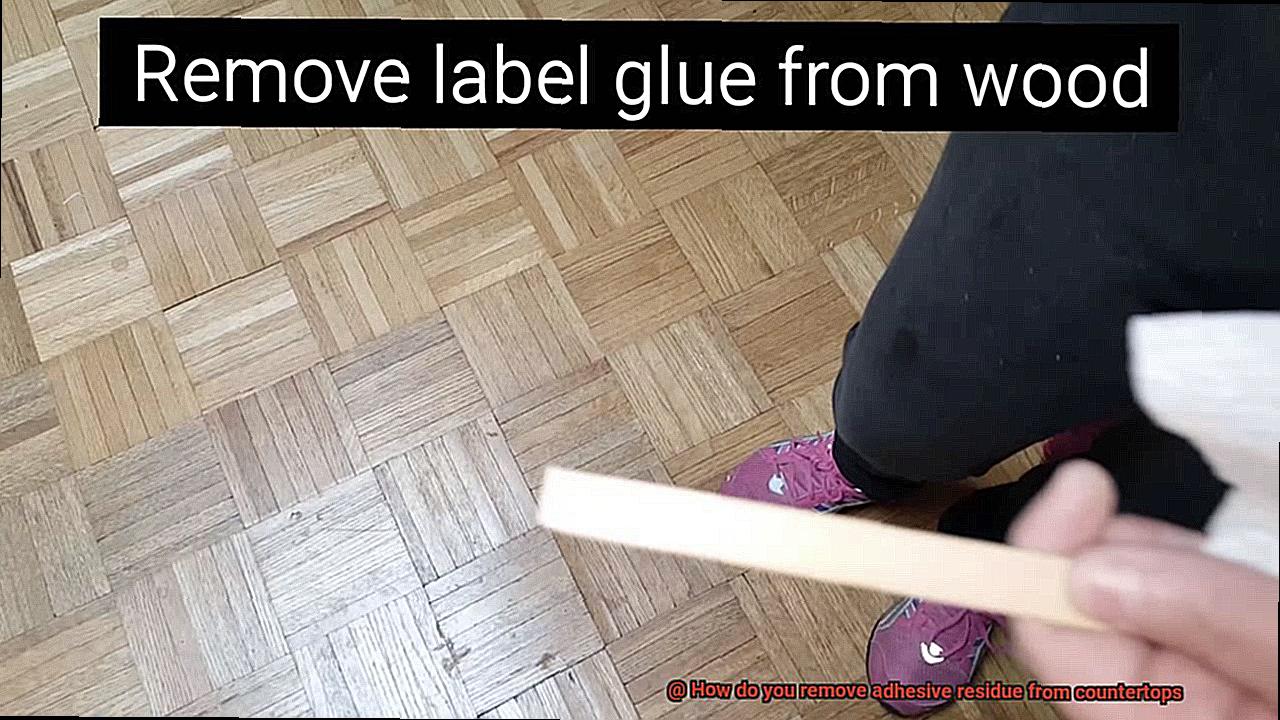
Adhesive Residue from Labels:
Labels on products often come with adhesive that clings for dear life, leaving behind stubborn residues. But fear not – we have the secret weapon to tackle this sticky situation. Begin by peeling off as much of the label as possible. Then, unleash the power of cooking oil or baby oil. Apply a generous amount to the residue and allow it to work its magic for a few minutes. Now, grab a soft cloth and gently rub the area, breaking down the adhesive bonds.
Commercial Adhesive Remover
Don’t worry, we’ve got you covered. In this article, we’ll explore the world of commercial adhesive removers and show you how to safely and effectively banish stubborn residue from your countertops. So, grab a cup of coffee and let’s dive in.
The Power of Commercial Adhesive Removers:
Commercial adhesive removers are the superheroes of the cleaning world. They’re specially designed to dissolve and remove adhesive residue, and you can easily find them at hardware stores or online retailers. From sprays to gels and liquids, these products offer options that suit your preferences and the type of adhesive you need to tackle.
Safety First:
Before unleashing the power of commercial adhesive removers, prioritize safety. Always read and follow the manufacturer’s instructions for safe usage. Some adhesive removers may require protective gloves or goggles, so gear up before starting your adhesive removal mission.
Testing, Testing, 1-2-3:
To avoid mishaps, it’s crucial to test a small, inconspicuous area of your countertop before applying the adhesive remover. Better safe than sorry. This simple step ensures that no damage or discoloration occurs.
Application Technique:
Now that you’ve chosen the right commercial adhesive remover and tested it, it’s time to get down to business. Apply the product directly onto the residue and let it sit for a few minutes. This allows it to penetrate and dissolve the stubborn adhesive clinging onto your countertop.
Scrubbing Away Residue:
Once the adhesive remover has had its magic moment, gently scrub away the residue using a soft cloth or sponge. Employ circular motions to loosen and remove the sticky residue from your countertop’s surface. Remember, patience is key.
Battling Stubborn Residue:
For those extra stubborn residues that refuse to budge, don’t lose hope. Multiple applications or longer soaking times may be necessary. However, avoid leaving the adhesive remover on your countertop for an extended period, as it may cause damage. Keep a close eye on the process.
Household Items to Remove Adhesive Residue
We’ve all experienced the frustration of sticky residue left behind after removing labels or stickers from countertops. But fear not. You don’t need expensive commercial adhesive removers. In fact, you may already have the perfect solution in your pantry or cleaning cabinet. In this article, we’ll explore a variety of household items that can effectively remove adhesive residue, leaving your countertops clean and sticky-free.
Rubbing Alcohol:
First up on our list is the versatile rubbing alcohol. With its high concentration of isopropyl alcohol, it’s a powerful adhesive remover. Dampen a cloth or sponge with some rubbing alcohol and gently rub the residue until it loosens and comes off. Don’t forget to rinse the countertop thoroughly afterward to remove any remaining alcohol.
Cooking Oil:
Next, we have the culinary heroes: vegetable oil or olive oil. These cooking oils work wonders in breaking down sticky messes. Apply a small amount of oil directly onto the residue and let it sit for a few minutes. Then, use a clean cloth or sponge to gently rub the area in circular motions. The oil helps loosen the residue, making it easier to remove. Finish by cleaning the countertop with warm soapy water to remove any oily residue.
Lemon Juice:
Lemons aren’t just for lemonade – they can also be your secret weapon against adhesive residue. Squeeze fresh lemon juice onto the affected area and let it sit for a few minutes. The citric acid in lemon juice works its magic by breaking down the adhesive, making it easier to remove. Grab a clean cloth or sponge and gently scrub the area before rinsing with water.
Baking Soda:
This versatile household item can tackle various cleaning tasks, including adhesive residue removal. Create a paste by mixing baking soda with a small amount of water. Apply the paste onto the sticky residue and let it sit for about 15 minutes. Then, use a soft cloth or sponge to gently scrub the area in circular motions. The mild abrasive nature of baking soda helps remove the residue without scratching the countertop’s surface.
Cleaning Delicate Countertop Materials
Are you the proud owner of exquisite countertops made from delicate materials like marble, granite, or quartz? If so, you know that cleaning these surfaces requires a delicate touch to avoid scratches and discoloration. Fear not. We’ve got you covered with our step-by-step guide on safely removing adhesive residue from these precious countertop materials.
First and foremost, let’s talk about choosing the right cleaning solution. Harsh chemicals and abrasive cleaners are a definite no-go for these delicate surfaces. Instead, opt for mild and non-abrasive cleaners specifically designed for delicate materials. Don’t forget to read those labels and choose the perfect solution for your countertop’s needs.
Before diving into the cleaning process, it’s always wise to perform a test in a small and inconspicuous area of your countertop. This preliminary test will ensure that the chosen solution won’t cause any unpleasant surprises like adverse reactions or discoloration.
Now that we’re armed with the right cleaning solution, let’s get down to business. Start by gently scraping off as much adhesive residue as possible using a plastic scraper or even a trusty credit card. Remember, no sharp objects or metal scrapers allowed – we want to preserve the pristine surface of your countertop.
Next up, it’s time to apply a solvent or adhesive remover to tackle that stubborn residue. Grab a clean cloth, apply a small amount of the chosen product, and gently rub it over the residue. Give the solvent some time to work its magic before moving on.
Once the solvent has worked its wonders, grab a soft cloth dampened with warm water and begin wiping away the adhesive residue. Be gentle yet thorough in your cleaning process, ensuring that every last trace of residue is banished from your countertop’s surface.
After all that hard work, it’s time for rinsing and drying. Give your countertop a thorough rinse with clean water to remove any remnants of the cleaning solution. Then, grab a soft, lint-free cloth and meticulously dry the surface, leaving no room for water spots or streaks.
If your countertop is made from natural stone, such as marble or granite, there’s an extra step to consider. Applying a stone sealer after cleaning is highly recommended. This extra layer of protection not only safeguards your countertop from future stains but also makes it easier to clean in the long run. It’s a win-win situation.
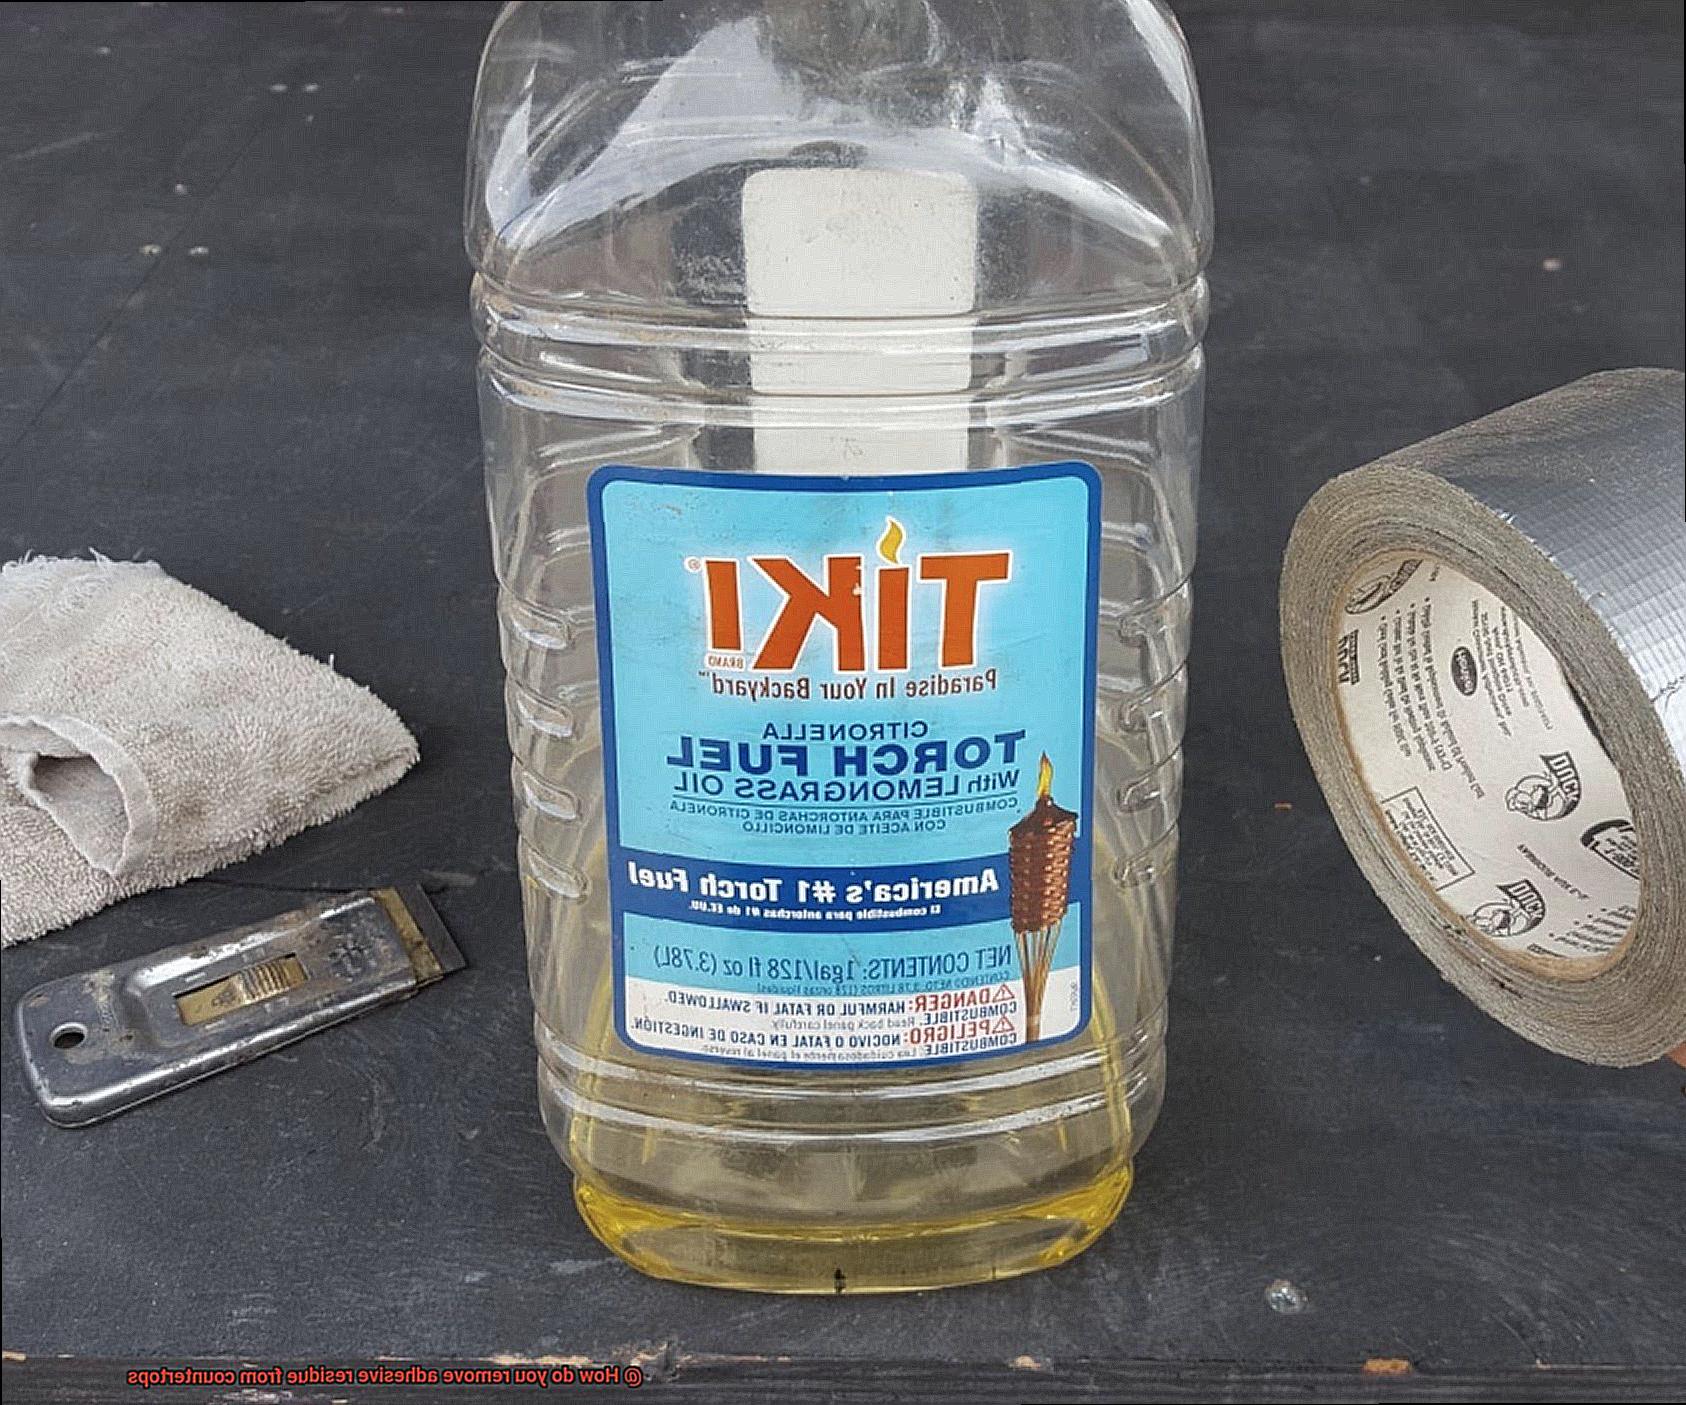
Heat Method for Laminate and Plastic Countertops
Don’t let adhesive residue give you a sticky situation. With the heat method for laminate and plastic countertops, you can bid farewell to those stubborn remnants without causing any damage. In this article, we’ll explore three effective techniques that utilize the power of heat. So grab your tools and get ready to restore your countertops to their former glory.
Method 1: Hairdryer or Heat Gun:
Harness the power of a hairdryer or heat gun – simple yet effective tools. Plug in your device, select a low or medium heat setting, and position it about 6 inches away from the adhesive residue. Move it back and forth in a sweeping motion, gradually warming up the adhesive. Armed with a plastic scraper or credit card, gently scrape away the softened residue. Remember, avoid applying excessive pressure or using sharp metal tools that could harm your countertop surface.
Method 2: Hot Water or Warm Cloth:
If you don’t have a hairdryer or heat gun on hand, fear not. Hot water or a warm cloth can work wonders. Fill your basin or sink with hot water, ensuring it’s not boiling hot to prevent any potential damage. Soak a clean cloth or sponge in the hot water and wring out excess moisture. Place the warm cloth over the adhesive residue, allowing it to sit for a few minutes. The heat will gradually loosen the adhesive, making it easier to remove. Now, with circular motions, gently scrub away the softened residue using the cloth or sponge.
Method 3: Heat-Resistant Adhesive Removers:
For those particularly stubborn adhesive residues, it’s time to bring out the big guns – heat-resistant adhesive removers specifically designed for laminate and plastic surfaces. These convenient products are readily available at hardware stores and online. Before use, carefully read and follow the instructions on the product label, as different removers may have varying application methods. Remember, it’s always better to be safe than sorry.
Cautionary Tips When Using Solutions or Methods
When it comes to removing adhesive residue from countertops, a cautious approach is essential. While there are numerous effective solutions and methods available, using them recklessly can lead to damage or other undesirable outcomes. In this comprehensive guide, we will provide you with crucial cautionary tips to ensure the safe and successful removal of adhesive residue without compromising the integrity of your countertop surface.
Heed the Instructions:
Before embarking on the adhesive removal process, it is imperative to carefully read and adhere to the instructions provided with your chosen adhesive remover or solution. Each product may have specific guidelines regarding application techniques, contact time, and proper rinsing procedures. By following these instructions diligently, you will achieve optimal results while safeguarding your countertop.
Test Wisely, Avoid Surprises:
Prior to applying any solution or method to the entire surface area, conduct a small test on an inconspicuous section of your countertop. This precautionary step allows you to assess the safety and potential impact of the solution on your specific countertop material. It is always better to be cautious and avoid any unpleasant surprises.
Prioritize Personal Safety:
When handling adhesive removers or potent chemicals, make personal safety your top priority. Don protective gloves and goggles to shield your skin and eyes from potential irritation or harm. Furthermore, ensure you work in a well-ventilated area by opening windows or employing fans to promote proper air circulation. For added protection, consider wearing a respirator mask to prevent inhalation of any noxious fumes.
Gentle Techniques for Delicate Surfaces:
To preserve the integrity of your countertop surface, avoid employing excessive force or aggressive scrubbing when removing adhesive residue. Instead, utilize gentle techniques that will not scratch or mar the countertop’s appearance. Opt for soft microfiber cloths or sponges, employing gentle pressure to eliminate the residue effectively and safely.
Time Management is Key:
While waiting for the adhesive remover to work its magic, it is essential to adhere strictly to the recommended contact time specified by the product manufacturer. Some solutions contain powerful chemicals that may harm the surface if left on for an extended period. Managing your time effectively during this process will help prevent any unintended damage.
Scraping with Care:
When confronted with stubborn adhesive residue, it may be tempting to resort to sharp objects like knives or scrapers. However, these tools pose a significant risk of scratching or gouging the countertop surface. Instead, reach for a plastic scraper or even a trusty credit card as safer alternatives for removing the residue without causing any harm.
Testing Solutions on Small Areas
In our relentless pursuit of spotless surfaces, we now turn our attention to the intricate process of removing adhesive residue. Today, we will explore a critical step in this endeavor – the meticulous testing of solutions on small, inconspicuous areas. Think of it as an orchestral performance, where the conductor skillfully assesses the harmony between the cleaning agent and your countertop. So, grab your batons, and let us embark on this captivating journey through the realm of testing solutions.
Why Test on a Small Area?
Different Countertop Reactions:
In the realm of countertops, individuality reigns supreme. Each surface possesses its own distinct personality and may react differently to various cleaning agents. Testing solutions on a small area allows you to uncover your countertop’s preferences, ensuring a harmonious cleaning experience. It’s akin to getting to know the unique nuances of each instrument before composing a symphony.
Avoiding Catastrophe:
Picture the horror of using a cleaning agent that leaves your countertop discolored or damaged. By conducting tests on a small area, you preempt potential disasters and safeguard the flawless beauty of your countertop. It’s akin to rehearsing before a grand performance, unearthing any adverse reactions before they take center stage.
Preparing for the Test:
Clean Slate:
Before commencing the test, ensure that the chosen small area is pristine – free from any residues or substances. This meticulous preparation guarantees accurate results and eliminates any interference from external elements. It’s like setting the stage for an awe-inspiring spectacle.
Choosing the Right Cleaning Agent:
Just as every virtuoso requires their perfect instrument, your countertop demands a compatible cleaning agent. Select one that is specifically designed for your countertop’s material – be it laminate, granite, or marble. Matching the ideal cleaning agent to your countertop is akin to discovering the perfect melody that resonates with your cleaning symphony.
Multiple Attempts May Be Necessary
In our previous section, we compared the delicate process of removing adhesive residue to an orchestral performance, where the conductor skillfully assesses the harmony between cleaning agents and your countertop. Today, we’ll delve into the intriguing reasons why multiple attempts may be necessary to completely remove that stubborn adhesive residue from your countertops. So grab a seat, relax, and let’s uncover the secrets behind this captivating challenge.
Adhesives and Their Strong Bond:
Adhesives are designed to stick, forming a strong bond with your countertop material. This bond can be challenging to break, requiring repeated efforts. Think of it as a love affair between the adhesive and your countertop – it takes time to untangle their connection.
The Stubborn Nature of Different Adhesives:
Not all adhesives are created equal. Some are more stubborn than others, demanding additional steps or techniques for effective removal. Prepare yourself for a battle of wills as you navigate through diverse adhesive residues.
Patience and Persistence Are Key:
Rome wasn’t built in a day, and neither is the process of removing adhesive residue. Embrace patience and persistence as your trusty companions on this journey. Remember, success often comes to those who never give up.
Gentle Methods as Initial Attempts:
Start with gentle methods – they’re like an introduction before the main show. Warm soapy water, rubbing alcohol, or vinegar-based solutions can help loosen the adhesive without damaging your countertop surface. Slowly but surely, you’ll make progress.
Trying Different Techniques and Products:
If initial attempts don’t yield desired results, fear not. There’s a plethora of techniques and products waiting to be explored. Adhesive removers, citrus-based solvents, or specialized cleaning products can come to the rescue. Each attempt brings you closer to victory.
Gradual Approach: Avoiding Excessive Force and Harsh Chemicals:
While it may be tempting to use brute force or harsh chemicals to vanquish that pesky adhesive residue, it’s better to err on the side of caution. Excessive force or strong chemicals can potentially damage your precious countertop surface. Embrace a gradual approach with multiple attempts – it’s a dance of finesse and precision.
jFop298kPlk” >
Conclusion
Removing adhesive residue from countertops can be both infuriating and disheartening, but fear not – there are solutions at hand. One powerful weapon in your arsenal is a commercial adhesive remover specially crafted for countertops – these potent concoctions have been formulated with precision engineering that allows them to obliterate even the most stubborn residues without inflicting harm upon your beloved surfaces. The application process is delightfully simple: just slather the remover onto the affected area, let it bask in its adhesive-dissolving glory for a few minutes, and then unleash your scrubbing prowess with a soft cloth or sponge. For particularly tenacious residues, you may find yourself embarking on a repeat performance of this enchanting routine.
If you’re more inclined toward natural remedies, look no further than your pantry – vinegar and rubbing alcohol are two trusty allies that possess remarkable adhesive-dissolving capabilities.