You carefully peel off a sticker or label, only to be left with a stubborn residue that just won’t budge. It’s enough to make you want to pull your hair out. But fear not, because I’m here to spill the beans on the secret weapons and techniques that will make adhesive residue removal a piece of cake.
Imagine this: you finally get your hands on that shiny new gadget you’ve been eyeing, only to find it marred by the remnants of a pesky price tag. Talk about a buzzkill. Or picture this: your cherished wooden furniture has lost its luster due to sticky residue buildup. It’s time to put an end to these adhesive frustrations and restore surfaces to their former glory.
In this captivating blog post, we’ll delve into the art of adhesive residue removal, equipping you with knowledge that will render even the stickiest situations powerless. We’ll uncover gentle-yet-powerful solvents and household items that can banish residue in no time. Plus, we’ll explore various surfaces and materials, unveiling unconventional methods you may have never considered.
By the end of this adventure, you’ll have step-by-step instructions on how to tackle adhesive residue like a pro. No more tedious scrubbing or scraping or feeling exasperated. Instead, you’ll possess the tools needed to effortlessly reclaim the beauty of any surface.
So are you ready for an adhesive-removing escapade? Let’s embark on this journey together and ensure that sticky situations become nothing more than a distant memory.
What is Adhesive Residue?
Contents
- 1 What is Adhesive Residue?
- 2 Types of Adhesives and Surfaces
- 3 Heat Method for Removing Adhesive Residue
- 4 Using an Adhesive Remover or Solvent
- 5 Rubbing Alcohol and Acetone for Removing Adhesive Residue
- 6 Scraping Tools for Removing Adhesive Residue
- 7 Cleaning the Surface after Removal
- 8 Safety Precautions When Removing Adhesive Residue
- 9 Conclusion
Adhesive residue, that stubborn sticky substance left behind after removing tape, stickers, labels, or glue, is a common annoyance we all face. But fret not. In this ultimate guide, we will delve into effective methods and products to bid farewell to adhesive residue without causing any damage to the surface. Let’s dive in and conquer this sticky situation.
Understanding Adhesive Residue:
Adhesive residue is the lingering sticky substance that remains after adhesive materials are removed. Its composition varies depending on the type of adhesive used, resulting in varying degrees of stickiness and visibility. This unsightly residue can be found on surfaces like glass, plastic, metal, wood, fabric, and even skin. If not properly addressed, it can attract dirt and dust, making removal even more challenging.
Methods for Removal:
- Heat: Harness the power of heat to soften the adhesive. A hairdryer or heat gun can be employed to gently warm up the residue, making it easier to remove. Exercise caution to avoid overheating or damaging the surface.
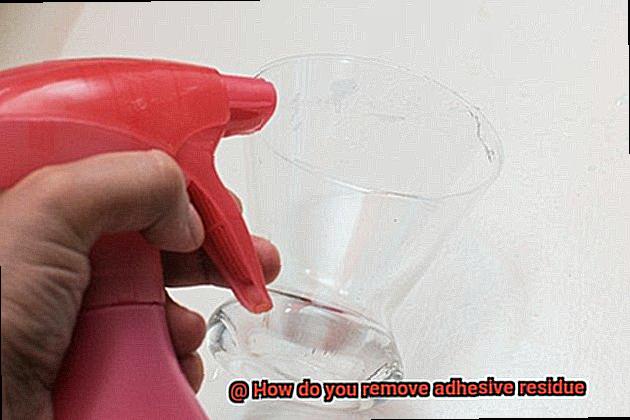
- Adhesive Removers/Solvents: Commercially available adhesive removers are specially designed to dissolve and eliminate adhesive residue without harming the surface. These removers come in liquid or spray form and contain solvents or chemicals that effectively break down the adhesive. Always read and follow the instructions provided by the manufacturer and take necessary safety precautions.
- Natural Remedies: If you prefer a more natural approach, consider using rubbing alcohol or vinegar. These substances have proven efficacy in breaking down sticky residue. However, conduct a test on a small, inconspicuous area first to ensure they do not cause any damage or discoloration.
- Scraping Tools: For particularly stubborn residue, rely on plastic scrapers or credit cards to lift it off the surface. Care should be taken to avoid scratching or damaging the material.
Best Practices:
- Test any adhesive remover or solvent on a small, inconspicuous area before applying it to the entire surface.
- Exercise caution when applying heat to prevent damage to the surface.
- Work in a well-ventilated area and consider wearing gloves to protect your hands.
- After removing the residue, thoroughly clean the surface with soap and water to eliminate any leftover residue or solvent.
- Always refer to the instructions provided by the adhesive remover or solvent manufacturer for optimal results.
Types of Adhesives and Surfaces
We are here to equip you with the knowledge and techniques to tackle this challenge head-on. In this blog post, we will delve into the fascinating world of adhesives and surfaces, exploring their diverse characteristics and uncovering the secrets to effective adhesive residue removal. So, let’s embark on this adventure together.
Unveiling the Tapestry of Adhesives:
Adhesives come in a myriad of forms, each possessing its own unique properties. Water-based adhesives, commonly used in crafts and woodworking, can be easily removed using water or mild solvents.
On the other hand, solvent-based adhesives, often found in industrial settings, require more potent solvents for successful removal. Hot melt adhesives, solid at room temperature but yielding to heat, can be softened for effortless removal. Lastly, pressure-sensitive adhesives, notorious for leaving behind sticky residue, demand special attention during removal.
Surfaces: The Canvas of Adhesive Residue Removal:
Just as artists carefully choose their canvas, understanding the surface is crucial when battling adhesive residue. Hard surfaces like glass or metal exhibit greater resistance to adhesive residue and can withstand stronger solvents or gentle scraping without sustaining damage.
Conversely, porous surfaces such as wood or fabric possess tiny openings that absorb adhesives, presenting a challenge during removal without causing harm or leaving stains. Delicate surfaces like painted walls or fragile fabrics necessitate gentle removal methods to preserve their integrity and vibrant appearance.
Selecting the Perfect Approach:
Now armed with knowledge about adhesives and surfaces, let us explore a range of effective removal techniques. Harness the power of heat when dealing with adhesive residue on hard surfaces by employing a hairdryer or heat gun to soften the adhesive, allowing for easy peeling. For solvent-based adhesives on porous surfaces, specialized adhesive removers or solvents prove invaluable, dissolving residue without compromising the material’s integrity.
Unleashing the Magic of Rubbing Alcohol and Acetone:
When confronting adhesive residue on glass or metal surfaces, rubbing alcohol and acetone emerge as your trusted companions. These solvents possess the remarkable ability to break down stubborn residue, facilitating effortless removal. However, exercise caution, using these solvents sparingly and conducting a small area test beforehand to avoid potential damage.
The Art of Gentle Scraping:
In certain cases, a delicate scraping technique can prove effective in eradicating adhesive residue. Utilize a plastic scraper or even a trusty credit card to cautiously scrape away the residue without leaving a trace on the surface. Patience and attention to detail are key in achieving optimal results through this method.
Heat Method for Removing Adhesive Residue
Step into the realm of adhesive residue removal and unlock the secrets of the heat method. Prepare yourself for an adventure as we explore the incredible power of heat in bidding farewell to stubborn remnants on various surfaces. Grab your hairdryer, heat gun, and iron – it’s time to become a heat method aficionado.
Softening with a Hairdryer:
In our quest against adhesive residue, the humble hairdryer becomes our trusted ally. Direct the hot air at the sticky culprit and sway the hairdryer back and forth. Witness as the heat softly caresses the residue, rendering it pliable and easy to remove without causing harm. Remember to maintain a safe distance to preserve the surface’s integrity.
Intensify with a Heat Gun:
When faced with adhesive foes that refuse to yield, it’s time to bring out the big guns – quite literally. The heat gun provides concentrated and intense heat, capable of conquering even the most stubborn residues. However, tread carefully in this battlefield. Begin with the lowest heat setting and gradually escalate if necessary. Employ a circular motion with the heat gun to subdue the tenacious residue.
Gentle Ironing for Delicate Surfaces:
For delicate surfaces crying out for liberation from adhesive tyranny, a warm iron paired with a protective cloth emerges as the secret weapon. Place the cloth atop the residue and exert gentle pressure with the warm iron. Watch as the heat seeps through the fabric, dissolving the adhesive’s grip. Remember, gentleness is paramount, shielding your surface from direct contact with the iron.
Temperature Matters:
Adhesives possess unique vulnerabilities to heat’s persuasive powers. Commence your assault with low heat and gradually escalate while vigilantly observing any signs of surface damage or discoloration. An ounce of caution can save a world of trouble.
Scrape Away with Care:
Once the adhesive residue succumbs to the heat’s allure, it’s time to bid it farewell. Employ a plastic scraper or the trusty credit card as your weapon of choice, delicately lifting and scraping away the softened remnants. Be mindful not to mar the surface in your pursuit of liberation.
Using an Adhesive Remover or Solvent
Prepare to be enthralled as we delve into the enchanting realm of adhesive removers and solvents. These mystical concoctions possess the uncanny ability to obliterate even the most stubborn residue.
But remember, my fellow adventurers, with great power comes great responsibility. So, don your reading glasses and join me on this epic quest to wield adhesive removers and solvents with finesse.
Step 1: Knowledge is Power
Before embarking on this remarkable journey, arm yourself with knowledge. Dive into the instructions and safety precautions provided by the wise manufacturers. Fear not, for knowledge shall be your unyielding shield against any mishaps that may come your way.
Step 2: Choose Your Weapon Wisely
In this vast universe of adhesive removers, you shall encounter three mighty champions: citrus-based, acetone-based, and alcohol-based. Each possesses unique strengths suited for different battles.
- Citrus-based Removers: These gentle giants are the epitome of grace and finesse. With their natural citrus extracts, they delicately dissolve residue from delicate surfaces like glass or plastic, leaving them unscathed.
- Acetone-based Removers: Behold the power of these fearless warriors. They fearlessly tackle tough adhesives such as epoxy or super glue. But beware. Like a double-edged sword, they may cause harm to painted surfaces or fabrics.
- Alcohol-based Removers: A versatile ally in your crusade against adhesive tyranny. While not as formidable as their acetone counterparts, these warriors still possess enough might to vanquish stubborn residue. Remember that they may struggle against stronger adhesives.
Step 3: The Dance of Application
Now that you have chosen your valiant champion, it is time to unleash their powers. Follow these steps to achieve triumphant results:
Grasp a pristine cloth or sponge and generously saturate it with the adhesive remover or solvent. Let it absorb the elixir’s potency, for there is no room for timidity in this battle.
Rubbing Alcohol and Acetone for Removing Adhesive Residue
Prepare yourself for an exhilarating expedition into the realm of adhesive residue removal. Today, we unveil the extraordinary capabilities of rubbing alcohol and acetone – two household warriors that possess the uncanny ability to conquer even the most stubborn sticky messes. Brace yourself as we delve into the secrets of these enchanting elixirs.
Rubbing Alcohol: The Versatility Champion
Behold the mighty rubbing alcohol, a ubiquitous presence in every medicine cabinet. This versatile hero not only sterilizes wounds but also boasts exceptional adhesive removal properties. Its potent alcohol concentration unleashes a powerful assault on adhesive residue, rendering it defenseless against its might.
To command the full potential of rubbing alcohol, immerse a cotton ball or cloth in this magical potion and embark on a gentle rub over the troubled area. Exert some pressure to instigate the adhesive’s downfall. As the residue succumbs to its power, wipe it away triumphantly with a pristine cloth. Witness the vanquishing of that tenacious residue.
Acetone: A Formidable Foe Against Stubborn Stickers
Now, let us introduce acetone, a formidable solvent found within the realms of nail polish remover and paint thinner. This captivating substance possesses an unrivaled knack for dissolving adhesive residue. However, heed our words of caution, intrepid explorers, for acetone can be a double-edged sword.
Before embarking on your grand adventure with acetone, tread with caution, for it may unleash havoc upon vulnerable surfaces such as plastics or painted masterpieces. Always put it to the test in an inconspicuous area to ensure compatibility. Once deemed safe, apply a modest amount of acetone to a cloth or cotton ball, and with gentle strokes, vanquish the adhesive residue. With each stroke, the adhesive crumbles, leaving you with a triumphant victory. Wipe away the residue with a flourish.
Scraping Tools for Removing Adhesive Residue
Look no further. In this exciting exploration, we delve into the world of scraping tools, your trusty allies in the battle against sticky messes. From plastic scrapers to specialized adhesive remover scrapers, we’ll unveil their effectiveness, safety considerations, and expert tips to ensure a triumphant victory.
Plastic Scrapers: Gentle Warriors
When it comes to delicate surfaces, plastic scrapers are the gentle warriors you need. These versatile tools possess the perfect balance of strength and gentleness, effectively removing adhesive residue without causing any damage. Whether you’re tackling labels on glass or decals on painted walls, a plastic scraper is your reliable companion in this fight.
Metal Scrapers: Durability Meets Caution
For tougher surfaces that demand a little more muscle, metal scrapers come to the rescue. With their durability and strength, they can tackle even the most stubborn adhesive residue on various materials. However, caution is key. Use a metal scraper with finesse and controlled force to prevent unintended scratches or damage.
Razor Blades or Utility Knives: Precision in Your Hands
When dealing with intricate areas or tight spaces, precision is paramount. That’s where razor blades or utility knives shine. These tools offer unparalleled control and maneuverability, allowing you to navigate small crevices and remove adhesive residue with ease. Remember to exercise caution and take things slow to avoid accidents or injuries.
Specialized Adhesive Remover Scrapers: Marks Be Gone.
If you’re seeking the ultimate adhesive removal experience without leaving any traces behind, specialized adhesive remover scrapers are your secret weapon. Crafted with specially designed edges, these remarkable tools effortlessly eliminate adhesive residue while avoiding unsightly marks or scratches. Say goodbye to stubborn remnants once and for all.
Safety First: Protectors of Hands and Surfaces
While scraping away at adhesive residue, safety should always be your top priority. Protect your hands by wearing gloves to avoid any potential injuries or skin irritations caused by the residue. Additionally, remember to work at an angle and apply gentle pressure to minimize the risk of surface damage. Stay safe and scrape smart.
Cleaning the Surface after Removal
Before you celebrate, there’s one more crucial step – cleaning the surface to achieve a flawless, residue-free finish. In this comprehensive guide, I will take you through each step of the surface cleaning process, equipping you with the knowledge and tools necessary for a triumphant clean. So, grab your cleaning arsenal and let’s embark on this transformative journey together.
Step 1: Assemble Your Cleaning Arsenal
Before we delve into battle, ensure you have all the necessary materials within arm’s reach. Gather warm water, mild soap or detergent, a soft cloth or sponge, and optionally a scraper or brush for those relentless residues. Preparedness is key to achieving victory.
Step 2: Testing the Waters
Before unleashing your cleaning solution upon the entire surface, it’s vital to conduct a small test in an inconspicuous area. This cautious experiment allows you to determine the solution’s safety and effectiveness on your specific material. Let’s err on the side of caution.
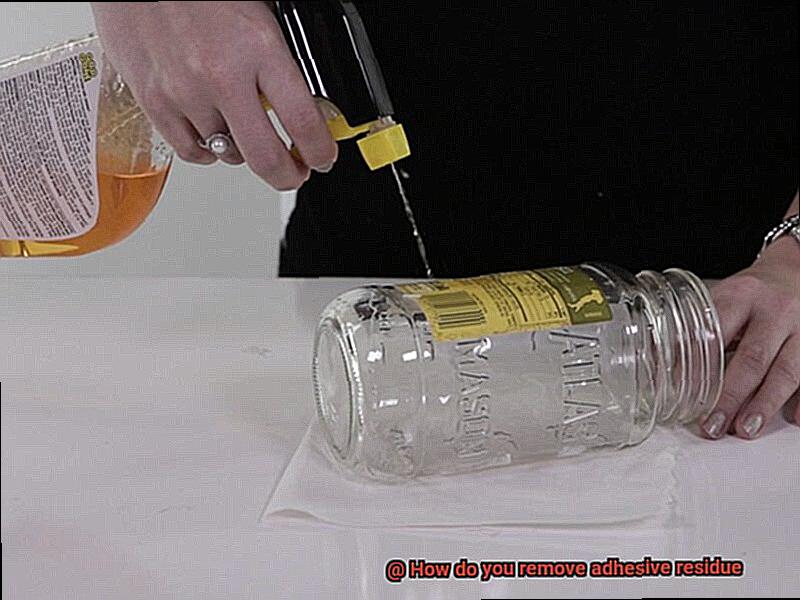
Step 3: Non-Porous Surfaces and the Power of Soapy Water
For hard, non-porous surfaces like glass or metal, the mighty duo of warm soapy water can often conquer any remaining residue. Armed with a soft cloth or sponge, gently scrub away to loosen and banish the lingering adhesiveness. Victory is within your grasp.
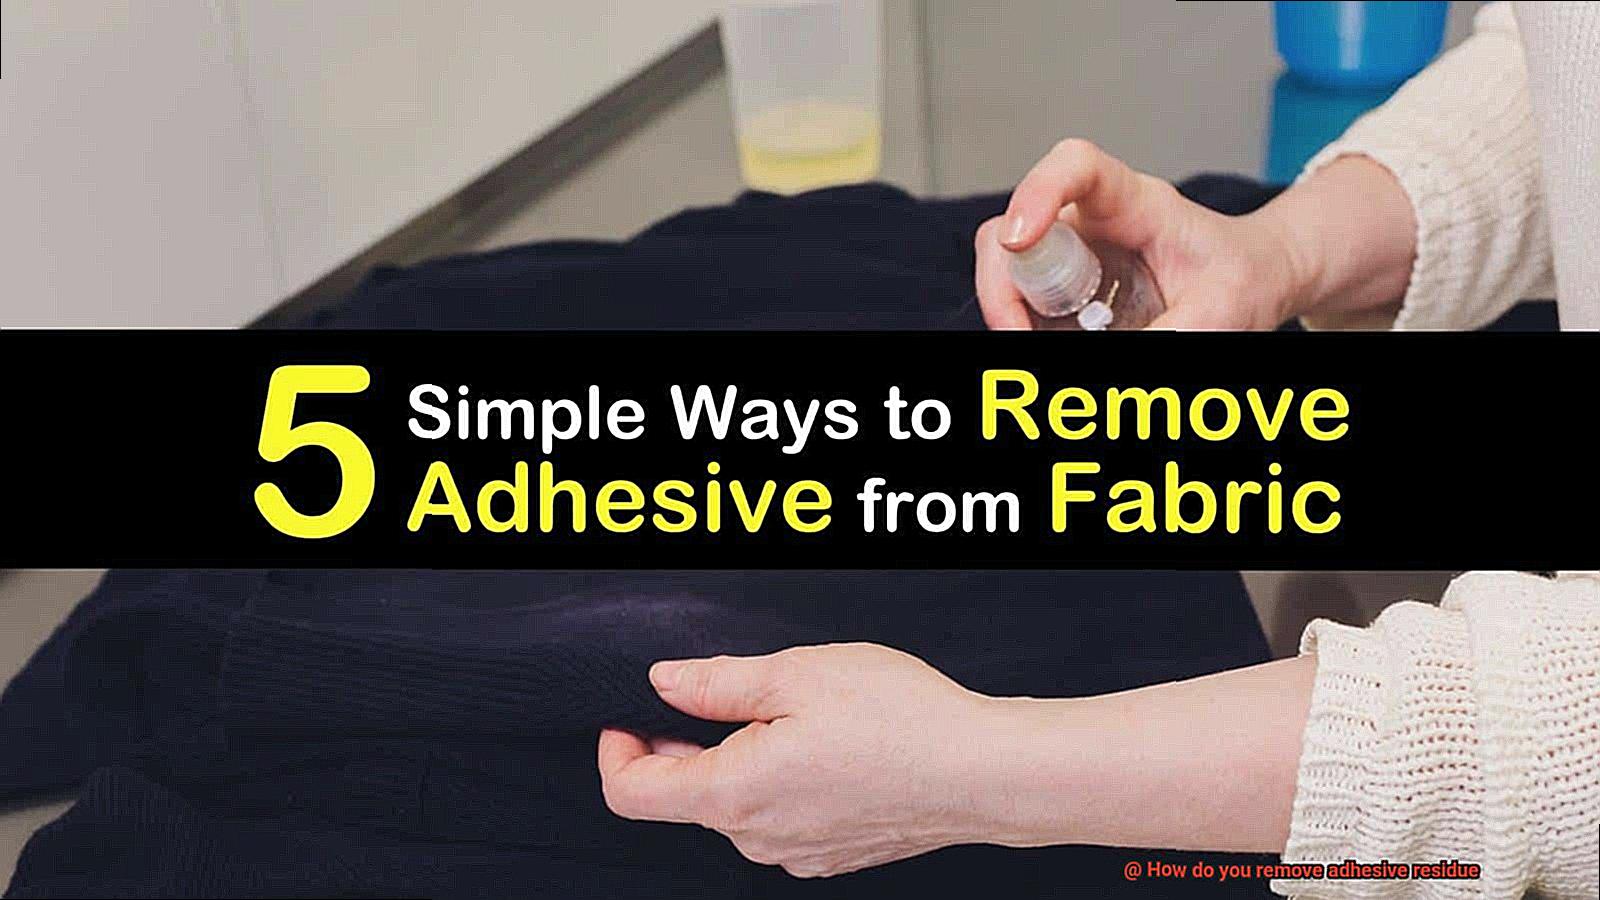
Step 4: Customized Care for Porous Surfaces
Wood or fabric necessitates a more specialized approach. Excessive moisture poses a threat, so instead of drowning your surface, opt for a gentle solvent like rubbing alcohol or vinegar. Dabbing this solution onto a soft cloth will delicately lift away the residue. Patience and precision are your allies.
Step 5: Taming Stubborn Adhesive Residue
For those stubborn residues that refuse to surrender, it’s time to bring in the heavy artillery. Employ a plastic scraper or a brush with soft bristles, but exercise utmost caution to avoid scratching or damaging the surface. We seek a clean victory, not battle scars.
Safety Precautions When Removing Adhesive Residue
However, before you celebrate your victory, it’s crucial to prioritize safety during the removal process. In this article, we will delve into essential safety precautions that will help you remove adhesive residue effectively and without any harm. Let’s explore these precautions in detail.
Gear Up for Success:
Just like a superhero dons their protective suit, it’s vital to gear up before battling adhesive residue. Ensure your safety by wearing appropriate protective gear, including gloves, goggles, and a face mask. These items shield your skin, eyes, and respiratory system from the potentially harmful chemicals or solvents involved in the removal process.
Breathe Easy in a Well-Ventilated Space:
Fresh air is your ally when dealing with adhesive residue removal. Work in a well-ventilated area to prevent inhaling toxic fumes or vapors that may be released during the process. Enhance air circulation by opening windows, doors or using fans. Let the breeze guide you towards safer removal.
Follow Instructions for Success:
Adhesive removers come with specific instructions for usage and safety. Take the time to read and follow these instructions provided by the manufacturer. They serve as your guide, ensuring that you use the product safely and effectively, leading to a successful adhesive removal process.
Test Gently in an Inconspicuous Spot:
Before unleashing your adhesive remover or solvent on a larger surface, play it safe with a patch test in a small, inconspicuous area. This helps determine if the product is compatible with the material and finish of the surface without causing damage or discoloration. Taking this precautionary step ensures a worry-free removal process.
Tools and Techniques: Choose Wisely:
Just as a surgeon carefully selects their tools, you need to choose the appropriate tools and techniques for removing adhesive residue. Opt for non-abrasive tools like plastic scrapers or soft cloths to avoid scratching or damaging the surface. Employ gentle techniques such as rubbing or dabbing, reducing the risk of accidents and preserving the integrity of the surface.
lTpCVzamEsY” >
Conclusion
Adhesive residue can be a stubborn and frustrating problem, but fear not.
There are several effective methods for removing it. One simple solution is to use rubbing alcohol or nail polish remover.
Just apply a small amount to a cloth and gently rub the residue until it lifts off. Another option is to try using cooking oil or peanut butter – yes, you read that right.
These household staples have natural oils that can break down the adhesive, making it easier to remove. Simply apply a dab of oil or peanut butter to the residue, let it sit for a few minutes, and then wipe it away with a cloth.
For more heavy-duty adhesive residue, consider using a commercial adhesive remover. These products are specifically designed to tackle tough sticky messes and can be found at most hardware stores.
Remember to always follow the instructions on the product label and use in a well-ventilated area.