Sick and tired of battling with that stubborn adhesive gunk on your precious ceramic surfaces? Well, fret no more.
This blog post is here to save the day and show you the ultimate tricks for banishing adhesive from ceramic once and for all. Whether it’s those pesky labels, sticky tape residue, or even glue mishaps, we’ve got your back.
We’ll spill the beans on everything from using everyday household items to some fancy shmancy commercial products. And don’t worry, we won’t leave you hanging – we’ll break down each method step-by-step with easy-to-follow instructions and even throw in some snazzy illustrations to boot.
So wave goodbye to those ugly adhesive marks and get ready to bring back the original beauty of your ceramic surfaces.
Step-by-Step Guide on Removing Adhesive from Ceramic
Contents
- 1 Step-by-Step Guide on Removing Adhesive from Ceramic
- 1.1 Step 1: Gather your weapons of choice
- 1.2 Step 2: Scrape away the excess
- 1.3 Step 3: Dampen and conquer
- 1.4 Step 4: Unleash the power of dish soap
- 1.5 Step 5: Enter the heavy artillery – rubbing alcohol or acetone
- 1.6 Step 6: Rinse and dry – victory is near
- 1.7 Step 7: Repeat or unleash the commercial warriors
- 1.8 Step 8: The final flourish
- 2 Using Heat to Remove Adhesive from Ceramic
- 3 Using Solvents or Adhesive Removers to Remove Adhesive from Ceramic
- 4 Natural Solutions for Removing Adhesive from Ceramic
- 5 Combining Different Methods for Better Results in Removing Adhesive
- 6 Tips and Tricks for Easier Removal of Adhesive from Ceramic
- 7 Common Mistakes When Removing Adhesive From Ceramic
- 8 What To Do If You Can’t Remove the Adhesive From Ceramic
- 9 Conclusion
Don’t fret, we’ve got the ultimate step-by-step guide to help you banish that stubborn residue. Prepare to unleash your inner cleaning guru.
Step 1: Gather your weapons of choice
Arm yourself with a plastic scraper, a soft cloth or sponge, warm water, dish soap, rubbing alcohol or acetone (nail polish remover), and a clean towel. These trusty tools will be your secret weapons in this battle against adhesive.
Step 2: Scrape away the excess
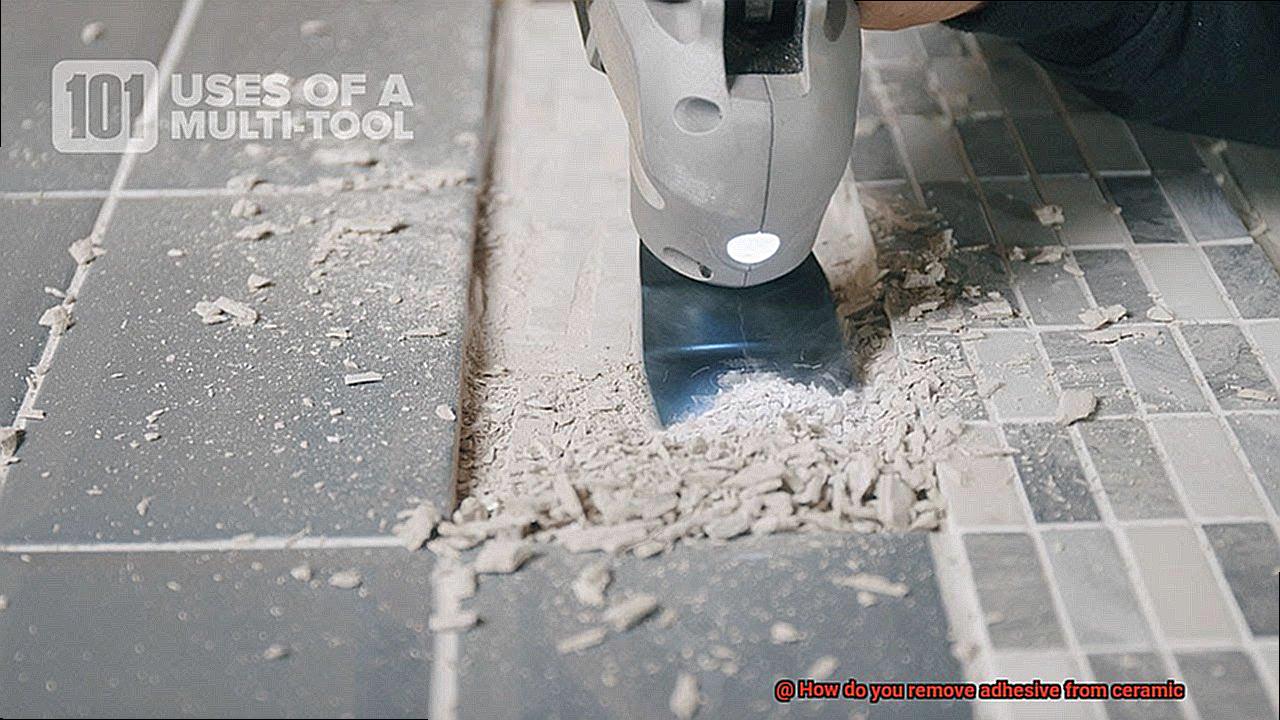
Take your plastic scraper and delicately scrape off as much of the adhesive as possible. Be gentle and cautious, ensuring you don’t leave any battle scars on your precious ceramic surface.
Step 3: Dampen and conquer
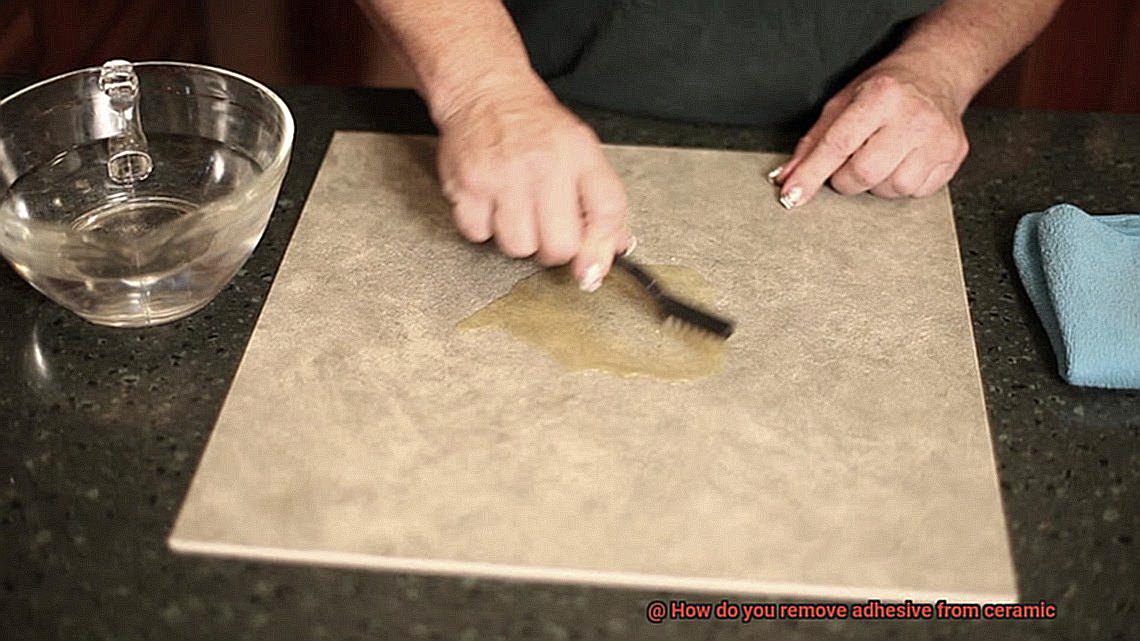
Dampen your soft cloth or sponge with warm water and gently rub the adhesive residue. Let the water work its magic as it loosens the grip of the adhesive, making it easier to eliminate.
Step 4: Unleash the power of dish soap
If the adhesive persists, call in reinforcements in the form of dish soap. Apply a small amount to your cloth or sponge and massage it onto the adhesive until it begins to dissolve. Rinse the area with warm water and wipe it dry with a clean towel.
Step 5: Enter the heavy artillery – rubbing alcohol or acetone
For those stubborn adhesive remnants that refuse to surrender, bring out the big guns – rubbing alcohol or acetone. Dab a bit onto a cloth or sponge and gently rub the adhesive until it surrenders. But beware. Test these substances on a hidden area first to ensure they won’t tarnish the ceramic’s glory.
Step 6: Rinse and dry – victory is near
Once you’ve triumphed over the adhesive, rinse the area with warm water and wipe it dry with a clean towel. This will eliminate any lingering residue, leaving your ceramic surface spotless and gleaming.
Step 7: Repeat or unleash the commercial warriors
If any traces of adhesive remain, don’t despair. You can either repeat the previous steps or employ the assistance of commercial adhesive removers specifically designed for ceramics. Follow the product instructions diligently.
Step 8: The final flourish
Give your ceramic surface a final wipe down with warm water and a clean towel. Marvel at its newfound radiance, free from any adhesive residue.
Remember to exercise caution when handling chemicals and adhere to safety guidelines. If uncertain about certain products or techniques, seek advice from professionals.
Using Heat to Remove Adhesive from Ceramic
It’s like a stubborn villain that refuses to let go. But fear not, for we have a secret weapon – heat. With a bit of ingenuity and some basic tools, you can reclaim your ceramic’s pristine glory. In this guide, we’ll unveil the power of heat and walk you through the steps to defeat sticky situations. So grab your trusty hairdryer, don your problem-solving cap, and let’s embark on this adhesive-busting adventure.
Step 1: Test it out – A gentle touch
Before diving into battle, always test a small, inconspicuous area of your ceramic surface. This crucial step ensures that the heat won’t harm or discolor your beloved piece. Once you’ve received the green light, you’re ready to proceed.
Step 2: Heat it up – Unleash the hairdryer
Your humble hairdryer is about to become your secret weapon. Set it to a low heat setting and hold it a few inches away from the adhesive. As the hot air caresses the adhesive, it gradually softens, making it easier to remove. Gently move the dryer back and forth across the affected area, ensuring an even distribution of heat.
Step 3: Scrape it off – Warrior tools
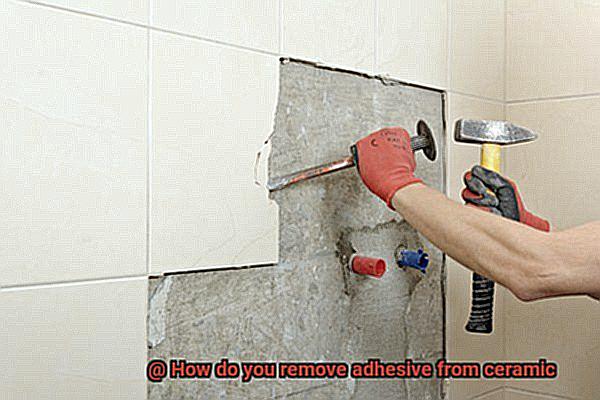
With the adhesive surrendering under the spell of heat, arm yourself with a plastic scraper or an old credit card. These gentle warriors are less likely to mar or damage your precious ceramic surface compared to their metallic counterparts. Apply gentle pressure and scrape away the softened adhesive in small sections. Should resistance persist, reapply heat and repeat until all traces of adhesive are vanquished.
Step 4: Cleanse and purify – The aftermath
As victory looms near, it’s time to restore your ceramic’s pristine beauty. Use warm water and dish soap to thoroughly cleanse the surface, banishing any lingering glue or residue. For those pesky adhesives that refuse to yield, enlist the aid of rubbing alcohol or acetone. Apply a small amount to a soft cloth, gently rubbing the area until it shines like new. Rinse with fresh water and dry the ceramic diligently to prevent unsightly water spots.
Using Solvents or Adhesive Removers to Remove Adhesive from Ceramic
We’ve all faced the frustration of trying to remove adhesive from our beautiful ceramic surfaces, only to find it clinging on for dear life. But fear not, my friends. I am here to reveal the secret to winning this battle. Today, we will dive into the exciting world of solvents and adhesive removers, and discover how they can help you conquer even the toughest adhesive on your ceramic surfaces. Get ready to bid farewell to stubborn glue stains.
The Powerhouses: Solvents and Adhesive Removers
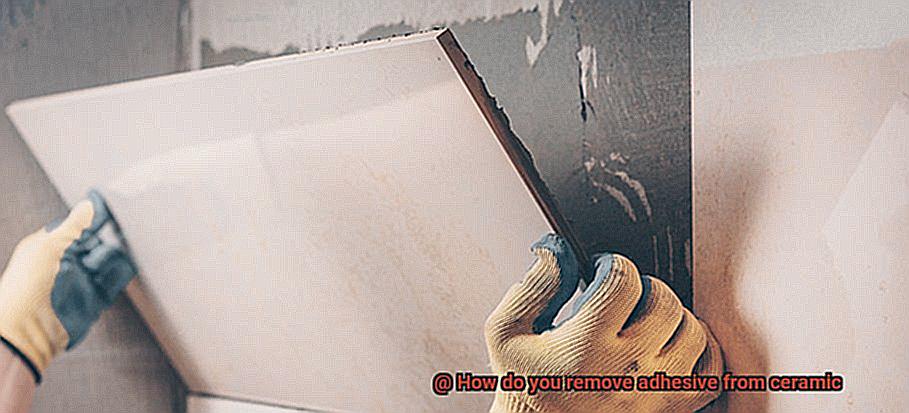
Imagine a superhero duo that breaks down adhesive bonds effortlessly – that’s what solvents and adhesive removers are. These specially formulated products are designed to weaken adhesives, making them a breeze to remove without harming your beloved ceramic surface.
The Testing Phase: Safety First.
Before unleashing these powerful weapons, it’s crucial to conduct a small patch test in an inconspicuous area. This step ensures that the solvent or remover won’t cause any damage or discoloration – a precautionary measure for successful adhesive removal.
Meet Acetone – The Superhero of Adhesive Removal
In the realm of adhesives, acetone reigns supreme. This widely used solvent is known for its prowess in breaking down stubborn adhesives like super glue. However, wield acetone with caution, as it can be harsh and may harm certain types of ceramic surfaces. To use acetone, saturate a clean cloth or cotton ball with the solvent, gently rub it onto the adhesive, allow it to sit for a few minutes, then scrape away the softened adhesive using a plastic scraper or your fingertips.
Commercial Adhesive Removers – The Sidekicks You Need
For those seeking a gentler approach or dealing with a particularly stubborn adhesive, commercial adhesive removers are your trusted sidekicks. These products are specifically formulated to dissolve adhesives without causing any harm to your ceramic surfaces. To achieve optimal results, simply follow the manufacturer’s instructions and watch as the adhesive surrenders.
Safety First, Always.
As you embark on your adhesive removal mission, ensure that you work in a well-ventilated area and don protective gloves to avoid skin contact. Keep open flames and sparks at a safe distance, as these solvents and removers are flammable – remember, safety is key.
The Final Touch: Post-Adhesive Removal Cleanup
After triumphantly removing the adhesive, it’s essential to cleanse the ceramic surface with warm soapy water. This step eliminates any residue from the solvent or adhesive remover, leaving your ceramic surface gleaming and adhesive-free.
Natural Solutions for Removing Adhesive from Ceramic
When it comes to removing adhesive from ceramic, natural solutions can be just as effective as harsh chemicals. Not only are they environmentally friendly, but they also won’t break the bank. So, say goodbye to sticky residue and hello to a clean and adhesive-free ceramic surface. Here are five natural solutions that will do the trick:
- Vinegar: Soak a cloth or sponge in vinegar and apply it directly to the adhesive. Let the vinegar work its magic for a few minutes before gently scrubbing away the softened adhesive with the cloth. The acidic properties of vinegar help break down the sticky mess.
- Baking Soda: Create a paste by mixing baking soda with a small amount of water. Apply this paste directly to the adhesive and let it sit for a few minutes. Then, grab a sponge or cloth and gently scrub away the adhesive. Baking soda’s mild abrasive properties make it a great natural adhesive remover.
- Lemon Juice: The acidity of lemon juice makes it an excellent natural solution for removing adhesive. Simply apply lemon juice directly to the adhesive and let it sit for a few minutes. Then, get your scrubbing tools ready and start working away that sticky residue. Your ceramic surface will be clean and shiny in no time.
- Olive Oil: Pour a small amount of olive oil onto the adhesive and let it sit for a few minutes. The oil will help loosen the adhesive, making it easier to remove. Grab a cloth or sponge and gently scrub away the adhesive, revealing a spotless ceramic surface.
- Rubbing Alcohol: Apply a small amount of rubbing alcohol directly to the adhesive and let it sit for a few minutes. Then, armed with your trusty cloth or sponge, start scrubbing away that stubborn glue. The alcohol will dissolve the adhesive, leaving your ceramic surface looking brand new.
Combining Different Methods for Better Results in Removing Adhesive
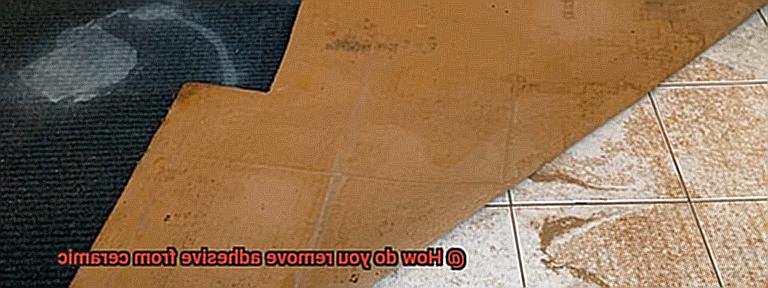
Removing adhesive from ceramic surfaces can be a frustrating task, but by combining different methods, you can achieve better results and say goodbye to sticky residue for good. Here’s a comprehensive guide that will help you tackle even the most stubborn adhesives.
- Heating: Start by using a heat gun or hairdryer to apply heat to the adhesive. The heat softens the glue, making it easier to remove. Be cautious not to overheat the ceramic, as it can cause damage. Once the adhesive is softened, move on to the next step.
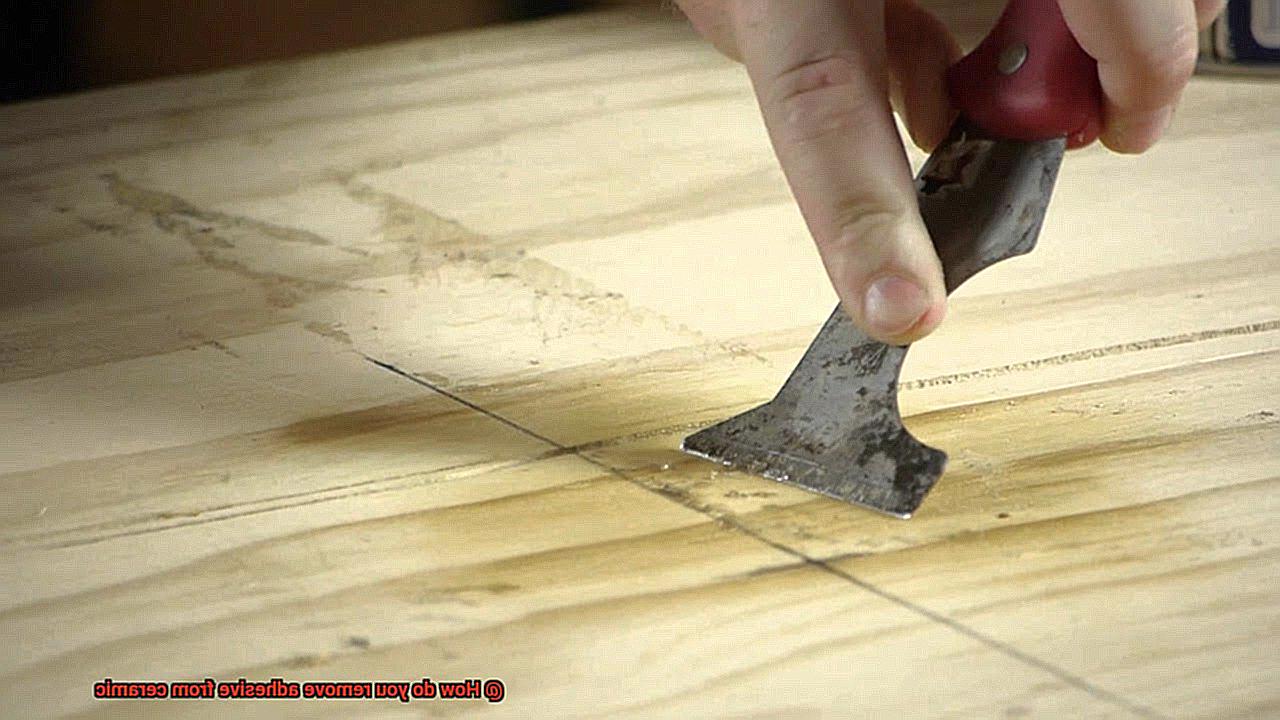
- Scraping: Grab a scraper or putty knife and gently scrape off the softened residue. Apply just enough pressure to remove the adhesive without scratching the surface. Take your time and be patient during this process.
- Adhesive Removers: If there are still traces of adhesive left, try using a commercial adhesive remover. These products are specifically designed to break down and dissolve adhesives. Follow the instructions carefully and ensure that the product is safe for use on ceramic surfaces.
- Natural Alternatives: If you prefer natural alternatives, rubbing alcohol or nail polish remover can do wonders. Apply a small amount onto a clean cloth or cotton ball and gently rub the adhesive until it starts to loosen. Always test these substances on a small, inconspicuous area first to avoid any damage.
- Abrasive Paste: For hardened adhesives that refuse to budge, create a paste using baking soda and water. Apply the paste onto the adhesive and let it sit for a few minutes before scrubbing it with a soft brush or sponge. The abrasive nature of the paste helps break down the adhesive for easier removal.
- Acidic Substances: Vinegar or lemon juice can also be effective in dissolving adhesives. Apply them onto a cloth or sponge and gently rub the adhesive until it starts to loosen.
Remember to work in a well-ventilated area when using chemical substances and wear gloves to protect your hands. Keep in mind that the effectiveness of each method may vary depending on the type of adhesive and ceramic surface, so always test any method or substance on a small, inconspicuous area first.
Tips and Tricks for Easier Removal of Adhesive from Ceramic
Whether it’s a sticky sticker, stubborn tape, or pesky glue, removing adhesive from ceramics can be a daunting task. However, with the right tips and tricks, you can make this process easier and more effective.
In this article, we will explore the importance of using these techniques to ensure a hassle-free removal experience. So, let’s dive in and discover how to restore your ceramic surfaces to their original clean and adhesive-free state.
Identify the Type of Adhesive:
The first step in successfully removing adhesive from ceramic is identifying the type of adhesive you are dealing with. Different adhesives require different removal methods. Whether it’s epoxy, super glue, or tile adhesive, understanding the nature of the adhesive will help you choose the most suitable technique for removal.
Protect Yourself:
Before embarking on any adhesive removal process, it is crucial to prioritize your safety. Wear protective gloves and safety goggles to shield your skin and eyes from potential harm caused by harsh chemicals present in some adhesive removers. Safety should always be your top priority.
Apply Heat:
To tackle dried or stubborn adhesive, heat is your secret weapon. Grab a hairdryer or heat gun and direct the warm air towards the adhesive. The heat softens the adhesive, making it easier to remove without damaging the ceramic surface. Employ a plastic scraper or an old credit card to gently scrape off the softened adhesive. Avoid using metal tools that could scratch the ceramic.
Try Adhesive Removers:
For more resilient adhesives, consider using commercial adhesive removers specifically designed for ceramics. These products are readily available at hardware stores and can expedite the removal process. Follow the instructions on the label carefully and test the remover on a small area of the ceramic before applying it to the entire affected surface.
Natural Solutions:
If you prefer a more natural approach, household items like vinegar or rubbing alcohol can be surprisingly effective at removing adhesive from ceramics. Soak a cloth in vinegar or rubbing alcohol and place it over the adhesive for several minutes. This allows the solution to penetrate and break down the adhesive. Then, use a soft brush or sponge to gently scrub away the residue.
Be Patient and Persistent:
Removing adhesive from ceramic can sometimes require multiple attempts. Don’t lose heart if the adhesive doesn’t come off immediately. Be patient and persistent, repeating the removal process until the adhesive is completely gone. Rushing or using excessive force may damage the ceramic surface, so take your time and proceed with caution.
Common Mistakes When Removing Adhesive From Ceramic
Removing adhesive from ceramic surfaces can be a challenging task if you’re not careful. Many people make common mistakes that can result in damage to the ceramic or leave behind a sticky residue. To ensure a successful adhesive removal process, it’s important to avoid these mistakes and follow the right techniques.
One common mistake is using excessive force or scraping tools that can damage the delicate ceramic surface. Ceramic is a fragile material, so it’s crucial to be gentle and patient when removing adhesive. Instead of using brute force, opt for a plastic scraper or even your fingernail to carefully lift off the adhesive.
Another mistake is not properly preparing the adhesive for removal. Different adhesives require specific solvents or cleaning agents to break down and dissolve. Using the wrong solvent can make the removal process more difficult and time-consuming. Before starting, do some research or consult an expert to determine the best solvent for your particular adhesive.
Using harsh chemicals or abrasive cleaners on ceramic surfaces is also a common mistake. These chemicals can cause discoloration or etching on the surface of the ceramic. Instead, choose gentle cleaning solutions that are safe for ceramics.
Not allowing enough time for the adhesive remover to work is another mistake. Some adhesives require a certain amount of time to break down before they can be easily removed. Patience is key, so give the adhesive remover enough time to do its job effectively.
Lastly, neglecting to clean and dry the ceramic surface thoroughly after removing the adhesive can lead to residual stickiness or a hazy appearance. To achieve a smooth and adhesive-free finish, make sure to thoroughly clean and dry the surface after removing the adhesive.
What To Do If You Can’t Remove the Adhesive From Ceramic
We’ve got the tips and tricks to help you tackle this challenge head-on. With a little patience and the right tools, your ceramic will be looking brand new in no time.
Scrape It Off:
Start by arming yourself with a plastic scraper or trusty credit card. Gently scrape away as much adhesive as possible, being careful not to harm the ceramic. Sometimes, a little elbow grease is all it takes to loosen that tenacious adhesive grip.
Try an Adhesive Remover:
When scraping alone won’t cut it, it’s time to bring in reinforcements. Head to your local hardware store and grab a commercial adhesive remover designed specifically for ceramics.
Before using it on the entire surface, test it in a hidden area to ensure it won’t cause any damage or discoloration. Follow the product instructions and give it some time to penetrate the adhesive.
DIY Solutions:
If you prefer a more natural approach, there are homemade solutions worth trying. Mix equal parts baking soda and cooking oil to create a powerful paste. Apply it to the adhesive, let it sit for a few minutes, then wipe it away with a clean cloth.
Alternatively, soak a cloth in white vinegar, place it over the adhesive, and let it work its magic before wiping away the softened residue.
Apply Some Heat:
For those especially stubborn adhesives, heat can be your secret weapon. Grab a hairdryer or heat gun and set it on low heat. Warm up the adhesive, then gently scrape off the residue with your plastic scraper or credit card. Remember not to go overboard with the heat, as ceramic can be sensitive.
Seek Professional Help:
If all else fails and the adhesive is still holding on for dear life, it might be time to call in the experts. Professional cleaners or restoration specialists have the knowledge and tools to remove the adhesive without harming your precious ceramic.
RGVUbHxwqVA” >
Conclusion
Removing adhesive from ceramic can be a challenging task, but with the right techniques and products, you can restore your ceramic surfaces to their original beauty.
There are several methods you can try, depending on the type of adhesive and the level of stubbornness. One effective method is to use a solvent-based adhesive remover.
Apply the remover directly to the adhesive and let it sit for a few minutes to penetrate and loosen the bond. Then, gently scrape off the softened adhesive using a plastic scraper or a soft cloth.
Another option is to use heat to soften the adhesive. You can do this by using a hairdryer or a heat gun on low settings to warm up the adhesive, making it easier to remove.
Be cautious not to overheat the ceramic surface as it may cause damage. Additionally, rubbing alcohol or acetone can also be effective in removing certain types of adhesives.
Simply apply some alcohol or acetone onto a cloth and gently rub away the adhesive until it lifts off. Remember to test these solvents on a small, inconspicuous area first to ensure they do not cause any damage or discoloration.
Lastly, if all else fails, you can try using an abrasive cleaner or a paste made from baking soda and water. These options should only be used as a last resort as they may scratch or dull the ceramic surface.
Whichever method you choose, make sure to thoroughly clean and dry the ceramic after removing the adhesive residue.

