Ever tried sticking rubber to metal, only to find your efforts falling apart? Don’t fret. We’ve got you covered. In this blog post, we’re going to spill the beans on how to permanently glue rubber to metal. Get ready for some practical tips and tricks that will make your bond unbreakable.
To conquer this challenge, it’s crucial to understand what affects the strength of the bond between rubber and metal. We’ll dive into the nitty-gritty of surface preparation, adhesive selection, and curing techniques. Plus, we’ll explore different adhesive options like epoxy and cyanoacrylate adhesives that are perfect for this job.
Whether you need an industrial-strength bond or just want to fix something around the house, our comprehensive guide has got you covered. Say goodbye to temporary fixes and hello to a bond that will stand the test of time. Ready? Let’s uncover the magic behind permanently gluing rubber to metal.
Choosing the Right Adhesive
Contents
Selecting the perfect adhesive for bonding rubber to metal is no small task. The distinct properties of rubber and metal make it challenging to find an adhesive that can create a strong and enduring bond. In this comprehensive guide, we will delve into the factors you need to consider when choosing an adhesive for rubber-to-metal bonding. Additionally, we will provide a diverse range of adhesive options to empower you in making an informed decision.
Factors to Consider:
- Compatibility: Ensure that the adhesive is compatible with both rubber and metal surfaces. Not all adhesives adhere well to every type of rubber or metal, so it’s crucial to consult the manufacturer’s recommendations.
- Application Requirements: Take into account specific application requirements such as exposure to extreme temperatures, water, or chemicals. For automotive or marine applications that demand additional resistance, specialized adhesives are available.
- Surface Preparation: Thoroughly clean and degrease both the rubber and metal surfaces before applying the adhesive. If necessary, roughen the metal surface to improve adhesion.
- Manufacturer’s Instructions: Always adhere to the manufacturer’s instructions regarding application techniques and curing times. Prioritize conducting a small test bond before proceeding with larger or critical areas.
Adhesive Options:
- Rubber Adhesive: Designed specifically for bonding rubber to metal, these adhesives provide a robust grip on the metal surface while accommodating the rubber’s movement.
- Epoxy Adhesive: Renowned for their strength and durability, epoxy adhesives can be suitable for bonding rubber to metal. However, ensure compatibility with both materials before usage.
- Polyurethane Adhesive: Offering flexibility and resistance to impact and vibration, polyurethane adhesives excel in joints experiencing movement or stress.
- Silicone-based Adhesive: Boasting exceptional resistance to heat, moisture, and chemicals, silicone-based adhesives are commonly used for bonding rubber seals or gaskets to metal surfaces.
Proper Surface Preparation
In the world of gluing rubber to metal, the secret to a lasting bond lies in proper surface preparation. Just like in any relationship, a strong foundation is essential for a lifelong connection. In this comprehensive guide, we will unveil the secrets to achieving proper surface preparation, ensuring that your rubber and metal stick together like best friends forever.
Step 1: Immaculate Surfaces – The First Step Towards Perfection
Before embarking on the bonding journey, it is crucial to ensure that both the rubber and metal surfaces are immaculately clean, free from any dirt, dust, oil, or grease. Picture this: a gentle soap and water solution delicately caressing the rubber’s surface, cleansing it of impurities. A soft-bristle brush or sponge dances gracefully, removing any remnants of grime. Rinse with pure water, like a refreshing shower on a hot summer day, and delicately dry with a pristine cloth, leaving not a trace of moisture behind.
Now, shift your attention to the metal surfaces. A degreaser or solvent becomes your trusty ally in this endeavor. Like a virtuoso wielding their instrument with finesse, you apply the degreaser to a clean cloth, wiping away all traces of oil and grease from the metal’s pristine facade. Follow the manufacturer’s instructions meticulously, as they hold the key to success. Purify with water, allowing it to cascade over the surface like a cleansing waterfall, before meticulously drying every inch.
Step 2: Embrace Texture – The Art of Roughening
To create an enchanting bond between rubber and metal, embrace the art of roughening their surfaces. Sandpaper or a sanding block become your tools of choice in this dance. Gently glide them over the surfaces, leaving behind a trail of texture. The sandpaper whispers sweet nothings as it creates uniformity, caressing the materials in one direction. Remember, you’re not tearing them apart; you’re simply providing a roughened canvas for the adhesive to embrace.
Step 3: Amplify the Chemistry – The Power of Primers and Adhesion Promoters
Amplify the chemistry between rubber and metal through the power of primers and adhesion promoters. These enchanting elixirs are specifically designed to enhance the bond between these two materials. Imagine a painter meticulously applying layers of primer to their canvas, each stroke enhancing the vibrancy of the final masterpiece. Follow the instructions provided with the primer, allowing it to work its magic as it creates a chemical bond that strengthens the connection between rubber and metal.
Types of Adhesives for Bonding Rubber to Metal
When it comes to bonding rubber to metal, choosing the right adhesive is crucial. With various options available, it can be overwhelming to determine which adhesive will provide the best results. In this blog post, we will explore the different types of adhesives used for bonding rubber to metal and their advantages and limitations. By understanding these factors, you can make an informed decision and achieve a strong and durable bond.
Cyanoacrylate Adhesive (Super Glue):
Cyanoacrylate adhesives are known for their fast curing time and high bond strength. They are ideal for bonding small rubber parts to metal surfaces. The adhesive forms a strong bond quickly, allowing for efficient assembly processes. However, it’s important to note that cyanoacrylate adhesives may not be suitable for all rubber and metal combinations. Some rubbers release chemicals that can inhibit the curing process of cyanoacrylate adhesives, leading to weaker bonds. Additionally, these adhesives are not recommended for applications that require resistance to high temperatures or harsh chemicals.
Epoxy Adhesive:
Epoxy adhesives offer exceptional strength and durability, making them ideal for bonding larger rubber components to metal substrates. These adhesives consist of two components that need to be mixed together before application. While they require mixing and have a longer curing time compared to cyanoacrylate adhesives, epoxy adhesives can withstand harsh conditions and provide a reliable bond. They offer excellent resistance to chemicals, moisture, and temperature fluctuations. However, epoxy adhesives may not be as flexible as other options, making them less suitable for applications that require significant movement or vibration.
Silicone Adhesive:
Silicone adhesives are renowned for their flexibility and resistance to high temperatures, making them suitable for applications where movement or heat is involved. They are commonly used for bonding rubber seals or gaskets to metal surfaces. Silicone adhesives can maintain their properties over a wide temperature range, ensuring a reliable bond even in extreme conditions. However, silicone adhesives may not provide the same level of strength and durability as epoxy adhesives. They also require longer curing times and can be more expensive.
Polyurethane Adhesive:
Polyurethane adhesives excel in flexibility and impact resistance, making them perfect for applications that experience vibration or stress. They provide a strong bond even on uneven or irregular surfaces. Polyurethane adhesives have good chemical resistance and can withstand exposure to moisture and temperature fluctuations. However, they may not offer the same level of temperature resistance as silicone adhesives. These adhesives also tend to have longer curing times and require proper surface preparation for optimal bonding.
Cyanoacrylate Adhesives
Cyanoacrylate adhesives, commonly known as super glues or instant adhesives, are highly versatile and widely used for bonding rubber to metal. These adhesives are renowned for their rapid drying time and exceptional bonding strength, making them the go-to choice for various applications.
One of the standout advantages of cyanoacrylate adhesives is their ability to bond different materials, including rubber and metal. This versatility makes them indispensable in connecting various components securely. The adhesive forms a resilient and enduring bond between the rubber and metal surfaces, ensuring a solid connection that stands the test of time.
When utilizing cyanoacrylate adhesives to bond rubber to metal, surface cleanliness is paramount. It is crucial to thoroughly clean both surfaces, removing any dirt, grease, or moisture. A suitable cleaning agent or solvent can be used to achieve pristine conditions. This meticulous preparation guarantees optimal bonding results.
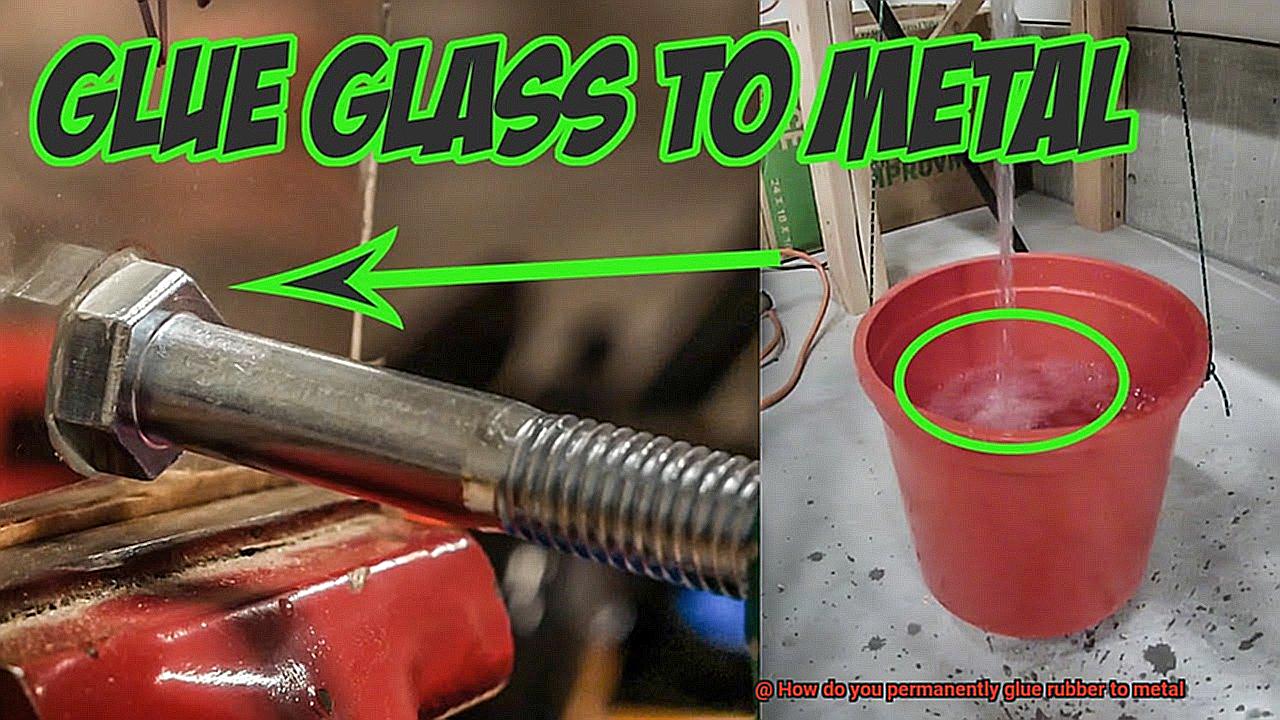
To ensure a successful bond, it is recommended to apply cyanoacrylate adhesive in thin layers. This promotes proper curing and enhances the overall strength of the bond. When bonding rubber to metal, it is advisable to apply the adhesive to the metal surface rather than directly onto the rubber. This approach facilitates a seamless and flawless connection.
After applying the adhesive, firmly press the rubber and metal surfaces together to maximize contact and bond strength. It is advisable to hold the components in place for a few minutes until the adhesive sets. Patience is key during this crucial step. However, rest assured that the drying time will be brief, allowing you to proceed swiftly.
It’s worth noting that cyanoacrylate adhesives can sometimes exhibit brittleness once fully cured. For applications involving movement or vibration, specialized cyanoacrylate adhesives with improved flexibility are available. These adhesive options adapt and stretch to meet your specific needs, ensuring a resilient bond even in dynamic situations.
Epoxy Adhesives
Today, we embark on a thrilling journey into the world of epoxy adhesives and their remarkable capacity to bond rubber to metal. Whether you’re a DIY enthusiast or a seasoned professional seeking a reliable bonding solution, this guide is your passport to success. So buckle up and brace yourself for an in-depth exploration of this superhero of glues.
Understanding Epoxy Adhesives:
- What makes epoxy adhesives so special?
- The unique properties that make them ideal for bonding rubber to metal.
- The chemical composition and reaction behind their strength and durability.
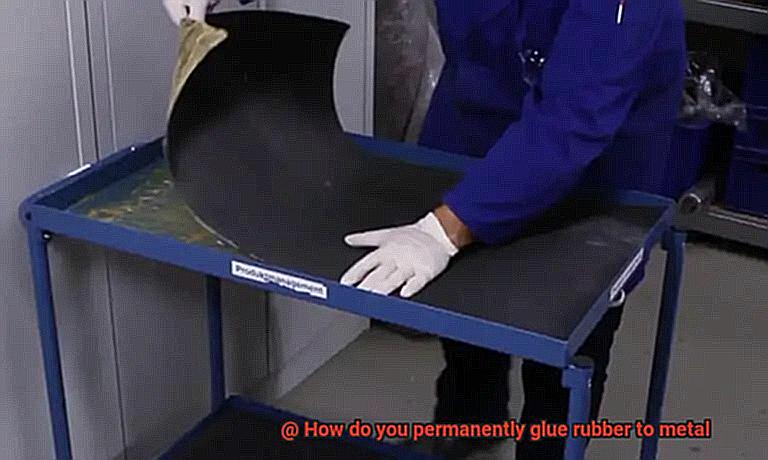
Preparing for Success:
- The pivotal role of surface preparation – cleanliness is paramount.
- Selecting the appropriate solvent or cleaner for optimal results.
- Expert techniques for removing oil, grease, and other contaminants.
Application Techniques:
- Mastering the art of applying epoxy adhesive – thin is in.
- Achieving even distribution using brushes or spatulas.
- Professional tips for precise targeting of the metal surface.
Joining Forces:
- The magic moment: bringing rubber and metal together.
- Embracing clamps or weights as secret weapons for a secure bond.
- Navigating the manufacturer’s instructions for optimal curing time.
Unleashing the Power of Bonded Rubber and Metal:
- Reveling in the strength and durability of epoxy adhesives.
- Their resistance to impact, heat, and chemicals, ensuring longevity.
- Exploring the wide-ranging applications where they excel.
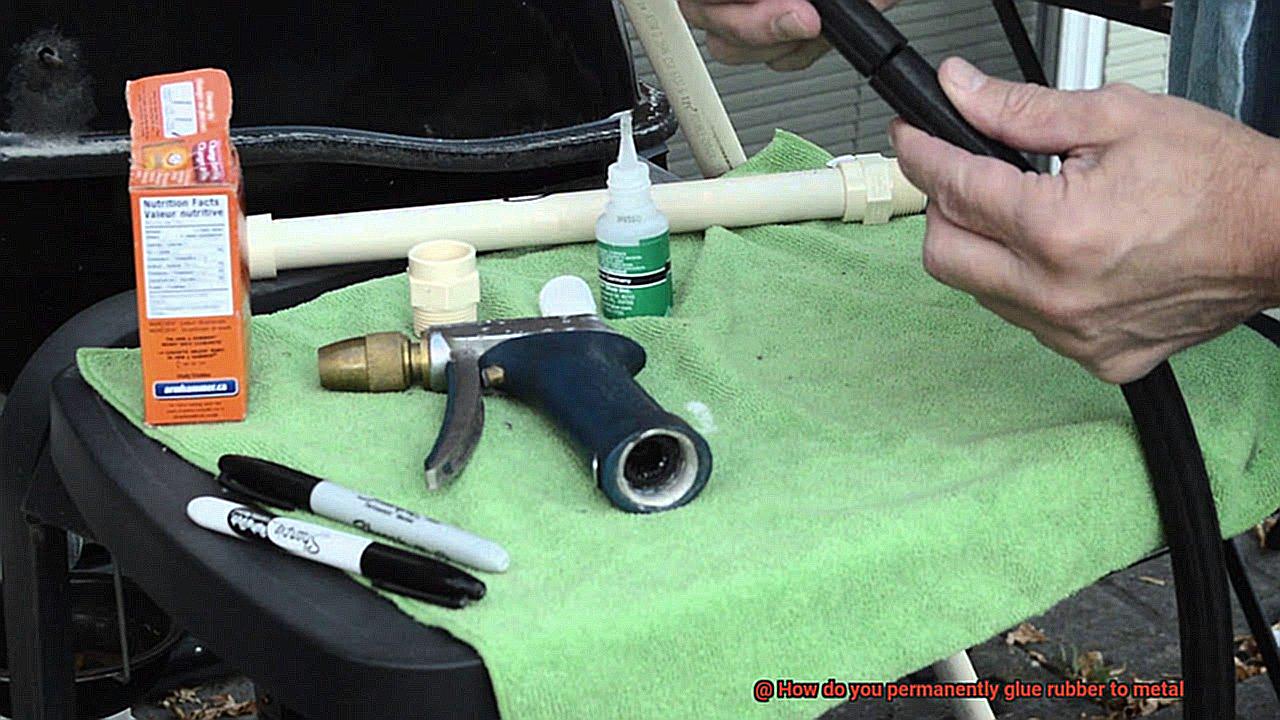
Epoxy adhesives are a popular choice when it comes to permanently bonding rubber to metal. Renowned for their exceptional strength and superior bonding properties, epoxy adhesives consist of two components – a resin and a hardener. When these components are mixed, a chemical reaction occurs, resulting in a robust and enduring bond.
One of the standout advantages of epoxy adhesives is their versatility in adhering to an extensive range of materials, including rubber and metal. This makes them the perfect choice for bonding these two dissimilar materials together. The adhesive forms incredibly strong molecular bonds with both the rubber and metal surfaces, creating a secure connection capable of withstanding diverse environmental conditions.
Polyurethane Adhesives
Get ready to delve into the remarkable capabilities of these adhesives in creating a robust bond between rubber and metal. From their incredible versatility to their exceptional strength and durability, let’s explore the magic behind polyurethane adhesives and how they can revolutionize your bonding projects.
Advantages of Polyurethane Adhesives:
- Versatility: Like chameleons of the adhesive world, polyurethane adhesives possess the remarkable ability to bond an extensive range of materials, including rubber and metal. Whether you’re repairing your favorite sneakers or working on industrial projects, these adhesives have got you covered.
- Strength and Durability: When it comes to bonding rubber and metal, polyurethane adhesives are a force to be reckoned with. They create a solid and long-lasting connection that can withstand even the most demanding conditions, ensuring your rubber remains firmly attached to the metal surface.
- Flexibility: The flexibility of polyurethane adhesives is akin to yoga for your bond – it allows for movement without compromising strength. Even in the face of vibrations or temperature fluctuations, your bond will remain steadfast.
Application Tips:
- Cleanliness is Key: Before applying the adhesive, ensure both the rubber and metal surfaces are pristine. Use a cleaning agent or solvent to eliminate any dirt, dust, grease, or contaminants that could jeopardize your bond.
- Even Distribution: Apply the adhesive evenly on both surfaces using a brush or applicator. Strive for complete coverage without creating a messy excess – finding that sweet spot is crucial.
- Pressing Perfection: Once applied, firmly press the rubber and metal surfaces together. This guarantees optimal contact between the adhesive and the surfaces, resulting in a bond of exceptional strength. Consider using clamps or applying additional pressure as the adhesive cures.
- Patience is a Virtue: Allow the adhesive ample time to work its magic. Adhere to the manufacturer’s instructions regarding curing time and conditions, allowing at least 24 hours for the adhesive to fully cure before subjecting it to stress or strain.
Silicone-Based Adhesives
Silicone-based adhesives are the superheroes of the glue world, offering a reliable and durable bond between rubber and metal surfaces. These adhesives have a range of impressive qualities that make them an ideal choice for various applications.
One of the key advantages of silicone-based adhesives is their exceptional flexibility and elasticity. When bonding rubber to metal, it’s crucial to consider the different expansion and contraction rates of these materials. Silicone-based adhesives can handle these differences without compromising the bond strength, ensuring a secure attachment that withstands temperature changes and mechanical stress.
In addition to flexibility, silicone-based adhesives excel in extreme temperatures. Whether you’re dealing with scorching heat or freezing cold, these adhesives maintain their adhesive properties without weakening. This makes them perfect for automotive and industrial applications where temperature fluctuations are common.
Chemical resistance is another remarkable feature of silicone-based adhesives. Rubber materials often come into contact with various chemicals, oils, solvents, and fuels. Silicone-based adhesives provide high resistance to these substances, ensuring the bond remains intact even in harsh environments.
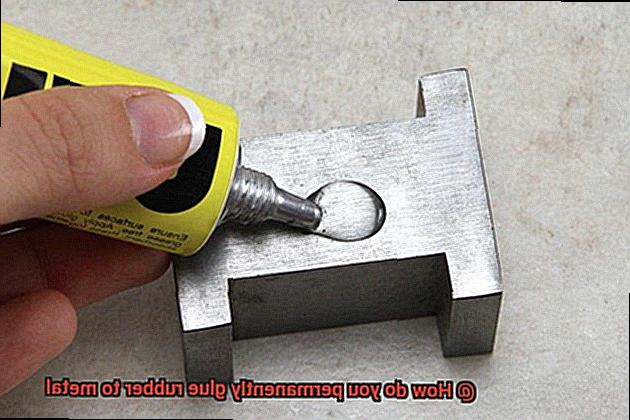
Furthermore, silicone-based adhesives offer excellent water resistance. Moisture can weaken the bond between rubber and metal over time, but these adhesives form a waterproof seal that protects against degradation. Whether you’re working on an outdoor project or dealing with wet environments, you can trust that your bond will stay strong and secure.
To achieve optimal results with silicone-based adhesives, proper surface preparation is crucial. Both the rubber and metal surfaces should be clean, dry, and free from contaminants that could hinder the adhesive’s effectiveness. Using a suitable cleaner or solvent to remove oils, dirt, or dust before applying the adhesive is recommended.
When applying the adhesive, follow the manufacturer’s instructions carefully. Typically, a thin and even layer of adhesive is applied to one surface before firmly pressing the rubber and metal together. Using clamps or other means of securing the bond during the curing process is advisable. Be patient and allow sufficient time for the adhesive to fully set and develop its maximum strength.
Applying the Adhesive
When it comes to permanently gluing rubber to metal, the process requires careful preparation and the right adhesive. By following these steps, you can create a bond that can withstand the test of time and the forces of nature.
First and foremost, preparation is key. Just like a superhero needs a clean slate before saving the day, both the rubber and metal surfaces should be squeaky clean. Use a mild detergent or solvent to ensure there’s no dust, dirt, grease, or oil standing in the way of a strong bond.
Once your surfaces are clean, it’s time to roughen things up a bit. Think of it as giving your adhesive a better grip. Grab some sandpaper or a wire brush and gently roughen up both the rubber and metal surfaces. This will provide a textured surface for the adhesive to cling onto.
Now comes the fun part – choosing the right adhesive for the job. With so many options out there, it’s like assembling your own superhero team. Look for adhesives specifically designed for bonding rubber and metal surfaces. Epoxy, cyanoacrylate, or polyurethane-based adhesives are all great choices, each with their own unique powers. Consider factors such as temperature resistance, chemical resistance, and flexibility when making your selection.
Okay, now it’s time to apply the adhesive. Follow the instructions from the manufacturer carefully, because even superheroes need guidance. Mix two components of an epoxy adhesive if necessary or apply a thin layer of cyanoacrylate adhesive onto one surface. Be sure to wear gloves and work in a well-ventilated area to ensure safety.
When applying the adhesive, remember that less is more. You don’t want to end up with a sticky mess. Apply it evenly and avoid going overboard – a little goes a long way. Spread it out with a spatula or brush if needed to ensure full coverage.
Once you’ve applied the adhesive, it’s time to bring our heroes together. Carefully align the rubber and metal surfaces and firmly press them together. Apply some pressure to ensure proper contact between the adhesive and surfaces for a super-strong bond. You can use clamps or weights to hold them in place if necessary.
Now, here’s the part where patience comes into play. Depending on the adhesive you chose, there may be specific curing or drying times to follow. Don’t rush it – give the adhesive enough time to fully cure before subjecting your bond to any stress or load. This may take several hours or even days, so be sure to plan accordingly.
And hey, some adhesives might need a little extra help to unleash their full potential. They might require heat or pressure during the curing process. So grab your trusty heat gun or clamp and assist your adhesive in reaching its superhero strength. Remember to follow the manufacturer’s instructions for applying heat or pressure safely.
crzEogUOFrs” >
Also Read: How to Glue Rubber to Painted Metal?
Conclusion
When it comes to permanently gluing rubber to metal, there are a few tried and true methods that can get the job done right. One option is using a strong adhesive specifically designed for bonding rubber and metal together. These adhesives often come in two parts that need to be mixed together before application. They create a powerful bond that can withstand even the toughest conditions.
Another method is using a primer or surface treatment on both the rubber and metal surfaces before applying the adhesive. This helps to improve adhesion by creating a better surface for the glue to grip onto. It’s important to follow the instructions provided with the primer or treatment product to ensure proper application and drying times.
In some cases, mechanical fasteners such as screws or bolts can be used in conjunction with adhesive to provide additional strength and stability. This can be especially useful when working with heavy-duty applications or objects that will be subjected to significant stress or movement.
No matter which method you choose, it’s crucial to properly prepare the surfaces before applying any adhesive. This means cleaning them thoroughly and removing any dirt, grease, or other contaminants that could interfere with adhesion. Roughening up the surfaces with sandpaper or a wire brush can also help improve bonding.
Lastly, patience is key when it comes to achieving a permanent bond between rubber and metal. Allow ample time for the adhesive to cure fully before subjecting it to any stress or movement. Following these steps diligently will help ensure a strong and long-lasting bond between rubber and metal.

