It’s irresistible, timeless, and oozes sophistication. Whether you’re fixing cherished heirlooms or diving into intricate craft projects, knowing how to permanently glue leather is a game-changer that opens up endless possibilities. But hold your horses. Not all glues are created equal. Picking the wrong adhesive can spell disaster for your precious leather goods. That’s why we’re here to steer you in the right direction.
Imagine this: a stunning leather armchair beckoning you to sink into its luxurious embrace after a grueling day. You plop down, only to be greeted by an alarming creak that sends shivers down your spine. Panic sets in. Fear not, my friend. We have the key to restoring that comfort with a touch of DIY wizardry.
In this captivating journey, we’ll explore the ins and outs of permanently gluing leather, focusing on three vital elements: choosing the perfect adhesive, prepping the surface like a pro, and nailing those application techniques like a boss. Get ready for an epic showdown between different glue types as we arm you with the knowledge needed to make informed decisions.
Uncover the secrets behind top-notch leather repair shops and masterful craftsmanship as we unveil foolproof methods for achieving flawless, long-lasting bonds. From patching up torn leather jackets to embarking on thrilling DIY leather projects, this guide will empower you to conquer any sticky situation like a seasoned pro.
So whether you’re a seasoned leather aficionado or just dipping your toes into this world of wonderment, buckle up and join us on this exhilarating ride as we unravel the mysteries and techniques of permanently gluing leather. Say goodbye to worries and embrace a realm where leather and glue intertwine flawlessly – standing tall against time and becoming emblems of unparalleled artistry.
Different Types of Adhesives for Gluing Leather
Contents
- 1 Different Types of Adhesives for Gluing Leather
- 2 Preparing the Leather Surface for Gluing
- 3 Applying Contact Cement as an Adhesive
- 4 Aligning and Pressing the Leather onto the Surface
- 5 Removing Excess Adhesive from the Edges
- 6 Allowing the Adhesive to Cure Properly
- 7 Tips for Successful Gluing of Different Types of Leather
- 8 Common Mistakes to Avoid When Gluing Leather
- 9 Conclusion
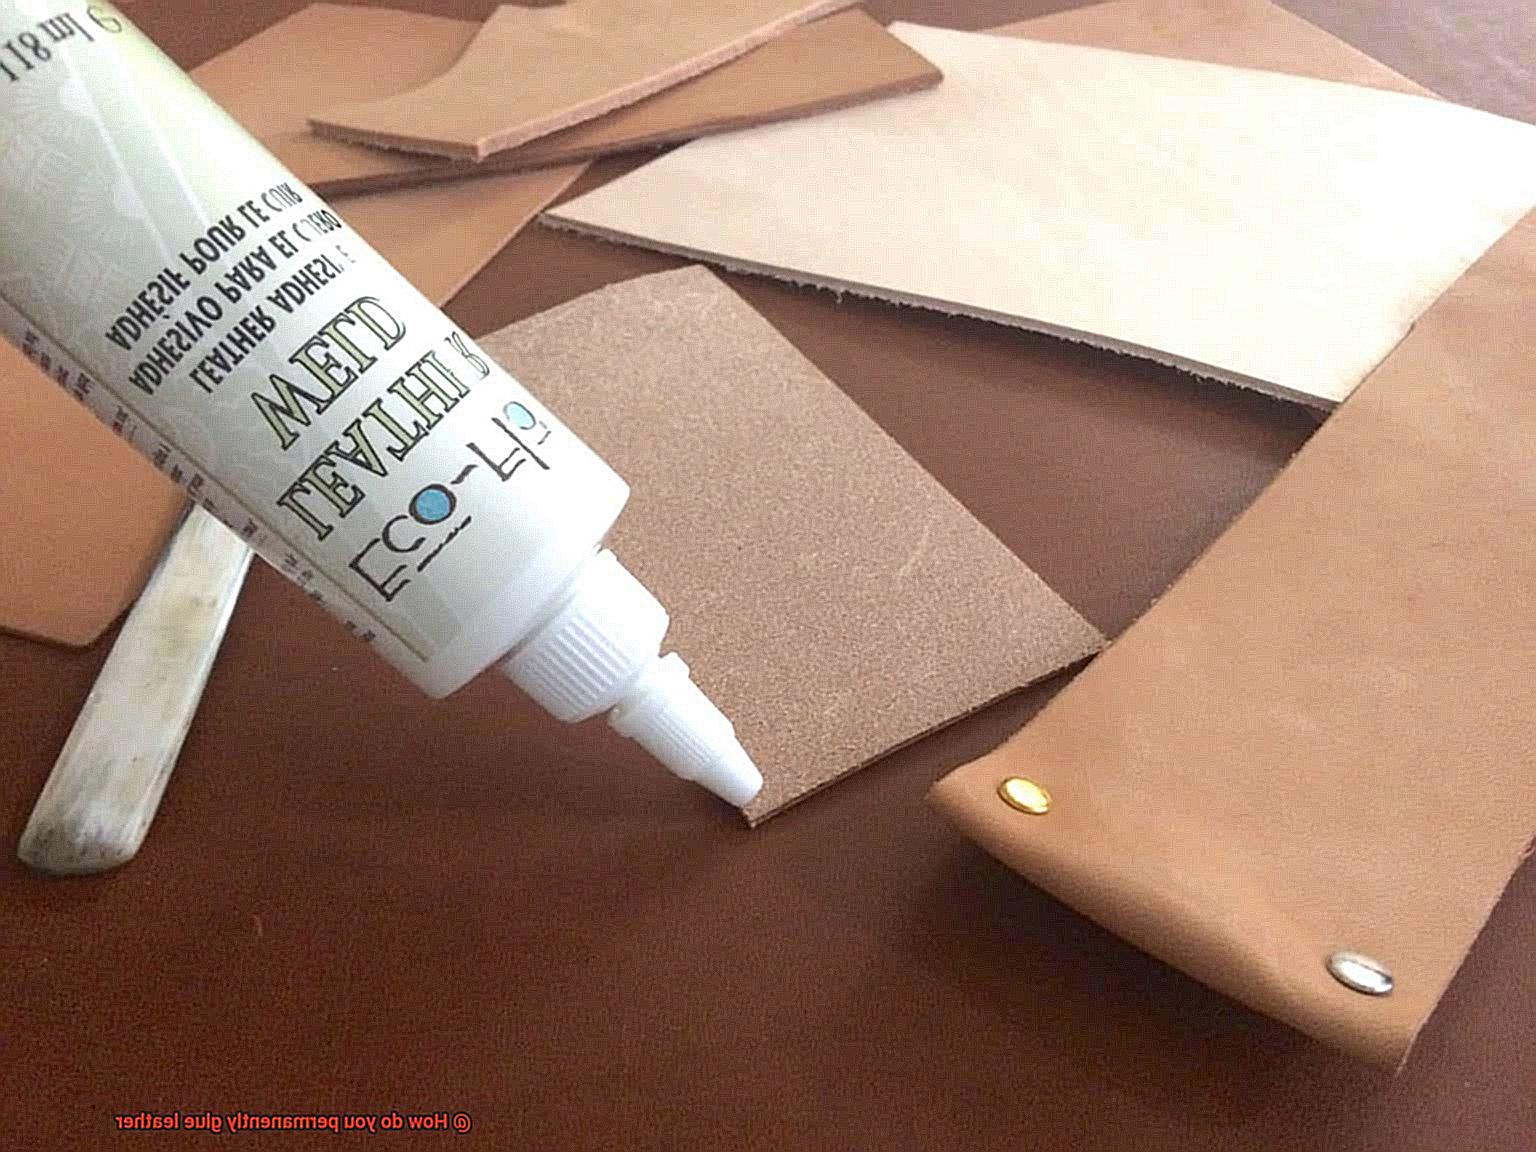
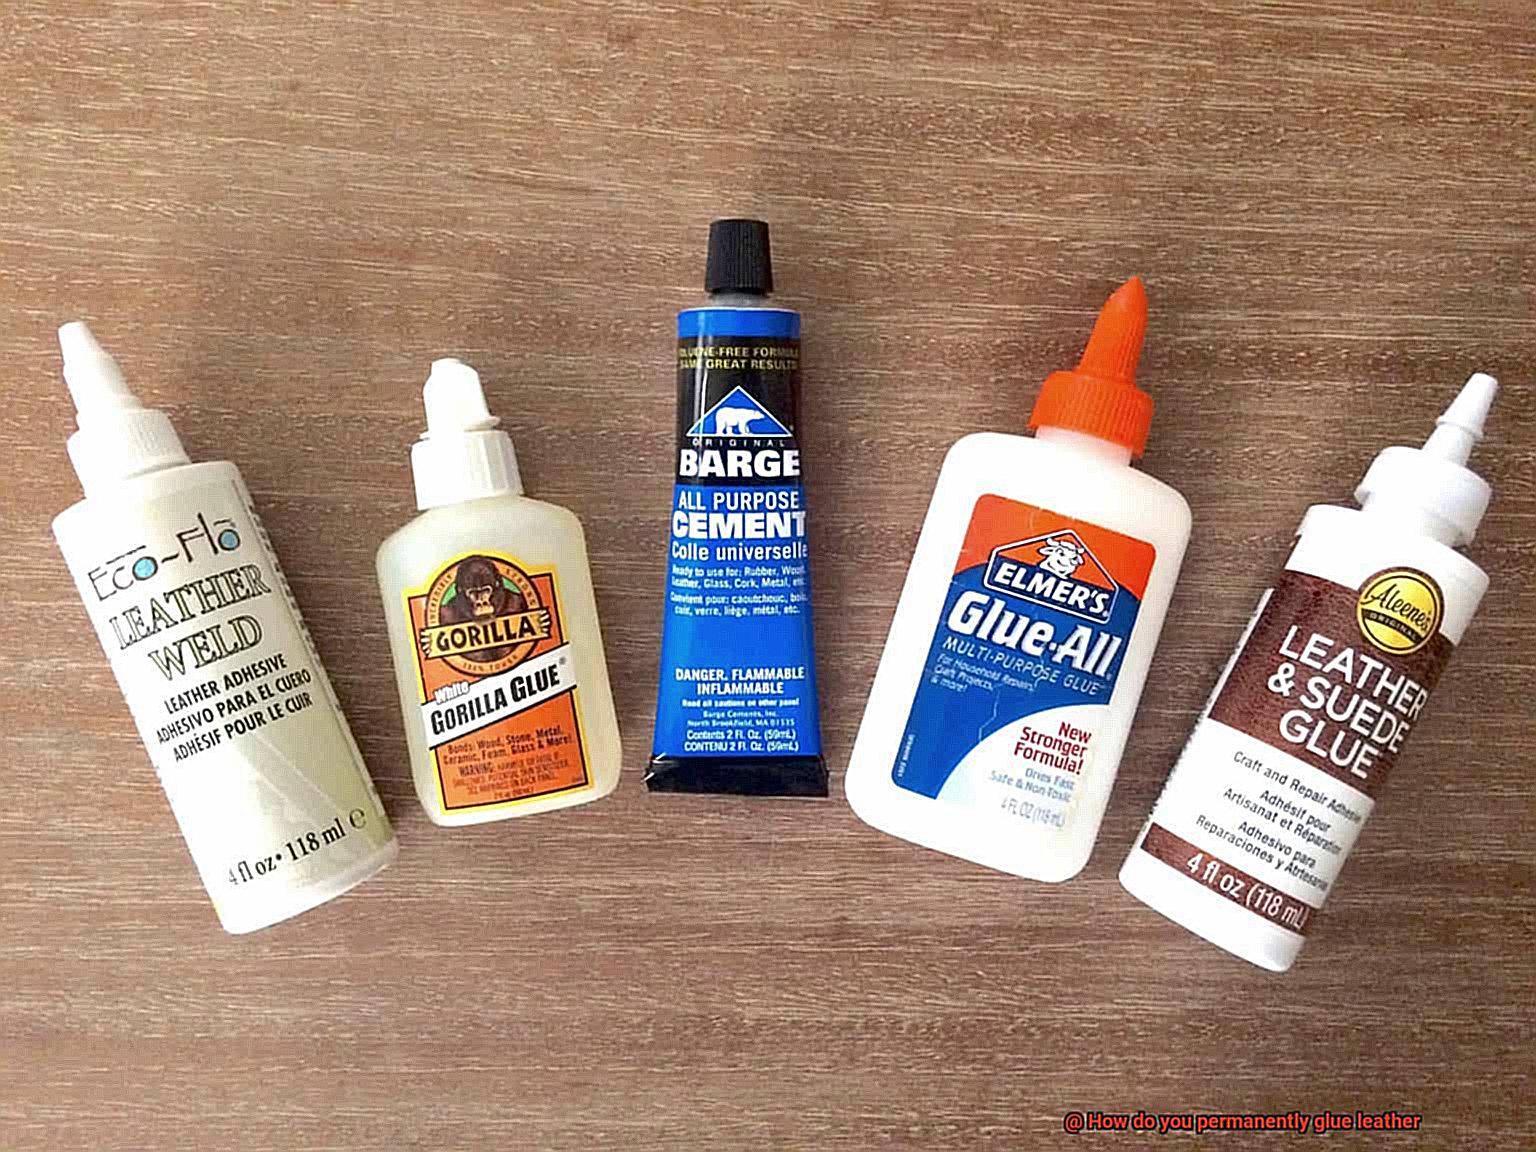
Leather is a material that exudes elegance and durability, making it a sought-after choice for various products. But have you ever wondered how different pieces of leather seamlessly come together? Well, the secret lies in the adhesive used. In this article, we will delve into the world of adhesives and explore the different types that are specifically designed for gluing leather.
By understanding their unique characteristics and strengths, you’ll be equipped with the knowledge to create strong and lasting bonds with your leather projects.
Contact Cement: The Unbreakable Connection
Contact cement reigns supreme as one of the most popular adhesives for bonding leather. Its strength is unparalleled, quickly forming a firm bond that can withstand the test of time. The application process involves coating both surfaces with contact cement, allowing it to dry, and then pressing them together.
This adhesive is not only heat-resistant but also highly durable, making it suitable for a variety of leather applications such as repairing shoes, handbags, or upholstery.
Epoxy Adhesive: The Indestructible Companion
When it comes to strength and versatility, epoxy adhesives reign supreme. Comprising two components – a resin and a hardener – these adhesives must be mixed before application. Once applied, they create an unyielding bond with leather that can endure heavy loads and extreme temperatures. Epoxy adhesives are often chosen for high-stress applications like bonding leather belts or attaching handles to heavy-duty bags.
Polyurethane Adhesive: The Resilient Protector
For projects that require excellent bonding strength and flexibility, polyurethane adhesives are a top choice. These adhesives excel at bonding leather to various substrates such as wood, metal, or plastic. What sets polyurethane adhesives apart is their moisture resistance, allowing them to withstand exposure to water. This quality makes them ideal for outdoor leather projects such as crafting saddles or outdoor gear.
Super Glue (Cyanoacrylate): The Speed Demon
When time is of the essence or you need a quick fix, super glue, also known as cyanoacrylate adhesive, comes to the rescue. This fast-setting adhesive instantly forms a bond upon contact. While it can be used on leather, it’s worth noting that its flexibility may not be as robust as other adhesives, making it best suited for small repairs or projects that don’t undergo heavy stress or repeated bending.
Leather Cement: The Craftsman’s Delight
Tailor-made for bonding leather, leather cement is a favorite choice among professional leatherworkers. This adhesive strikes the perfect balance between strength and flexibility, resulting in a strong and durable bond. Leather cement is commonly employed in leather crafting endeavors, such as attaching straps or finishing edges on leather items.
Preparing the Leather Surface for Gluing
Leather, an embodiment of timeless elegance and durability, holds the potential to be transformed into extraordinary creations with the magic of adhesives. However, before embarking on your leather project, you must master a crucial step: preparing the leather surface for gluing. In this comprehensive guide, we will take you on a journey through essential steps that guarantee a bond capable of withstanding the test of time. So, grab your leather, adorn your expert hat, and let us dive into the world of leather surface preparation.
Step 1: Purge the Impurities – Wipe Away the Grime
Before even thinking about introducing adhesive to your leather, embark on a thorough cleansing mission. Armed with a damp cloth, delicately wipe away every trace of dirt, dust, or oily residue clinging to the surface. Beware of harsh chemicals or cleaners that may inflict irreversible damage or discoloration upon your beloved leather. Remember, the goal is to make your leather shine, not suffer.
Step 2: Embrace the Roughness – Sanding Secrets Unveiled
To create a surface that adheres seamlessly to glue, it is imperative to embrace texture. Enter sanding – an art that imparts a roughness to your leather without causing harm. Equip yourself with fine-grit sandpaper or a trusty sanding block. Apply gentle strokes across the leather surface, ensuring an even distribution of roughness. The aim is to provide a tooth-like grip for the adhesive to latch onto.
Step 3: Banish Dust – A Pristine Canvas
Having achieved the perfect texture through sanding prowess, it is now crucial to banish any remnants of dust or debris left behind by this transformative process. Utilize a clean cloth or a soft brush to delicately sweep away any particles that may tarnish the pristine surface you have crafted. Remember, cleanliness is the key to unlocking a bond of unparalleled strength.
Applying Contact Cement as an Adhesive
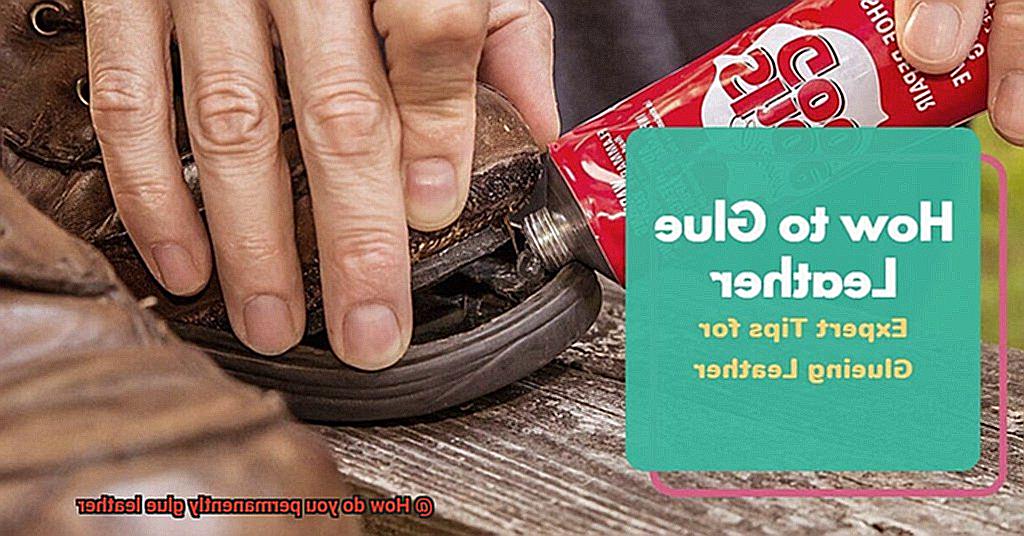
Today, let’s journey into the realm of contact cement and uncover its remarkable ability to create unbreakable bonds. Whether you’re crafting leather masterpieces, reviving tired upholstery, or rescuing your favorite shoes, applying contact cement as an adhesive is a skill every DIY enthusiast should conquer. So, grab your brush or roller applicator, and let’s embark on this adhesive adventure.
Step 1: Preparing the Leather Surface
Before we dive into the gluing process, it’s essential to ensure our leather surfaces are immaculate. Banish every speck of dust, dirt, and grease by giving them a thorough wipe-down with a clean cloth or a specialized leather cleaner. Only then will we achieve the perfect canvas for our adhesive masterpiece. And remember, patience is key – allow the leather to dry completely before proceeding.
Step 2: Unleashing the Magic of Contact Cement
Now that our pristine leather awaits, it’s time to unleash the power of contact cement. Pick up your trusty brush or roller applicator – whichever suits your fancy – and prepare to spread this adhesive marvel. Coating both the leather surface and the material we’ll bond it to requires precision. No missed spots allowed. Keep it thin and uniform – remember, less is more in this case.
Step 3: Patience is a Virtue – Drying Time
Almost there, my friends. Before we can unite our leather and material in perfect harmony, we must exercise patience as we await the drying process. This step is crucial for a bond that withstands the test of time. Refer to the manufacturer’s instructions for drying time, as it may vary depending on the brand and type of contact cement you’ve chosen. Typically, a waiting period of 15-30 minutes ensures complete drying.
Step 4: Achieving the Perfect Alignment
The time has come for our grand finale. With dried contact cement in place, let’s align our leather and material with precision. Take a deep breath and ensure they are positioned flawlessly – for there are no second chances once they make contact. As you press them together, apply even pressure across the entire surface. This technique prevents unsightly air bubbles or gaps from forming. And if you seek perfection, some swear by the assistance of a rubber mallet or a trusty rolling pin.
Aligning and Pressing the Leather onto the Surface
In our previous section, we explored the wonders of contact cement as an adhesive for leather. Now, let’s dive into the crucial steps and techniques for aligning and pressing leather onto a surface. Get ready to unlock the secrets to a bond that will withstand the test of time.
Step 1: Precision Begins with Proper Sizing
Measure twice, cut once. Before embarking on the gluing process, ensure your leather piece is perfectly sized for the intended surface. Use sharp scissors or a trusty utility knife to accurately cut along your markings.
Step 2: Prepping the Perfect Surface
A successful bond starts with a clean canvas. Prepare the surface by ensuring it’s clean, dry, and free from any dust, dirt, or grease. Give it a gentle sanding or wipe with a damp cloth if necessary. Remember, cleanliness is next to brilliance.
Step 3: Selecting the Right Adhesive
Choose your adhesive wisely – it’s the glue that holds it all together. Opt for an adhesive specifically designed for bonding leather. Consider options like contact cement, leather adhesive, or even super glue, depending on your project’s needs.
Step 4: Compatibility Check
Don’t skip this crucial step. Conduct a compatibility test on a small, inconspicuous area of both the leather and surface. Ensure the adhesive won’t cause discoloration or damage your precious leather materials. Better safe than sorry.
Step 5: Applying the Glue with Finesse
Time to get your hands dirty (well, just a little). Apply a thin, even layer of glue onto both the leather and surface. A brush or small spatula will be your trusty allies in spreading the glue evenly and covering all contact areas.
Step 6: Aligning for Perfection
Now, the moment we’ve all been waiting for – aligning and pressing the leather onto the surface. Swift yet precise, align one edge of the leather with its corresponding edge on the surface. Gradually press down, smoothing out wrinkles and banishing bubbles as you go.
Removing Excess Adhesive from the Edges
Today, we’re going to tackle a common challenge faced by leather crafters – removing excess adhesive from the edges. Stick around (pun intended.) as we explore various techniques that will banish those sticky remnants and leave your leather projects looking flawless.
Solvent Solutions:
When it comes to removing excess adhesive from leather, solvents and adhesive removers are your trusty sidekicks. Look for products specifically designed for leather use. But before diving in headfirst, it’s crucial to conduct a compatibility check. Test the solvent or remover on a small, inconspicuous area to ensure there’s no damage or discoloration. Once you’ve got the green light, apply the magic potion to a clean cloth and gently rub it onto those stubborn edges.
Heat It Up:
If you prefer a more hands-on approach, it’s time to bring out the big guns – your heat gun or hairdryer. Applying gentle heat can work wonders in softening the adhesive, making it a breeze to scrape off. Remember, though, too much heat can spell disaster for your beloved leather. So start with low heat and gradually increase if needed. Armed with a plastic scraper or your trusty fingernail, attack that softened adhesive with precision.
The Gentle Art of Scraping:
Sometimes, you’ll encounter hardened adhesive that simply refuses to yield to solvents or heat. Fear not. This is where your finesse comes into play. Grab a sharp knife or razor blade (carefully.) and channel your inner surgeon as you delicately scrape away the excess adhesive. Patience is key here – take your time and work slowly to avoid any unintended damage to the leather.
Post-Adhesive TLC:
Once you’ve triumphed over the excess adhesive, it’s time to give your leather some well-deserved pampering. Treat it to a spa day by cleaning the area with a mild soap and water solution, ensuring you remove any residue left behind by the solvent or remover. Gently blot the area dry with a clean cloth, and allow it to air dry completely before moving on to any additional treatments or finishes.
Allowing the Adhesive to Cure Properly
When it comes to gluing leather, achieving a strong and long-lasting bond is every leather crafter’s dream. But did you know that allowing the adhesive to cure properly plays a vital role in making that dream come true? In this guide, we’ll dive into the essential steps you need to take to ensure your adhesive cures perfectly, giving you flawless leather projects that will stand the test of time.
Follow manufacturer’s instructions:
Different adhesives have different curing times and temperature requirements. To set yourself up for success, carefully read and follow the manufacturer’s instructions for the specific adhesive you’re using. This will ensure that you provide the optimal conditions for the adhesive to cure.
Patience is key:
Rushing the curing process can compromise the strength of the bond. So, take a deep breath and practice patience. Allow sufficient time for the adhesive to fully cure, which can range from a few hours to several days depending on the type of adhesive used.
Avoid disturbing the bond:
Treat your adhesive like a delicate masterpiece. Any unnecessary movement or disturbance of the bonded leather pieces can disrupt the curing process and weaken the bond. So, resist the urge to fiddle or adjust during the curing period and let your adhesive set undisturbed.
Maintain optimal temperature and humidity:
Just like Goldilocks and her porridge, finding the right temperature and humidity for adhesive curing is crucial. Make sure your curing area maintains a temperature within the recommended range specified by the adhesive manufacturer. Additionally, keeping an appropriate level of humidity can also aid in the curing process.
Use clamps or weights if necessary:
Sometimes, a little extra pressure is needed to ensure an impeccable bond. Depending on the size and shape of the leather pieces you’re bonding, consider using clamps or placing weights on top of the bonded area. This added pressure helps create a strong and even bond between the leather surfaces.
Test for complete cure:
Before celebrating your adhesive’s success, it’s always a good idea to perform a final test. Gently apply pressure to the bonded area and check for any signs of movement or separation. If the bond remains strong and there are no visible signs of failure, then the adhesive has likely cured properly.
Tips for Successful Gluing of Different Types of Leather
When it comes to bonding different types of leather, a few key considerations can make all the difference in achieving a strong and durable bond. From understanding the unique characteristics of each leather type to selecting the right adhesive and applying it correctly, these tips will ensure successful gluing results. Let’s delve into the art of gluing leather.
Understand the Leather Type:
Each type of leather possesses its own distinct properties that can affect the bonding process. Some leathers are more porous, while others have smoother surfaces. By considering these factors, you can choose an adhesive that is compatible with the specific type of leather you are working with, ensuring optimal bonding performance.
Cleanse Thoroughly:
Before applying any adhesive, take the time to cleanse the leather surface meticulously. Dust, dirt, oils, or contaminants can impede the bonding process. Gently cleanse the leather using a mild soap or leather cleaner, ensuring every nook and cranny is free from impurities. Remember to let the leather dry completely before proceeding, as moisture can hinder adhesive performance.
Create Texture for Better Adhesion:
In certain cases, it may be necessary to roughen the surface of the leather slightly to enhance adhesion. Employ sandpaper or a fine-grit abrasive pad to create a textured surface that allows the adhesive to penetrate more effectively. Be cautious not to compromise the integrity of the leather while achieving this crucial step.
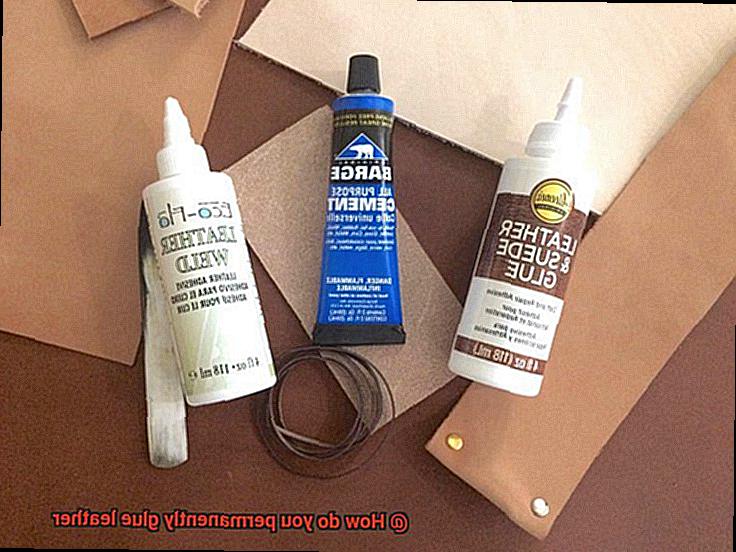
Choose Wisely:
The choice of adhesive plays a pivotal role in successful leather gluing endeavors. Opt for high-quality contact cement or specialized leather adhesive designed specifically for bonding leather. These adhesives offer superior strength and durability compared to general-purpose adhesives like super glue or epoxy, which may not bond well with leather and can potentially cause damage.
Apply with Precision:
To secure a robust bond, apply the adhesive evenly and sparingly to both surfaces being joined. Avoid excessive application, as excess glue can seep through the leather, leaving unsightly marks or stains. Instead, aim for a thin and even layer of adhesive, ensuring complete coverage without wasteful excess.
Patience is Key:
Allow the adhesive to dry completely before handling or applying any stress to the bonded leather. Follow the manufacturer’s instructions regarding drying time, as it may vary depending on the adhesive used. Rushing this crucial step can compromise the bond’s strength and longevity, so exercise patience for optimal results.
Common Mistakes to Avoid When Gluing Leather
Embarking on a leather gluing project? Don’t let common mistakes compromise the integrity of your masterpiece. In this guide, we’ll unravel the secrets to achieving a rock-solid bond with leather. Get ready to unleash your creativity and create durable, professional results.
Choosing the Wrong Glue: A Recipe for Disaster
Craft glue or super glue may seem like quick fixes, but they’re no match for the demands of leather bonding. Instead, arm yourself with leather cement or contact cement specifically formulated for this purpose. These adhesives provide the strength and durability your project deserves.
Prep Like a Pro: The Key to Successful Bonding
Don’t skip this crucial step. Prepare your leather surface meticulously by banishing dirt, oils, and finishes that could sabotage adhesion. Employ the power of rubbing alcohol or a specialized leather cleaner to ensure a pristine canvas for bonding.
Less is More: The Art of Applying Glue
Beware the temptation to drown your leather in glue. Excessive amounts will seep through, leaving unsightly stains and compromising the bond’s integrity. Instead, achieve perfection by applying a thin and even layer of adhesive on both surfaces. Embrace elegance and professionalism in every stroke.
Patience Pays Off: Nurturing the Bonding Process
Impatience is the enemy of a strong bond. Respect drying time as dictated by the manufacturer’s instructions, refraining from moving or exerting pressure on the glued pieces prematurely. Remember, great things come to those who wait – your patience will be rewarded with an unbreakable bond.
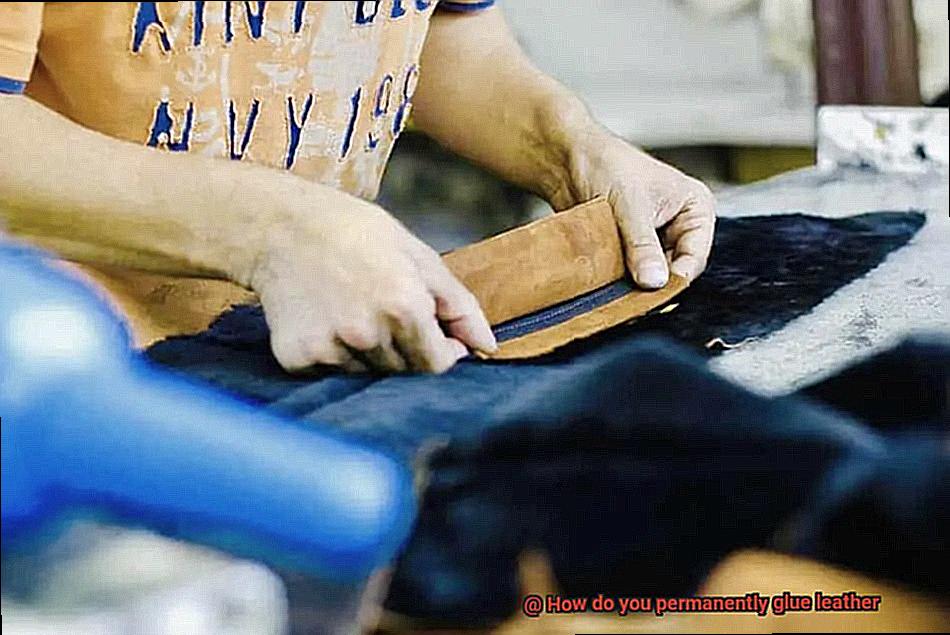
Press Firmly: The Secret Ingredient for Success
Do you want a weak bond? Of course not. Ensure your adhesive spreads evenly and creates an unyielding connection by clamping, clipping, or adding heavy weights to hold the glued surfaces together. This firm embrace guarantees a bond that can withstand the test of time.
The Power of Curing: Let It Solidify
Don’t underestimate the importance of proper curing time. Even if the glue appears dry, allow it ample time to fully cure before subjecting it to stress or pulling. By doing so, you’ll fortify the bond and safeguard its longevity, ensuring it can withstand everyday use.
u_sZe9IRA4k” >
Conclusion
When it comes to permanently gluing leather, there are a few key things to keep in mind. First and foremost, choosing the right adhesive is crucial. Look for a high-quality glue specifically designed for bonding leather. This will ensure a strong and long-lasting hold.
Before applying the glue, it’s important to prepare the surface properly. Clean the leather thoroughly, removing any dirt or oils that could interfere with the adhesive’s effectiveness. You can use a mild soap and water solution or specialized leather cleaner for this step.
Next, roughen up the surface of the leather slightly using sandpaper or a fine-grit abrasive pad. This will create more texture for the glue to adhere to, increasing its bond strength.
Now it’s time to apply the adhesive. Use a small brush or applicator to spread an even layer of glue onto both surfaces you wish to join. Be sure to follow any specific instructions provided by the manufacturer regarding drying times and application techniques.
Once you’ve applied the glue, carefully press the two surfaces together firmly. Apply consistent pressure for several minutes to ensure proper adhesion. You may want to use clamps or heavy objects to hold everything in place while the glue sets.
After allowing sufficient drying time, check that the bond is secure before handling or using your glued leather item. If necessary, you can reinforce the bond by stitching around the glued area for added durability.
Remember, permanent gluing of leather requires attention to detail and patience. Take your time during each step of the process, and don’t rush through it. By following these guidelines and using high-quality adhesive products, you can achieve a long-lasting bond that will stand up against wear and tear.
In conclusion, permanently gluing leather involves selecting suitable adhesive, preparing the surface correctly, applying an even layer of glue on both surfaces, pressing them together firmly with consistent pressure, allowing sufficient drying time, and reinforcing with stitching if needed.