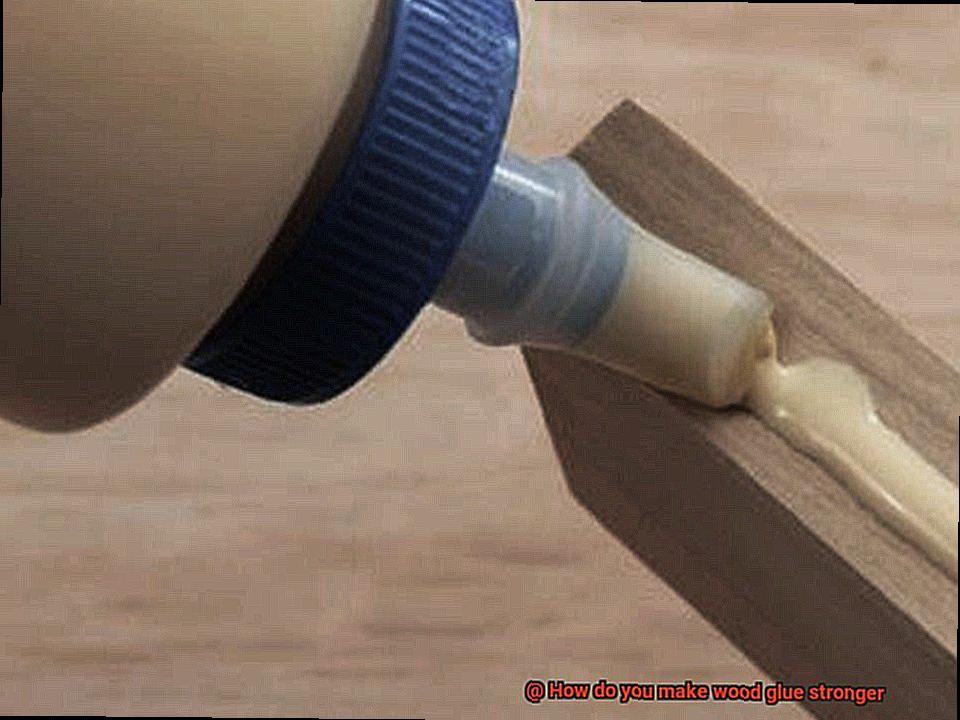
Welcome to the captivating world of woodworking. If you’ve ever tried your hand at this craft, you know that a strong bond is the backbone of any successful project. Whether you’re working on a small DIY endeavor or tackling a massive construction feat, having wood glue that can withstand the test of time is absolutely crucial. Luckily for you, there are several nifty ways to make your wood glue even mightier.
One simple method to beef up the strength of your wood glue is by throwing in some filler material. Mixing sawdust or fine sand into the glue creates a thick paste-like consistency that fortifies the bond. This technique works wonders when dealing with porous or uneven surfaces.
Another powerful approach is using a two-part epoxy adhesive. By combining resin and hardener, you ignite a chemical reaction that results in a bond way stronger than your average wood glue. Just keep in mind that epoxy doesn’t mess around – it sets quickly, so be speedy and follow the manufacturer’s instructions closely.
But wait, there’s more. Proper surface preparation is key to achieving an adhesive bond that could rival Hercules’ grip. Make sure those surfaces are squeaky clean, dry as a desert, and free from dust or any other sneaky contaminants. A light sanding can also help create better adhesion.
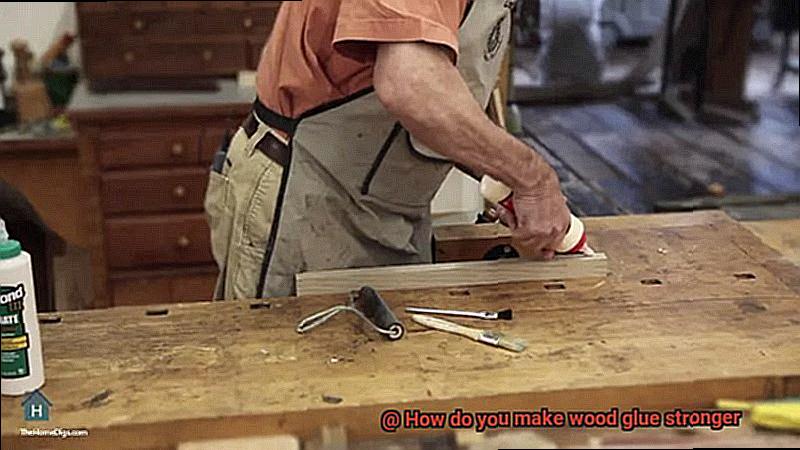
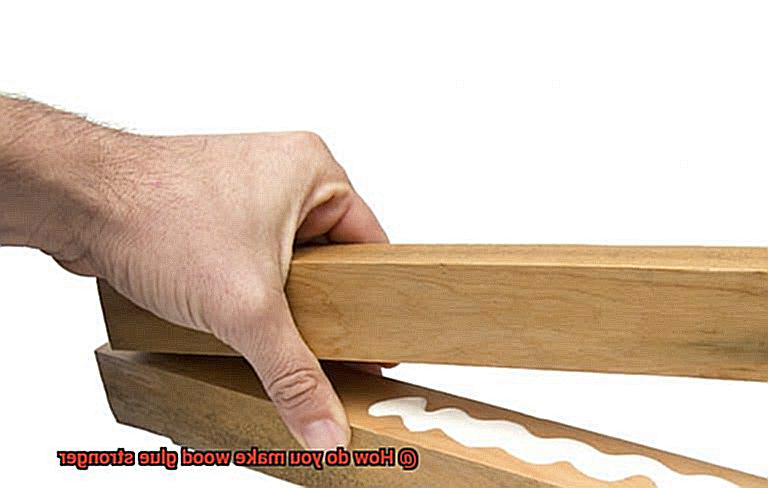
And here’s an insider tip: clamping pressure during drying time is like adding an extra layer of superhero strength to your bond. Apply consistent pressure using clamps or weights to eliminate any pesky gaps and allow the glue to penetrate those wood fibers for an ironclad connection. Oh, and don’t forget to wipe away any excess glue squeeze-out – it can weaken your bond faster than Superman loses his powers under a red sun.
Last but not least, patience is key. While wood glue may seem dry on the surface in no time, it takes a bit longer for its full strength to kick in. Follow the recommended drying time from the glue manufacturer before putting your creation to the ultimate test.
Armed with these nifty tips and tricks, you’ll be able to make your wood glue stronger than ever before. So grab that glue, prepare those surfaces like a pro, apply the right techniques, and get ready to craft pieces that will withstand the trials of time. Happy woodworking, my friend.
Selecting the Right Type of Wood Glue
Contents
- 1 Selecting the Right Type of Wood Glue
- 2 Preparing Surfaces for Bonding
- 3 Applying Pressure During Bonding
- 4 Adding Fillers to Wood Glue
- 5 Controlling Temperature and Humidity
- 6 Diluting the Glue for Improved Penetration
- 7 Allowing Adequate Drying and Curing Time
- 8 Tips for Strengthening Wood Glue
- 9 Conclusion
In the world of woodworking, nothing is more vital than selecting the right type of wood glue for your projects. The glue you choose can make all the difference in achieving a strong and durable bond that will stand the test of time. In this guide, we will delve into the different types of wood glue available, their unique advantages and disadvantages, and the factors to consider when selecting the perfect glue for your woodworking needs.
Types of Wood Glue:
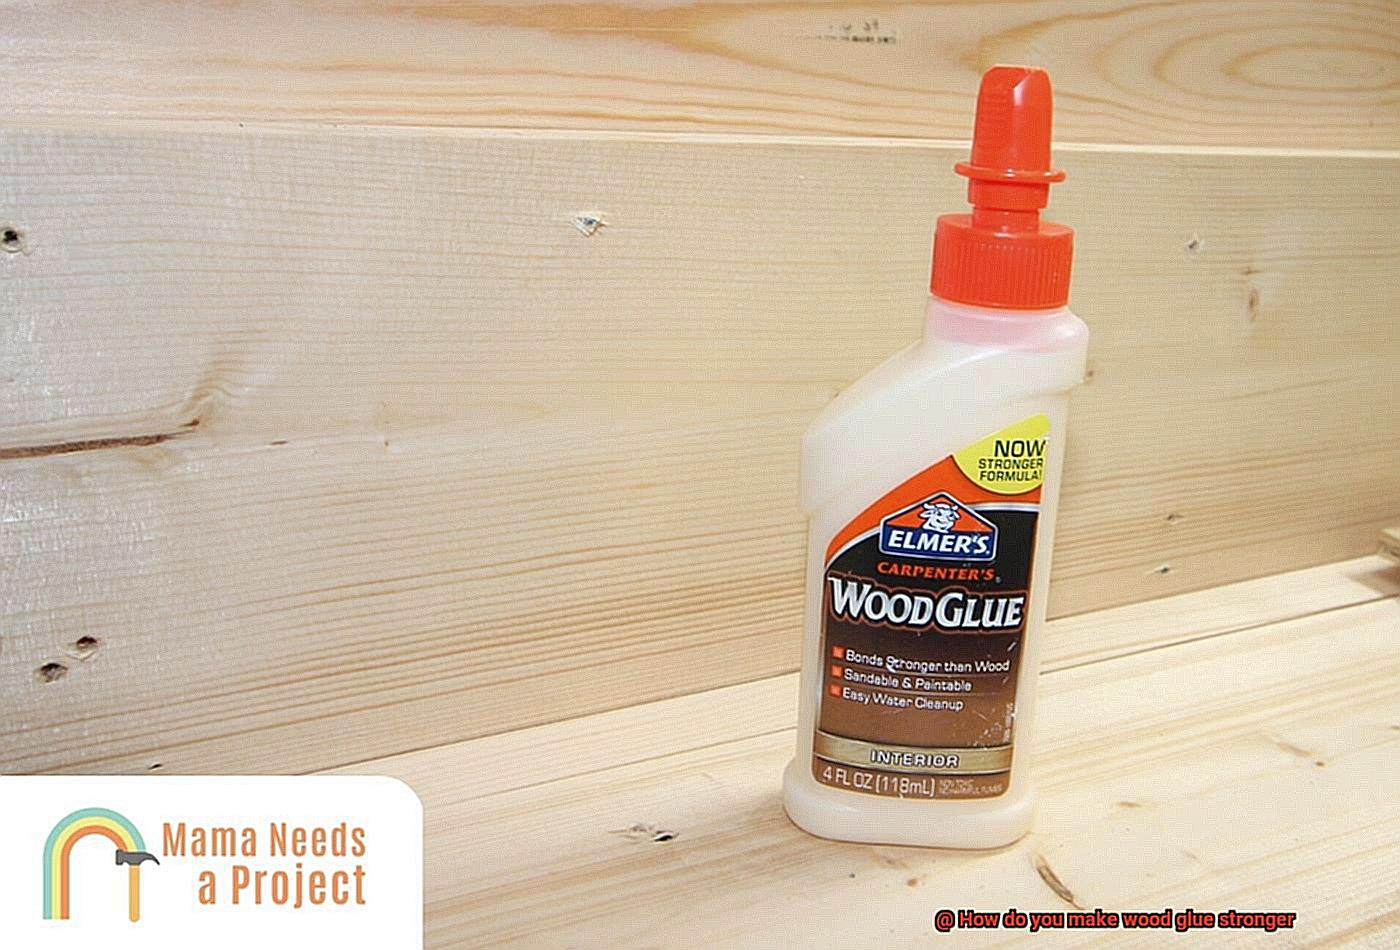
Polyvinyl Acetate (PVA) Glue:
- Versatile, easy to use, and dries clear
- Ideal for general woodworking projects and bonds well on porous surfaces
- Not suitable for outdoor applications due to its lack of water-resistance
Epoxy Resin Glue:
- Incredibly strong with excellent bonding strength on various surfaces like wood, metal, and plastic
- Resistant to water, chemicals, and extreme temperatures
- Requires mixing before application and has a longer curing time
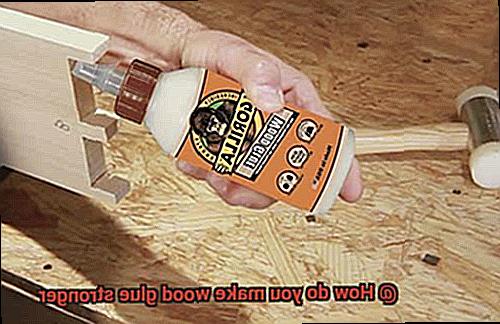
Polyurethane Glue:
- Water-resistant and provides a robust bond even on non-porous surfaces
- Expands as it cures, effectively filling gaps in the wood
- Can be messy to work with due to its foaming properties and requires clamping during curing process
Hide Glue:
- A traditional adhesive offering reversible bonds for easy disassembly or repairs
- Commonly used in restoration work but requires more skill and preparation
Cyanoacrylate (CA) Glue:
- Fast-setting with an instant bond on various materials, including wood
- Ideal for small repairs and projects requiring quick results
- However, it is brittle and may not be suitable for applications that require flexibility
Factors to Consider When Selecting Wood Glue:
Wood Type:
- Different woods have varying porosities and characteristics, which can affect the bond strength
- Some glues work better with hardwoods, while others are more suitable for softwoods

Application and Desired Strength:
- Assess the specific requirements of your project
- If a strong bond is needed, epoxy glue or polyurethane glue may be the best options
- For general woodworking, PVA glue is often sufficient
Environmental Conditions:
- Consider whether your project will be exposed to moisture or extreme temperatures
- Opt for a glue that offers water resistance or thermal stability accordingly
Product Labels and Instructions:
- Each wood glue has specific guidelines for application and curing
- Following these instructions precisely will ensure optimal results
Preparing Surfaces for Bonding
Today, we embark on a journey that unravels the secret behind robust wood glue bonds – the mastery of surface preparation. Prepare to leave your peers astounded as we delve into the intricacies of this game-changing technique. So grab your sandpaper and let’s unleash the full potential of your woodworking creations.
Sanding – The Foundation of Bonding Success
- Emphasize the criticality of sanding to remove existing finishes or coatings, enabling a pristine surface for bonding.
- Discuss how achieving a slightly rough texture amplifies glue penetration and enhances adhesion to wood fibers.
- Offer valuable insights on choosing the appropriate grit sandpaper and utilizing effective sanding techniques.
Immaculate Cleanliness – Bid Farewell to Dust and Debris
- Highlight the pivotal role of thorough cleaning in eliminating particles that can compromise bonding strength.
- Suggest employing a vacuum cleaner or a tack cloth for efficient debris removal.
- Stress the importance of meticulous attention to detail during this phase.
Priming and Wood Conditioning – Elevating Your Bond to New Heights
- Elucidate the benefits of primer application or wood conditioning in enhancing adhesion.
- Showcase their ability to seal wood surfaces, preventing excessive glue absorption and bolstering bond strength.
- Discuss specialized considerations for different wood types, ensuring optimal bonding results.
Temperature and Humidity – Inescapable Factors
- Educate readers on the ideal temperature range for superior wood glue performance.
- Examine the impact of humidity on bonding strength, revealing its potential to make or break your project.
- Provide practical tips for working under suitable temperature and humidity conditions.
Applying Pressure During Bonding
Creating a strong bond in woodworking is essential for the success and durability of your projects. One crucial step in achieving that strong bond is applying pressure during bonding. When pressure is applied, it ensures that the glue makes full contact with the surfaces being bonded, resulting in a stronger and more durable connection. So, let’s explore some methods for applying pressure during bonding.
- Clamps: Clamps are a popular choice for applying pressure during bonding. They hold the pieces of wood together tightly while the glue dries, ensuring a secure bond. It’s important to use enough clamps to evenly distribute the pressure across the entire surface being bonded. This helps prevent any weak spots and ensures a uniform bond. Clamps come in various sizes and styles, such as bar clamps, C-clamps, or spring clamps, providing versatility for different project needs.
- Weights: Another method is using weights. Placing heavy objects on top of the glued surfaces helps apply pressure. Make sure to distribute the weight evenly to avoid warping or distorting the wood. This technique can be particularly useful for larger projects where clamps may not be feasible or for irregularly shaped pieces that are difficult to clamp.
- Vises: A vise is another handy tool for applying pressure during bonding. By firmly holding the pieces of wood together, a vise ensures a strong bond. It’s crucial not to overtighten the vise, as it can damage the wood. Find a balance between secure and gentle pressure to achieve optimal results.
- Specialized Tools: For those looking for advanced options, there are specialized tools available. Pneumatic clamps and vacuum presses provide even and consistent pressure, resulting in a stronger bond. These tools can be particularly beneficial for professional woodworkers or those working on high-end projects where precision and efficiency are crucial.
Adding Fillers to Wood Glue
In the world of woodworking, where strength and durability are paramount, the secret to creating rock-solid joints lies in adding fillers to wood glue. With this simple yet powerful technique, you can take your woodworking projects to new heights of longevity and resilience. Let us delve into the captivating realm of fillers and discover how they work their magic.
The Role of Fillers:
Fillers act as reinforcements for your wood glue, providing additional support and strength to the joint. By increasing the viscosity of the glue, they make it thicker and more resistant to dripping or running. Moreover, fillers excel at filling gaps and voids between wood pieces, ensuring a tight and solid bond.
Popular Fillers:
Sawdust, the byproduct of your woodworking adventures, proves to be an excellent filler option. Mixing sawdust from the same type of wood you’re gluing with the wood glue creates a paste-like consistency that effectively fills gaps and enhances the bond.
Wood flour is another fantastic choice. Consisting of finely ground wood dust, it can be purchased commercially or made by grinding up scrap wood pieces. When combined with wood glue, it forms a thick paste that spreads easily on the surfaces being glued.
Other fillers such as powdered resins, microfibers, and cellulose fibers offer additional benefits. These fillers further improve gap-filling properties and overall joint strength.
Proper Application:
Cleanliness is key to successful bonding with fillers. Thoroughly clean the surfaces, removing any dust, dirt, or contaminants that could hinder adhesion.
Maintaining the right consistency is equally crucial. The mixture should be thick enough to prevent excessive dripping but still fluid enough to spread evenly. Begin with a small amount of filler and gradually add more until achieving the desired consistency. Experimentation is encouraged to find the perfect ratio for your needs.
Once the filler has been added and thoroughly mixed with the wood glue, apply a thin layer of the mixture onto both surfaces being joined. Press the pieces firmly together and use clamps or weights to secure them until the glue dries completely.
Controlling Temperature and Humidity
Wood glue is a powerful adhesive that forms unbreakable bonds between wooden surfaces. However, the secret to achieving maximum bonding strength lies in a factor often overlooked by DIY enthusiasts and woodworkers – temperature and humidity control. In this captivating blog post, we will unravel the fascinating science behind how controlling temperature and humidity levels can elevate the adhesive properties of wood glue, ensuring durable and strong bonds.
The Role of Temperature:
Temperature plays a pivotal role in the curing process of wood glue. Within an optimal range of 50°F to 90°F (10°C to 32°C), wood glue cures most effectively. Deviating from this range, whether too hot or too cold, can compromise the integrity of the bond.
When temperatures plummet, the curing process slows down, resulting in weaker bonds. Conversely, excessive heat causes the glue to dry rapidly, leading to weakened adhesion. Thus, maintaining a controlled temperature within the recommended range is essential for achieving optimal bonding strength.
The Influence of Humidity:
Humidity levels also exert a significant impact on wood glue bonds. The sweet spot for relative humidity during gluing operations falls between 40% and 60%. High humidity impedes proper moisture evaporation, prolonging the curing process and yielding weaker bonds.
Conversely, low humidity accelerates drying, undermining bonding strength. Striking a balance by ensuring relative humidity remains within the recommended range is crucial during the gluing process.
Tips for Mastering Temperature and Humidity Control:
To achieve unparalleled bond strength, consider implementing these practical tips for controlling temperature and humidity:
- Utilize a thermometer and hygrometer: These invaluable tools enable accurate monitoring of temperature and humidity levels. Place them strategically in your workspace and regularly assess their readings.
- Establish a controlled environment: Whenever possible, work in a space where you have control over temperature and humidity levels. Optimal conditions can be achieved through a climate-controlled room or utilizing tools such as dehumidifiers or heaters.
- Allow for proper acclimation: Prior to applying wood glue, ensure that your wooden materials have acclimated to the environment where bonding will occur. This enables them to adjust to the space’s temperature and humidity, minimizing the risk of post-glue application expansion or contraction.
- Avoid extreme conditions: Endeavor to steer clear of excessively hot, cold, dry, or humid environments as they compromise wood glue bond strength.
- Adhere to manufacturer’s recommendations: Each wood glue variant may possess specific temperature and humidity requirements for optimal bonding strength. To guarantee exceptional results, diligently follow the manufacturer’s instructions.
Diluting the Glue for Improved Penetration
Diluting the glue for improved penetration is a simple yet powerful technique that can elevate your woodworking projects to new heights. By adding a small amount of water to the glue, you enhance its fluidity, allowing it to seep deeper into the stubborn wood fibers. This technique is particularly useful when working with dense or porous woods that may resist optimal bonding.
To begin, always check the manufacturer’s instructions to ensure that your chosen glue can be diluted. Assuming it’s safe, start by adding a small amount of water and thoroughly mixing it in. Gradually increase the water until you achieve the desired consistency. Remember, balance is crucial. Avoid over-diluting the glue, as it may weaken its bond. The perfect water-to-glue ratio will vary depending on the type of glue and your specific project.
Once your glue is mixed and ready, apply it to the wood surface using a brush or spreader. Ensure even distribution for maximum penetration. Then, securely clamp the wood pieces together to create a tight fit and let the magic unfold.
Patience is key when diluting glue. It may affect drying time, so allow ample time for curing before handling or stressing the bonded pieces. Rushing could compromise the strength of your bond.
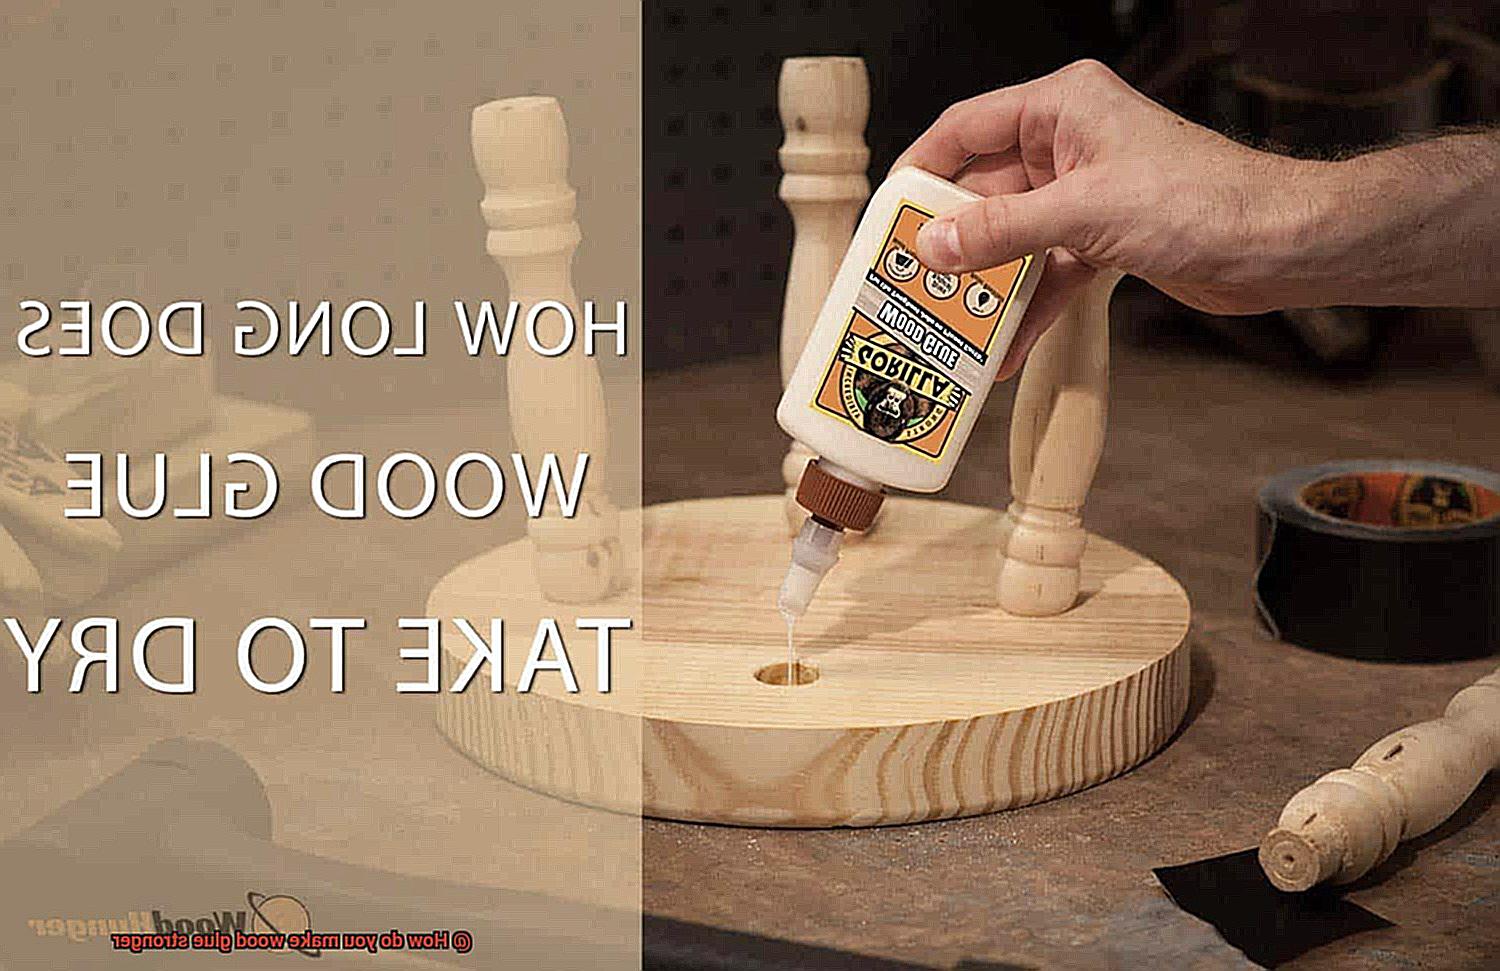
Allowing Adequate Drying and Curing Time
Wood glue possesses a magical ability to elevate your woodworking projects from the ordinary to the extraordinary. However, there exists a secret to unlocking its full potential: allowing adequate drying and curing time. This crucial step is essential for achieving maximum strength and durability in your glued joints.
Drying time and curing time are two distinct phases that must be respected. Drying time refers to the period when the glue dries on the surface, forming a protective skin. Curing time, on the other hand, is the duration it takes for the glue to reach its optimal strength. Both stages are indispensable for creating a robust and long-lasting bond.
Keep in mind that different types of wood glue have varying drying and curing times. It is of utmost importance to follow the manufacturer’s instructions for the specific product you are using. Generally, most wood glues necessitate at least 24 hours of drying time before any stress or load can be applied to the joint. However, certain glues may take longer to fully cure and achieve their maximum strength, ranging from a few days to several weeks.
Temperature, humidity, and wood type also influence the drying and curing process. Higher temperatures and lower humidity levels accelerate drying, while cooler temperatures and higher humidity may prolong it. Moreover, certain woods may absorb moisture from the glue at a slower pace, resulting in lengthier drying and curing times.
To ensure optimal results, provide ample ventilation during the process by keeping your glued object in a well-ventilated area with good air circulation. This facilitates the evaporation of moisture from the glue, enabling proper drying and curing.
Tips for Strengthening Wood Glue
Strengthening your wood glue joints is the key to creating durable and long-lasting pieces. Today, we’re going to share some expert tips and techniques that will make your wood glue joints super strong. Let’s dive in.
Choose the Right Glue:
To start off, it’s crucial to choose the right type of wood glue for your project. There are different types available, including PVA glue, epoxy glue, and polyurethane glue. Each type has its own strengths and weaknesses. For most woodworking projects, PVA glue is a great choice because it’s easy to use and creates a strong bond. However, if you’re working with special materials or need extra strength, consider using epoxy or polyurethane glue.
Prepare the Surfaces Properly:
Before applying wood glue, make sure the surfaces you’re bonding are clean and free from any dirt or debris. Take a clean cloth or brush and wipe away any dust or particles. This simple step ensures that the glue will bond better and your joints will be stronger.
Apply the Right Amount of Glue:
Finding the perfect balance when it comes to applying wood glue is crucial for strong joints. Too little glue won’t create a strong bond, while too much can cause a mess and weaken the joint. Apply a thin, even layer of glue to both surfaces being joined. Remember, a little goes a long way.
Apply Pressure with Clamps:
Applying pressure is essential for creating strong wood glue joints. Use woodworking clamps to hold the pieces firmly together while the glue dries. This ensures that the glue spreads evenly across the surfaces and creates a solid bond. Make sure to position the clamps strategically to apply pressure where it’s needed most.
Allow Sufficient Drying Time:
Patience is key when it comes to strengthening wood glue joints. Allow the glue to dry and cure fully before putting any stress on the joint. Follow the manufacturer’s instructions for drying times, which are usually around 24 hours or more. Rushing this step can lead to weak and brittle joints, so give it the time it needs to become super strong.
Also Read: How to Make Glue Dry Faster
Conclusion
To make wood glue stronger, there are a few techniques you can try. First, ensure that you have properly prepared the surface by sanding it down and removing any dirt or debris. This will help the glue adhere better to the wood. Next, consider using a high-quality wood glue that is specifically designed for strong bonds. These types of glues often have additives that enhance their strength and durability.
Another way to boost the strength of wood glue is by applying pressure during the drying process. This can be done by clamping the glued pieces together tightly or using weights to keep them in place. The pressure helps squeeze out excess moisture and creates a tighter bond between the wood fibers.
Additionally, allowing enough time for the glue to fully cure is crucial for maximizing its strength. Follow the manufacturer’s instructions regarding drying time, as rushing this step can result in weaker bonds.
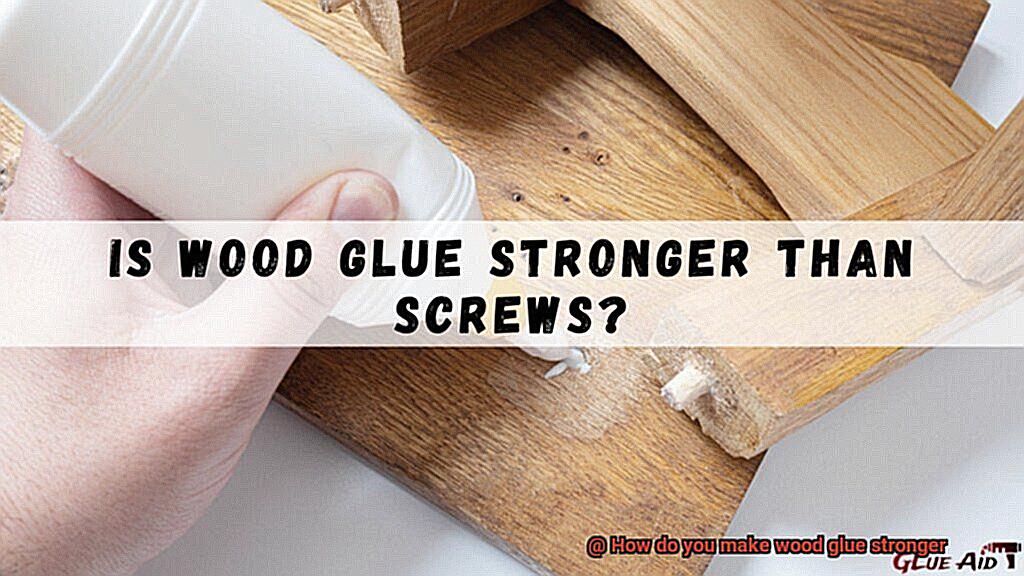
If you’re looking for an extra boost in strength, you can also consider adding reinforcements such as dowels or screws to your woodworking projects. These additions provide additional support and stability, making your joints even stronger.
In conclusion, making wood glue stronger involves proper surface preparation, using high-quality adhesive products, applying pressure during drying, allowing sufficient curing time, and considering reinforcements when necessary.