We’ve all been there – eagerly working on a project, only to be stalled by the infuriatingly slow-drying white school glue. Whether you’re a student hustling to finish a school assignment or a DIY enthusiast putting together something extra special, waiting for glue to dry can really cramp your style.
But fear not. There are some seriously cool tricks you can use to speed up the process.
In this blog post, we’ll dive headfirst into the world of adhesive acceleration and explore step-by-step methods to make your white school glue dry faster than you can say “sticky situation”. From tweaking temperature and humidity levels to harnessing the power of everyday household items as drying aids, we’ve got all the insider tips you need.
So grab your glue guns and get ready to make your projects stick, move, and dry at warp speed.
Increasing Temperature
Contents
Waiting for white school glue to dry can be a test of patience, but fear not. In this post, we’ll dive into the captivating world of increasing temperature to speed up the drying process. Get ready to uncover simple yet effective methods that will save you time and frustration.
The Science Behind It:
When the temperature rises, the molecules in the glue go into overdrive. This heightened activity leads to rapid evaporation of the water content, resulting in faster drying.
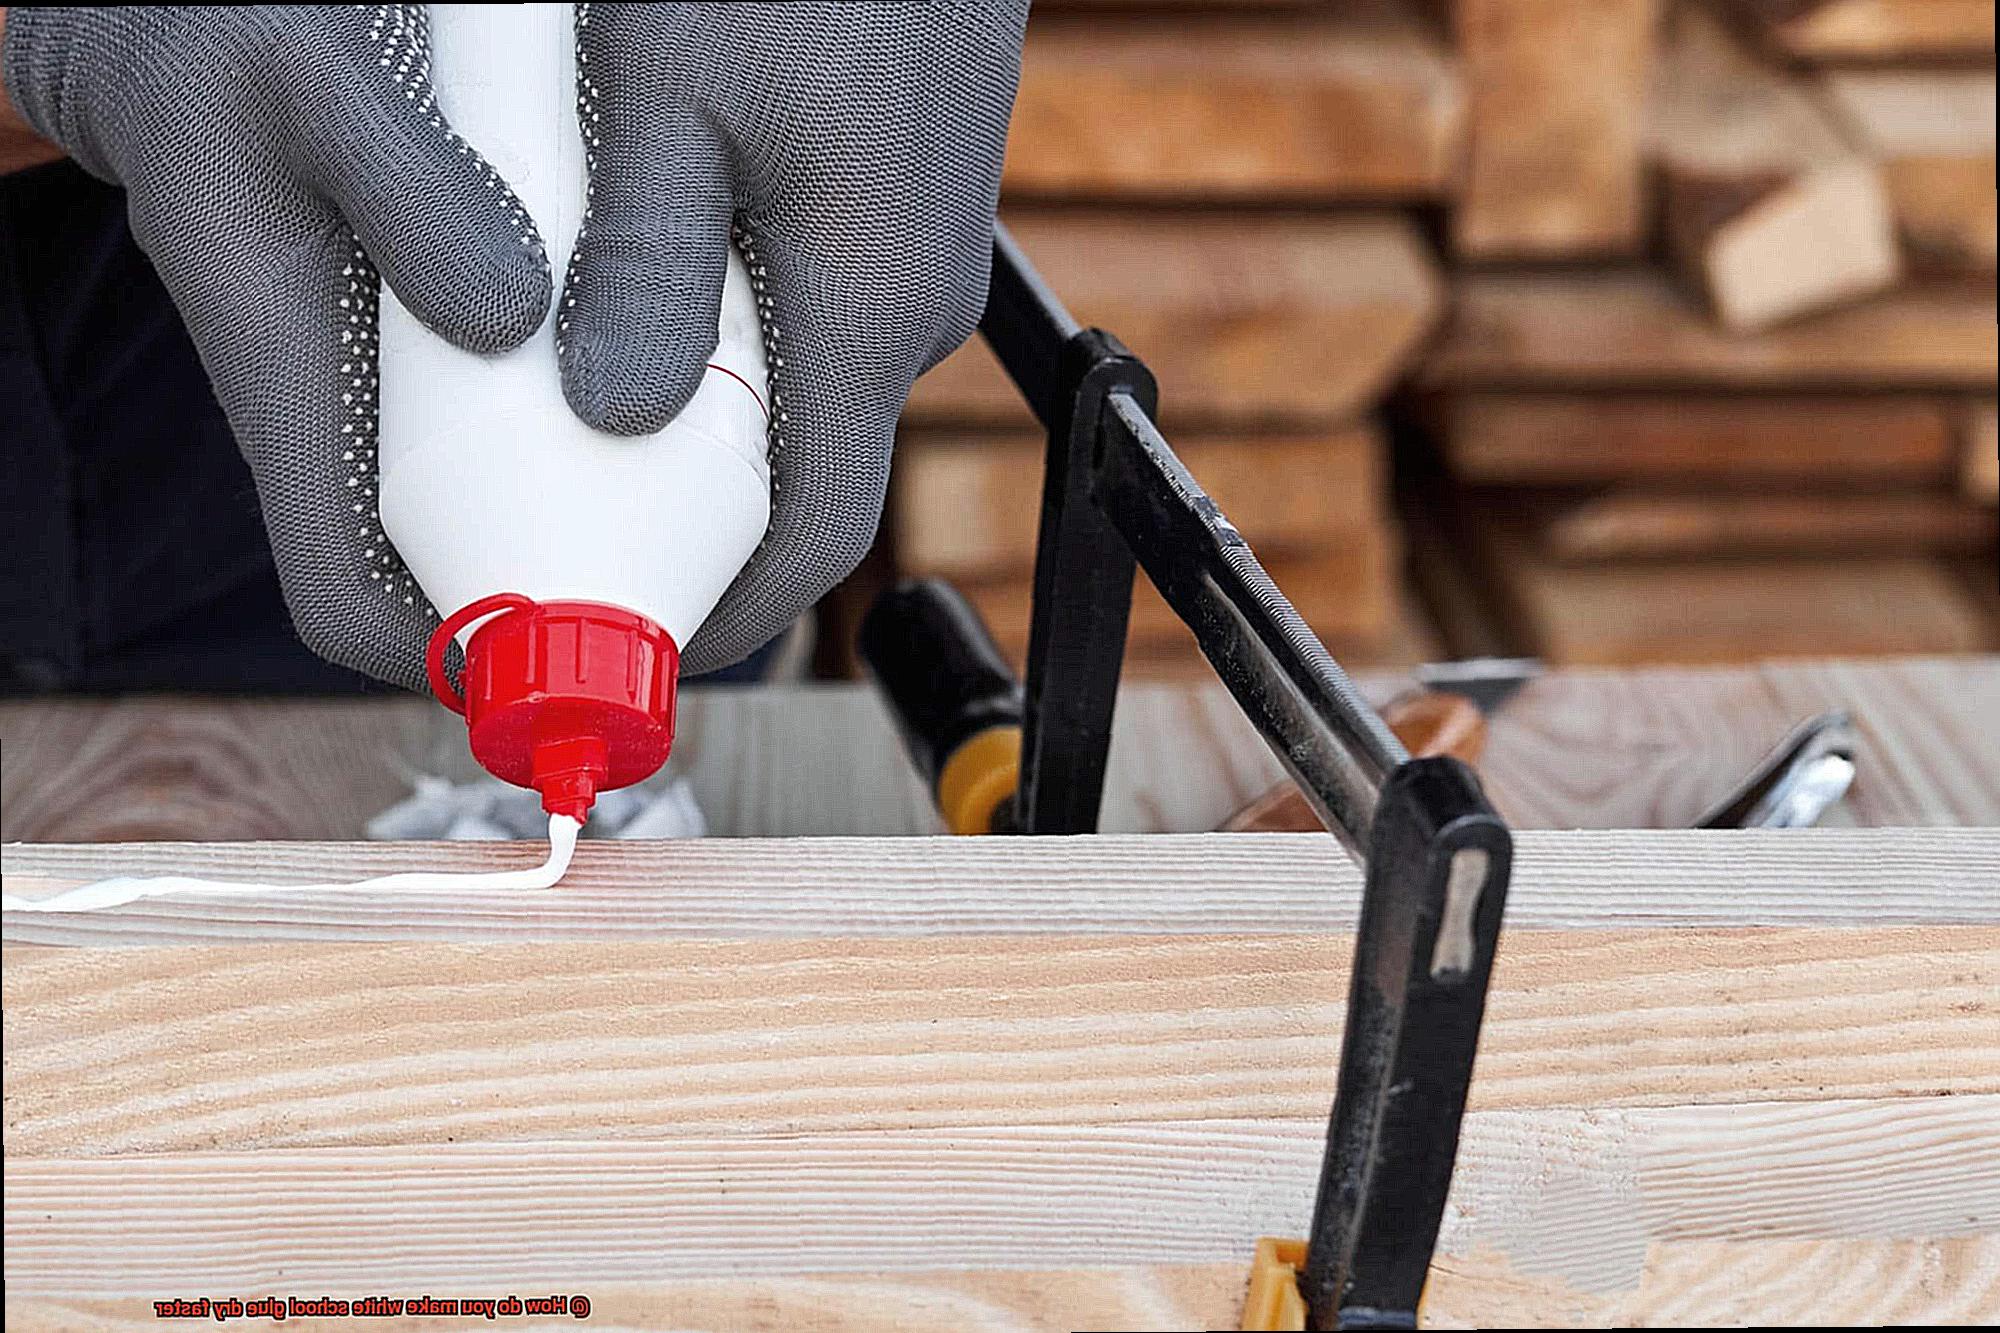
Method 1: Heat Source:
Harness the power of a hairdryer or heat gun to direct hot air towards the glued area. The heat turbocharges the drying process by hastening moisture evaporation. Remember to keep a safe distance to prevent damage or discoloration.
Method 2: Warm Environment:
Embrace the warmth by placing the glued object near a heater or basking it in glorious sunlight. The cozy environment aids in quick drying as it helps evaporate moisture from the glue at an accelerated pace.
Method 3: Airflow Assistance:
Unleash the power of airflow by enlisting a fan’s help. By blowing air over the glued area, moisture is whisked away more efficiently, promoting faster drying. Position the fan just right for optimal airflow without causing any disturbances.
Cautionary Notes:
While increasing temperature speeds up drying, excessive heat can compromise glue quality, leading to shrinkage or cracking. Exercise caution and strike a balance between speed and maintaining glue integrity.
Reducing Humidity
Waiting for glue to dry can be a test of patience, especially when humidity is working against you. But fear not, my fellow glue enthusiasts. I have gathered some magical tips and tricks that will help you conquer the battle against moisture and expedite the drying time of your glue.
First off, let’s talk about the superhero of humidity reduction: the dehumidifier. This nifty device removes excess moisture from the air, creating a drier environment. By placing a dehumidifier in the room where you’re working with glue, you can significantly reduce the humidity level and promote faster drying. It’s like having your very own sidekick in the fight against slow-drying glue.
But wait, there’s more. Fans and ventilation are your best friends when it comes to drying glue. By circulating air around the area, you can speed up evaporation and help your glue dry faster. Position fans strategically or open windows to let fresh air flow through. Imagine your glue taking a deep breath of fresh air, rejuvenating and drying at lightning speed.
Now, here’s a pro tip: choose your working environment wisely. If you live in a region with high humidity levels, it’s ideal to work in a well-ventilated room with air conditioning. This creates a more favorable environment for your glue to dry faster. You’ll become a glue-drying ninja, mastering your surroundings and defeating humidity like a true warrior.
Last but certainly not least, make sure your surfaces are dry before applying glue. Damp surfaces or materials that release moisture can hinder the drying process. So, give them a good wipe down and ensure they’re free from water or moisture. Your glue will thank you for providing a dry canvas to work its magic on.
Using Thin Layers of Glue
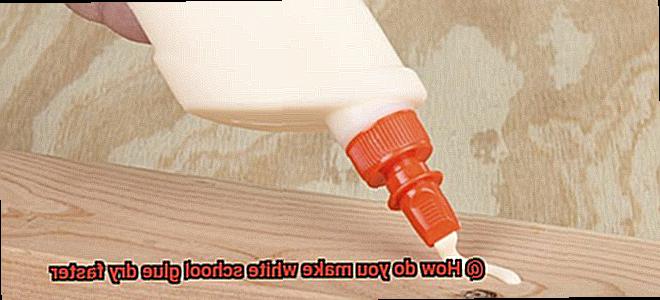
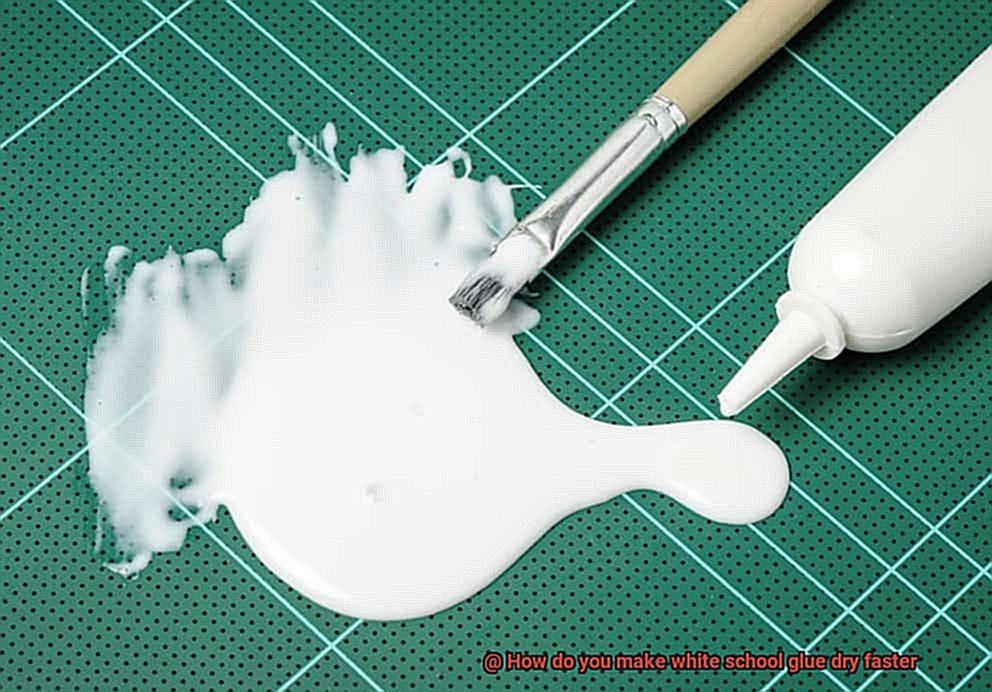
Let’s start with the major advantage of this technique – speedy drying. Picture this: when you slather on a thick layer of glue, it has more volume and surface area, which means it takes an eternity to dry. But with thin layers, the glue has less material to evaporate, resulting in a lightning-fast drying time. No more waiting around impatiently, my friends. It’s time to level up your efficiency.
So, how do you use this magical technique? It’s simple. Grab your trusty spreader tool or brush and apply a thin layer of white school glue to the surface you want to bond. Smooth it out evenly, but remember – less is more here. Don’t go overboard with the glue, or you’ll end up with a thicker layer that takes longer to dry. Precision is key.
Using thin layers of glue not only speeds up the drying process but also creates a bond like no other. You see, when you apply a thick layer of glue, it takes ages for the water content to evaporate, which can weaken the bond. But with thin layers, my friends, the glue sets faster, creating a rock-solid connection between your materials. It’s like magic.
Now, bear in mind that this technique might not be suitable for all projects. If you’re working on something that requires an extra-strong bond or if you’re gluing porous materials together, using a thicker layer of glue might be more appropriate. Always consider the specific requirements of your project before deciding on the thickness of your glue layer. Precision is everything.
And don’t forget – always follow the manufacturer’s instructions when working with white school glue. Different brands have different drying times and application techniques, so read the label, be a glue guru, and follow the recommended guidelines for the best results. You’ve got this.
Adding Heat Directly to the Glued Area
In this post, we will explore the concept of adding heat directly to the glued area, a secret technique that will turbocharge your glue drying time. Get ready to learn how to accelerate the bonding process and move on with your project in no time.
Method 1: Hairdryer Magic
The hairdryer is a simple and accessible tool that can be used to add heat to the glued area. Set it to a low or medium heat setting, hold it a few inches away from the glued surface, and let the warm air work its magic. Moving the hairdryer back and forth across the surface ensures even distribution of heat. This method is perfect for small or flat surfaces that need a quick drying boost.
Method 2: Heat Gun Power
For larger surfaces or more intricate projects, a heat gun is your go-to tool. Similar to a hairdryer but with higher temperatures, a heat gun allows for more precise control over heat application. Keep the heat gun at a safe distance from the glued area, and move it around in a sweeping motion. Be cautious not to overheat the glue or surrounding materials.
Method 3: The Oven/Microwave Trick
If you’re working on smaller projects or items that can handle high temperatures, consider using your oven or microwave. Place the glued item in an oven set at a low temperature (around 150-200°F) or microwave it in short intervals (10 seconds) until dry. However, be mindful of overheating or melting.
Important Considerations:
Before applying any heat, ensure that your glue is heat-resistant. Not all glues can withstand high temperatures, so double-check the label or manufacturer’s instructions. Safety should always be a priority.
Using Accelerators and Additives
Well, buckle up because we’re about to reveal a secret technique that will turbocharge your glue drying time. By harnessing the power of accelerators and additives, you’ll be able to accomplish your projects in no time. So, let’s dive into this exciting world of glue acceleration.
Accelerate with Heat:
When it comes to drying glue faster, heat is your best friend. Picture this: a hairdryer on a low heat setting, gently blowing warm air onto the glued area. Exciting, right?
For the adventurous souls out there, why not place the glued object in a warm oven for a short period of time? Just make sure your glue is heat-resistant before cranking up the temperature.
Boost with Air Movement:
Want to take things up a notch? Increase airflow around the glued area and watch the magic happen. Set up a fan to blow air directly onto the glued surface or open a window to let in that refreshing breeze. Not only will this speed up drying time, but it will also make your work environment more enjoyable.
Additives that Work Wonders:
Now it’s time to introduce some supercharged additives. Borax and baking soda are two powerhouses that can be mixed with white school glue to accelerate drying. Mix them in before applying the glue or apply them directly onto the surface. These mighty additives absorb moisture from the glue, making it dry faster than ever before.
Safety First:
While accelerators and additives can be game-changers, we must prioritize safety. Follow manufacturer instructions and, if necessary, suit up with protective equipment. Some substances may produce fumes or react with the glue, so make sure you’re working in a well-ventilated area.
Test and Patience:
Before going all-in, it’s time for a little test drive. Try out any accelerators or additives on a small, inconspicuous area to ensure they won’t cause any unwanted reactions or damage. Remember, although accelerators and additives can speed up drying time, allow sufficient time for a strong and durable bond. Patience is key.
Considerations for Strength of Bond
Today, we embark on an exciting journey into the realm of enhancing the drying process of white school glue without compromising the strength of the bond. Whether you’re a student tackling a project or a DIY enthusiast venturing into home improvements, we’ve got you covered. Let’s uncover the essential considerations that will supercharge your glue drying and ensure a rock-solid bond.
Consideration 1: Material Matters
Different materials demand different glues for optimal adhesion. Non-porous surfaces like metal or plastic require specialized glues engineered to form a lasting bond. Conversely, porous materials such as wood or fabric benefit from glues that penetrate their fibers, fortifying the connection. Selecting the right glue tailored to your project is paramount for a durable bond that withstands the test of time.
Consideration 2: Technique is Key
Harnessing the power of technique is vital in achieving a formidable bond. By applying an even and consistent layer of glue to both surfaces, you ensure superior adhesion and eliminate weak spots in the bond. Remember, cover every nook and cranny while avoiding excessive amounts that could lead to unsightly drips and uneven drying. Furthermore, exert gentle pressure during bonding, be it through clamping or utilizing weights, as this will significantly enhance the strength of the bond.
Consideration 3: Climate Control
Temperature and humidity wield immense influence over glue drying time. Crank up the heat and decrease humidity levels for accelerated drying, or dial down the temperature and increase humidity for a more leisurely pace. Striking the perfect balance between these factors is critical for optimal drying and bonding strength. Consider employing fans or cautiously introducing heaters to create your ideal drying climate.
Consideration 4: Patience is a Virtue
Some glues require a curing or setting time after drying, allowing chemical reactions to amplify the bond’s strength. Honoring the manufacturer’s recommended curing time is crucial for achieving maximum resilience. Rushing this step may result in a weaker bond and potential joint failure. Embrace patience as your ally and witness the immense rewards of a robust and enduring bond.
Benefits of Speeding Up Drying Time
In this blog post, we’ll explore the benefits of speeding up the drying time of white school glue and how it can revolutionize your projects.
Efficiency:
Say goodbye to waiting periods and hello to record-breaking productivity. With faster drying glue, you can maximize your efficiency and meet deadlines with ease. No more wasting time twiddling your thumbs or staring at a drying project. Get things done quickly and move on to the next task.
Convenience:
Craft time with kids just got a whole lot easier. Speeding up glue drying time means no more restless children impatiently blowing on their creations or accidentally smudging wet glue. They can swiftly move on to their next masterpiece without any mishaps. It’s a win-win situation for both kids and adults alike.
Flawless Results:
There’s nothing more frustrating than smudging wet glue and ruining your hard work. Faster drying glue minimizes the risk of smudging or smearing, ensuring flawless results every time. Your creations will look picture-perfect, free from any frustrating mishaps.
Quicker Bonding:
Delicate materials require extra care during bonding. They tend to shift or move if not held in place for extended periods. But with faster drying glue, you can achieve quick and secure bonding. Whether you’re working with fabrics, paper, or even feathers, turbocharged drying time is your best friend.
Easy Storage and Transportation:
Completing an amazing project is one thing, but storing or transporting it without damaging wet glue is another challenge. But fear not. With faster drying glue, your projects will be ready to store or transport in no time. Showcase your creations without any fear of ruining them along the way.
3oQMFWFbOw8″ >
Conclusion
In conclusion, waiting for white school glue to dry can be an exasperating experience, especially when you’re itching to finish a project. But fear not. There are several effective methods that can expedite the drying process and save you precious time and frustration.
One way to kickstart glue drying is by cranking up the temperature. Directing a hairdryer or heat gun towards the glued area will unleash a torrent of hot air, accelerating moisture evaporation and promoting rapid drying. Just remember to tread carefully and avoid overheating the glue, as it could compromise its integrity.
Reducing humidity is another vital factor in hastening glue drying. Employing a dehumidifier in your workspace can significantly lower humidity levels, facilitating quicker drying. Additionally, increasing airflow through fans or open windows helps whisk away moisture more efficiently.
If you want lightning-fast drying times, consider applying thin layers of glue. Thick layers take longer to dry due to their larger volume and surface area. By spreading thin, even coats of glue, you decrease drying time while still achieving a robust bond between materials.
And for those who crave ultimate speed, direct heat application is the way to go. Tools like hairdryers or heat guns can deliver intense heat directly to the glued area, turbocharging the drying process. Just ensure that your glue can handle the heat before cranking up the temperature.
By implementing these techniques and considering factors such as material compatibility, proper technique, climate control, and a dash of patience during curing time, you can achieve faster drying times without sacrificing bond strength.
The benefits of expediting glue drying are plentiful – enhanced efficiency, convenience, flawless results, quicker bonding for delicate materials, and easier storage and transportation of finished projects.