Welcome to the enchanting realm of slime-making, where the possibilities are as limitless as your imagination.
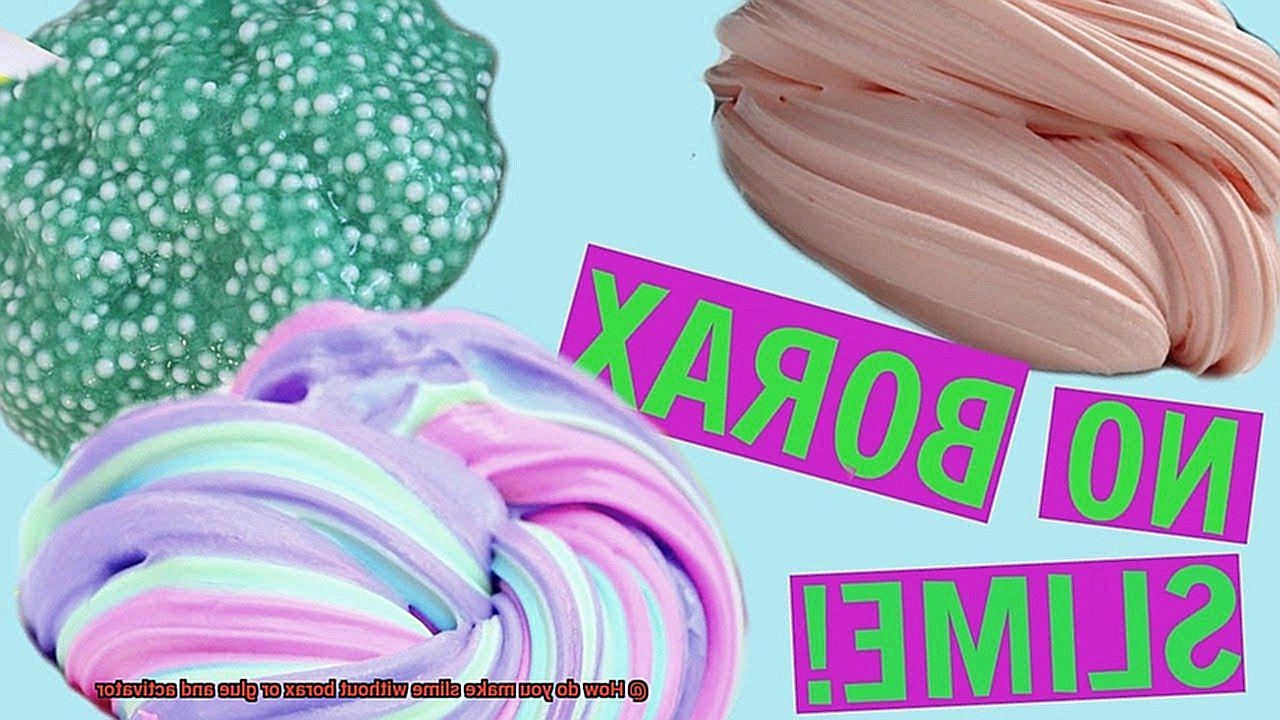
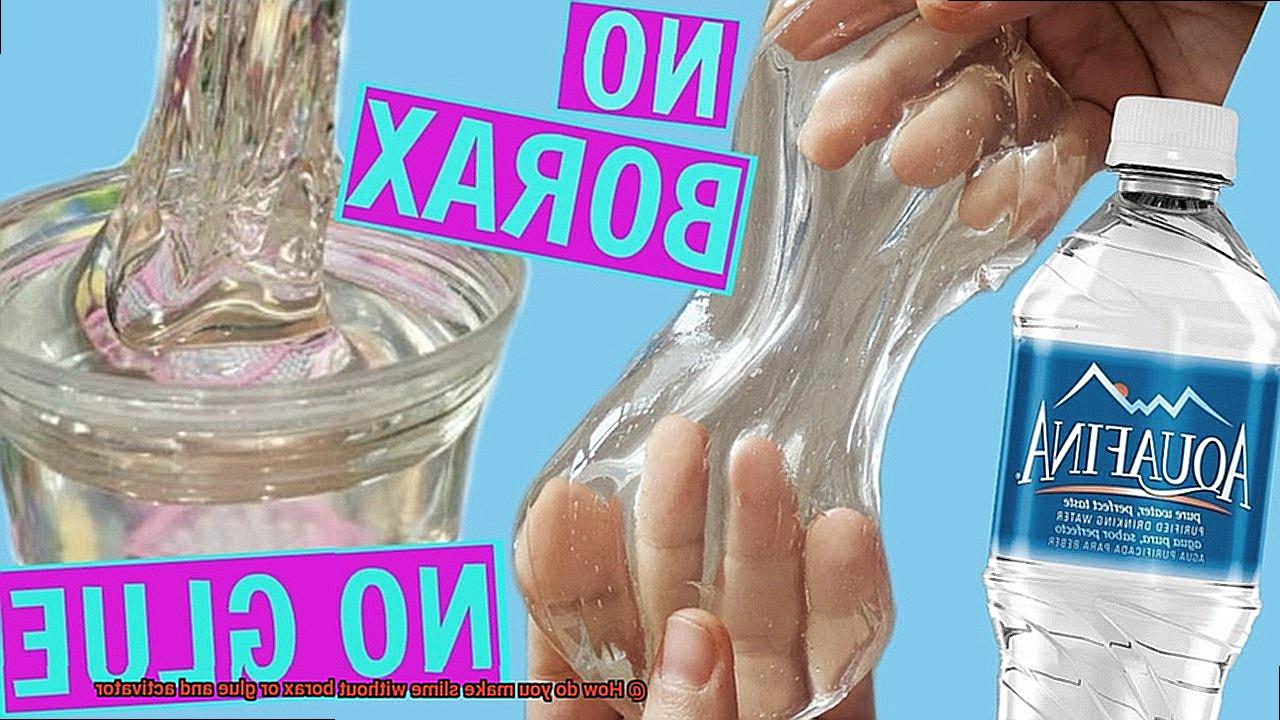
Tired of hunting down elusive ingredients like borax, glue, and activator? Well, fret no more.
This blog post is here to show you how to create mesmerizing slime without any of those traditional components. Get ready to embark on a thrilling journey of sensory exploration that will captivate both kids and adults alike.
We’ve scoured the depths of slime-making techniques to bring you an alternative approach using everyday household items. Prepare yourself for a world of squishy, stretchy goodness that knows no bounds.
Brace yourself for a truly magical experience where anything is possible.
Cornstarch and Water Slime
Contents
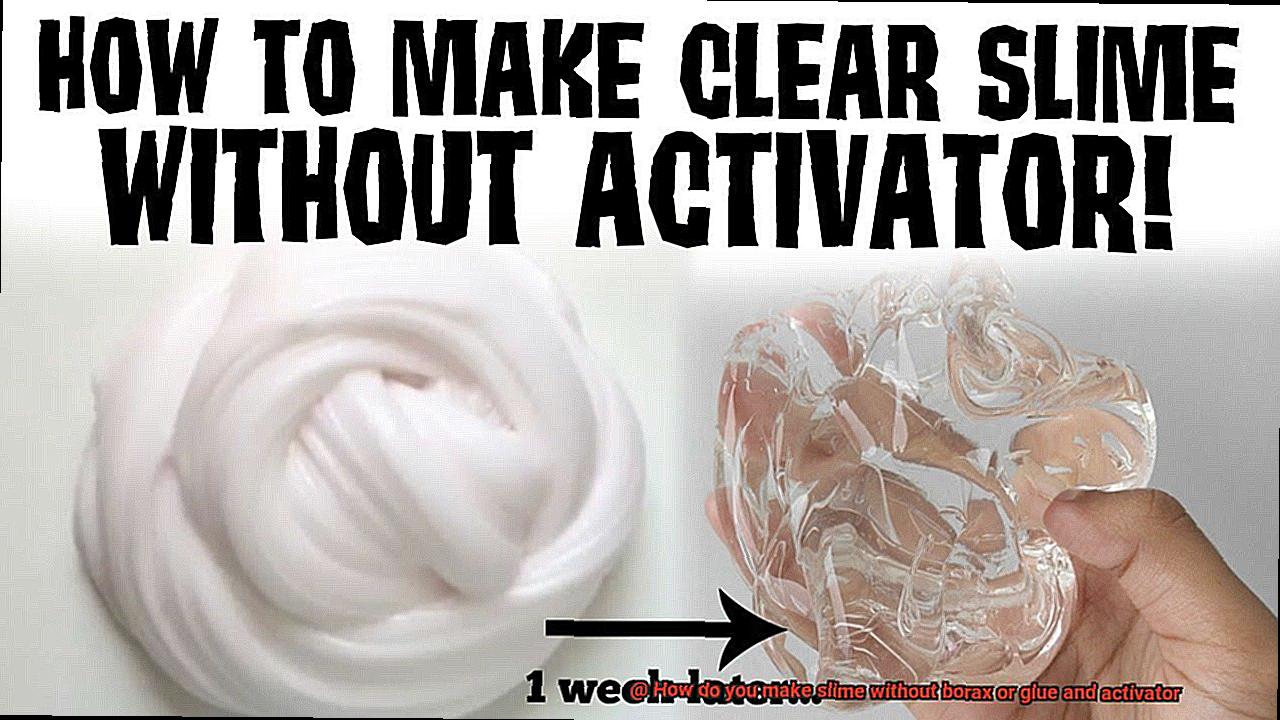
Prepare to be amazed by the enchanting world of slime. While traditional slime recipes call for borax or glue, there is a marvelous alternative that requires only two ingredients: cornstarch and water. Brace yourself for a sensory adventure as we delve into the properties and benefits of this extraordinary slime. Discover the mesmerizing non-Newtonian behavior, the potential for sensational play, and the educational exploration that awaits those who embark on this DIY project.
The Science Behind Cornstarch and Water Slime:
Be prepared to witness a scientific marvel when you mix cornstarch and water. This captivating slime exhibits non-Newtonian behavior, defying conventional expectations of matter.
As you caress it gently, the slime flows through your fingers with the grace of a liquid. Yet, when your grip tightens, it transforms into a solid, resolute in resisting your force. This remarkable behavior stems from the suspension of starch particles in water, creating a structure that mimics both liquid and solid states when pressure is applied.
Sensational Play and Educational Exploration:
Cornstarch and water slime offers an extraordinary sensory experience that will captivate children of all ages. Its tantalizing texture offers endless possibilities for stretching, squeezing, molding, and even bouncing the slime. The tactile stimulation provided by this slime is unparalleled, leaving young minds enthralled.
Beyond sensory play, cornstarch and water slime holds educational value as well. Through hands-on experimentation with this magical substance, children can explore scientific concepts such as viscosity and states of matter. They will witness firsthand how the slime’s behavior adapts to external forces, igniting their curiosity and fostering a deeper understanding of scientific principles.
Creating Your Own Cornstarch and Water Slime:
Embarking on this DIY journey is as easy as can be. Begin by mixing equal parts cornstarch and water in a bowl, stirring continuously until the mixture transforms into a mesmerizing slime-like consistency. For those seeking a touch of personalization, feel free to add food coloring or glitter to infuse your slime with visual enchantment.
Liquid Starch Slime
Dive into the captivating world of slime and prepare to be amazed as we explore the fascinating process of making liquid starch slime. This gooey creation is not only perfect for sensory play, but it also provides hours of entertainment for kids and adults alike. So, let’s dive right in and discover the secrets behind this mesmerizing concoction.
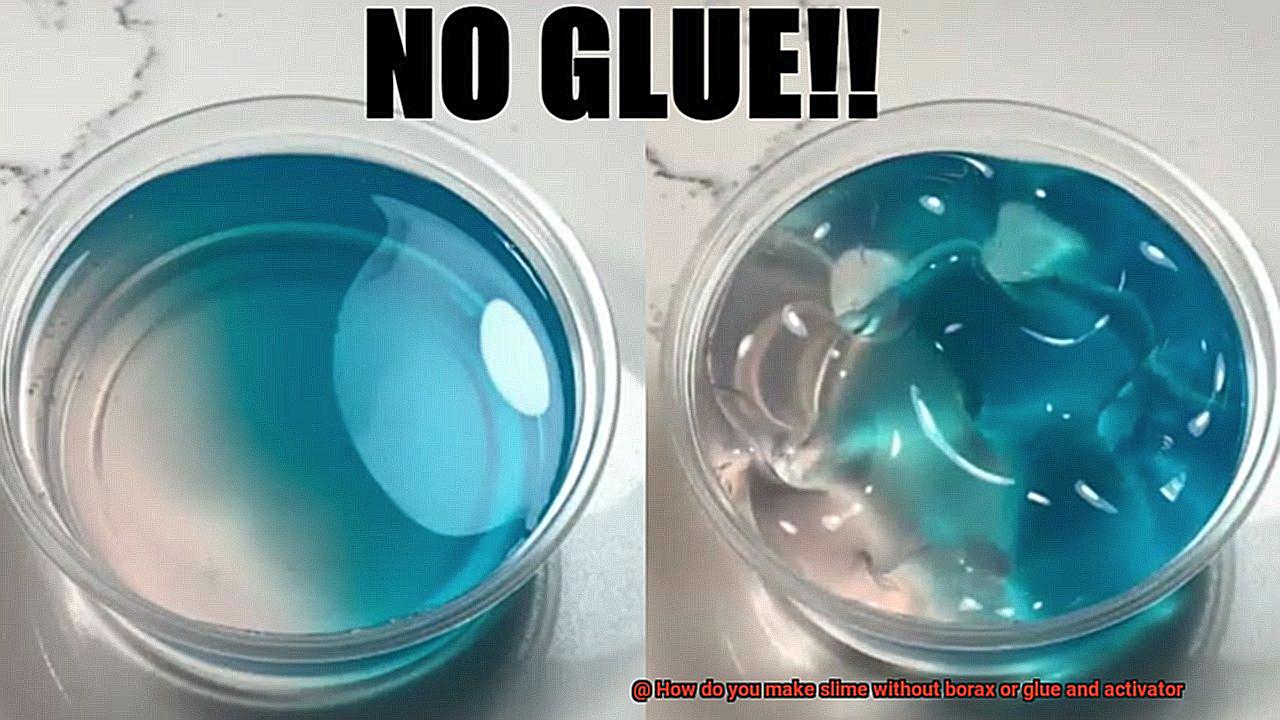
To embark on your slime-making adventure, gather a few simple ingredients. You’ll need clear or white school glue, water, liquid starch, and optional food coloring to add a vibrant burst of color to your slime.
Begin by pouring approximately ½ cup of clear or white school glue into a mixing bowl. If you desire a dash of color in your slime, add a few drops of food coloring and mix vigorously until the color is evenly distributed. However, if you prefer the transparent allure of clear slime, simply skip this step and proceed.
Now, brace yourself for the exhilarating part. Gradually introduce liquid starch to the glue mixture while stirring incessantly. Exercise caution during this process, adding the liquid starch slowly to avoid creating an overly rigid or sticky mess. Continue adding and stirring until the amalgamation thickens and gracefully detaches from the sides of the bowl.
Once your slime begins to take shape, it’s time to get your hands dirty – quite literally. Engage your senses as you knead the slime with your hands, aiding its complete integration. The resulting texture should be delightfully stretchy, pliable, and not excessively adhesive. Should you encounter stickiness along the way, simply incorporate a touch more liquid starch and continue kneading until your desired consistency is achieved. Conversely, if your slime appears too stiff, fear not – just introduce a small amount of water or even additional glue to soften it up.
Voila. Your liquid starch slime now stands ready for a playtime adventure. Stretch it, squish it, mold it – let your imagination soar as you explore the boundless possibilities this captivating creation presents.
Remember to store your slime in an airtight container for future amusement. And if liquid starch proves elusive in your area, fret not. There are alternative activators such as laundry detergent or contact lens solution that can be employed to create slime without borax or glue. The possibilities truly know no limits.
Shampoo and Salt Slime
Step into the captivating world of slime making and discover the mesmerizing recipe for shampoo and salt slime. If you’re searching for a fun and hassle-free way to create slime without the need for glue or borax, then look no further. This concoction will transport you into a world of stretchy, gooey goodness, using only a handful of household ingredients.
To embark on this slimy adventure, round up your materials. You’ll need shampoo (any type will suffice), table salt, a mixing bowl, and a trusty spoon for stirring. These are all everyday items that can be found in most households, making this slime recipe accessible to everyone.
Now that you have your materials at the ready, let’s dive into the creation of slime magic. Pour approximately 1/2 cup of shampoo into your mixing bowl, adjusting the quantity based on your desired slime yield.
Next, introduce a teaspoon of table salt into the mix. This humble ingredient acts as an activator, bestowing upon your slime its coveted consistency. Stir the concoction vigorously with your spoon until the salt is fully dissolved.
As you stir, prepare to witness a mesmerizing transformation. The texture of the mixture will undergo a metamorphosis, thickening and becoming stickier with each rotation. It will soon resemble the very essence of slime itself. In the event that it feels too watery or runny, inject a pinch more salt into the mixture and continue stirring until your desired consistency is achieved.
Now comes the exhilarating part – indulging in the sensory delight of your homemade slime. Stretch it to its limits, squeeze it between your fingers, or mold it into an array of captivating shapes. The possibilities are boundless. Whether you’re young or young at heart, this tactile experience promises endless fun and entertainment.
What sets shampoo and salt slime apart is its remarkable customizability. Elevate your slime’s allure by introducing food coloring or a sprinkle of glitter. For the adventurous souls, experiment with various types of shampoo to create scented slime that tantalizes the senses. As you embark on this olfactory journey, exercise caution by selecting shampoos that are gentle on the skin and avoiding those laden with harsh chemicals or additives.
It’s important to note that this breed of slime may not endure as long as its traditional counterparts, crafted with glue or borax. Over time, it may lose some of its stretchiness and transform into a more liquid-like state. However, fear not, for it still guarantees hours of joy and amusement.
Toothpaste and Hand Lotion Slime
If you’re seeking a simple and accessible way to create an enticingly stretchy and enjoyable slime without glue or borax, then toothpaste and hand lotion are the secret ingredients you’ve been searching for.
In this captivating exploration, we will dive into the magical realm of toothpaste and hand lotion slime, uncovering their unique properties and providing you with a step-by-step guide to creating your very own slimy masterpiece.
The Science Behind Toothpaste and Hand Lotion:
Toothpaste, particularly the non-gel white variety, serves as an ideal base for slime due to its thick consistency and adhesive properties. Enriched with ingredients like hydrated silica, toothpaste acquires its distinct texture. Binding agents such as sodium carboxymethyl cellulose or xanthan gum help toothpaste stick together, enabling it to form a delightfully slimy substance when combined with other ingredients.
Hand lotion, on the other hand, boasts moisturizing agents like glycerin and emollients such as petrolatum or mineral oil. These elements lend lotion its smooth and creamy texture, which can be artfully manipulated to create a tantalizing slimy consistency for our slime-making purposes.
Creating Toothpaste and Hand Lotion Slime:
Now that we have unraveled the scientific wonders behind it, let us embark on our remarkable slime-making adventure. Here’s what you’ll need:
- White toothpaste (non-gel variety)
- Hand lotion (preferably unscented)
- Mixing bowl
- Mixing spoon or spatula
Instructions:
Begin by generously squeezing toothpaste into the mixing bowl. As a general estimate, start with approximately half a cup.
Add an equal amount of hand lotion to the toothpaste in the bowl.
Utilize a mixing spoon or spatula to vigorously stir the toothpaste and hand lotion together until they amalgamate into a cohesive mass. This may require several minutes of enthusiastic stirring.
Should the mixture appear too dry, incrementally add small amounts of hand lotion to achieve the desired consistency. Conversely, if it seems excessively sticky or wet, incorporate additional toothpaste to attain the perfect balance.
Once you’ve achieved a splendid slime-like texture, it’s time to unleash your creativity. Stretch, mold, and squeeze your toothpaste and hand lotion slime to your heart’s content.
Customization and Tips:
To elevate the sensory experience, consider incorporating coloring agents such as food coloring or glitter into the mixture before stirring. This will lend your slime a vibrant or sparkling appearance that is sure to captivate.
Psyllium Husk Powder Slime
Psyllium husk powder is here to revolutionize your slime-making experience. Get ready for a world of slimy fun without any harmful additives. Let’s explore how psyllium husk powder can create the most captivating and safe slime you’ve ever seen.
The Power of Psyllium Husk Powder
- Derived from the seeds of the Plantago ovata plant, psyllium husk powder is a versatile ingredient.
- It has the unique ability to absorb water and create a gel-like consistency, making it an excellent substitute for traditional slime ingredients like borax or glue and activator.
Creating Psyllium Husk Powder Slime
- Simple ingredients: psyllium husk powder, water, and optional food coloring or glitter for a touch of magic.
- Add a small amount of psyllium husk powder to a bowl or container.
- Slowly pour in water while stirring continuously until the mixture thickens and transforms into a slimy texture.
Versatility and Control
- Psyllium husk powder slime offers full control over the consistency.
- Adjust the amount of powder to make it thicker or thinner according to your preferences.
- The power is in your hands to create the perfect slime texture.
Safety and Health Benefits
- Psyllium husk powder slime is safe and non-toxic, offering a healthier alternative to traditional slime recipes.
- No need to worry about harmful ingredients when making slime with psyllium husk powder.
- Psyllium husk powder is easily accessible and affordable, making it a convenient option for slime enthusiasts of all ages.
Safety Considerations
Step into the mesmerizing world of slime-making, a popular activity that captivates both kids and adults. While the process of creating slime is undeniably fun, it’s crucial to prioritize safety.
In this blog post, we will explore the essential safety considerations when making slime without borax, glue, and activator. Prepare to be spellbound by the safe and captivating alternative of psyllium husk powder slime.
Adult Supervision:
Embarking on a slime-making adventure requires adult supervision. Their watchful eyes ensure a safe environment and guide children on proper handling and usage of materials. With an extra pair of eyes, accidents and mishaps can be prevented.
Allergies:
Before diving into the world of slime, it’s important to check for allergies to any ingredients used. Certain household products or food items commonly found in alternative slime recipes can trigger allergic reactions. To keep everyone safe, avoid these ingredients or find suitable alternatives.
Hand Hygiene:
Clean hands are a must when creating slime. Prior to starting, ensure that all participants thoroughly wash their hands with soap and water. This minimizes the risk of contaminants entering the slime mixture, preventing potential infections or illnesses.
Eye Protection:
When dealing with ingredients like contact lens solution or saline solution, it’s advisable to don protective eyewear such as safety glasses or goggles. This simple precaution safeguards the eyes from accidental splashes or spills that could cause irritation or injury.
Avoid Ingestion:
Although alternative slime recipes use non-toxic ingredients, consuming the slime mixture should be discouraged. Some substances in the mixture may not be intended for ingestion and could lead to discomfort or illness if consumed.
Ventilation:
Proper ventilation in the workspace is essential, particularly when working with ingredients that may release fumes or gases. Open windows or use fans to circulate fresh air, preventing the accumulation of potentially harmful fumes.
Clean-Up:
After the magical slime-making activity, it’s crucial to clean up the workspace and equipment used. Wipe down surfaces, dispose of any leftover ingredients or containers properly, and wash all utensils and tools thoroughly. This maintains a clean and safe environment for future use.
Troubleshooting Common Issues
Get ready to embark on a magical journey filled with creativity and fun. While this alternative method is generally safe and easy to follow, there are a few common issues that can arise during the slime-making process. But fear not. We have all the troubleshooting tips you need to ensure your slime-making experience is a success.
- Sticky Slime: Sticky slime can be frustrating and difficult to play with. It’s usually caused by using too much water or not adding enough of the alternative ingredients. To fix sticky slime, gradually add small amounts of the alternative ingredients like cornstarch or liquid starch until you achieve the desired consistency. You can also adjust the water-to-ingredient ratio by adding more of the chosen base ingredient to reduce stickiness.
- Watery Slime: If your slime becomes too runny and doesn’t hold its shape properly, you’re dealing with watery slime. This happens when you add too much water or not enough of the alternative ingredients. To fix watery slime, gradually add more of the chosen base ingredient until the slime thickens up. You can also experiment with reducing the amount of water used in the recipe.
- Not Stretchy or Firm: Is your slime lacking stretchiness or firmness? This may be due to using too little of the alternative ingredients or not kneading the mixture enough. To troubleshoot this issue, add more of the chosen base ingredient and knead the slime thoroughly. Kneading helps activate the ingredients and develop the desired texture. If it’s still not stretchy or firm enough, gradually add small amounts of the alternative ingredients until you achieve the desired consistency.
- Color Fading: Don’t let your slime lose its vibrant colors over time. Some alternative ingredients may cause color fading, resulting in a dull appearance. Prevent color fading by using high-quality food coloring or pigment powders specifically designed for crafts. These specialized coloring options are less likely to fade, ensuring your slime stays vibrant and long-lasting.
- Allergic Reactions: Safety first. While slime made without borax or glue is generally safe, it’s crucial to be aware of any allergies or sensitivities you may have. Carefully read and understand the ingredients used in the alternative slime recipes. If you experience any allergic reactions, discontinue use immediately and seek medical advice.
Storage and Cleanup Tips
Slime-making is an incredibly popular and enjoyable activity for both kids and adults alike. However, the fun doesn’t stop with the creation of slime. Proper storage and cleanup are essential to maintain the slime’s freshness and keep your surroundings tidy.
In this article, we’ll delve into the significance of proper storage and cleanup when making borax-free and glue-free slime. With these tips, you’ll be equipped to store your slime effectively and clean up any messes with ease.
Storing Slime for Long-Lasting Fun:
Storage is a crucial aspect of slime-making, as it directly impacts the longevity of your slime. To keep your slime fresh and pliable, opt for an airtight container designed specifically for slime storage.
These containers are equipped with tight-fitting lids that effectively seal in moisture, preventing the slime from drying out. If you don’t have a designated container, resealable plastic bags work just as well. Remember to squeeze out as much air as possible before sealing the bag to maintain the desired texture.
Furthermore, it is important to store your slime in a cool, dry place. Direct sunlight or exposure to heat sources may cause the slime to melt or become sticky. By adhering to these storage tips, you can ensure that your slime stays fresh and ready for playtime whenever you desire.
Easy Cleanup Hacks:
Cleaning up after a slime-making session doesn’t have to be daunting or time-consuming. With a few simple tricks up your sleeve, you can effortlessly remove any residue or stickiness left behind.
If the slime has dried onto a surface, gently scrape it off using a plastic scraper or credit card. Be careful not to damage the surface while doing so.
For fabric surfaces like clothing or carpets, rubbing alcohol or vinegar can be your saving grace. Soak a cloth or sponge in either substance and dab it onto the affected area. Gently blot until the slime lifts off. If there are any remnants or stickiness left behind, warm soapy water will do the trick. Ensure that you rinse thoroughly to eliminate any soap residue.
Don’t Forget About Hand Hygiene:
Slime-making is undoubtedly a messy activity, making hand hygiene an essential consideration. After playing with slime, it is crucial to wash your hands thoroughly. By doing so, you prevent any residue from transferring onto other surfaces and keep your hands clean and slime-free. Encourage children to follow this practice as well to foster good hygiene habits.
Conclusion
In conclusion, creating slime without borax or glue and activator is not only possible but also fun and safe.
Experimenting with different ratios and adding food coloring or glitter can further enhance the sensory experience.