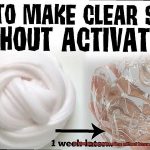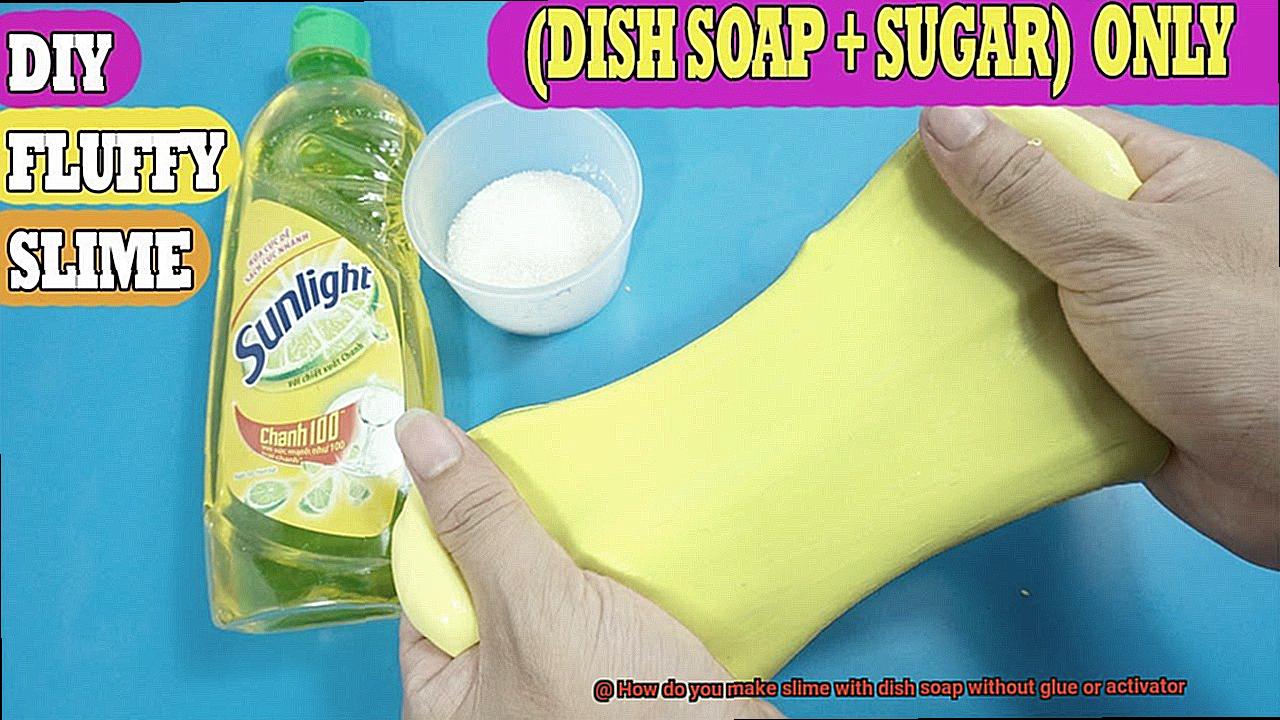
If you’re itching to make slime but find yourself without glue or activator, don’t panic. I’ve got the ultimate hack for you – creating slime using just dish soap.
Yes, you heard me right – trusty old dish soap is all you need. This unconventional method will satisfy your slime cravings and give you that perfect stretchy and gooey texture, no glue or activator required.
So roll up your sleeves, grab your favorite dish soap, and let’s dive into the magical world of slime-making.
Understanding the role of glue and activator in traditional slime recipes
Contents
- 1 Understanding the role of glue and activator in traditional slime recipes
- 2 Exploring alternative ingredients for making slime without glue or activator
- 3 Using dish soap as a base ingredient for slime
- 4 The importance of cornstarch in creating a thick and stretchy slime consistency
- 5 Step-by-step instructions for making slime with dish soap and cornstarch
- 6 Adjusting the consistency of the slime by adding more dish soap or cornstarch
- 7 Adding color and scent to your dish soap slime using food coloring and essential oils
- 8 Tips for playing with and storing your homemade dish soap slime
- 9 Conclusion
Prepare to dive into the fascinating world of slime-making as we uncover the secrets behind its delightfully squishy and stretchy nature. As an expert in traditional slime recipes, I am here to guide you through the mesmerizing journey of understanding the pivotal roles that glue and activator play in achieving the desired texture and consistency.
The Role of Glue:
Glue is the unsung hero that forms the backbone of any traditional slime recipe. Acting as a binder, it not only holds all the ingredients together but also creates the irresistible stickiness that makes slime a joy to play with.
At its core, glue contains a remarkable polymer called polyvinyl acetate (PVA), a type of plastic. When this PVA encounters an activator, a wondrous chemical reaction known as crosslinking occurs. This reaction weaves bonds between PVA molecules, forming an intricate network of interconnected chains that give slime its unique properties.
The Role of Activator:
Enter the activators—those extraordinary substances that set off a chain reaction, transforming mundane glue into mesmerizing slime. Commonly used activators such as borax, liquid starch, and contact lens solution contain magical ingredients that facilitate the crosslinking process.
These ingredients enable the glue to form long chains, granting slime its stretchy and squishy characteristics that captivate both young and old.
Finding the Perfect Balance:
Achieving that perfect texture and consistency requires striking just the right balance between glue and activator. Too much activator can stiffen the slime, making it difficult to stretch, while too little can result in a sticky and runny mess.
It’s crucial to embark on a journey of experimentation, testing different ratios until you unearth the harmonious combination that yields a smooth, moldable, and gloriously stretchy slime.
Alternative Methods:
While traditional slime recipes rely on glue and activator, there are alternative methods for creating slime without these ingredients. Enter dish soap, a remarkable substitute that acts as a binder, providing the stickiness and elasticity necessary for slime.
However, it’s important to note that dish soap slime may possess a different texture and stretchiness compared to its glue-based counterpart.
Exploring alternative ingredients for making slime without glue or activator
Prepare to enter the enchanting realm of slime-making, where squishy wonders await. If you find yourself allergic to glue or simply prefer a glue-free experience, fret not. Today, we embark on a journey to discover alternative ingredients for concocting slime without the need for glue or activator. Get ready for a slimy adventure filled with discoveries and creative possibilities.
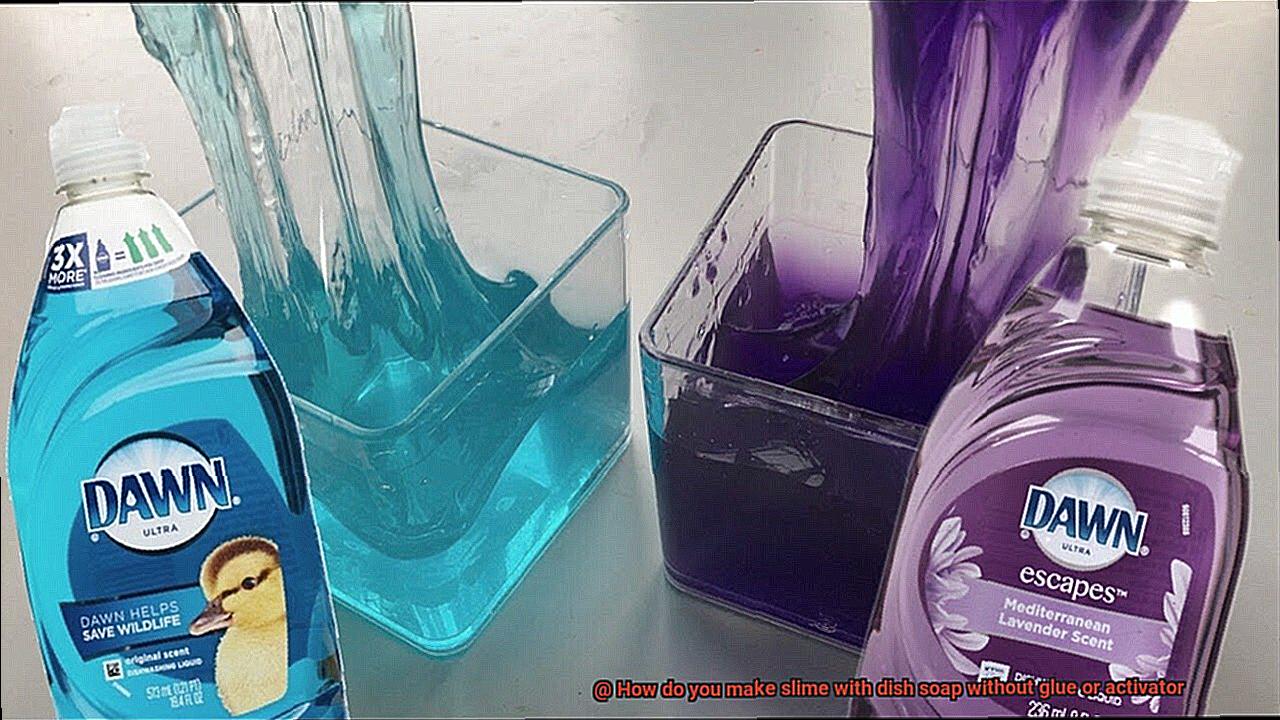
One of the most popular alternatives to glue in slime-making is dish soap. Yes, you read that right – the same dish soap you use to wash your dishes can also be used to create slime. Dish soap contains surfactants that act as excellent binding agents in slime recipes. To whip up a dish soap slime, simply mix equal parts of dish soap and baking soda in a bowl. As you stir, gradually add drops of water until you achieve your desired consistency. For an extra touch of enchantment, feel free to sprinkle in some food coloring or glitter.
Another magical ingredient for glue-free slime is cornstarch. This common household item, found in most kitchens, opens a gateway to a world of gooey delight. To create cornstarch slime, combine cornstarch and water in a bowl, adjusting the quantities until you attain a stretchy and oozy texture. This peculiar type of slime is often referred to as “cornstarch slime” or “oobleck,” possessing the extraordinary ability to be both solid and liquid simultaneously. Prepare to be mesmerized by its captivating properties.
Should you seek an unconventional twist, look no further than shampoo as an alternative ingredient for glue-free slime. Shampoo contains a myriad of elements, such as surfactants and polymers, that contribute to the desired slimy texture. Begin by pouring a small amount of shampoo into a bowl and slowly incorporate cornstarch or baking soda while stirring. Watch in awe as the mixture thickens and transforms into a delightful slime-like consistency. Feel free to experiment with various types of shampoos to discover the one that best suits your slime recipe.
Prepare to be amazed by yet another unexpected ingredient – yogurt. Yes, this delightful treat can also serve as a glue substitute in slime-making. Yogurt possesses natural proteins and enzymes that act as remarkable binding agents. To create yogurt slime, blend equal parts of yogurt and cornstarch in a bowl, adding more cornstarch if necessary to achieve the desired consistency. This unique slime, often known as “yogurt slime,” boasts a texture that is both slimy and soft, providing an exquisite sensory experience.
Using dish soap as a base ingredient for slime
Join us on this slime-tastic journey as we explore the enchanting properties of dish soap as a base ingredient for creating that irresistible ooey-gooey goodness we all love. Get your mixing bowls ready because we’re about to embark on a mesmerizing adventure filled with slimy surprises and endless possibilities.
Step 1: Gather Your Supplies – The Essentials for Slime Magic
To begin this magical process, gather your supplies. You’ll need a clear or transparent dish soap, the key to achieving a smooth and consistent texture. Don’t forget a mixing bowl, water, and any optional add-ons like food coloring or glitter for that extra pizzazz. Make sure you have everything within reach, and let the magic unfold.
Step 2: Pour and Stir – The Dance of Ingredients
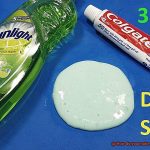
Now, pour a generous amount of dish soap into your mixing bowl. The exact quantity will depend on how much slime you want to make and the desired consistency. Slowly add water to the dish soap while stirring continuously. This step helps in diluting the dish soap, making it more malleable. Watch as the ingredients swirl together, creating a mesmerizing dance of colors and textures.
Step 3: Add Some Sparkle – Unleash Your Creativity
If you’re feeling adventurous, this is where you can let your creative juices flow. Add a few drops of food coloring or sprinkle some glitter into the mixture. Remember, less is more. Start with a few drops or pinches and mix well before adding more. Watch as your slime transforms into a dazzling spectacle, capturing the essence of your imagination.
Step 4: Knead and Stretch – The Sensory Delight
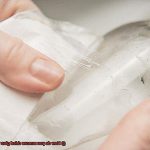
As the ingredients come together, continue stirring until the slime starts to form. At this point, get your hands in there and knead and stretch the slime until it reaches the desired consistency. Feel the smooth, squishy sensation between your fingers, delighting in the sensory experience that slime offers. Don’t be afraid to get messy and have fun with it.
Step 5: Taming the Stickiness – A Secret Solution
Sometimes, our slime can get a little too sticky for comfort. Fear not, for we have a solution. If your slime is sticking to your hands or surfaces, add a small amount of cornstarch or baby powder and knead it into the mixture. This secret ingredient will help reduce stickiness and make the slime easier to handle. Experience the transformation as your slime becomes perfectly pliable and ready for play.
The importance of cornstarch in creating a thick and stretchy slime consistency
Prepare your mixing bowls and gather your ingredients, because today we will discover the remarkable significance of cornstarch in achieving that incredibly satisfying thick and stretchy slime consistency. Prepare to be amazed by the transformative power of this seemingly ordinary ingredient.
So, what exactly is cornstarch? Derived from corn, it is a type of starch that contains long chains of glucose molecules. When combined with water or other liquids, these chains possess an extraordinary ability to absorb and retain those liquids, resulting in the creation of a gel-like substance. This is where the magic begins.
When we introduce cornstarch into our slime-making process alongside dish soap – another essential component – something truly remarkable occurs. The cornstarch absorbs the liquid from the dish soap and forms a network of interconnected particles. Picture a microscopic web that gives slime its distinctive texture and enables it to stretch and mold in ways you may never have imagined possible.
But wait, there’s more. The quantity of cornstarch utilized in our recipe plays a crucial role in achieving the perfect slime consistency. Adding more cornstarch will yield a thicker slime, providing a delightfully gooey experience that you won’t be able to resist. Conversely, reducing the amount of cornstarch will result in a runnier slime, adding an extra touch of ooziness to your playtime.
Yet, it’s not solely about thickness and stretchiness – cornstarch also contributes to that smooth and slippery sensation that makes playing with slime so captivating. As you squish and squeeze, you’ll experience an unmatched sensory delight that keeps you coming back for more. It’s like having your own personal stress-reliever right at your fingertips.
Step-by-step instructions for making slime with dish soap and cornstarch
Look no further. Get ready to dive into the magical world of slime-making using nothing but dish soap and cornstarch. This extraordinary recipe will yield a stretchy, moldable, and oh-so-satisfying slime that will leave you craving more. So, gather your supplies, roll up your sleeves, and get ready to immerse yourself in a slimy sensation like no other.
Materials Needed:
- Any brand of dish soap
- Cornstarch
- A mixing bowl
- A trusty spoon or spatula for stirring
- Optional: coloring agents or glitter to add a splash of pizzazz
Step 1: Pour and Prepare
Grab your trusty mixing bowl and pour in a generous amount of dish soap. Start with approximately 1/2 cup, but feel free to adjust the quantity to suit your slimy desires.
Step 2: Thickening Time
It’s time to introduce the cornstarch. Sprinkle small amounts of cornstarch into the dish soap while continuously stirring. Notice how the mixture thickens with every addition.
Step 3: Find Your Perfect Consistency
Continue adding cornstarch until you achieve your desired slime consistency. If it becomes too thick and challenging to mix, inject a few drops of water or a smidge more dish soap. On the flip side, if it’s too sticky or runny, simply sprinkle in more cornstarch until it becomes delightfully moldable.
Step 4: Add Some Flair (Optional)
To take your slime game to the next level, unleash your creativity by adding a few drops of food coloring or sparkly glitter. Mix everything together until the colors burst vibrantly, and the glitter dances throughout the slime.
Step 5: Store and Play
Once your slime masterpiece is complete, store it in an airtight container or plastic bag to preserve its freshness. While this dish soap and cornstarch slime may not have the same longevity as other recipes, it’s perfect for a few days of sensational slimy play.
Safety First:
Remember, always supervise children while they indulge in the wonder of slime-making. It’s crucial to ensure they understand not to eat or put it near their mouths. Although the ingredients used in this recipe are generally safe, it’s always better to err on the side of caution.
Adjusting the consistency of the slime by adding more dish soap or cornstarch
Get ready to dive into the magical world of slime-making without using glue or activator. Today, we’re going to explore how to adjust the consistency of your slime using two kitchen essentials: dish soap and cornstarch. Are you excited? Let’s get started.
First up, let’s talk about dish soap. This magical ingredient contains surfactants that break down the surface tension of water, making it easier for ingredients to mix together. By adding more dish soap, you can make your slime more liquidy and stretchy. To begin, pour a small amount of dish soap onto your slime mixture and thoroughly mix it in. Take a moment to observe the consistency. Is it still too thick or sticky? If so, gradually add more dish soap until you achieve the desired texture. Remember to mix well after each addition to ensure an even distribution.
Now, let’s move on to our second secret weapon: cornstarch. This versatile ingredient acts as a thickening agent and can help make your slime thicker and less sticky. Sprinkle a small amount of cornstarch onto your slime and knead it in. Keep adding cornstarch gradually until you reach the consistency you desire. But be cautious not to add too much cornstarch, as it can make your slime too stiff. Take it slow, and add it gradually, mixing well after each addition.
Remember that the perfect consistency may vary from person to person, so don’t be afraid to experiment. If you prefer a stretchier slime, add more dish soap. If you want a firmer texture, incorporate more cornstarch. The beauty of slime-making is that there are endless possibilities for customization.
But what if you add too much dish soap or cornstarch and your slime becomes too runny or sticky? Don’t panic. There are ways to fix it. If your slime is too runny, try adding a small amount of cornstarch and knead it in until it thickens up. If your slime is too sticky, you can add a bit more dish soap or cornstarch to absorb the excess moisture. Just remember to make these adjustments gradually and mix well after each addition.
Adding color and scent to your dish soap slime using food coloring and essential oils
Are you ready to take your slime-making skills to the next level? Say goodbye to plain old clear or white slime and prepare to embark on a sensory journey filled with vibrant hues and delightful aromas. Today, we delve into the captivating world of dish soap slime adorned with color and scent using food coloring and essential oils.
Let’s start by exploring the captivating realm of color. To infuse your dish soap slime with vibrant shades, opt for food coloring specifically formulated for culinary use. Amongst the options, gel-based food coloring reigns supreme due to its highly concentrated nature, ensuring vivid and striking colors. Liquid food coloring can also be employed, although it may require a slightly higher quantity of drops to attain the desired color intensity.
To bestow color upon your dish soap slime, simply integrate a few drops of your chosen food coloring into the mixture either before or after adding other ingredients. Gradually incorporate more drops until you achieve your desired hue, all while keeping in mind that even a modest amount of colorant can go a long way, so commence with a conservative approach and increase as needed.
Now let us venture into the enchanting realm of scent. Essential oils will be our allies in this endeavor, adding captivating aromas that will elevate your dish soap slime to new heights. However, it is crucial to select oils that are safe for skin contact and suitable for children. Lavender, lemon, peppermint, and orange are renowned for their pleasant fragrances and soothing effects.
To infuse your dish soap slime with a delightful scent, blend a few drops of your chosen essential oil into the slime mixture. Begin with a small quantity and gradually augment it if you desire a more pronounced aroma. Exercise caution not to overdo it though, as an excess of oil can overpower the dish soap’s fragrance and render the slime overly slippery.
Please be mindful that some essential oils may trigger skin irritation or allergic reactions in sensitive individuals. Prior to incorporating an essential oil into your slime recipe, conduct a patch test on a small area of skin. Should any irritation arise, promptly discontinue use.
To prolong the longevity of your dish soap slime’s fragrance, ensure proper storage within an airtight container or plastic baggie. Over time, the scent may fade, but fear not. You can effortlessly revive it by adding a few more drops of essential oil to reinvigorate the captivating aroma.
Tips for playing with and storing your homemade dish soap slime
Take a dip into the fascinating world of homemade slime. Creating slime with dish soap is a simple and enjoyable activity that can provide hours of entertainment. However, it’s crucial to know how to play with and store your slime correctly to maintain its freshness and prevent any mishaps. In this comprehensive guide, we will share expert tips on playing with and storing your homemade dish soap slime. Let the slimy fun begin.
Play on a Flat Surface:
To minimize mess and simplify cleanup, it’s best to play with your dish soap slime on a flat surface like a table or tray. This will help contain any spills or drips, preventing the slime from reaching furniture or carpets. Additionally, having a designated play area enhances organization and makes the experience more enjoyable.
Adjusting the Consistency:
If your dish soap slime feels too sticky or wet, don’t fret. You can easily rectify this issue by adding small amounts of cornstarch or borax. Begin with a little, gradually incorporating more until you achieve the desired consistency. Ensure thorough mixing after each addition to fully blend the ingredients. This adjustment will thicken the slime, making it easier to play with.
Proper Storage:
To maintain the freshness of your dish soap slime for future play sessions, store it in an airtight container or resealable plastic bag. This prevents drying out and preserves its texture. Before sealing the container or bag, eliminate any air bubbles for optimal freshness. Store the slime in a cool, dry place away from direct sunlight to prolong its lifespan.
Reviving Dried Out Slime:
If your dish soap slime starts to dry out over time, there’s no need to worry. You can easily revive it by adding a few drops of water and kneading it until it becomes soft and stretchy again. Be cautious not to add too much water at once, as this can make the slime excessively sticky. Gradually add water while kneading until you achieve the desired consistency.
Supervise Young Children:
While dish soap slime is generally safe to play with, it’s crucial to supervise young children to prevent potential accidents. Ensure they do not put the slime in their mouths or get it on their clothes. Prioritize safety and maintain good hygiene by thoroughly washing hands after playing with slime.
Conclusion
Creating slime without glue or activator using dish soap is a simple and fun experiment that can be enjoyed by both kids and adults.
By following this easy recipe, you’ll be amazed at how easily dish soap can transform into a stretchy and squishy substance.