Water is the sworn enemy of adhesives, and PVA (Polyvinyl Acetate) is no exception. PVA is a go-to adhesive in various industries, from woodworking to paper products, textiles, and construction. But here’s the catch: it’s not waterproof.
Picture this: you’ve spent hours crafting a stunning wooden boat that starts to crumble as soon as it touches water because the glue you used wasn’t waterproof. Or imagine your frustration when your paper mache masterpiece disintegrates due to moisture. But what if we told you there’s a solution that’ll let you use PVA without worrying about water damage?
You can make PVA waterproof using different methods, including chemical additives or external coatings that provide water-resistant properties. Understanding these techniques and how they work is crucial to determine which approach works best for your situation.
In this post, we’ll explore ways to make PVA waterproof and discuss the pros and cons of each method. Whether you’re working on a woodwork project, creating paper crafts, or sealing porous surfaces – we’ve got your back. So let’s dive into the world of waterproof PVA and unleash its full potential together.
What is PVA?
Contents
PVA, or Polyvinyl Acetate, is a synthetic polymer that has revolutionized the world of adhesives and sealants. This versatile substance is renowned for its excellent adhesive properties and its ability to create a strong bond. It is commonly known as school glue or white glue and can be found in most craft stores or online.
Despite its popularity, one of the drawbacks of PVA glue is that it’s not naturally waterproof. However, this can be easily remedied by adding certain substances to enhance its water resistance properties. Here are some of the methods you can use to make PVA waterproof:
- Borax Method: Mixing a small amount of borax with PVA glue can vastly improve its water resistance properties. Borax increases the adhesive strength of the glue and forms a barrier against moisture.
- Silicone Oil Method: Adding silicone oil to PVA glue can make it more hydrophobic, repelling water and preventing it from breaking down under wet conditions.
- Acrylic Paint Method: Combining acrylic paint with PVA glue creates a barrier that prevents water from penetrating the glue, improving its water resistance.
It’s important to note that while these methods can increase PVA’s water resistance, they may also affect its overall strength and drying time. Therefore, it’s advisable to test the glue’s performance before using it on critical projects or applications.
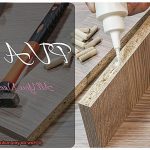
PVA glue is widely used in woodworking, paper crafts, and other DIY projects because it dries clear and creates a strong bond. While standard PVA glue is not waterproof, there are several ways to make it suitable for use in wet conditions. These methods will help you achieve better results in your DIY projects.
Why Make PVA Waterproof?
Polyvinyl Acetate, commonly known as PVA glue, is a versatile adhesive that can create a strong bond. However, it’s not naturally waterproof, which can be problematic for some applications. Waterproofing PVA can offer many benefits, such as increasing durability and longevity, preventing the glue from breaking down or losing its adhesive properties over time.
In addition to enhancing durability, making PVA waterproof can have aesthetic benefits. Waterproofing the glue can prevent water damage or staining, which can detract from the overall look of the finished product. This is particularly important in woodworking or furniture making where maintaining the appearance of the glue joint is crucial.
To achieve waterproofing, there are a variety of methods and products available. Adding borax to PVA can increase its adhesive strength, while silicone oil creates hydrophobicity by repelling water. Acrylic paint is also an effective way to create a barrier against moisture.
Adding Chemicals or Substances to Enhance Its Water Resistance Properties
Fear not, because adding chemicals or substances to enhance PVA’s water resistance properties can save the day. As an expert in this field, I have compiled some valuable information to help you transform your ordinary PVA glue into a waterproof superhero.
Firstly, let’s talk about silicone. This substance is a popular choice for enhancing PVA’s water resistance properties as it creates a water-resistant barrier over the glue. By adding small amounts of silicone to PVA glue, you can create a protective layer that repels water. However, it’s crucial to use it in moderation as too much can make the glue brittle and less effective.
Another common substance used to make PVA waterproof is latex. It’s preferred by many because it doesn’t make the glue brittle like silicone can. Adding small amounts of latex to PVA glue can help improve its water resistance properties and protect your project from water damage.
Acrylics are also an excellent option for enhancing PVA’s water resistance properties. They work by forming a protective layer over the glue, which helps repel water. Like latex, they don’t cause the glue to become brittle and are an excellent choice for improving the quality of your PVA glue.
Here are some other substances that can enhance PVA’s water resistance properties:
- Ethylene-vinyl acetate copolymer (EVA): This substance can improve PVA’s flexibility and water resistance.
- Polyvinyl alcohol (PVOH): Adding this substance can increase the strength of PVA and make it more resistant to moisture.
- Polyurethane (PU): PU can create a waterproof sealant when added to PVA glue, making it ideal for outdoor projects.
It’s important to note that while adding chemicals or substances can improve PVA’s water resistance properties, it won’t make it completely waterproof. The level of water resistance will depend on the amount and type of substance added, as well as the quality of the original PVA glue. So, while these substances can help protect your projects from minor water damage, they won’t be effective against heavy exposure.
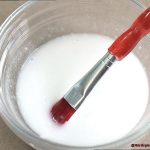
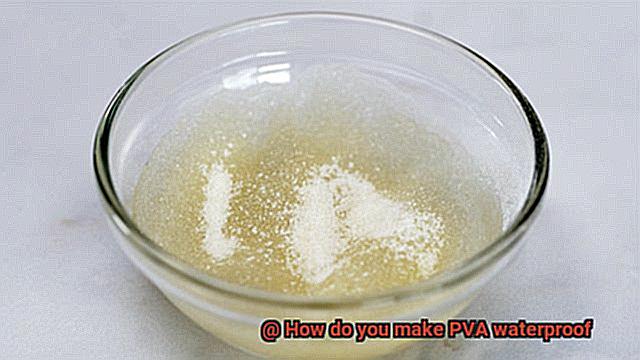
Mixing PVA with Borax
Mixing PVA glue with Borax is the ultimate solution to create a waterproof material that will protect your projects.
Let’s start with the basics – What is Borax? It’s a natural mineral known for its various uses such as preserving wood and textiles. When combined with PVA glue, it creates a cross-linked polymer that makes the material resistant to water.
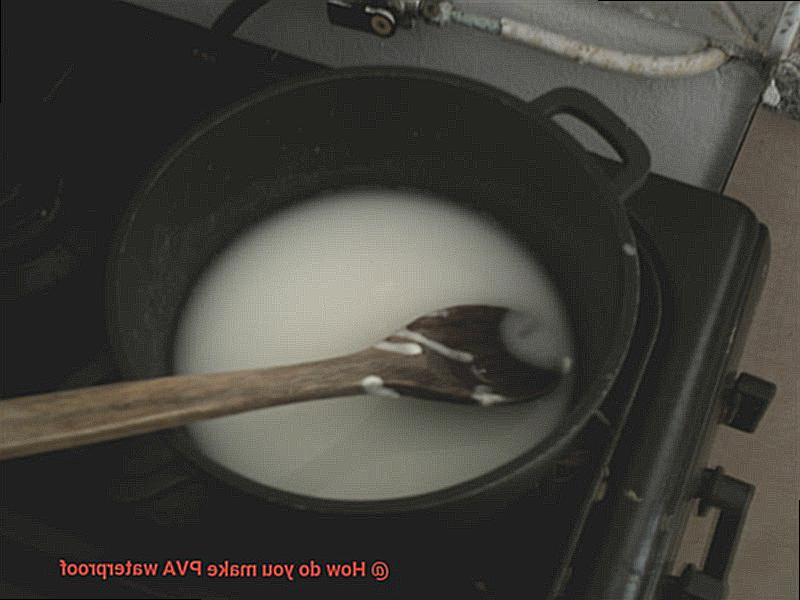
So, how do you mix PVA glue with Borax? Follow these simple steps:
- Step 1: Combine one tablespoon of Borax with one cup of warm water until the Borax is fully dissolved.
- Step 2: In a separate container, mix equal parts of PVA glue and water.
- Step 3: Add the Borax solution gradually to the PVA glue mixture while stirring continuously.
- Step 4: Keep stirring until the mixture becomes thick and gooey.
- Step 5: Use the mixture immediately or store it in an airtight container for later use.
It’s essential to remember that the amount of Borax used can affect the level of waterproofing. Using too much Borax can make the mixture stiff and difficult to handle, while using too little may not provide adequate waterproofing properties. Thus, it’s crucial to be mindful of the amount you add.
Now that you know how to create this waterproof material, let’s explore its benefits:
- It’s an affordable and straightforward approach to safeguard your DIY projects from water damage.
- The mixture is versatile and can be used on various materials such as fabric, paper, wood, and more.
- You can customize the level of waterproofing by adjusting the amount of Borax used.
- The mixture is easy to store and can be kept in an airtight container for future use.
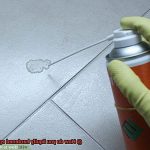
Adding Silicone Oil to the PVA Glue
Adding silicone oil to PVA glue is a game-changer in making your creations waterproof. As an expert on this topic, I have compiled some research notes to help you get started on your waterproofing journey.
First off, let’s dive into why silicone oil is the perfect additive for PVA glue. This hydrophobic substance repels water, preventing it from soaking into the glue and making it an ideal candidate for waterproofing.
To get started, mix the two substances in a 1:10 ratio. For every 10 parts of PVA glue, add 1 part of high-quality silicone oil specifically designed for waterproofing.
Thoroughly stir the mixture until it’s well-combined. Don’t be alarmed if the mixture becomes slightly thinner and more fluid than traditional PVA glue—this is normal.
It’s vital to keep in mind not to add too much silicone oil as it can weaken the strength of the glue. Stick with the recommended ratio of 1:10 when adding silicone oil to PVA glue.
Finally, keep in mind that due to its improved waterproofing properties, the drying time of the glue will take longer than traditional PVA glue.
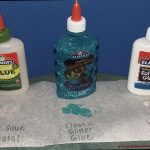
Adding Acrylic Paint to Improve Its Water Resistance
Acrylic paint is known for its water-resistant properties, and when added to PVA glue, it can significantly improve its ability to withstand water. The process is easy and straightforward. First, mix equal parts PVA glue and water together. Then, add an equal amount of acrylic paint to the mixture and stir well. The resulting mixture should have a consistency similar to regular PVA glue.
It’s important to keep in mind that the color of the acrylic paint will affect the final color of the glue mixture. If you want to maintain the original color of the PVA glue, use white or clear acrylic paint.
This technique can be particularly useful for projects that require a strong, water-resistant bond, such as sealing wood surfaces or creating outdoor furniture. However, it’s important to note that while adding acrylic paint can improve the water resistance of PVA glue, it may not make it completely waterproof.
Here are some additional benefits of using this method:
- Acrylic paint dries quickly, which means your project will be ready for use in no time.
- Acrylic paint comes in a variety of colors, so you can choose a shade that matches your project.
- This technique is cost-effective and easy to do at home.
Testing the Glue’s Performance Before Use
If you’re planning to make PVA glue waterproof, testing the glue’s performance before use is essential for achieving optimal results. As an expert in this field, I can tell you that this step ensures the glue will bond properly and provide a strong, long-lasting hold that won’t let you down.
To start testing, apply a small amount of PVA glue to a scrap piece of the material you plan to use. Allow it to dry completely before testing the bond strength. Applying pressure to the glued area and attempting to pull the materials apart will determine whether the bond is strong enough for waterproofing purposes. If the bond remains firm and the materials do not separate easily, then the glue should perform well. Otherwise, it may not be suitable for your waterproofing needs.
It’s important to note that different types of materials may require specific PVA glue for optimal performance. While wood glue may work well for bonding wood materials, it may not be suitable for bonding metal or plastic materials. Therefore, it’s crucial to choose the appropriate type of PVA glue for the specific materials being used.
In addition to testing the bond strength, it’s also essential to consider other factors such as temperature and humidity when using PVA glue for waterproofing purposes. PVA glue performs best in temperatures between 60-80 degrees Fahrenheit and at a relative humidity of 50% or less. Excessive heat or humidity can weaken the bond strength and reduce the effectiveness of waterproofing.
By testing the glue’s performance before use and considering factors such as temperature and humidity, you can ensure that you are using the appropriate type of PVA glue and achieving optimal results for your waterproofing needs.
wfNCVrfQ9VI” >
Conclusion
To sum it up, PVA glue is a go-to adhesive for many industries. However, its lack of water resistance can be a deal-breaker in some cases. The good news is that there are multiple ways to make PVA waterproof. You can add chemical additives or coatings that offer water-resistant properties and strengthen the durability and lifespan of your projects.
The borax method creates a moisture barrier by blending borax with PVA glue. Adding silicone oil to PVA glue makes it hydrophobic by repelling water, while acrylic paint forms a protective layer over the glue to prevent water from seeping through. Other substances like latex, EVA copolymer, PVOH, and PU also enhance PVA’s water resistance properties.
Before using the glue for waterproofing purposes, it’s crucial to test its performance and consider factors like temperature and humidity. By following these techniques and tips, you can turn ordinary PVA glue into a waterproof superhero that safeguards your DIY projects from water damage and extends their life. So why wait?