Are you tired of your PVA glue losing its adhesive strength when exposed to water? It’s a common problem that can be frustrating, especially when working on DIY projects or crafts. But don’t worry, there’s a solution. By adding a few simple ingredients, you can make your PVA glue waterproof and more durable.
Polyvinyl acetate (PVA) glue is a versatile adhesive that’s perfect for woodworking, carpentry, and various crafts. It’s easy to apply and has strong bonding properties. However, it’s not ideal for applications that require resistance to water. When exposed to moisture, PVA glue can lose its adhesive strength and become useless.
So how do you make PVA glue waterproof? The answer is simple – add some water-resistant material. There are several methods to achieve this at home using common household items. By doing so, you’ll improve the ability of your PVA glue to resist water and ensure that it lasts longer.
In this blog post, we’ll explore the different ways of making PVA glue waterproof and the materials needed for each method. We’ll also discuss the benefits of using waterproof PVA glue and where it can be useful in various applications. Whether you’re an artist, woodworker or DIY enthusiast, having waterproof PVA glue in your toolkit will be a game-changer.
Don’t let water ruin your hard work – read on to learn how to make your own waterproof PVA glue today.
What is PVA Glue?
Contents
PVA glue, or polyvinyl acetate glue, is a synthetic polymer adhesive that has become a go-to choice for many projects due to its versatility and strong bonding properties. It is commonly used in woodworking, paper and cardboard projects, and even in the textile industry. PVA glue is unique in that it dries clear and has a relatively fast drying time, making it an ideal choice for applications where appearance is important.
However, it’s crucial to note that PVA glue is not inherently waterproof and can easily break down when exposed to water. This limitation makes it challenging to use in certain applications, such as outdoor or water-resistant projects. But fear not. There are several methods to make PVA glue waterproof, giving you greater flexibility in your crafting endeavors.
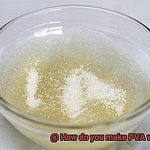
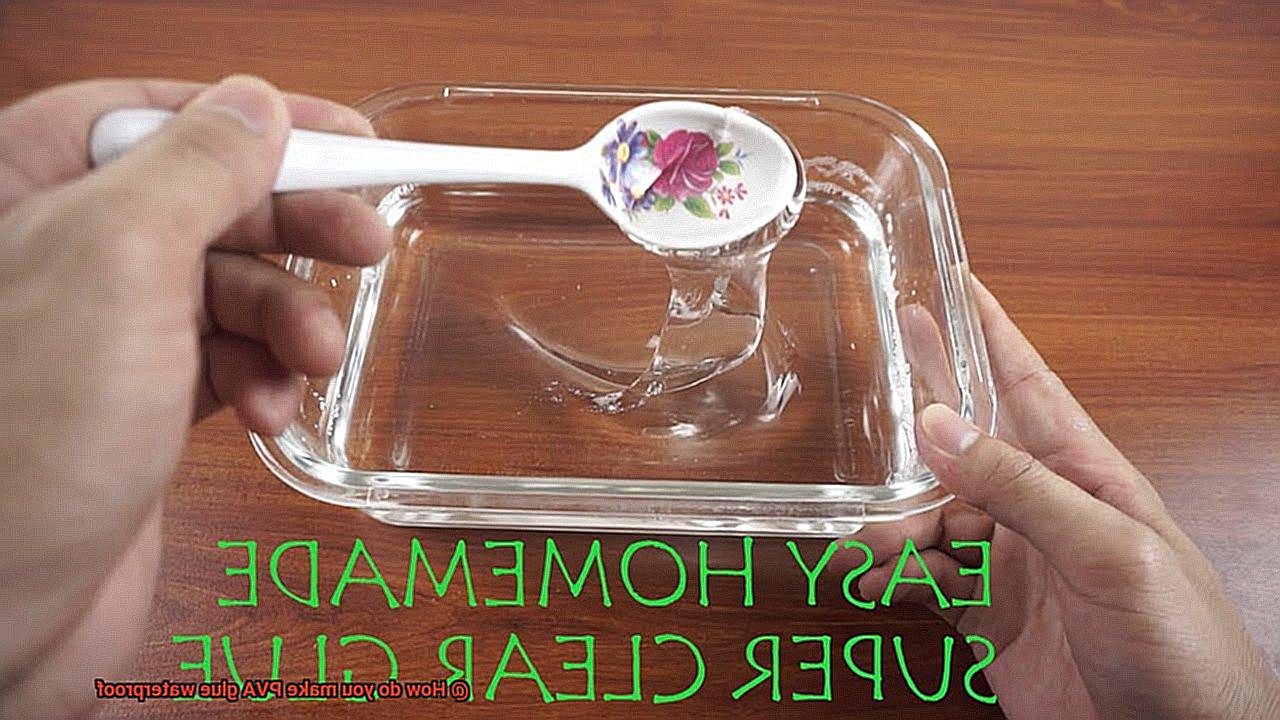
One option is to mix equal parts of PVA glue and water with a small amount of white vinegar or clear acrylic varnish. This mixture can be applied using a brush or roller and left to dry completely before use. The vinegar or varnish acts as a sealant, turning the PVA glue waterproof.
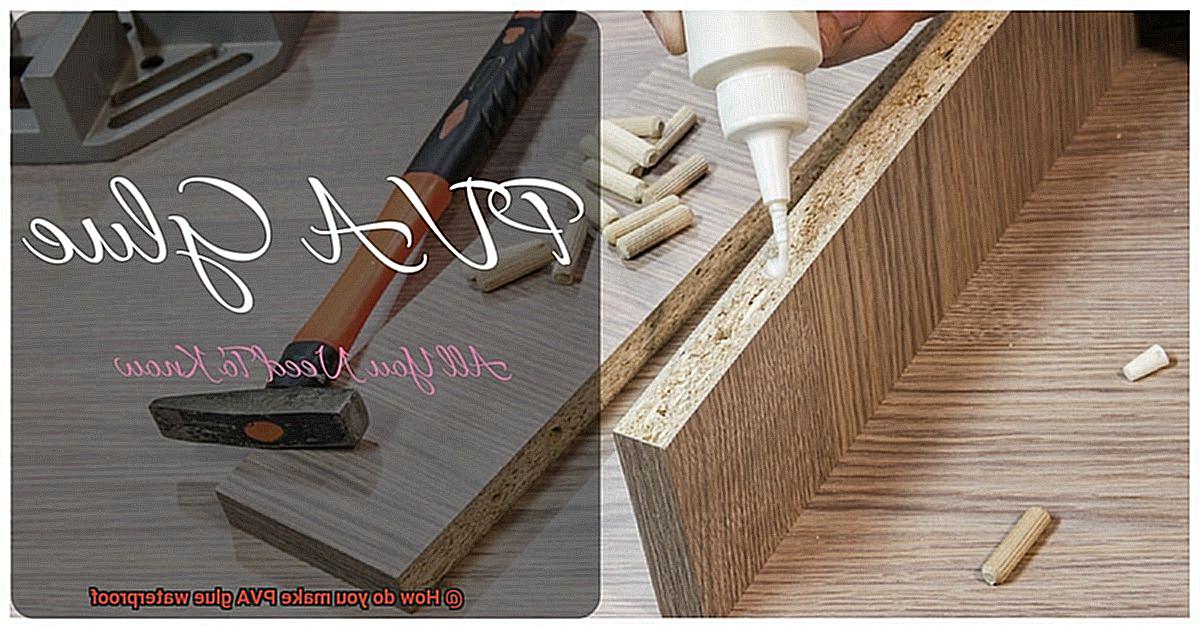
Another method is to mix the PVA glue with waterproofing agents like silicone or polyurethane. These agents create a barrier that prevents water from penetrating the adhesive, making it waterproof. This mixture can also be applied using a brush or roller.
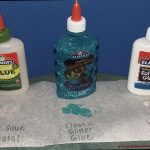
If you don’t want to mix your own, some brands offer waterproof versions of their PVA glue containing additives that make them resistant to water and moisture. However, it’s essential to confirm that you are using the right type of PVA glue for your project to achieve the desired results.
It’s worth noting that adding waterproofing agents to PVA glue can alter its properties and affect its bonding strength. Therefore, it’s advisable to test the waterproofed PVA glue on a small area before using it on more significant projects. Multiple coats may also be necessary to ensure maximum waterproofing effectiveness.
Why Make PVA Glue Waterproof?
Say goodbye to this problem with waterproof PVA glue. But why is it essential to make PVA glue waterproof? Let’s explore the reasons why this is a game-changer for DIY enthusiasts and professionals alike.
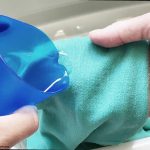
First and foremost, waterproofing PVA glue increases the strength and durability of the bond. When normal PVA glue comes into contact with water or moisture, it weakens the bond and can cause glued materials to separate. This is a huge problem for anyone who needs their projects to last through exposure to water or humidity. Waterproofing PVA glue ensures that the bond remains intact even when exposed to water or moisture, making it perfect for long-lasting projects.
Secondly, waterproof PVA glue makes it ideal for outdoor use. Outdoor projects require adhesives that can withstand exposure to various weather conditions, including rain and humidity. Ordinary PVA glue just can’t handle these conditions without breaking down or losing its adhesive properties. Waterproof PVA glue provides a reliable solution for outdoor projects as it can withstand these conditions without breaking down or losing its adhesive properties.
Thirdly, making PVA glue waterproof makes it suitable for use in damp environments such as bathrooms and kitchens. These environments are known for their high humidity levels and frequent exposure to water. Ordinary PVA glue just can’t cut it in these conditions – it will break down quickly and won’t provide a strong bond. Waterproof PVA glue ensures that the glued materials remain firmly attached even in damp conditions, making it perfect for bathroom and kitchen projects.
So whether you’re a woodworking enthusiast, paper crafter, or just need an adhesive for general household repairs, using waterproof PVA glue can save you time and money in the long run. It provides a stronger bond that can withstand exposure to water or moisture, making it ideal for outdoor projects and damp environments.
Method 1: Mixing with Vinegar or Varnish
Fear not – Method 1 for making PVA glue waterproof is here to save the day. This innovative method involves mixing PVA glue with either vinegar or varnish to create a protective barrier that prevents water from weakening the bond.
Let’s explore how to mix PVA glue with these substances. To mix PVA glue with vinegar, you simply need to add a small amount of white vinegar to the glue and stir well. The recommended ratio is 1 part vinegar to 3 parts glue. While this mixture may have a slightly sour odor, it will dry clear and remain waterproof, ensuring that your project stays intact even in damp conditions.
Alternatively, combining PVA glue with varnish is another effective way to make it waterproof. Polyurethane varnish is the go-to choice for this purpose as it dries clear and creates a strong, durable barrier over the glue. The recommended ratio is 1 part varnish to 5 parts glue, and by following this ratio and mixing the two substances thoroughly, you will have a waterproof bond that can withstand various environmental conditions.
However, it’s crucial to remember that both vinegar and varnish can alter the consistency of the glue and affect its bonding strength. Therefore, it’s advisable to test your mixture on a small area before using it for any significant projects.
Method 2: Mixing with Waterproofing Agents
Fear not, Method 2 for making PVA glue waterproof is here to save the day. This method involves mixing the glue with waterproofing agents, making it more resistant to water and protecting it from moisture that can cause it to weaken or break down over time.
There are several different waterproofing agents that can be used, including silicone, wax, and acrylic. These agents create a barrier that prevents water from penetrating the surface of the glue. But it’s important to use the right amount of waterproofing agent. Adding too much can make the glue too thick and difficult to apply while adding too little won’t provide adequate protection against water.
To mix PVA glue with a waterproofing agent, start by pouring the desired amount of glue into a mixing container. Then add a small amount of the waterproofing agent and stir well. Gradually add more of the agent until you achieve the desired level of water resistance.
It’s important to keep in mind that while this method does make PVA glue water-resistant, it may not be completely waterproof. So avoid exposing your glued item to prolonged or heavy moisture.
In summary, Method 2 can be an effective way to make PVA glue more resistant to water and moisture by mixing it with the right waterproofing agent and using the correct amount. Here are some key takeaways:
- Choose the right waterproofing agent: silicone, wax, or acrylic
- Use the correct amount of waterproofing agent: too much can make the glue too thick, while too little won’t provide adequate protection
- Gradually add more of the agent until you achieve your desired level of water resistance
- Remember that PVA glue mixed with waterproofing agents may not be completely waterproof
Method 3: Pre-Made Waterproof Versions of PVA Glue
There is a solution. Method 3 for making PVA glue waterproof involves using pre-made waterproof versions of the glue. These versions are readily available in hardware and craft stores and are specifically formulated to resist water damage.
Using pre-made waterproof PVA glue has numerous advantages. Firstly, it saves time and effort compared to mixing your own waterproofing solution. Plus, the formulation has been tested and optimized for waterproofing purposes, ensuring consistent results every time you use it.
However, it’s important to carefully follow the manufacturer’s instructions when using pre-made waterproof PVA glue. This includes applying the glue to a clean, dry surface and allowing sufficient drying time before exposing it to water. By doing so, you can ensure that the glue will work effectively and provide the protection you need.
It’s worth noting that not all pre-made waterproof PVA glues are created equal. Some may be more effective than others at resisting water damage, so it’s important to do some research and choose a reputable brand. Additionally, certain types of pre-made waterproof PVA glues may be more suitable for certain types of projects or materials than others.
So, how can you make sure you’re choosing the right product? Firstly, check reviews and ask fellow crafters for recommendations. Secondly, consider the materials you’ll be using the glue on – different waterproof PVA glues may work better on certain surfaces. Finally, make sure to purchase from a reputable brand to ensure quality.
Advantages and Disadvantages of Making PVA Glue Waterproof
Waterproof PVA glue might be the solution you’re looking for. As an expert on the advantages and disadvantages of making PVA glue waterproof, I can provide some valuable insights to help you make an informed decision.
Advantages:
- Durability: Waterproof PVA glue is ideal for outdoor use, as it can endure harsh weather conditions and remain strong.
- Water Resistance: This type of glue is resistant to moisture, making it perfect for use in areas that are constantly exposed to water.
- Versatility: You can use waterproof PVA glue for a variety of projects, from woodworking to paper mache and even fabric adhesion.
Disadvantages:
- Cost: The additional materials required to make PVA glue waterproof make it more expensive than regular PVA glue.
- Longer Drying Time: Waterproof PVA glue takes longer to dry than regular PVA glue, so it’s not suitable for projects that require quick drying times.
- Difficulty in Removal: Compared to regular PVA glue, waterproof PVA glue is harder to remove, which can be a challenge if you make a mistake or need to change your project.
While there are some disadvantages to consider, the benefits of using waterproof PVA glue far outweigh them. For example, you won’t have to worry about water damage ruining your hard work. Plus, the versatility of this type of glue means you can use it for a range of creative endeavors.
Tips for Making PVA Glue Waterproof
If so, you’ll be glad to know that there are several ways to make PVA glue waterproof.
Mixing PVA glue with a waterproofing substance, such as silicone or acrylic-based liquid, is one of the most effective ways to make it resistant to water and moisture. This creates a stronger adhesive that can withstand liquids.
Another option is to add a waterproofing agent, like sodium silicate or magnesium fluosilicate, to the PVA glue before use. Make sure to mix it thoroughly to ensure uniformity.
After your project is complete, apply a waterproof sealant over the dried PVA glue using a brush or spray-on solution. Choose a sealant specifically designed for use with PVA glue, and follow the manufacturer’s instructions for application. This will provide an extra layer of protection against the elements.
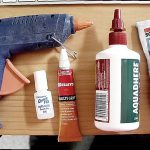
If you’re working on a project that requires high water resistance, consider using PVA glue in combination with other materials like fiberglass or epoxy resin. These materials are ideal for outdoor furniture construction or boatbuilding.
It’s important to remember that while these tips can make PVA glue more waterproof, it will never be completely impervious to water. Always choose the right type of glue for your project and take steps to protect it from water damage whenever possible.
wfNCVrfQ9VI” >
Also Read: Is white glue waterproof when dry?
Conclusion
To put it simply, making PVA glue waterproof can be a game-changer for DIY enthusiasts and professionals alike. The last thing you want is for your hard work to go down the drain because of water damage. Thankfully, there are several ways to make your ordinary PVA glue more durable and resistant to moisture.
One option is to mix equal parts of PVA glue and water with a small amount of white vinegar or clear acrylic varnish. This will create a waterproof mixture that can withstand exposure to water or moisture. Another method involves mixing the PVA glue with waterproofing agents like silicone or polyurethane.
If you’re not keen on making your own waterproof PVA glue, pre-made versions are available in the market. However, it’s important to choose a reputable brand and follow the manufacturer’s instructions carefully.
The benefits of using waterproof PVA glue are many: durability, water resistance, and versatility. It’s perfect for outdoor projects and damp environments like bathrooms and kitchens. However, there are some drawbacks such as cost, longer drying time, and difficulty in removal.
In summary, by following these tips for making PVA glue waterproof, you can ensure that your projects remain intact even in harsh conditions. Whether you’re working on a DIY project or a professional job, having a strong bond that can withstand exposure to water or moisture is essential.