Are you tired of being held back by the limitations of traditional Mod Podge? Maybe you’re out of glue and don’t feel like making a trip to the store. Or perhaps you’re on the hunt for a non-toxic alternative that won’t harm your health or the environment. Well, fear not. In this guide, we’ll show you how to make Mod Podge without glue using everyday items you probably already have at home. Get ready to dive into a world of limitless possibilities with our easy, budget-friendly, and glue-free homemade Mod Podge recipe.
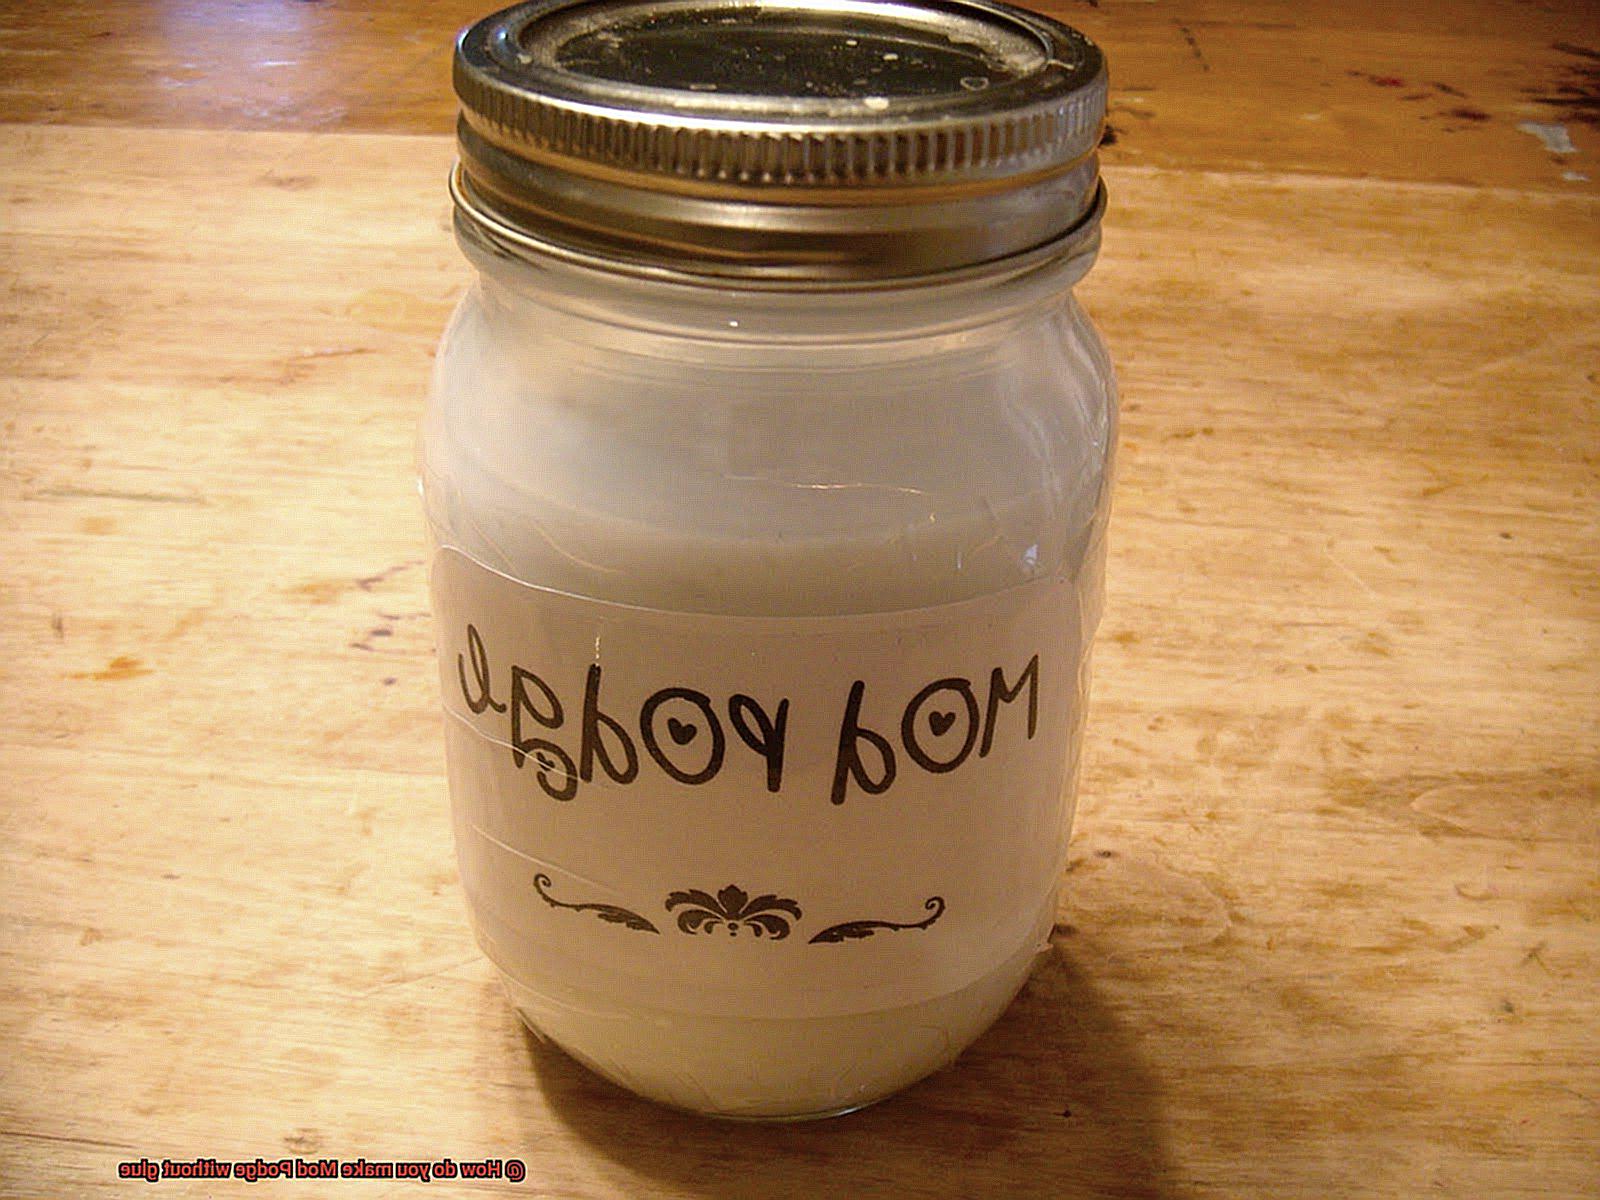
How do you make Mod Podge without glue
Contents
- 1 How do you make Mod Podge without glue
- 2 What is Mod Podge?
- 3 Glue-Free Alternatives for Making Mod Podge
- 4 Using Flour to Make Mod Podge
- 5 Using Cornstarch to Make Mod Podge
- 6 Using White School Glue and Water to Make Mod Podge
- 7 Advantages and Disadvantages of Homemade Mod Podge
- 8 Testing Homemade Mod Podge
- 9 Shelf Life of Homemade Mod Podge
- 10 Conclusion
Step 1: Gather Your Ingredients
To whip up your very own homemade Mod Podge, here’s what you’ll need:
- 1 cup of white flour
- 1 cup of water
- 1 teaspoon of salt
- A saucepan
- A whisk or spoon for stirring
- A container to store your Mod Podge mixture
Step 2: Mix It Up
In a saucepan, combine the flour and water, and whisk until smooth. Make sure there are no pesky lumps lurking around – they’ll mess with the consistency of your Mod Podge.
Step 3: Add Some Flavor (Salt)
Once smooth as silk, sprinkle in a teaspoon of salt. This little ingredient acts as a preservative, keeping mold and bacteria at bay in your glorious homemade Mod Podge concoction. Stir it all up until it’s fully blended.
Step 4: Heat Things Up (Literally)
Place the saucepan over medium heat and keep stirring that mixture like there’s no tomorrow. As it warms up, it’ll start thickening into something resembling good ol’ glue. This usually takes about 5-7 minutes, but keep an eye on it to avoid any kitchen disasters.
Step 5: Cool and Store
Remove the saucepan from the heat and let your Mod Podge masterpiece cool down completely. As it cools, it’ll thicken a bit more. Once you’ve achieved the perfect consistency, transfer your homemade Mod Podge into a clean, airtight container for safekeeping.
Tips and Tricks:
- Want that glossy finish? Add a dash of clear varnish to your mixture right before it cools.
- If your homemade Mod Podge gets too thick over time, just add a splash of water and give it
What is Mod Podge?
Look no further than Mod Podge. This enchanting adhesive is a game-changer in the world of DIY, bringing life and personality to ordinary objects. In this article, we’ll delve into the captivating realm of Mod Podge, exploring its origins, its myriad uses, and even some alternative methods to create your own potion. So roll up your sleeves, gather your artistic tools, and let the magic of Mod Podge begin.
What is Mod Podge?
Imagine a potion concocted by the craft gods themselves – that’s Mod Podge. Invented by the ingenious Jan Wetstone, this mystical adhesive combines glue, water, and secret ingredients to create a transformative elixir. With its supernatural powers, Mod Podge adheres paper, fabric, and various materials to surfaces with ease and precision.
Uses of Mod Podge:
- The Art of Decoupage: Mod Podge is the unrivaled champion of decoupage. With its touch, you can weave together a tapestry of creativity by adhering paper or fabric to surfaces like wood, glass, metal, and plastic. This spellbinding technique allows you to craft stunning collages, personalized home decor items, and bewitching gifts.
- Shield Against the Elements: Mod Podge doesn’t just work its magic as an adhesive; it also acts as a protective shield against wear and tear. Its invisible barrier defends against peeling or fading over time—perfect for projects that face the wrath of moisture or frequent handling.
- The Finishing Flourish: As your masterpiece nears completion, Mod Podge spreads its enchantment once more. It dries to a mesmerizingly clear, glossy finish that enhances the overall allure of your creation. But if you desire a more subtle touch, fear not. Specialized formulas offer matte or satin finishes, tailored to your artistic desires.
Alternative Methods:
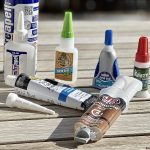
In the event you find yourself without a vial of Mod Podge, fret not. There are alternative methods to create a similar potion using ingredients found in the most humble of abodes. Flour, cornstarch, and white school glue, diluted with water, can be mixed to concoct your very own DIY Mod Podge. While these alternatives may not possess the exact same sorcery as the commercial product, they still provide suitable substitutes for your magical crafting endeavors.
Glue-Free Alternatives for Making Mod Podge
Unleash your creativity without the constraints of traditional glue. If you’re a crafting enthusiast on the hunt for glue-free alternatives to Mod Podge, look no further. In this post, we will explore some innovative options that can help you achieve the same magical results.
First on our list is the classic combination of flour and water. By mixing equal parts of these pantry staples, you can create a paste-like substance that works wonders for decoupage projects. While this homemade Mod Podge may not have the same adhesive properties as the original, it is an excellent option for crafts that don’t require heavy-duty sticking power.
Another glue substitute you can try is cornstarch. Mix 1/4 cup of cornstarch with 1/2 cup of water in a saucepan, and heat the mixture over low heat while stirring constantly. Soon, you’ll have a thick, gel-like consistency that can be used just like traditional Mod Podge.
If you’re an artist seeking a glue-free alternative, consider making your own gel medium. Combine equal parts of white school glue and water, and add a small amount of baby oil or cooking oil for a smoother consistency. This homemade gel medium serves as an adhesive for decoupage projects.
For those in need of a quick fix, clear nail polish can also double as a substitute for Mod Podge. Simply apply it directly to paper or fabric to create a glossy, protective coating. Keep in mind that nail polish may not offer the same durability as traditional Mod Podge.
Lastly, when you’re in a pinch and don’t have glue or other ingredients available, mix equal parts of water and dish soap to create a thin, watery consistency perfect for decoupage. Just make sure to let it dry completely before adding any additional layers.
These glue-free alternatives are perfect for those who prefer to avoid traditional glue or find themselves without it. While they may not provide the same adhesive properties or durability as Mod Podge, they can still be excellent options for a wide range of crafting projects.
Using Flour to Make Mod Podge
Look no further than your kitchen pantry. With just a few simple ingredients, you can create your very own Mod Podge using flour. This homemade version not only saves you money but also offers the freedom to unleash your creativity without the constraints of store-bought glue.
To make Mod Podge using flour, you’ll need three things: all-purpose flour, water, and a container for mixing. Begin by adding equal parts flour and water into the container. The exact measurements depend on the desired amount of Mod Podge, but a general guideline is one part flour to one part water.
Once the flour and water are in the container, mix them until they form a smooth paste. Ensure there are no lumps in the mixture as this affects the consistency of your Mod Podge. If necessary, add more water to achieve your desired texture. Less water results in a thicker Mod Podge, while more water creates a thinner consistency.
Now that your homemade Mod Podge is well combined and has reached your desired consistency, it’s time to put it to use. Apply it to various surfaces using a brush or sponge, just like you would with regular Mod Podge.
It’s important to note that homemade Mod Podge made with flour may have a slightly different texture and finish compared to store-bought versions. Additionally, its shelf life may be shorter, so it’s best to use it within a few weeks of making it.
While homemade Mod Podge made with flour can be an excellent alternative for crafters without glue or those who prefer natural ingredients, it may not be as strong or durable as commercial versions. If you’re working on a project that requires long-lasting adhesion or will be exposed to moisture or excessive handling, using store-bought Mod Podge is advisable.
Using Cornstarch to Make Mod Podge
Look no further than your kitchen pantry, where a humble ingredient called cornstarch will transform into your very own crafting potion. In this guide, we will reveal the secrets to creating Mod Podge without glue, allowing you to unleash your creativity and save some galleons in the process.
Step 1: Gather Your Ingredients
Let’s begin your magical crafting adventure by gathering the following ingredients:
- Cornstarch
- Water
- White vinegar
- A saucepan

Step 2: Mix and Stir
In your trusty saucepan, combine equal parts cornstarch and water. For example, 1 cup of cornstarch requires 1 cup of water. Vigorously stir the mixture until the cornstarch dissolves completely. This step ensures a smooth and clump-free potion.
Step 3: Add a Dash of Magic
To preserve the longevity of your homemade Mod Podge and prevent unwanted mold growth, add 1 tablespoon of white vinegar to the mixture. This enchanted ingredient will work its magic behind the scenes.
Step 4: The Heat is On.
Place your saucepan on a stovetop over medium heat. Stir the mixture continuously as you watch it transform before your eyes. Gradually, the potion thickens, so keep stirring to prevent lumps from forming.
Step 5: Achieve Potion Perfection
Continue stirring until your magical creation reaches a consistency similar to that of commercial Mod Podge. Once you’ve achieved this perfect potion texture, remove the saucepan from the heat and allow it to cool down.
Step 6: Unleash Your Creative Powers
Your homemade Mod Podge is now ready to be used in a variety of crafts and projects. Delve into the art of decoupage or explore the world of collage – this potion will work wonders on your paper-based endeavors.
Step 7: Apply with Care
When using your homemade Mod Podge, remember to apply it thinly and evenly. Avoid clumps or streaks on your projects by using smooth, gentle strokes. Allow it to dry completely before handling or displaying your finished masterpiece.
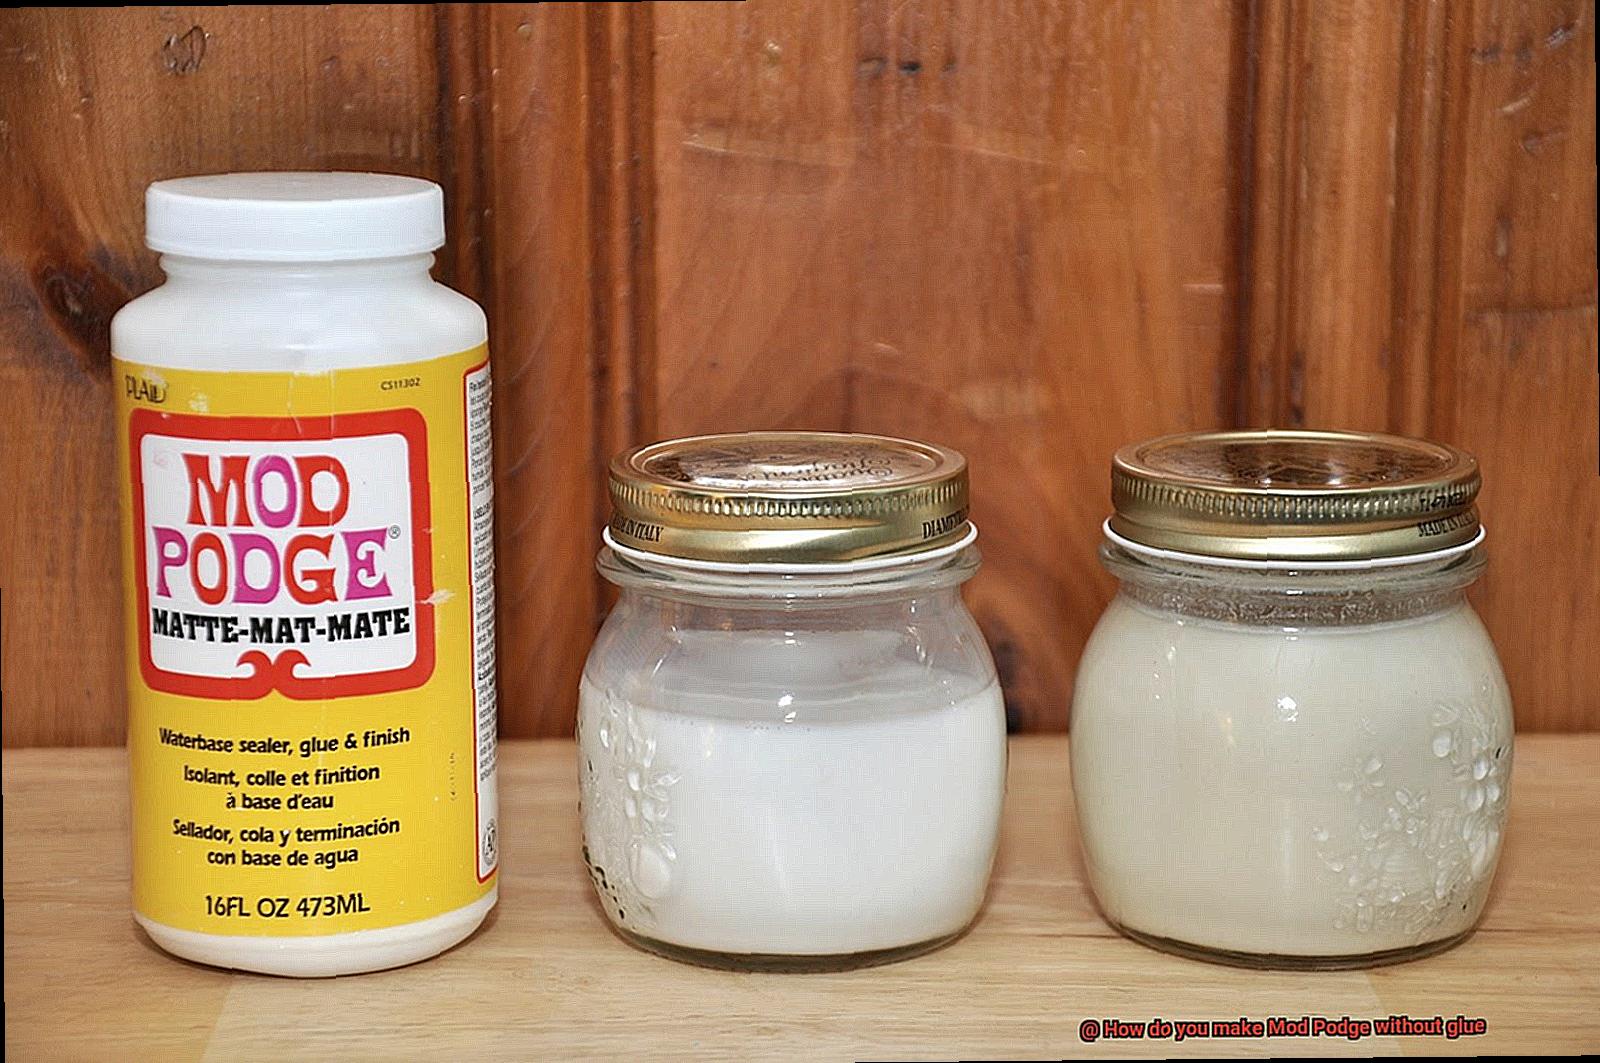
Using White School Glue and Water to Make Mod Podge
Look no further. In this guide, we will delve into the enchanting process of creating your very own Mod Podge using just two simple ingredients: white school glue and water. Prepare to immerse yourself in the world of DIY crafting as we unlock the secrets to making Mod Podge at home.
To begin, let’s gather our supplies. You will need high-quality white school glue and water. Remember, not all white glues are created equal, so be sure to select a reliable brand for optimal results. Once you have your glue and water at the ready, it’s time to combine them.
In a container, blend equal parts of white school glue and water. For example, if you use 1 cup of glue, you will also require 1 cup of water. This ratio ensures a harmonious consistency that is perfect for your crafting endeavors. Now, armed with a whisk or paintbrush, stir the mixture vigorously. The goal is to achieve a smooth texture devoid of any lumps or clumps.
As you mix the glue and water together, witness the magical transformation taking place. The two ingredients will meld seamlessly, resulting in a concoction reminiscent of store-bought Mod Podge. Continue stirring until you attain that luxuriously smooth and velvety texture.
Now that your homemade Mod Podge is prepared, it’s time to unleash your creativity. This versatile adhesive can be applied to various surfaces such as paper, fabric, wood, and more. Generously coat your chosen material with the homemade Mod Podge and let your imagination soar.
Similar to store-bought Mod Podge, it is crucial to allow ample drying time for each layer. This guarantees a flawlessly even finish on your project. Once dry, take a moment to admire your masterpiece and revel in the satisfaction of creating something beautiful with your very own homemade Mod Podge.
It is worth mentioning that the homemade version may possess a slightly different texture or finish compared to its store-bought counterpart. Nevertheless, it still provides a durable and adhesive surface for all your crafting needs. Furthermore, you can take pride in knowing that you crafted it yourself, adding an extra touch of magic to your creations.
Advantages and Disadvantages of Homemade Mod Podge

Look no further. In this article, we will delve into the advantages and disadvantages of homemade Mod Podge. By understanding these aspects, you can make an informed decision about whether homemade Mod Podge is the right choice for your crafting ventures.
Advantages:
Cost-effective:
Crafting on a budget? Homemade Mod Podge is your answer. With just white glue and water, easily accessible and affordable ingredients, you can create your own adhesive without breaking the bank. It’s the ideal option for budget-conscious crafters or those who engage in frequent craft projects.
Customizable consistency:
Versatility is key, and homemade Mod Podge delivers. By adjusting the ratio of glue to water, you can achieve a thinner or thicker consistency, perfect for delicate paper crafts or sturdy woodwork. Tailor-made adhesive that meets your specific project needs? Yes, please.
Non-toxic:
Safety first, especially when crafting with children or pets around. Homemade Mod Podge made with non-toxic glue ensures a safer environment compared to some commercial alternatives that may contain harmful chemicals. Enjoy peace of mind knowing that your projects are safe for everyone involved.
Disadvantages:
Durability concerns:
While homemade Mod Podge works wonders for many craft projects, it may not offer the same level of durability as store-bought versions. If you’re working on high-traffic areas or surfaces that require frequent cleaning or exposure to moisture, commercial Mod Podge might be a more suitable option.
Limited shelf life:
Unlike store-bought Mod Podge with a longer shelf life, homemade versions tend to have a shorter lifespan. The mixture made with white glue and water can thicken or develop mold over time, especially if not stored properly. This limitation may require you to make smaller batches more frequently.
Lack of specialized finishes:
Commercial Mod Podges offer a wide range of specialized finishes, such as matte, gloss, satin, or glittery options, allowing you to achieve specific effects on your projects. Homemade versions may lack these specialized finishes unless you add additional ingredients like clear varnish or glitter to the mixture.
Homemade Mod Podge is a cost-effective and customizable adhesive option for crafters. Its non-toxic nature provides a safer crafting experience for everyone involved.
However, it’s important to consider its limitations, such as durability concerns and a shorter shelf life. Depending on your project requirements, commercial Mod Podge with specialized finishes and enhanced durability may still be the preferred choice.
Testing Homemade Mod Podge
Homemade Mod Podge might just be the answer you’ve been searching for. But before you dive headfirst into the world of DIY adhesive, it’s crucial to understand how to properly test your homemade concoctions.
First and foremost, let’s talk about adhesive properties. The ability to stick things together is one of the most critical factors when testing homemade Mod Podge without glue. Grab some scrap materials and put your homemade recipe to the test. Stick them together and see how well they hold up under various conditions.
Next up, durability. We all want our masterpieces to withstand the test of time, right? Give your homemade Mod Podge a good old-fashioned stress test. Try bending, twisting, and even getting it wet (if the recipe allows). Does it stay intact or crumble under pressure?
Now, let’s talk about the finish. That smooth and glossy look that Mod Podge gives your projects is simply irresistible. Examine your homemade version closely. Does it provide that same professional finish? If not, don’t fret. Experiment with different recipes and techniques until you find the one that gives you the desired result.
It’s important to note that not all homemade Mod Podge recipes without glue are created equal. Some may work better than others depending on the specific ingredients used and the technique followed. That’s why it’s a good idea to start with small, non-important projects before diving into more significant endeavors.
Lastly, keep in mind any special considerations when using homemade Mod Podge. Is it compatible with different surfaces? Will it resist yellowing over time? These are all factors to consider as you test and experiment with your homemade adhesive.
Shelf Life of Homemade Mod Podge
When it comes to homemade Mod Podge without glue, the shelf life can be a bit tricky. Unlike the store-bought version, which can last for ages, homemade Mod Podge may not have the same longevity due to the absence of preservatives. But fear not, my friends, because I’m here to guide you through the ins and outs of shelf life for your homemade masterpiece.
First things first, let’s talk about the star ingredient – glue. If you’re using white school glue or glue-all as the base for your homemade Mod Podge, be aware that its shelf life is typically around one year when unopened. However, once that bottle is cracked open, its lifespan decreases to about six months. So, be sure to check that expiration date before diving into your crafting adventures.
Now, let’s talk about storage. To keep your homemade Mod Podge fresh and fabulous, it’s crucial to store it properly. Grab yourself an airtight container to prevent any pesky air or moisture from sneaking in and wreaking havoc on your mixture. Trust me, you don’t want to end up with a dried-out clumpy mess.
Speaking of moisture, be cautious of water-based ingredients in your homemade Mod Podge. While they add that lovely smooth consistency we all love, they can also introduce moisture that may lead to unwanted mold or bacterial growth over time. Yuck.
On the bright side, varnish can act as a preservative and extend the shelf life of your homemade Mod Podge. So, consider adding a touch of varnish to keep things fresher for longer.
- One more thing to keep in mind – temperature. Extreme temperatures can affect the consistency and overall quality of your homemade Mod Podge. So, avoid storing it in direct sunlight or in places with fluctuating temperatures, like a hot attic or near a window. Instead, find a cool and dry spot to keep your mixture in tip-top shape.
- Now, I know what you’re thinking – “How long can I actually keep this stuff?” Well, my crafty friends, it’s best to make smaller batches of homemade Mod Podge to ensure freshness and effectiveness. This way, you can use it up before any potential spoilage occurs. Plus, experimenting with different recipes is always fun.
In conclusion, the shelf life of homemade Mod Podge without glue can vary depending on the ingredients used and how it is stored. Be mindful of the expiration date on your glue, use fresh ingredients, store it properly in an airtight container in a cool and dry place, and you’ll be well on your way to creating fantastic crafts with your homemade Mod Podge.
Also Read: Is there a Mod Podge Alternative? – Glue Things
Conclusion
Creating Mod Podge without glue is a crafty alternative for those who don’t have glue on hand or prefer a more natural approach. By combining simple household ingredients, you can achieve a similar effect to traditional Mod Podge. This DIY recipe allows you to unleash your creativity without relying on store-bought supplies.
To make Mod Podge without glue, gather flour and water as your main ingredients. Mix them together until you achieve a smooth and creamy consistency. This concoction acts as an adhesive that can be used for various crafting projects.
The beauty of making Mod Podge without glue lies in its versatility. You can adjust the thickness of the mixture by adding more flour or water, depending on your desired outcome. Whether you’re working on decoupage, collages, or any other art project, this homemade version of Mod Podge will do the trick.
Not only does this DIY recipe offer convenience, but it also allows you to experiment with different textures and finishes. Add some glitter for a touch of sparkle or mix in food coloring to create vibrant hues. The possibilities are endless when it comes to customizing your homemade Mod Podge.
In conclusion, making Mod Podge without glue opens up a world of possibilities for craft enthusiasts. With just flour and water, you can create your own adhesive masterpiece.