Imagine taking the mighty power of J-B Weld, known for its unrivaled adhesion and strength, and turning it into a conductor of electricity. Sounds like magic, right? Well, get ready to dive into the enchanting world of making J-B Weld conductive. In this blog post, we’ll unravel the secrets behind this incredible transformation and equip you with a step-by-step guide to make it happen.
Before we embark on this electrifying journey, safety first. Don your protective gloves and goggles, find a well-ventilated space, and let’s get started. The process consists of three fundamental steps: preparation, mixing, and application.
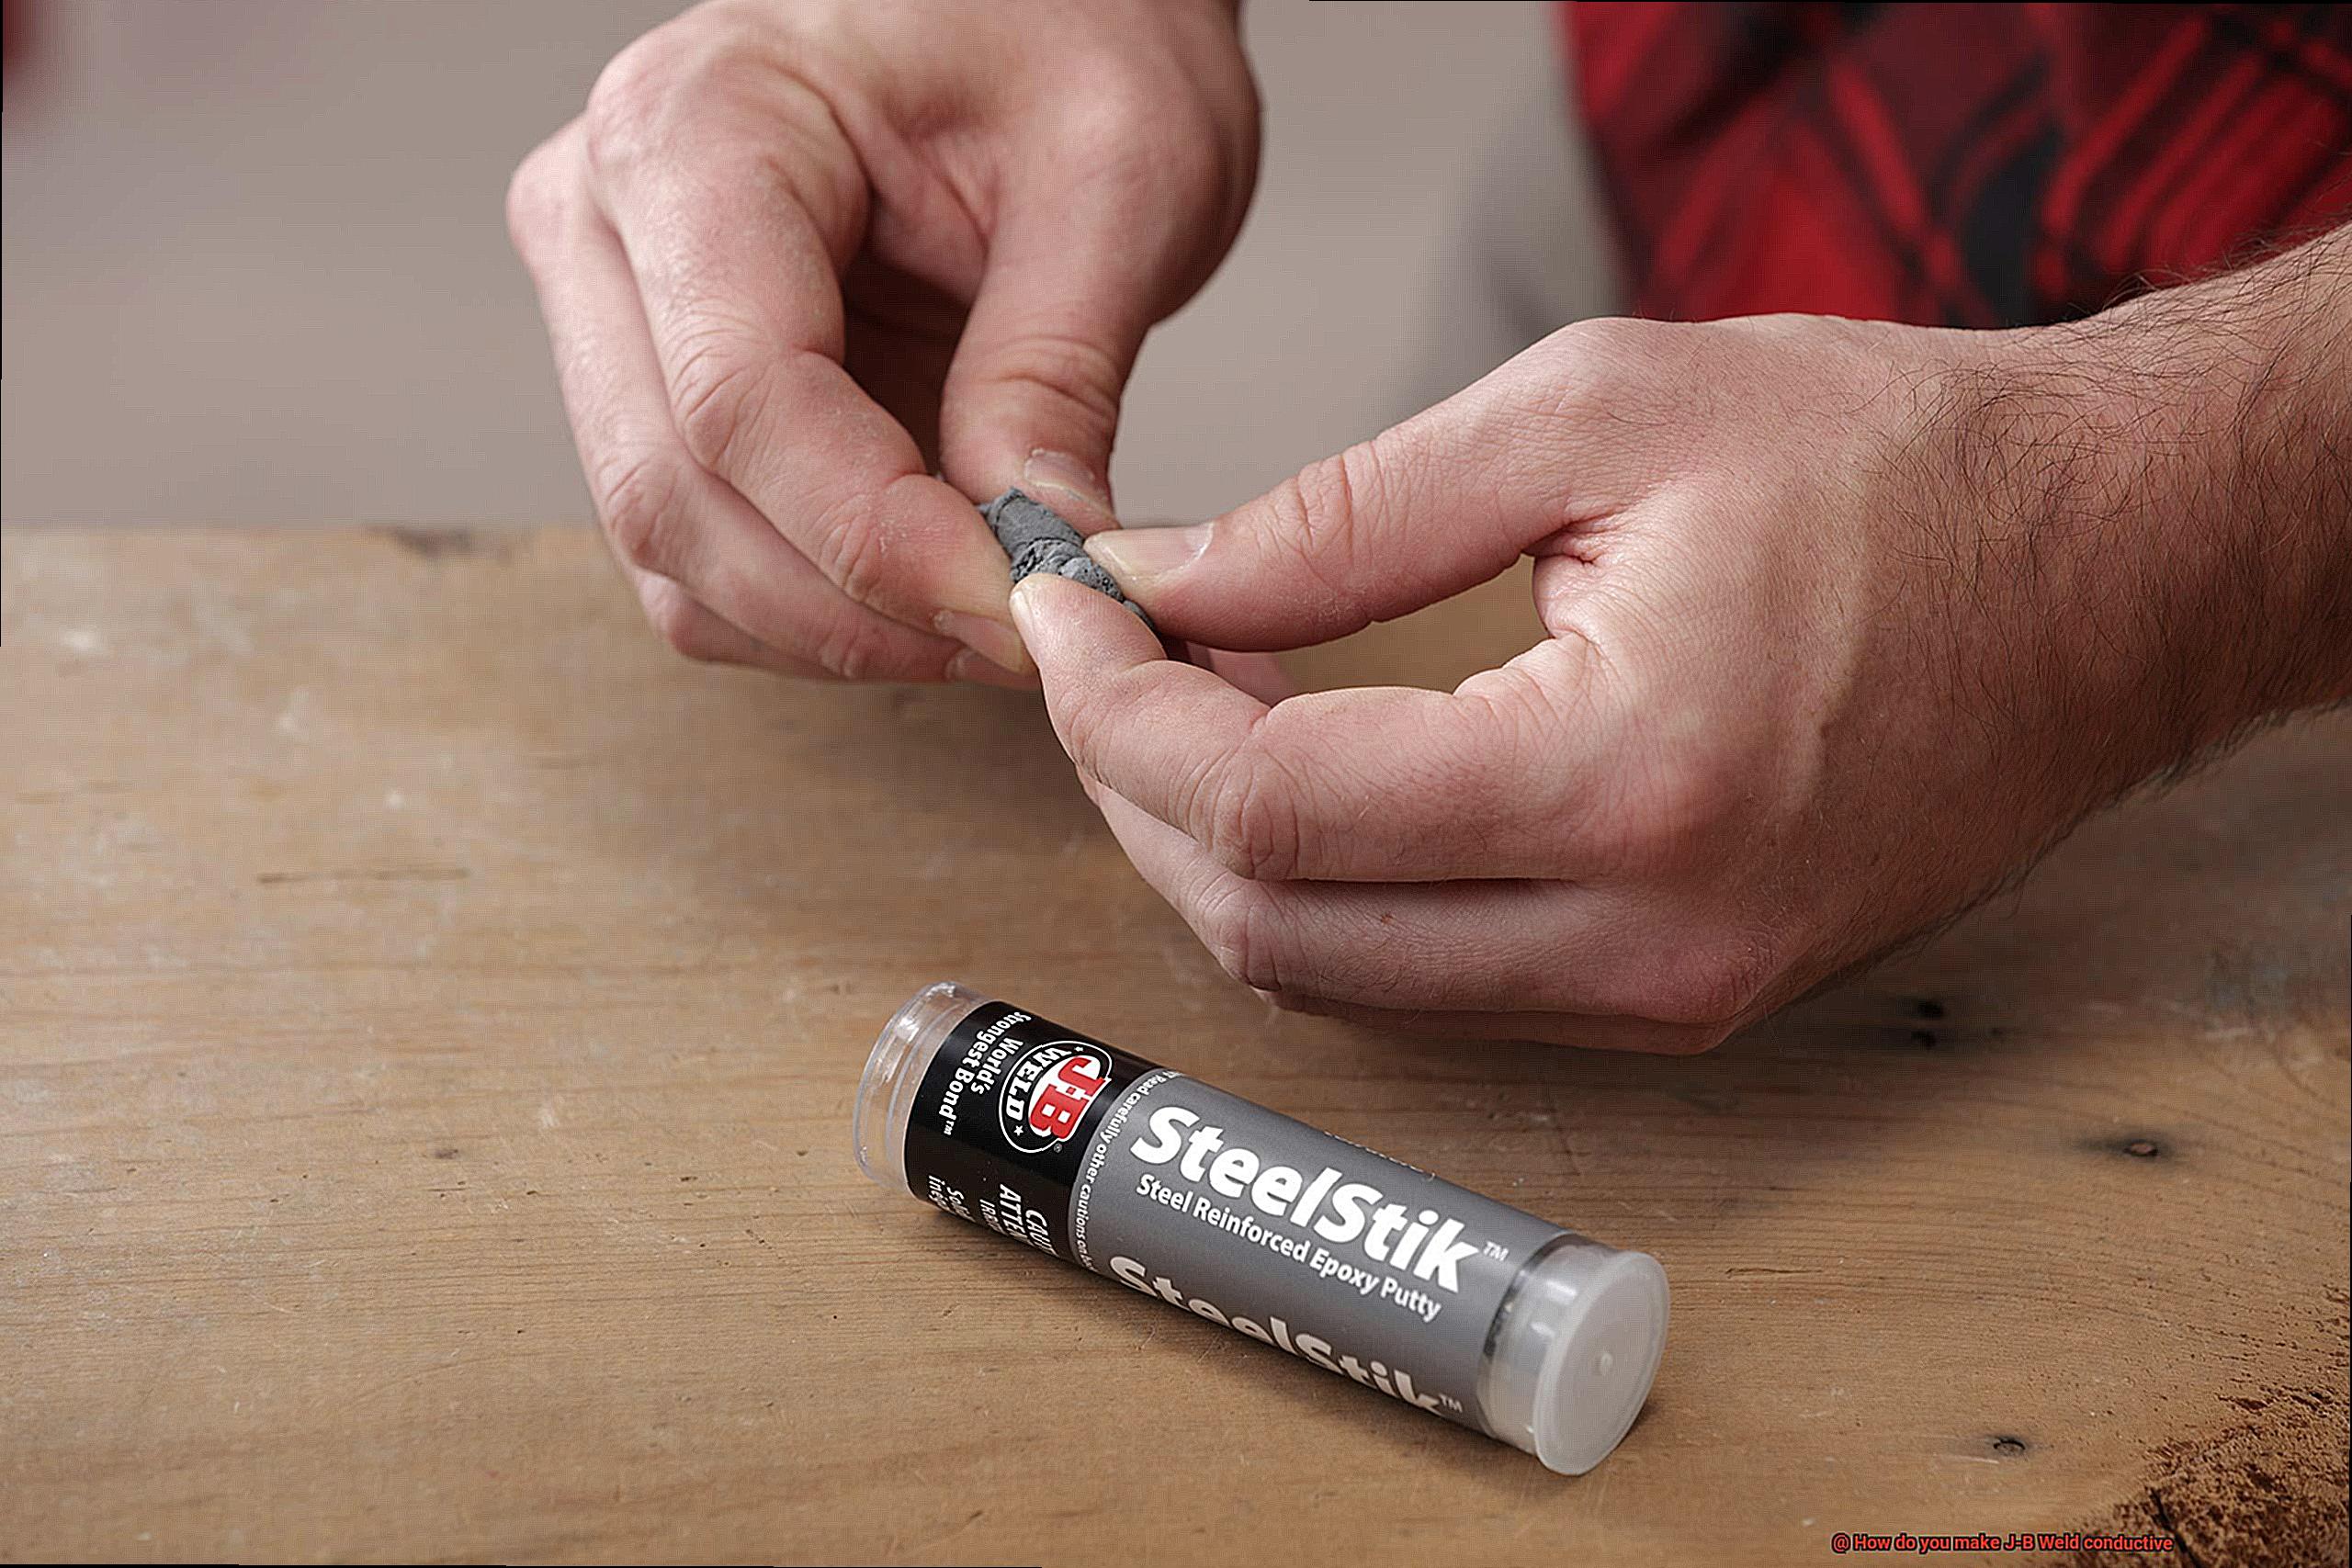
Preparation is key to ensure the best results. Scrub away any rust, debris, or oxidation from the surface you plan to join. We want a clean canvas for our conductive masterpiece. Now comes the fun part – mixing. Combine equal parts of J-B Weld’s epoxy resin and hardener with precision. Think of it as creating a magical potion that will bring conductivity to life.
Once your mixture is perfectly blended, it’s time for application. You can either spread the conductive J-B Weld directly onto your desired surface or use it as an adhesive to connect multiple conductive components. Remember: precision is everything here. Smooth application ensures seamless conductivity without any pesky gaps or bumps.

By unlocking J-B Weld’s conductivity superpowers, you open up a world of endless possibilities. From crafting custom circuit boards and fixing electrical connections to designing mind-blowing wearable electronics and smart devices – the sky’s the limit.
Now armed with this knowledge, you can fearlessly tackle projects that demand both strength and electrical conductivity from your trusty J-B Weld sidekick. So grab your gear, dive into experimentation mode, and witness the full potential of this extraordinary adhesive come to life. Let the conducting adventure begin.
Note: Always exercise caution and conduct thorough research tailored to your project’s needs. Follow manufacturer guidelines and consult experts when necessary. Stay safe, embrace the magic of J-B Weld, and let it electrify your creative endeavors.
What is J-B Weld and Why Make it Conductive?
Contents
- 1 What is J-B Weld and Why Make it Conductive?
- 2 Choosing the Right Conductive Material
- 3 Mixing the Conductive Material with J-B Weld
- 4 Controlling the Amount of Conductive Material Added
- 5 Applying and Curing the Adhesive
- 6 Considerations for Using Modified J-B Weld
- 7 Tips for Working with J-B Weld and Conductive Materials
- 8 Conclusion
In our increasingly connected world, the demand for conductive adhesives is soaring as electronics and circuitry become integral to our daily lives. Among these adhesives, J-B Weld has risen to prominence, renowned for its unmatched strength and versatility. However, what sets it apart is its ability to be transformed into a conductive adhesive by incorporating various fillers or additives. In this article, we will delve deep into the realm of conductive J-B Weld, exploring its immense potential and the reasons behind its adoption.
Harnessing the Power of Conductivity:
Conductive adhesives possess the remarkable ability to conduct electricity, making them indispensable in electronic projects and circuitry. By rendering J-B Weld conductive, we unlock an adhesive that seamlessly combines a robust bond with electrical conductivity, making it an ideal choice for applications that require both.
Methods to Achieve Conductivity:
To imbue J-B Weld with conductivity, one common method is to blend it with conductive fillers or additives. These fillers can range from silver, copper, graphite, to carbon nanotubes. The choice of filler depends on specific project requirements, considering factors such as conductivity levels, cost considerations, and even lubrication properties.
Striking the Perfect Balance:
Achieving the optimal balance when adding conductive fillers to J-B Weld is essential. Excessive filler content results in a thicker adhesive with reduced bonding strength, while inadequate filler content may not provide sufficient conductivity. Precise measurement and meticulous mixing are key to attaining the desired level of conductivity without compromising the integrity of the adhesive.
Exploring Applications of Conductive J-B Weld:
The possibilities unleashed by conductive J-B Weld are vast and exciting. Here are a few notable applications:
- Electronic Repairs: Conductive J-B Weld proves invaluable in repairing damaged electronic components and circuit boards. Its formidable bond ensures reliable connections while facilitating electrical conductivity.
- Custom Circuitry: With conductive J-B Weld, the ability to create custom circuits on various substrates is within reach. This opens up a world of opportunities for DIY electronics projects and rapid prototyping.
- Wearable Technology: Incorporating conductive J-B Weld into wearable devices enables seamless integration of electronic components. From smart clothing to fitness trackers, the possibilities are endless, fostering innovation in the realm of wearable technology.
Choosing the Right Conductive Material
In the world of electronics, conductive adhesives have become the superheroes, and J-B Weld stands tall as a mighty champion known for its strength and versatility. But what truly sets J-B Weld apart is its ability to transform into a conductive adhesive, combining an unbreakable bond with the power to conduct electricity. Prepare to journey into the realm of conductive J-B Weld as we explore its immense potential and unravel the secrets behind its widespread adoption.
When it comes to choosing the right conductive material for J-B Weld, several factors must be considered. Here are some key considerations to keep in mind:
- Electrical Conductivity: The conductivity of a material determines how well it can transmit electric current. Metals like copper and silver are highly conductive, making them ideal choices for enhancing the conductivity of J-B Weld.
- Compatibility with the Adhesive: The conductive material should be able to bond effectively with the adhesive properties of J-B Weld to ensure a strong and reliable connection. Opt for a conductive material that shares similar adhesive properties with J-B Weld for compatibility and optimal performance.
- Durability: The selected conductive material should be able to withstand various environmental conditions and maintain its conductivity over time. It should be resistant to corrosion, moisture, and other factors that may compromise its conductivity.
Based on these considerations, two popular choices for enhancing the conductivity of J-B Weld are graphite powder and silver conductive paint or ink.
Graphite powder, a form of carbon, possesses excellent electrical conductivity. Mix it with J-B Weld epoxy to create a conductive paste or adhesive. Apply this graphite paste between two surfaces for an electrically conductive connection.
Alternatively, silver conductive paint or ink contains silver particles suspended in a liquid medium. Simply apply this paint or ink directly onto the surface of J-B Weld to make it conductive. Silver’s high conductivity ensures excellent electrical connections.
By selecting the appropriate conductive material, you can ensure a reliable and efficient electrical connection with J-B Weld. Whether you’re repairing electronic components, creating custom circuits, or exploring wearable technology, conductive J-B Weld opens up endless possibilities for innovation and creativity.
Mixing the Conductive Material with J-B Weld
Unleashing the Power of J-B Weld: Exploring Conductive Mixtures for Electrical Marvels
Welcome to the captivating realm of adhesives, where the boundaries of possibility vanish into thin air. Today, we embark on an exhilarating journey into the wondrous process of transforming J-B Weld into a conductive adhesive. By infusing this mighty adhesive with the enchantment of conductive materials, we unlock a treasure trove of electrifying possibilities. So, don your lab coat and let’s dive into the art of mixing conductive materials with J-B Weld.
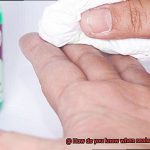
Preparing the Surface:
Before we embark on this electrifying quest, it is vital to prepare our canvas. Thoroughly clean the surface to be bonded using a degreaser or rubbing alcohol. This crucial step ensures optimal adhesion and sets the stage for our conductive triumph.
Choosing the Conductive Material:
Now comes the moment of pure excitement – selecting the perfect conductive material that will ignite our adhesive’s conductivity powers. The options before us are as diverse as they are mesmerizing:
- a) Graphite Powder: Renowned for its remarkable electrical conductivity properties, graphite powder is a cherished favorite among adhesive enthusiasts. Begin by adding a small quantity of graphite powder to the J-B Weld epoxy mixture and stir with fervor until fully combined. Gradually increase the amount until you achieve your desired level of conductivity.
- b) Carbon Black: Similar to its graphite counterpart, carbon black possesses extraordinary electrical conductivity capabilities. Introduce a small amount into the J-B Weld mixture while vigorously stirring until you attain your desired level of conductivity.
- c) Metallic Particles (Silver or Copper): For applications demanding exceptional conductivity and robust electrical connections, metallic particles are an enchanting choice. Add a dash of silver or copper powder to your J-B Weld mixture and mix thoroughly for results that will leave you electrified.

Achieving Uniform Distribution:
To ensure our conductive material permeates the epoxy adhesive evenly, it is imperative to mix with unwavering determination. Stir, swirl, and twirl until every molecule of conductive substance disperses harmoniously throughout the adhesive, guaranteeing consistent conductivity in our final creation.
Test and Adjust:
Before embarking on grand electrical ventures, it is essential to test the adhesive properties and conductivity of our mixture. Apply a small amount to a test surface and measure the results. If adjustments are necessary, fine-tune the quantity of conductive material until you achieve the desired level of conductivity.
Controlling the Amount of Conductive Material Added
Today, we’re going to delve into the fascinating world of controlling the amount of conductive material added when making J-B Weld conductive. It’s a crucial step that can make or break the conductivity of our final masterpiece. So, let’s put on our thinking caps and get ready to unlock the secrets to crafting the perfect conductive adhesive.
First things first, we need to be mindful of the conductive material we choose. Opt for high-quality conductive materials, such as graphite or silver powder, that seamlessly blend with J-B Weld and ensure optimal conductivity. We don’t want any uneven distribution or subpar performance in our electrifying endeavors.
Now, let’s talk precision. Have your trusty scale at the ready because precise measurements are key. Weigh out the exact amount of conductive material before incorporating it into the glue. This scientific approach allows us to calculate the ideal quantity needed for our specific application, leaving no room for guesswork.
But wait, there’s more. Mixing small batches is another fantastic technique to control the amount of conductive material added. It’s like being a mad scientist in your own lab, experimenting and fine-tuning until you strike that perfect balance of conductivity. Starting small gives us the flexibility to adjust on the fly and achieve our desired level of electrical prowess.
Of course, let’s not forget about proper mixing. Stir or knead that mixture until you achieve a consistent color and texture throughout. Trust me, this extra effort will pay off in spades when it comes to maximizing conductivity.
So there you have it, my friends – a glimpse into the art of controlling the amount of conductive material added when making J-B Weld conductive. With precise measurements, small batch experimentation, and thorough mixing, you’ll be well on your way to creating electrical marvels that will leave others in awe.
Applying and Curing the Adhesive
This powerful bonding agent not only brings surfaces together, but it also conducts electricity with finesse. So, don your lab coat and safety goggles as we embark on an exhilarating journey into the world of applying and curing J-B Weld adhesive.
Step 1: Setting the Stage for Success
Before diving headfirst into the bonding process, it is crucial to ensure that the surfaces you plan to connect are squeaky clean. Bid farewell to pesky oil, grease, and debris by using a mild detergent and water to cleanse the surfaces. Once they are pristine and dry, you’re ready to move on to the next step.
Step 2: The Alchemy of Mixing
Prepare to create a magical concoction by combining equal parts of J-B Weld epoxy resin and hardener. Follow the instructions on the packaging religiously to achieve the perfect ratio. Thoroughly blend them until they form a harmonious, uniform color. Brace yourself, for this is where enchantment commences.
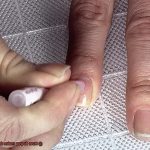
Step 3: Spreading Your Love
Armed with a brush, spatula, or any suitable tool, lavish a thin and even layer of your mixed adhesive onto one of the surfaces that will be bonded. Remember to cover every nook and cranny that will come into contact with its counterpart. We aim for nothing short of optimal adhesion here.
Step 4: Embrace the Connection
Bring those surfaces together and apply some pressure. Whether it’s clamping or employing weights, ensure there is solid contact between the adhesive and surfaces. This is when true bonding magic happens.
Step 5: Patience, the Virtuous Path
Now comes the tricky part – exercising patience as you await the adhesive’s complete cure. J-B Weld boasts a relatively longer curing time compared to other adhesives. The duration can range from a few hours to several days, depending on factors such as temperature and humidity. Resist the urge to disturb or move those bonded surfaces until they are fully ready.
Step 6: The Ultimate Test
Once your adhesive has reached its full cure, it’s time to examine it for any signs of incomplete curing or weak adhesion. If all looks well, congratulations. You have successfully forged a robust and enduring bond capable of withstanding diverse conditions.
Remember, when working with J-B Weld adhesive, pay heed to its conductivity properties. Different materials and specific applications may necessitate conductivity testing to ensure optimal performance.
Voila, glue enthusiasts. With a sprinkle of precision, a dash of mad scientist finesse, and a dollop of patience, you can apply and cure J-B Weld adhesive like an expert. Now venture forth and unleash your creative genius, crafting electrical marvels that will leave others in awe.
Considerations for Using Modified J-B Weld
In this comprehensive guide, we will delve into the considerations and intricacies of using this remarkable conductive adhesive. So grab your safety goggles and prepare for an immersive experience.
Understand Your Project Requirements:
Embarking on a modified J-B Weld adventure requires a deep understanding of your project’s specific needs. Determine the desired level of conductivity, consider cost limitations, and evaluate compatibility with the substrate. These factors will guide you in selecting the ideal conductive material to enhance your epoxy blend.
Follow Manufacturer’s Instructions:
Modified J-B Weld alters the properties of traditional epoxy, necessitating strict adherence to the manufacturer’s instructions for optimal results. Pay close attention to recommended ratios of epoxy and conductive material, as well as precise mixing techniques and accurate cure times. Remember, precision is crucial.
Conduct Small-Scale Tests:
To ensure that your modified J-B Weld aligns with your expectations, conduct small-scale tests before plunging into your project headfirst. Apply the modified epoxy to a sample surface and measure its conductivity using appropriate equipment. Keep in mind that modified J-B Weld may not match the conductivity levels of specialized conductive adhesives.
Application Process:
The application process for modified J-B Weld closely mirrors that of its non-conductive counterpart. Begin by meticulously cleaning and preparing the surfaces to be bonded, ensuring they are free from any contaminants for optimal adhesion. Apply the epoxy mixture evenly and allow it to cure according to the manufacturer’s instructions. It is essential to note that modified J-B Weld might have a shorter shelf life due to the addition of conductive materials.
Safety First:
In every adhesive endeavor, prioritizing safety is paramount. Equip yourself with protective gloves and eyewear, work in a well-ventilated area, and strictly adhere to any additional safety guidelines provided by the manufacturer. A little precaution goes a long way in safeguarding your well-being.
Conclusion:
Armed with this comprehensive guide, you are now prepared to conquer the realm of modified J-B Weld like a seasoned adhesive connoisseur. Remember to consider your project requirements, diligently follow instructions, conduct small-scale tests, and prioritize safety. So venture forth with confidence, knowing that you have mastered the art of conductive bonding with modified J-B Weld.
Tips for Working with J-B Weld and Conductive Materials
Look no further than J-B Weld, a magical adhesive that can make your connections super strong and conductive. In this comprehensive guide, we’ll share some amazing tips to help you create a secure bond between J-B Weld and conductive materials. Get ready to become an electrical wizard.
Clean Surfaces for a Sparkling Connection:
Before you start, it’s crucial to clean the surfaces that will be bonded. Just like washing your hands before eating, clean surfaces are essential for a strong bond. Use soap and water or a special cleaner to get rid of any dirt or grease. You want those surfaces to shine like a polished gem. This step ensures that there are no barriers between the adhesive and the conductive materials, allowing for maximum conductivity.
Roughen Up for Extra Grip:
To make J-B Weld stick like glue, roughen the surfaces slightly. Think of it as giving them tiny spikes to hold onto the adhesive. Use sandpaper or a file to create a textured surface. Be gentle to avoid damaging the materials or compromising their conductivity. The roughened surface provides more surface area for the adhesive to adhere to, resulting in a stronger bond.
Mix It Up Like a Potion:
J-B Weld is like magic powder that needs to be mixed properly before it works its wonders. Follow the instructions carefully and mix the two parts together until they’re one happy family. Keep stirring until you see a uniform color and texture, just like mixing colors to create a masterpiece. Proper mixing ensures that both components are evenly distributed, enhancing the adhesive’s bonding strength and conductivity.
Apply Thinly, Spread the Magic:
Now it’s time for the real magic. Apply a thin layer of J-B Weld to both surfaces. Imagine spreading butter on toast, but with superpowers. Make sure there are no gaps or lumps – you want an even layer for maximum conductivity. The thin layer ensures good contact between the adhesive and the conductive materials, allowing for efficient transfer of electrical current.
Squeeze and Hold for Extra Strength:
To make your bond super strong, apply some pressure or use clamps while the J-B Weld cures. This squeezes out any air bubbles and makes the connection even tighter. Imagine giving your project a big bear hug. Keep the pressure on until the adhesive is fully cured and ready to show off its powers. This step ensures that there are no voids or weak spots in the bond, maximizing its strength and conductivity.
aDtfv_6DyYw” >
Also Read: What Will JB Weld Not Stick To? – The Welding Guru
Conclusion
To transform J-B Weld into a conductive material, there are several steps you can take. First and foremost, it’s crucial to clean the surface thoroughly to ensure proper adhesion.
Next, mix the J-B Weld epoxy according to the manufacturer’s instructions. Once mixed, add a conductive filler such as graphite powder or silver flakes to the epoxy mixture.
This will enhance its electrical conductivity.
Stir the mixture thoroughly until the filler is evenly distributed throughout. Now, you’re ready to apply the conductive J-B Weld to your desired surface. Be sure to follow the recommended curing time for optimal results. Once cured, your J-B Weld will be transformed into a highly conductive material suitable for various applications.
REVISED DRAFT:
Transforming J-B Weld into a conductive wonder requires some key steps. Begin by meticulously cleaning the surface, leaving no room for debris or imperfections that could hinder adhesion.
Then, dive into mixing the J-B Weld epoxy with utmost precision, adhering strictly to the manufacturer’s instructions. As you reach this pivotal moment in your experiment, introduce a conductor of change – be it graphite powder or shimmering silver flakes – into the mixture.
Watch as these magical fillers work their way through every nook and cranny of the epoxy concoction, ensuring an even distribution that sparks conductivity like never before.
Now comes the thrilling part: applying your newly transformed creation onto your chosen surface. With steady hands and unwavering determination, let this electrifying blend find its rightful place in your project. Remember to honor patience as you allow it ample time to cure – for greatness often takes time.
Once fully cured, behold your masterpiece. Behold a marvel of conductivity born from humble origins – J-B Weld now transformed into an electrically charged force ready for any challenge that comes its way.
So go forth with confidence and wield this newfound power responsibly; let it empower your projects and ignite your imagination.