Welcome to today’s blog post where we’re about to embark on an exciting journey into the realm of homemade Mod Podge.
If you’re tired of breaking the bank every time you need a bottle of this crafting essential, then listen up. We’re going to show you how to make your own Mod Podge using simple ingredients that are probably sitting in your kitchen right now.
So, let’s roll up our sleeves and get ready to unleash our inner crafters as we dive into the wonderful world of homemade Mod Podge.
What is Mod Podge?
Contents
- 1 What is Mod Podge?
- 2 What You Need to Make Homemade Mod Podge
- 3 Step-by-Step Instructions for Making Homemade Mod Podge
- 4 Tips for Customizing Your Homemade Mod Podge
- 5 Applying Your Homemade Mod Podge
- 6 Drying Time for Homemade Mod Podge
- 7 Projects and Surfaces Suitable for Using Homemade Mod Podge
- 8 How to Store Unused Homemade Mod Podge
- 9 Conclusion
In this comprehensive guide, we will delve into the world of Mod Podge, exploring its incredible versatility, various formulas, adhesive properties, easy application, and even how to make your own homemade version. So grab your crafting supplies and prepare to be amazed by the wonders of Mod Podge.
The Boundless Versatility of Mod Podge:
Mod Podge is not your average glue – it’s a crafting adhesive that works wonders on a multitude of surfaces. Whether you’re working with wood, paper, fabric, glass, or more, Mod Podge has got you covered. This flexibility makes it an ideal choice for a wide range of projects, including scrapbooking, decoupage, home decor, and jewelry making.
The Many Faces of Mod Podge:
Mod Podge comes in a variety of formulas to cater to different needs and preferences. The original Mod Podge is perfect for most projects, drying clear with a glossy finish that adds a touch of elegance to your creations. If you prefer a non-shiny look, the matte formula is your go-to option. And for outdoor projects that require extra durability and protection against the elements, there’s outdoor Mod Podge.
Adhesive, Sealer, and Finisher – All in One:
One of the standout features of Mod Podge is its incredible versatility. It serves not only as a highly effective adhesive that securely bonds materials together but also as a sealer that protects your creations from damage and adds longevity. As if that wasn’t enough, it also functions as a fabulous finisher, leaving a beautiful glossy or matte sheen that enhances the overall appearance of your projects.
Effortless Application:
Using Mod Podge is a breeze, even for beginners. With a brush or sponge applicator, you have full control over the amount and placement of the glue. The drying time may vary depending on the formula and thickness applied, but it typically ranges from 15 minutes to an hour, allowing you to move forward with your creative journey without delay.
Unleash Your Creativity with Homemade Mod Podge:
For those who enjoy a do-it-yourself approach, making your own Mod Podge is not only fun but also cost-effective. All you need are simple ingredients like white glue, water, and optionally clear varnish or acrylic sealer. By customizing the consistency and finish of your homemade Mod Podge, you can create the perfect adhesive that suits your specific project needs.
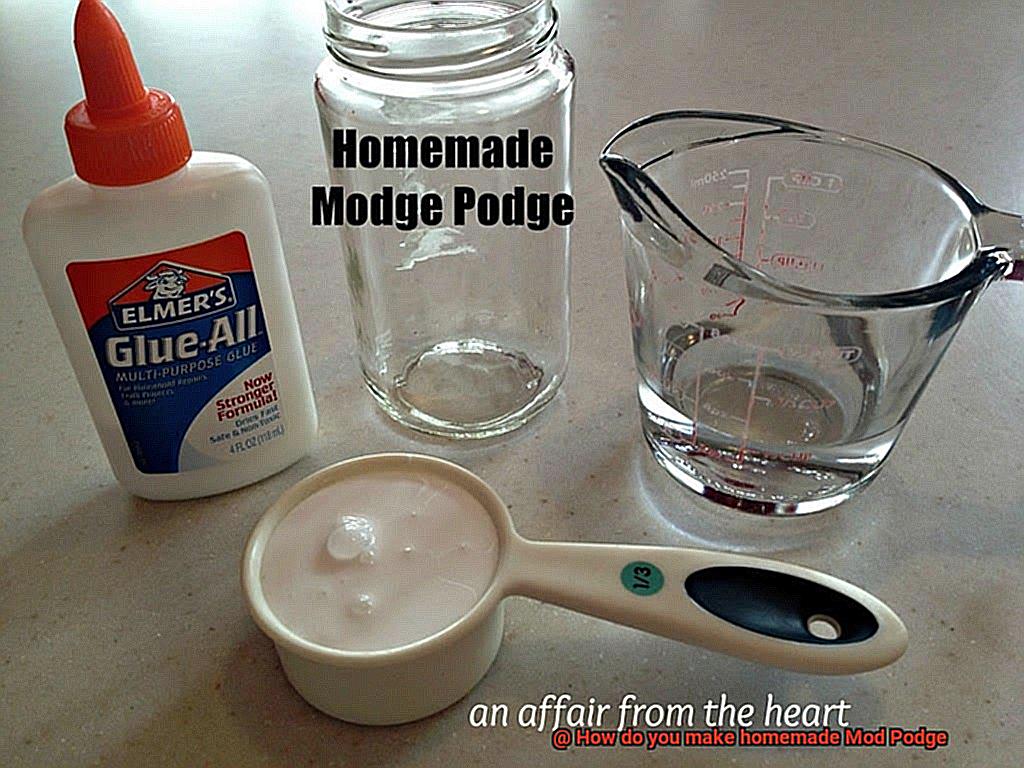
What You Need to Make Homemade Mod Podge
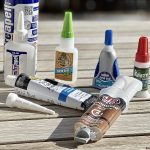
If you’re ready to dive into the enchanting world of Mod Podge, let’s talk about what you need to make your very own homemade version. First and foremost, you’ll need white glue. You know, that trusty companion from your school days? Good old PVA glue is the key ingredient here, so be sure to use a high-quality one for the best results. We don’t want any wonky crafts, do we?
Next up, water. This magical liquid helps dilute the glue and creates the perfect consistency for your homemade Mod Podge. The amount of water you’ll need depends on your project, so start with a little and gradually add more if necessary.
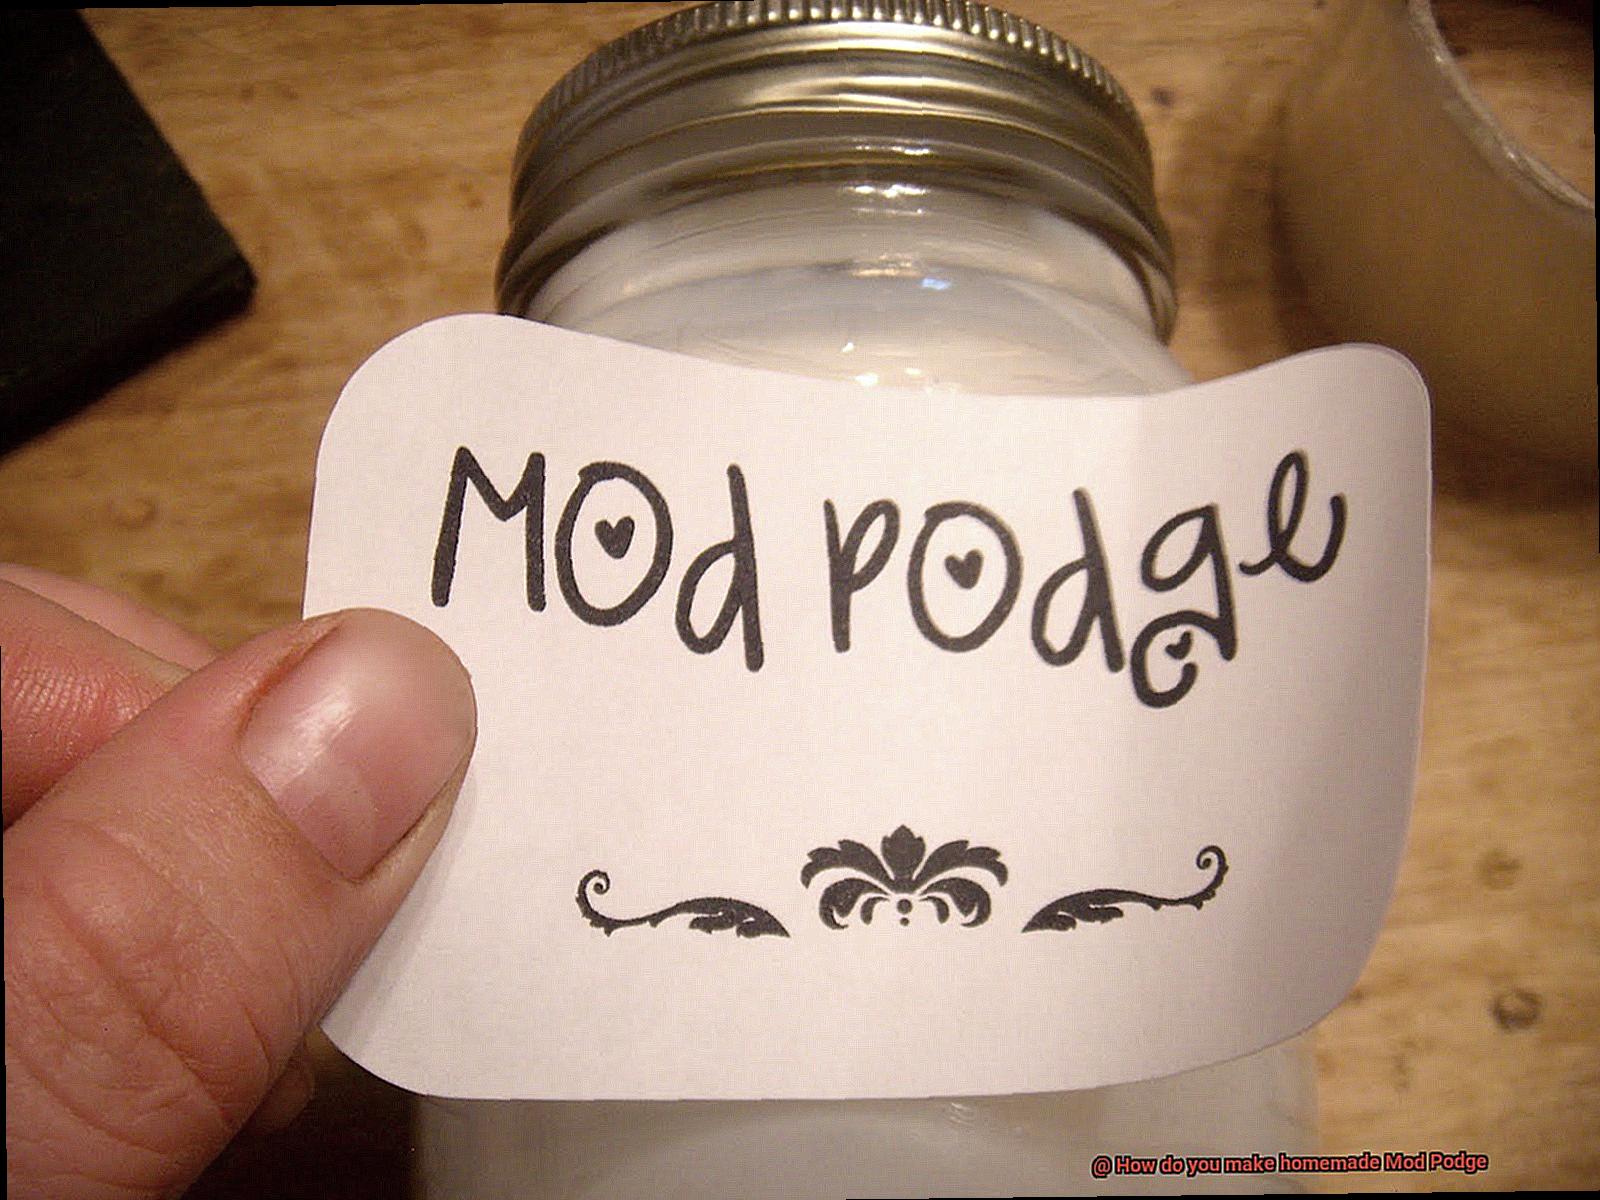
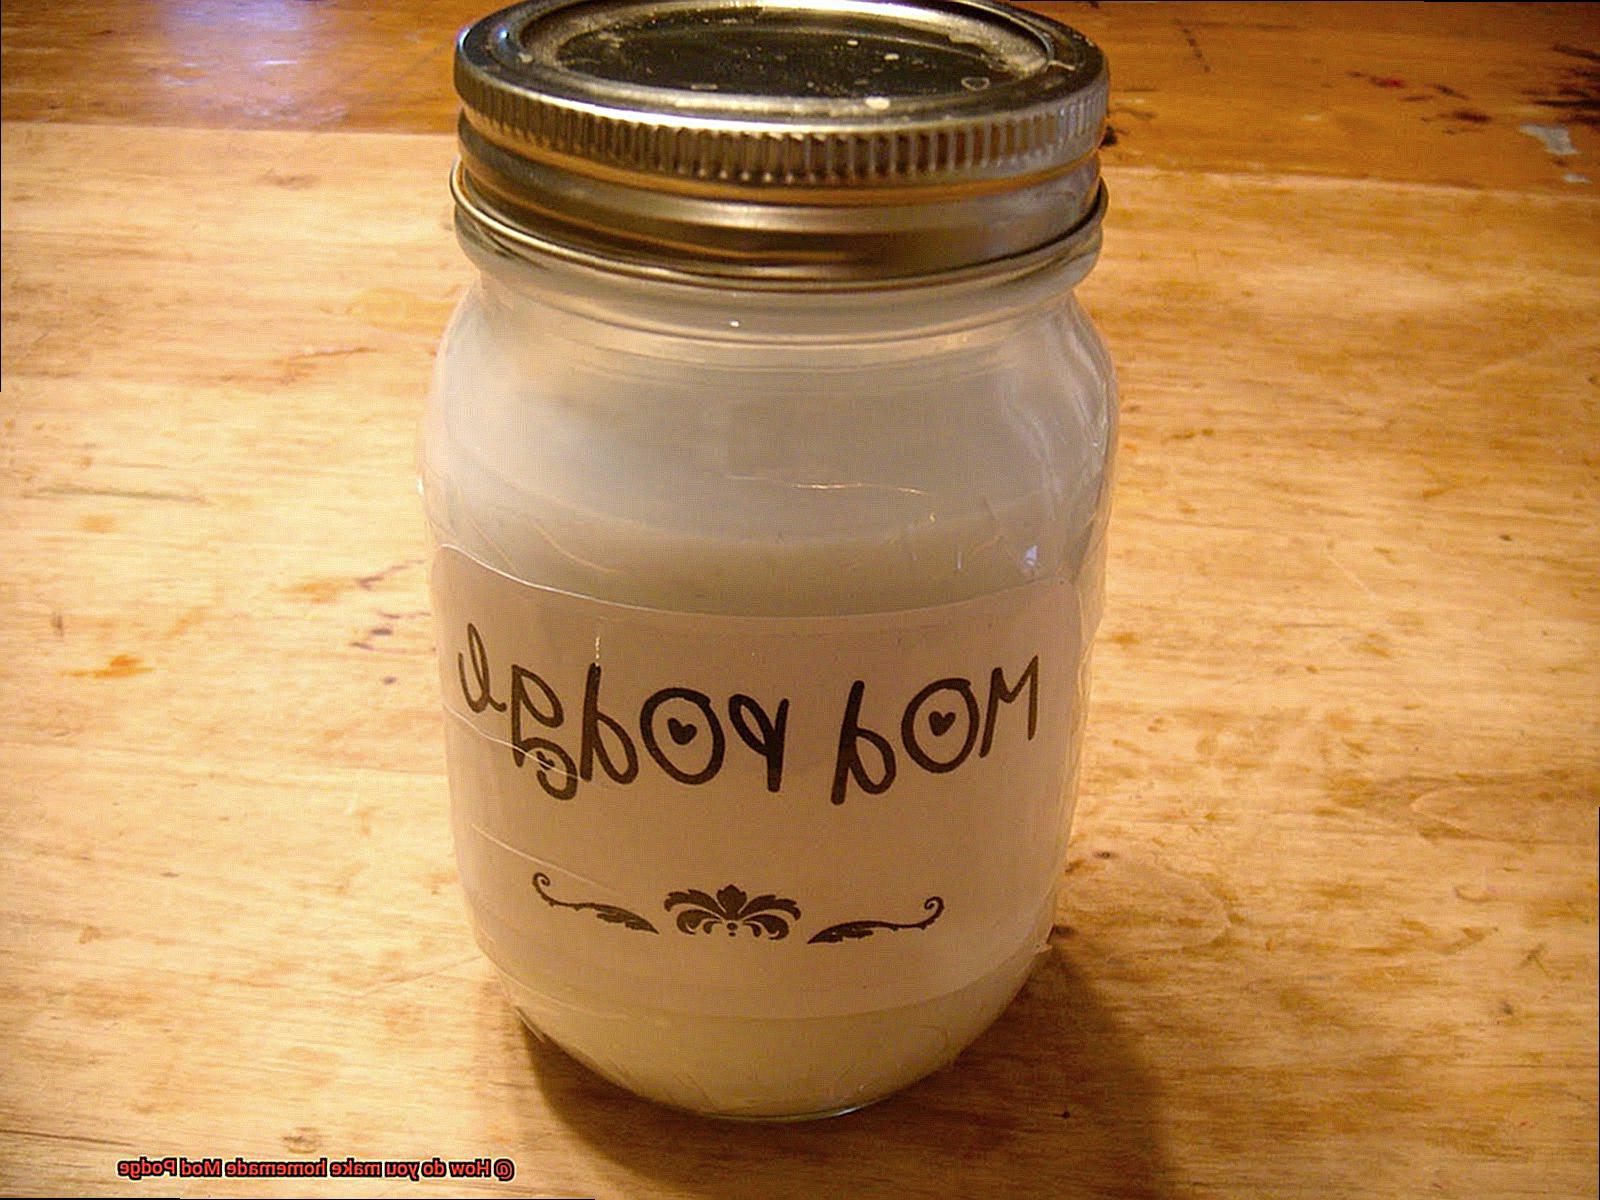
Now, find yourself a clean container to mix and store your homemade Mod Podge. A small jar or plastic container with a lid works like a charm. It’s like having your very own potion bottle.
To stir this concoction, grab a wooden stick or a non-metallic utensil. Metal can react with the glue and change its properties, so let’s avoid that messiness.
Feeling fancy? Want to add a personal touch to your Mod Podge? Consider some optional additives. Acrylic paint can add color, clear varnish can give it extra shine, and glycerin can make it more flexible. These secret ingredients take your Mod Podge to the next level.
Step-by-Step Instructions for Making Homemade Mod Podge
Prepare to embark on a magical journey into the world of Mod Podge as we unveil the secrets to creating your very own homemade version. Whether you’re a seasoned glue aficionado or just beginning your crafting adventure, this step-by-step guide will have you creating masterpieces in no time.
So, what exactly is Mod Podge? It’s a versatile crafting supply that can be used for a wide range of projects, from decoupage to collage. While it’s readily available at most craft stores, there’s something satisfying about concocting your own from scratch. Not to mention, it’s a cost-effective alternative that allows you to customize the consistency and color to fit your specific project.
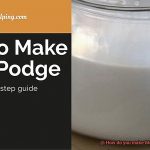
First things first, gather your ingredients: white glue, water, and a container for mixing. Now, prepare to witness the magic unfold. Pour some white glue into your chosen container – the quantity depends on how much Mod Podge you desire. As a general rule, use equal parts glue and water.
Next, add an equal amount of water to the container. This will thin out the glue, making it easier to spread. Feel free to adjust the water quantity based on your preferred consistency. If you crave a thick Mod Podge, reduce the water; for a thinner texture, add more.
Now comes the exciting part – mixing it all together. Arm yourself with a stir stick or spoon and thoroughly combine the glue and water until they form a harmonious blend. Ensure there are no lumps or clumps in the mixture; it should be smooth and ready for action.
If you’re feeling adventurous and crave a touch of pizzazz in your homemade Mod Podge, now is the time to unleash your creativity. Add a few drops of food coloring to give it a delightful tinted effect. This can be especially fun for themed projects or if you want to match your creation’s color scheme. Remember, a little goes a long way, so start with a small amount and gradually add more until you achieve the desired hue.
Once everything is mixed to perfection, your homemade Mod Podge is ready to work its magic. Equip yourself with a foam brush or paintbrush and generously apply it to your project. Don’t panic if it appears white – as it dries, a beautiful glossy finish will emerge. Be patient and allow it to dry completely before adding any additional layers or embellishments.
Now, let’s discuss storage. Your homemade Mod Podge can be stored in an airtight container for future use. Before using it again, give it a good shake or stir, as it may separate over time. And for those feeling extra adventurous, you can experiment with different additives like acrylic paint for color, clear varnish for extra shine, or glycerin for added flexibility.
Tips for Customizing Your Homemade Mod Podge
Elevate your craft projects to new heights by customizing your homemade Mod Podge. With just a few simple additions, you can add color, texture, sparkle, scent, or a specific finish to make your creations truly one-of-a-kind. In this article, we will explore five creative ways to customize your homemade Mod Podge and provide step-by-step instructions for each method.
Adding Vibrant Color:
Infuse your Mod Podge with a burst of color by incorporating acrylic paint or food coloring. Begin by adding a small amount of paint or food coloring into your homemade glue, and then gradually increase until you achieve the desired hue. Mix it well to ensure even distribution and experiment with different color combinations to create unique shades that will bring your crafts to life.
Sparkling with Glitter:
For a touch of enchantment, introduce fine glitter into your Mod Podge. Start with a modest amount and gradually increase the quantity for a dazzling effect. Choose a glitter color that complements your project or opt for contrasting shades to make a bold statement. This technique is perfect for adding glamour to gift boxes, picture frames, or any other craft that craves an extra dose of sparkle.
Texture that Stands Out:
Give your crafts a captivating textured finish by blending materials such as sand or fine-grained texture powder into your Mod Podge. This will create a gritty texture that adds depth and interest to your projects. Use this technique for beach-themed crafts or to add dimension to mixed media creations that demand attention.
Scents that Delight:
Add an element of sensory delight to your crafts by incorporating a few drops of essential oil into your Mod Podge. Ensure the oil is well mixed throughout the glue for an even distribution of fragrance. Be mindful not to add too much oil, as it can impact the consistency and drying time of your Mod Podge. Imagine the joy of creating scented bookmarks or decorative jars that not only look beautiful but also smell divine.
Choosing the Perfect Finish:
To achieve a professional and polished look, customize your homemade Mod Podge with a glossy or matte finish. Blend in a glossy sealer for a lustrous effect or opt for a matte sealer to create a more subdued appearance. Experiment with both finishes to discover which one complements your project best, and watch as your crafts transform into works of art.
Applying Your Homemade Mod Podge

I’m here to guide you through applying your homemade Mod Podge. Trust me, it’s easier than you think.
First, gather your materials: homemade Mod Podge, a foam brush or flat brush, the item you want to glue or seal, and a clean surface to work on. Protect your workspace with newspaper or a plastic sheet.
Now, let’s get started. Dip your brush into the Mod Podge, making sure it’s evenly coated but not overloaded. Start with a thin layer – you can add more later if needed.
Apply the Mod Podge in smooth strokes on your project’s surface. For paper or fabric, apply Mod Podge on both sides for a strong bond and wrinkle-free finish.
Don’t worry if it looks white or cloudy – it dries clear. For a glossy finish, use a glossy recipe or add clear acrylic sealer when dry.
Patience is key. Let each layer dry completely before adding more. Wet Mod Podge on partially dried layers can cause wrinkles or bubbles. Drying time varies, so relax and let it work its magic.
For extra durability, repeat the process: thin layer, complete drying, and another layer.
When working on larger surfaces or intricate designs, take it one small section at a time. Avoid quick drying and smooth out any imperfections before it sets.
Lastly, let your project dry completely before touching or moving it. Preserve your hard work by avoiding smudges or damage.
Voila. You’ve successfully applied your homemade Mod Podge. Admire your masterpiece and embrace the satisfaction of creating something beautiful. Remember, practice makes perfect – so experiment with different techniques and materials for desired results.
Drying Time for Homemade Mod Podge
Don’t despair. In this article, we unlock the secrets to the drying time of homemade Mod Podge. From the recipe and environmental conditions to surface characteristics, we explore the factors that influence drying time. So, let’s dive into the world of DIY crafting and discover how to achieve that perfect finish in a flash.
Factors Affecting Drying Time:
Recipe and Application Thickness:
The specific recipe used for your homemade Mod Podge can impact drying time. A mixture of white glue and water typically dries within 15-30 minutes. However, applying a thick layer will prolong the process. For a flawless result, opt for thin and even applications.
Environmental Conditions:
Humidity and temperature play significant roles in drying time. Higher humidity extends drying time, while dry and warm conditions speed it up. To ensure optimal results, choose a well-ventilated area with moderate temperature and humidity levels.
Surface Characteristics:
Different surfaces absorb moisture differently. Porous materials like wood or fabric tend to absorb Mod Podge, prolonging drying time. In contrast, non-porous surfaces like glass or plastic allow for quicker drying.
Techniques for Speeding Up Drying Time:
Gentle Heat from a Hairdryer:
If you’re in a rush, use a hairdryer on low heat to accelerate evaporation and reduce drying time. Maintain a safe distance and gentle airflow to prevent uneven drying or air bubbles.
Increased Air Circulation:
Placing your project in a well-ventilated area with a fan running aids faster drying. But be mindful not to position it too close or expose it directly to airflow, as this may lead to uneven drying or air bubbles.
Projects and Surfaces Suitable for Using Homemade Mod Podge
From decoupage art to personalized home decor, there are countless possibilities for using this adhesive. Here’s a closer look at the surfaces and projects suitable for homemade Mod Podge.
- Decoupage: One of the most popular uses for homemade Mod Podge is decoupage. This technique involves adhering paper or fabric onto surfaces like wood, glass, ceramic, and metal. The adhesive provides a strong bond and dries clear, allowing the beauty of the materials to shine through.
- Personalized photo coasters: Add a personal touch to your home decor by creating photo coasters. Use homemade Mod Podge to adhere your favorite photos onto ceramic tiles or cork coasters. This not only protects the surface but also infuses your space with sentimental value.
- Jewelry making: Homemade Mod Podge can take your jewelry-making projects to the next level. Attach decorative papers or fabrics onto metal pendant trays or wooden beads to customize your accessories and create one-of-a-kind pieces.
- Home decor: If you’re looking to spruce up your home decor, homemade Mod Podge can be a game-changer. Transform plain lampshades by adhering fabric onto them, giving them a fresh new look. Jazz up glass vases or candle holders with tissue paper or napkins, adding color and pattern to your space.
- Upcycling furniture: Homemade Mod Podge is perfect for upcycling furniture. Use it to attach decorative paper or fabric onto dressers, tables, or cabinets, giving them a unique and personalized touch that will surely impress.
- Kid-friendly crafts: Homemade Mod Podge is safe and non-toxic, making it ideal for crafting with kids. From collages and paper mache to creating homemade slime, there are endless possibilities for using homemade Mod Podge in kid-friendly projects.
It’s important to note that while homemade Mod Podge works well on various surfaces, it may not be as durable as commercial Mod Podge. If you’re working on a project that will be exposed to heavy wear and tear, it’s recommended to use commercial Mod Podge for a long-lasting finish.
How to Store Unused Homemade Mod Podge
If so, you might be wondering about the best way to store any leftover glue for future creative adventures. Well, fret no more. In this blog post, we’ll reveal the secrets to keeping your homemade Mod Podge fresh and ready to use whenever inspiration strikes.
Choose the Perfect Container:
To store your unused homemade Mod Podge, seek out a small glass jar or plastic container with a tight-fitting lid. Mason jars make an excellent choice. Ensure that the jar is clean and prepared to safeguard your glue.
Strain Out Imperfections:
Before pouring your homemade Mod Podge into the jar, strain it through a sieve or cheesecloth to eliminate any lumps or impurities. This crucial step guarantees that your glue will possess a velvety texture when using it later.
Fill the Jar with Care:
Once strained, pour your homemade Mod Podge carefully into the clean jar, leaving some headspace at the top. This extra room accounts for any residual moisture in the mixture and prevents messy spills.
Label and Date Your Jar:
Don’t forget to label your jar with the date of creation and the type of Mod Podge it contains. This way, you’ll always know how long it has been stored and which variant you’ve made.
Find an Ideal Storage Spot:
Store your jar of homemade Mod Podge in a cool, dry place away from sunlight or extreme temperatures. A craft storage area or pantry provides the perfect sanctuary for keeping your glue safe and ready for action.
Revive Your Glue:
When you’re ready to use your stored homemade Mod Podge, give it a gentle stir with a clean stick to mix any separated ingredients. If it’s too thick, add a few drops of water at a time and mix well until it reaches the desired consistency.
v1LVCKmMFDs” >
Conclusion
Creating your own homemade Mod Podge is a fun and cost-effective way to enhance your crafting projects. By making it yourself, you have control over the ingredients and can customize it to suit your needs. Plus, it’s incredibly easy to make. All you need are a few simple materials that you probably already have at home. With just some white glue, water, and a container to mix them in, you’ll be on your way to creating your own Mod Podge in no time.
To start, pour some white glue into your container. The amount will depend on how much Mod Podge you want to make, but a good rule of thumb is equal parts glue and water. Next, add an equal amount of water to the glue and stir well until they are thoroughly combined. You want the mixture to have a smooth consistency, similar to that of traditional Mod Podge.
Now comes the fun part – customizing your homemade Mod Podge. If you want a glossy finish like the store-bought version, add a small amount of varnish or clear acrylic sealer to the mixture and stir well. This will give your projects a professional-looking shine. Alternatively, if you prefer a matte finish, simply skip this step.
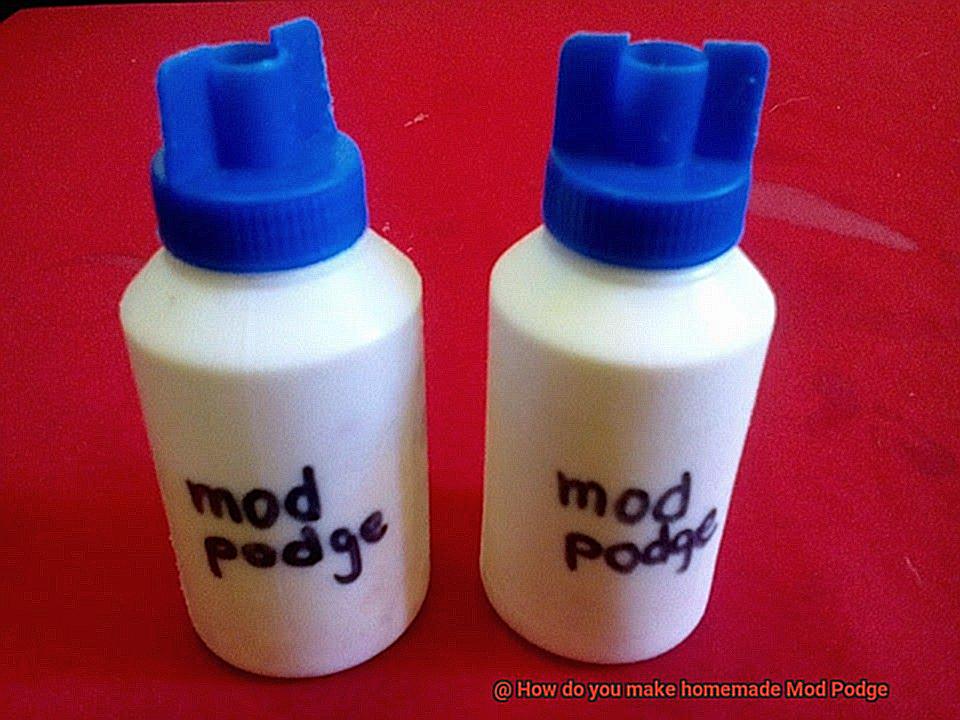
Once everything is mixed together and customized to your liking, transfer your homemade Mod Podge into an airtight container for storage. Mason jars or empty squeeze bottles work great for this purpose. Make sure to label it so you know what’s inside.
Now that you have your very own homemade Mod Podge ready to go, let your creativity run wild. Use it as an adhesive for paper crafts, as a sealant for decoupage projects, or even as a protective coating for artwork. The possibilities are endless.
In conclusion, making homemade Mod Podge is not only easy but also allows you to personalize the formula according to your preferences. It’s an affordable alternative that doesn’t compromise on quality. So why not give it a try and see how this DIY version of Mod Podge can elevate your crafting game?