Tired of breaking the bank on store-bought glue and sealant? Say no more. Making your own glue sealant at home is not only cost-effective but also a piece of cake. Plus, it’s eco-friendly since you can use recycled materials.
We’ve all been there – you’re putting the finishing touches on your project when you realize that you’re missing one critical piece: the sealant. The frustration is real, but don’t worry – homemade sealant is here to save the day.
In this post, we’ll guide you through the process of making glue sealant at home, providing all the necessary information and a step-by-step guide to get started. No more running out of sealant or spending heaps of cash on products with unpronounceable chemicals.
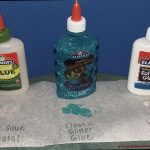
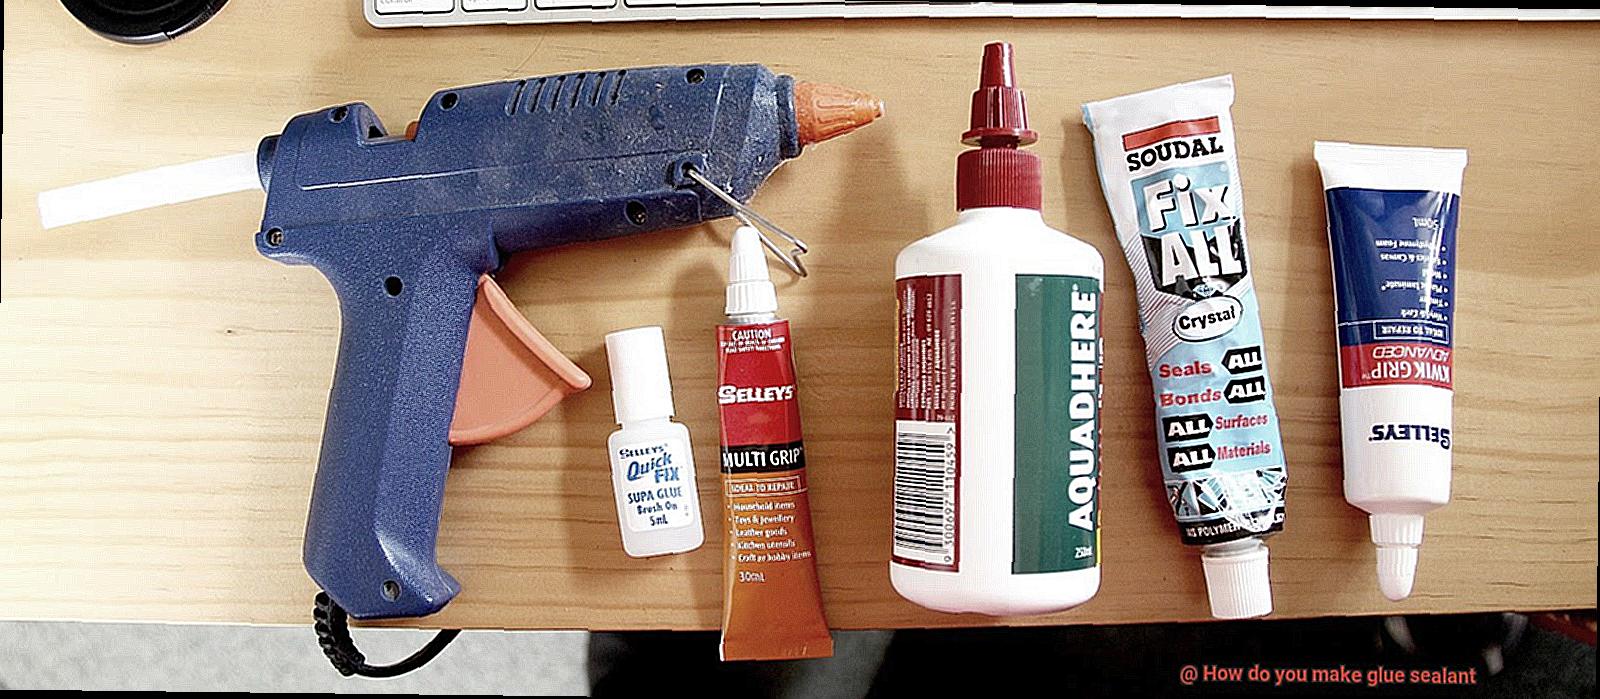
So, what do you need to make your own glue sealant? Just some basic ingredients like white glue, water, and household items such as baking soda and vinegar. With these simple ingredients, you can create your very own DIY sealant in no time.
Making your own sealant is an enjoyable and straightforward DIY project that you can do with anyone – from kids to friends or family members. So let’s get started and make all your DIY projects a smashing success with your homemade glue sealant.
What is Glue Sealant?
Contents
- 1 What is Glue Sealant?
- 2 Types of Glue Sealants
- 3 Common Ingredients Used in Making Glue Sealant
- 4 Method 1: Mixing Polymer and Crosslinking Agent
- 5 Step-by-Step Guide to Making Glue Sealant Using Method 1
- 6 Method 2: Using Silicone Caulk or Sealant
- 7 Step-by-Step Guide to Making Glue Sealant Using Method 2
- 8 Advantages of Making Your Own Glue Sealant
- 9 Conclusion
Glue sealant is a must-have adhesive that is used to bind and create an airtight, waterproof seal between surfaces. Whether it’s for construction, automotive repair or household use, glue sealants are versatile enough to be used in a wide range of applications.
There are various types of glue sealants available, each with their unique properties and characteristics. Silicone sealant, for instance, is a popular type of glue sealant that is commonly used in construction and automotive repair due to its ability to withstand extreme temperatures and weather conditions.
On the other hand, epoxy adhesive is a two-part compound that consists of a resin and hardener mixed together before application. Once applied, it cures over time to create a strong and permanent bond.
When selecting the perfect glue sealant for any project, it’s crucial to consider the specific application and desired properties of the final product. Some glue sealants are designed to be flexible and durable while others are more rigid and strong. Certain types of glue sealants are resistant to heat or chemicals, making them ideal for use in harsh environments.
Furthermore, the manufacturing process of glue sealant varies depending on the required properties. One method involves mixing water-soluble polymers such as polyvinyl acetate (PVA) with water and crosslinking agents like borax or citric acid.
The mixture is then heated to activate the polymer and create a gel-like consistency that can be customized with additional additives such as preservatives, thickeners, or colorants.
Types of Glue Sealants
Glue sealants play a crucial role in bonding and sealing materials together. With various types of glue sealants available, it’s essential to know their unique properties and uses to select the right one for your project.
Here are some types of glue sealants and their specific characteristics:
Silicone Sealant
Made from silicone, this type of glue sealant is waterproof and flexible, making it perfect for sealing gaps and joints in materials like glass, metal, and plastic. It is ideal for outdoor use as it can withstand harsh environmental conditions.
Polyurethane Sealant
Known for its strong bonding properties, polyurethane sealant is commonly used in construction for sealing gaps and joints in concrete and masonry structures. It also offers excellent resistance to weathering and chemicals.
Butyl Sealant
This rubber-like material is perfect for automotive applications, such as sealing windshield and rear window glass. Butyl sealant has excellent adhesive properties that create a strong bond between surfaces.
Acrylic Sealant
Water-based acrylic sealant is easy to apply and dries quickly, making it ideal for sealing gaps and joints in walls and ceilings. It is also paintable once dry, adding versatility to its usage.
Epoxy Sealant
Epoxy sealant is a two-part adhesive consisting of a resin and hardener that creates a strong bond between surfaces. It is perfect for bonding materials such as metal, plastic, wood, and ceramic, making it ideal for industrial applications.
When selecting a glue sealant, consider the materials you will be working with, the application method, and environmental conditions the sealant will be exposed to. By choosing the right type of glue sealant for your project needs, you can ensure a durable bond that will last for years to come.
Common Ingredients Used in Making Glue Sealant
Glue sealant is the unsung hero of construction projects. It binds and seals materials to withstand the test of time and environmental conditions. But have you ever wondered what goes into making this essential adhesive? Let’s take a closer look at the common ingredients used in creating glue sealant.
Polyvinyl acetate (PVA) is a synthetic polymer that is water-soluble and possesses excellent adhesive properties. It is a crucial ingredient in white glue, wood glue, and other water-based adhesives. PVA ensures that woodworking projects stay together for a lifetime.
Cyanoacrylate, also known as superglue, is another common ingredient in glue sealants. It dries quickly and bonds parts together strongly. Cyanoacrylate is perfect for those times when you need something fixed ASAP.
Epoxy resin is a two-component adhesive that consists of a resin and a hardener. When mixed together, they create a chemical reaction that results in a robust bond. Epoxy resin is ideal for bonding metal, plastic, and glass.
Rubber, silicone, and acrylic are other common ingredients used in making glue sealant. Rubber-based adhesives are flexible and can withstand vibrations and movements. Silicone-based adhesives are resistant to water and moisture and are perfect for sealing or bonding materials exposed to these conditions. Acrylic-based adhesives have strong bonding properties and are ideal for bonding metal, plastic, and wood.
Method 1: Mixing Polymer and Crosslinking Agent
If you’ve ever wondered how glue sealants are made, let me introduce you to a common method used in the industry – mixing polymer and crosslinking agent. As an expert in this field, I can tell you that this method is widely utilized for creating various types of adhesives, including silicone sealants and epoxy adhesives.
Polymers are long chains of molecules that possess adhesive properties, while crosslinking agents help link these chains together to create a strong and durable bond. By mixing the right amount of polymer and crosslinking agent together, we can create glue sealants that can withstand environmental conditions and the test of time.
One of the advantages of this method is its high degree of customization. Manufacturers can adjust the ratio of polymer to crosslinking agent to create adhesives with different properties. For example, increasing the ratio of crosslinking agent to polymer results in faster drying times and increased strength.
However, it’s important to note that this method requires specialized equipment and expertise. DIY projects or inexperienced users should avoid using this method as it can be complex.
To make glue sealant using this method, the mixture is heated or cooled to a specific temperature depending on the type of adhesive being made. Once it has reached the desired temperature, it is applied to the surface that needs bonding. The adhesive will then dry and harden over time, creating a strong and durable bond between the two surfaces.
Step-by-Step Guide to Making Glue Sealant Using Method 1
This easy-to-follow guide will walk you through each step of the process, so you can create a strong and durable bond for all your DIY projects.
First things first, gather your supplies. You’ll need white school glue, water, vinegar, and a mixing bowl. Remember to mix the glue and water in a 2:1 ratio. For every 2 parts of glue, you’ll need 1 part water. This ensures the perfect consistency for your sealant.
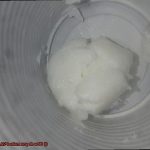
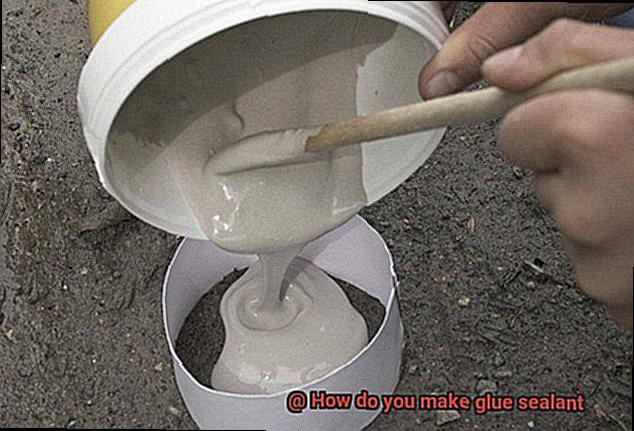
Once you have your supplies ready, it’s time to mix the glue and water together. Combine them in a bowl until they are well-combined and smooth in texture. Take your time with this step to ensure the best results.
Now it’s time to add the secret ingredient – vinegar. Adding just a small amount of vinegar to the mixture prevents mold from growing on your sealant and increases its bonding strength. Just add about 1 teaspoon of vinegar for every cup of glue mixture and mix it in until fully incorporated.
After adding the vinegar, let the mixture sit for about 5 minutes. This allows any air bubbles in the mixture to rise to the surface and pop, ensuring a smooth and even application.
Your glue sealant is now ready for use. Apply it with a brush or spatula onto any surface you want to seal or bond. For best results, let it dry completely before using the sealed item or applying any additional layers.
Method 2: Using Silicone Caulk or Sealant
When it comes to sealing windows, doors, or other gaps, silicone caulk or sealant is a popular adhesive that can provide a flexible, waterproof, and durable solution. And the best part? With just a few simple steps and some basic materials, you can make your own glue sealant using silicone caulk or sealant.
To get started, make sure to prepare the surface by cleaning it thoroughly with a clean cloth or sponge. Remove any dirt, dust, or debris, and ensure that the surface is dry and free from moisture.
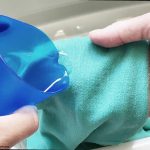
Next, load up your caulking gun with the silicone caulk or sealant. Cut off the tip of the cartridge at a 45-degree angle using a utility knife to ensure a smooth application. Now it’s time to apply the silicone onto the surface. Use steady and even pressure to apply the silicone in a continuous bead.
To ensure that you’ve covered all areas of the surface, you can use your finger or a tool to smooth out any bumps or uneven areas. This will help to create a strong and waterproof bond that can withstand extreme weather conditions.
Once you’ve applied the silicone caulk or sealant, allow it to dry for at least 24 hours before using it. The drying time may vary depending on the temperature and humidity of your environment. But be patient – once it’s dry, you’ll have a long-lasting bond that can tackle any sealing or bonding project with confidence.
Step-by-Step Guide to Making Glue Sealant Using Method 2
This modern approach to making glue sealant is simple, cost-effective, and can be easily made from household materials. Here’s a step-by-step guide to help you create your own reliable and versatile adhesive.
- Step 1: First things first, gather all the necessary materials. You will need white glue, water, a container for mixing, and a stirring utensil.
- Step 2: Mix the glue and water. Take the white glue and pour it into the mixing container. Gradually add water while stirring continuously to ensure an even consistency. The ratio of glue to water can vary depending on your desired consistency, but a common ratio is three parts glue to one part water.
- Step 3: Achieve the desired consistency. If the mixture is too thick, add more water; if it is too thin, add more glue- but be mindful not to add too much water as it can weaken the adhesive strength of the sealant.
- Step 4: Add optional ingredients. To enhance the properties of your sealant, you can add optional ingredients such as food coloring for better visibility or baking soda for greater durability.
- Step 5: Store and use. When you’ve achieved your desired consistency and added any optional ingredients, transfer the mixture into a clean container with a tight lid and store in a cool, dry place. To use the sealant, apply it onto the surface you want to bond or seal using a brush or applicator. Wait for it to dry completely before handling or exposing it to moisture.
Advantages of Making Your Own Glue Sealant
The solution is right at your fingertips. Making your own glue sealant has a plethora of advantages that make it an excellent choice for DIY enthusiasts and budget-conscious individuals.
Firstly, when you make your own glue sealant, you have complete control over the recipe. You can tailor the consistency, strength, and color to meet your specific needs. Additionally, you can add optional ingredients such as essential oils or glitter to create a personalized touch.
Secondly, making your own glue sealant is a cost-effective alternative. Store-bought versions can be expensive, and frequent use of them may quickly add up over time. However, by making your glue sealant, you’ll save money in the long run and have control over the quantity produced.
Thirdly, homemade glue sealant is an environmentally friendly option. Many store-bought sealants contain harmful chemicals that are detrimental to both the environment and human health. By creating your own formula, you can ensure that it’s free from toxic chemicals and safe to use.
Finally, making your own glue sealant is a fun and rewarding DIY project. It’s an opportunity to harness your creativity and experiment with different ingredients and techniques until you find the perfect formula for your needs. Plus, there’s no feeling quite like knowing that you made something useful with your own hands.
Also Read: Can you use Elmer’s glue as a sealant?
Conclusion
In summary, creating your own glue sealant is an economical and straightforward alternative to purchasing store-bought products. All you need are a few fundamental ingredients like white glue, water, and everyday household items such as baking soda and vinegar to make your very own DIY sealant in no time. Moreover, homemade sealants are environmentally friendly since they can be made with recycled materials.
It’s important to note that there are numerous types of glue sealants available, each with their unique properties and characteristics. Therefore, when selecting the perfect glue sealant for any project, it’s crucial to consider the specific application and desired properties of the final product.
The manufacturing process of glue sealant varies depending on the required properties. One method involves mixing water-soluble polymers such as polyvinyl acetate (PVA) with water and crosslinking agents like borax or citric acid. The mixture is then heated to activate the polymer and create a gel-like consistency that can be customized with additional additives such as preservatives, thickeners, or colorants.
Making your own glue sealant has several advantages such as complete control over the recipe, cost-effectiveness, environmental friendliness, and being a fun DIY project.