Granite, a timeless beauty known for its durability, remains a top choice for countertops, tables, and woodworking projects. But what if you find yourself with two separate pieces of granite that need to be joined together? Don’t worry. In this blog post, I’ll walk you through the process of seamlessly joining two pieces of granite. Get ready to create a sturdy and visually stunning result.
How do you join two pieces of granite together?
Contents
Step 1: Measure and Prepare
First things first – make sure those two granite pieces fit together like puzzle pieces. Measure twice to avoid any mishaps. Once you have the right measurements down pat, give both surfaces a thorough cleaning to remove dirt and debris.
Step 2: Cutting and Shaping
Now it’s time to break out the diamond blade circular saw. Make precise cuts along the intended seams of both granite pieces. Keep your hand steady for clean lines and minimal errors. If needed, use the 5-inch grinder to smooth out any rough spots or shape the edges.
Step 3: Dry Fitting and Checking Alignment
Put those two granite pieces together without adhesive just yet. This dry fit allows you to check for gaps or misalignments that could ruin your masterpiece. Use the grinder again if adjustments are necessary until everything fits snugly.
Step 4: Applying Adhesive
Once you’re satisfied with the dry fit test, grab that marble adhesive according to the manufacturer’s instructions. Mix it up and apply it generously on both cut edges. Slide those two granite pieces into place, making sure they align perfectly. Be quick to wipe away any excess adhesive with a damp cloth before it dries.
Step 5: Reinforcement and Stabilization
To ensure a rock-solid bond, use clamps or a brace (if you have one) to hold the two granite pieces together. Let the adhesive cure for the recommended time without putting too much pressure on the joint.
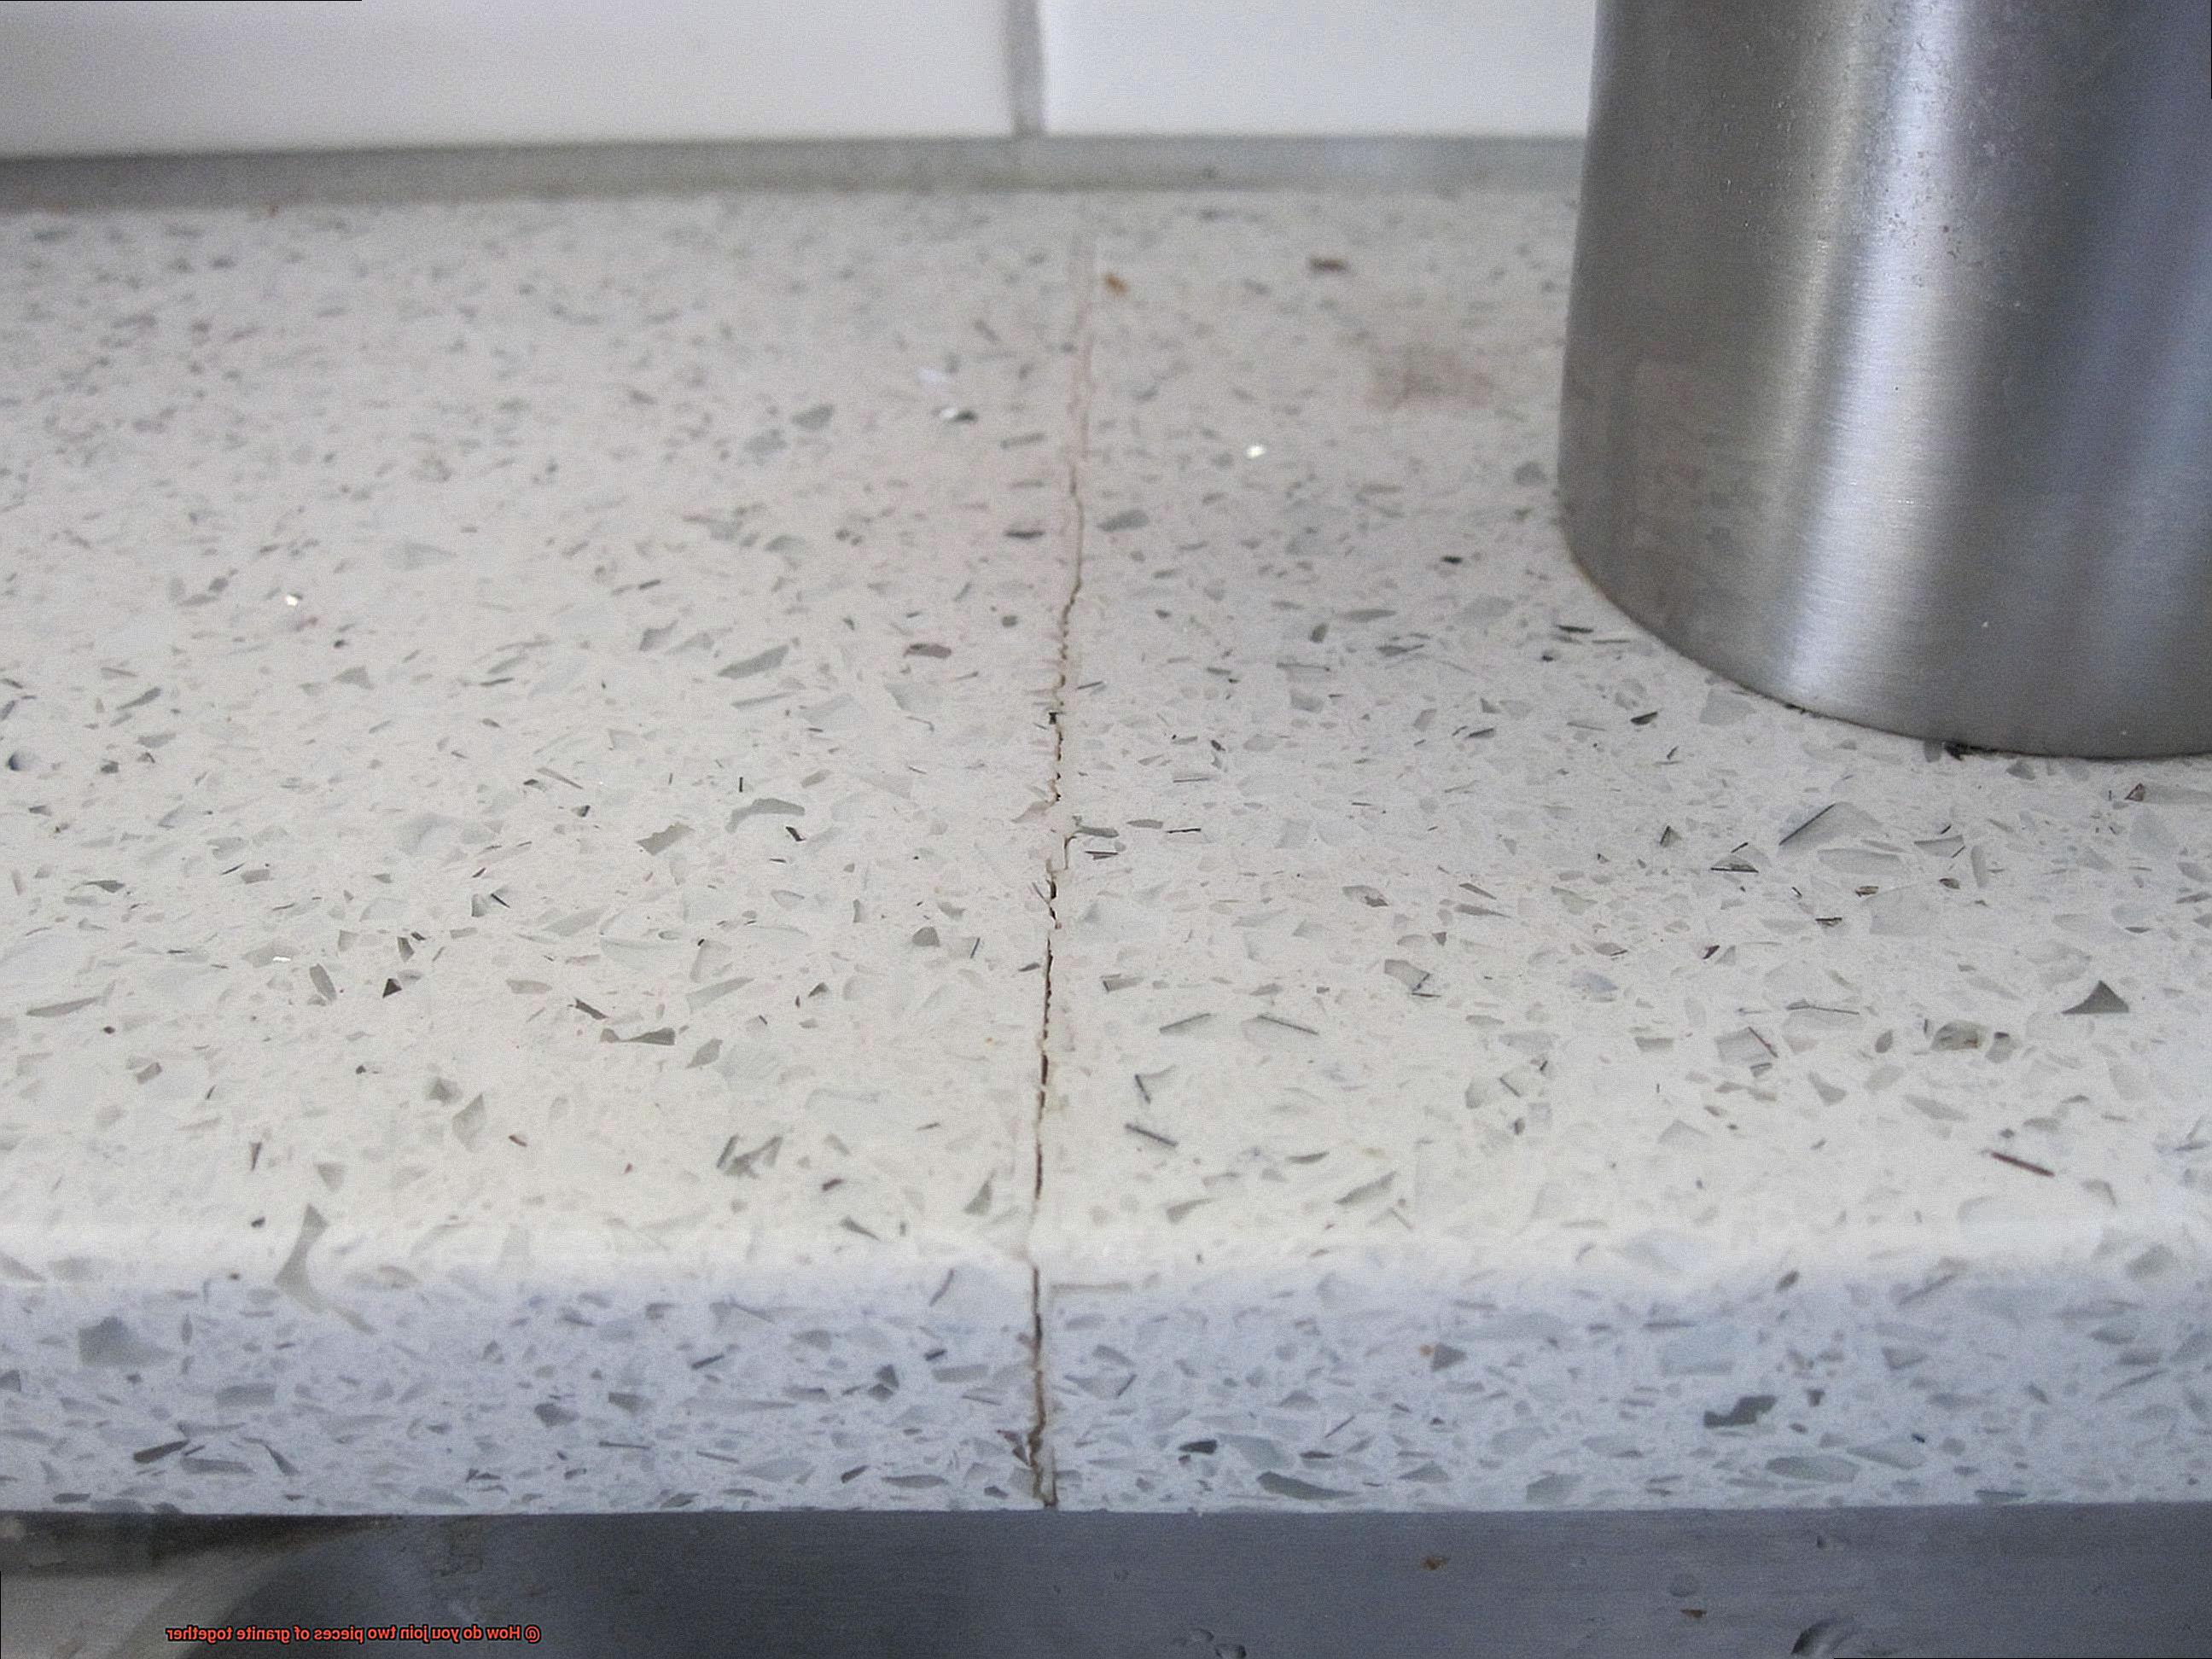
Step 6: Polishing and Blending
When the adhesive has fully cured, release those clamps and give the joint a thorough inspection. Any imperfections can
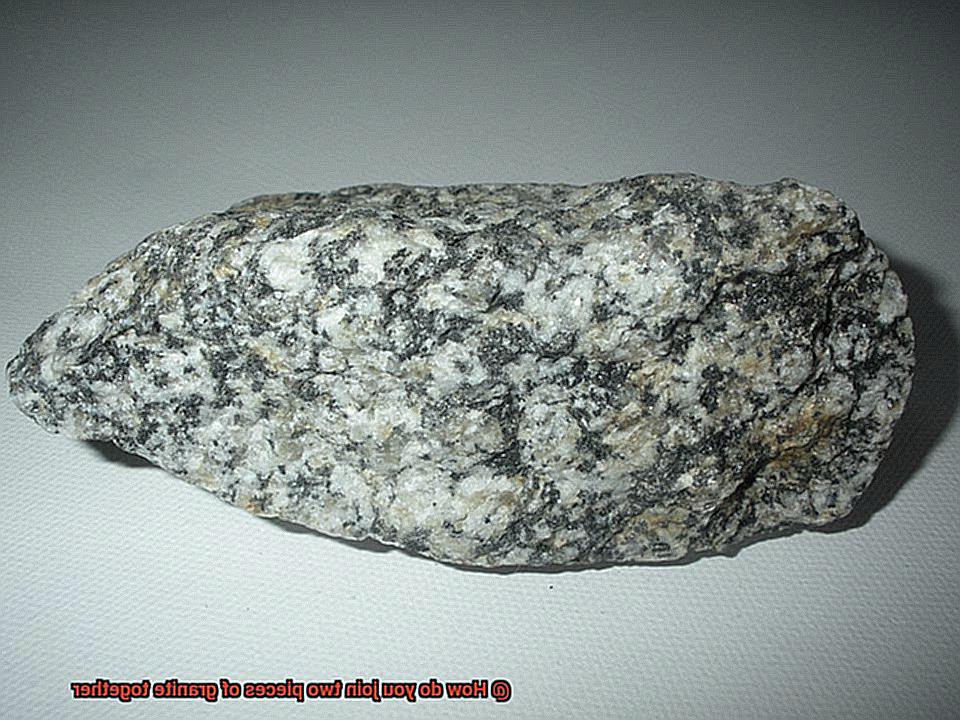
What is Granite?
When it comes to natural stone, few materials can rival the captivating allure of granite. This extraordinary rock, born deep within the Earth’s crust, possesses a mesmerizing blend of strength, durability, and alluring beauty. Let us delve into the captivating world of granite and unveil the secrets that make it such a sought-after material.
Let us begin by exploring how granite is formed. As molten magma coolly meanders beneath the Earth’s surface, it undergoes a wondrous metamorphosis, transforming into a solid rock known as granite. Composed primarily of quartz and feldspar, with traces of other minerals like mica and pyroxenes, granite emerges as an extraordinary masterpiece crafted by nature’s ingenuity.
One of the most remarkable facets of granite lies in its astonishing spectrum of colors and patterns. From the timeless elegance of black and white speckles to the hypnotic swirls of vibrant hues, each slab of granite is a unique work of art. Whether you yearn for classic sophistication or exotic vibrancy, granite offers an eclectic array of choices to satiate your aesthetic cravings.
However, granite’s allure extends beyond its aesthetic appeal; it also boasts remarkable practicality and durability. Thanks to its exceptional strength and resistance to wear and tear, granite finds itself commonly employed in countertops, flooring, and even monumental structures. Its hardness and heat resistance render it ideal for high-traffic areas such as kitchens and bathrooms, where it can effortlessly withstand the rigors of daily use.
In addition to its durability, granite also possesses exceptional structural properties. Its density and strength enable it to bear tremendous pressure and weight without succumbing to cracks or fractures. This makes it an excellent choice for construction purposes such as building facades, bridges, and pavements.
Another noteworthy characteristic of granite lies in its low porosity. Unlike some other natural stones, granite does not readily absorb liquids. This renders it highly resistant to staining and water damage, making it a perfect choice for kitchen countertops where spills are commonplace. Nevertheless, it is important to note that granite is not entirely impervious to staining, and prompt cleanup of spills is advisable to avoid potential discoloration.
Preparing the Granite Pieces
Granite, with its captivating beauty and impressive durability, is a popular choice for various applications. Whether you’re crafting a countertop or creating a stunning piece of artwork, properly preparing the granite pieces is crucial to achieving a seamless and long-lasting joint.
In this article, we will delve into the step-by-step process of preparing granite pieces for joining using glue as the adhesive.
Step 1: Thoroughly Clean the Granite Pieces
Begin by banishing any dust, dirt, or debris from the surfaces. For a thorough clean, create a gentle solution using mild detergent and water. Ensure to rinse off any soap residue and patiently wait until the pieces are completely dry before moving forward.
Step 2: Level the Surfaces
Uneven surfaces can disrupt alignment and create unsightly gaps in the joint. To ensure a flawless connection, employ a straight edge or a level to scrutinize different areas of the granite. Eliminate any discrepancies by skillfully smoothing down high spots using sandpaper or a grinder, until the surfaces are impeccably even.
Step 3: Roughen the Surfaces
Enhancing surface area for optimal adhesive bonding is achieved through roughening the granite surfaces. Popular methods include sandblasting, sanding, or employing a wire brush. Sandblasting propels abrasive material against the granite at high speed, creating an enticingly rough texture.
Using coarse grit sandpaper manually roughens the surface through circular motions, while employing a wire brush vigorously brushes it against the granite, yielding an even rougher texture.
Step 4: Shape the Edges
Superbly shaped edges are essential for achieving a tight and seamless joint. Utilize a router or a grinder with a diamond blade to expertly shape the edges. Exercise caution to maintain straightness and smoothness throughout.
Choosing the Right Adhesive
Selecting the perfect adhesive for your granite project is the key to taking it to the next level. Whether you’re creating a stunning countertop or a durable flooring, the adhesive you choose can make or break the success of your endeavor. But fear not, we’re here to guide you through the process and ensure a flawless finish.
First and foremost, let’s talk about the type of granite you’re working with. Each type of granite has its own unique properties and compositions, so it’s crucial to choose an adhesive that is compatible with your specific type. This will guarantee a strong and secure bond that withstands the test of time.
Next, consider the intended use of the joined granite pieces. If you’re creating a countertop or flooring that will endure heavy loads or constant moisture exposure, opt for a strong and waterproof adhesive. Look for adhesives specifically designed for these demanding applications.
Now, let’s discuss aesthetics. The color and visibility of the adhesive can greatly impact the overall look of your project. Some adhesives dry to a clear or translucent finish, blending seamlessly with the granite. Others may dry to a more noticeable color, adding an artistic touch. Consider how visible you want the adhesive to be in the finished project and choose accordingly.
Temperature and climate conditions should also be taken into account. Certain adhesives may not perform well in extreme temperatures or high humidity environments. Ensure that you select an adhesive that can withstand the specific conditions of your installation area.
Ease of application and curing time are equally important factors. Some adhesives may require specialized equipment or longer curing times, which can affect your project timeline. If you’re working on a tight schedule, look for adhesives that offer quick and easy application.
Lastly, don’t hesitate to seek professional advice. Consulting with an expert in granite installation can provide invaluable insights and guidance based on their experience and knowledge. They can help you navigate through the various adhesive options and choose the best one for your specific project.
Mixing the Adhesive
You’ve got two magnificent pieces of granite, and you’re ready to transform them into a stunning countertop or flooring. But how do you ensure a bond that is not only strong but also lasting? The answer lies in the adhesive. In this comprehensive guide, we will walk you through the process of mixing and applying adhesive when joining two pieces of granite together.
Step 1: Prepare the Surface
Before delving into the adhesive mixing process, it is crucial to prepare the surface of the granite pieces. Imagine a pristine canvas awaiting your artistic touch. Ensure that the surfaces are clean and free from any dirt, dust, or debris. You can wipe the surfaces with a clean cloth or use a mild detergent solution to achieve a thorough cleaning.
Step 2: Gather Your Materials
For joining granite, epoxy resin reigns supreme as the adhesive of choice. Epoxy resins are renowned for their formidable bonding properties, making them an ideal candidate for granite. Make sure you have both the resin and hardener components at hand. These components are usually supplied separately to preserve their potency.
Step 3: Mix in the Correct Ratio
Now comes the delicate dance of proportions. Follow the manufacturer’s instructions meticulously to determine the correct mixing ratio of resin and hardener. Typically, equal parts of resin and hardener are combined, but remember that this can vary depending on the specific product. Carefully pour equal amounts of resin and hardener into a clean mixing container, creating a symphony of chemistry.
Step 4: Thoroughly Mix the Components
With your ingredients assembled, it’s time to blend them harmoniously. Use a stir stick or attach a mixing paddle to a drill for an effortless fusion. As you mix, imagine swirling galaxies intertwining in a cosmic ballet. It is essential to ensure that there are no streaks or unmixed portions in the mixture, as a seamless bond requires a flawless concoction.
Step 5: Apply the Adhesive
With your adhesive now a masterpiece of integration, it’s time to apply it to one of the surfaces awaiting union. Like an artist wielding a brush, use a putty knife or a trowel to spread an even layer of adhesive onto the surface. Be sure to cover the entire area that will come into contact with the other piece of granite, leaving no stone unturned.
Step 6: Join the Granite Pieces
The moment of truth has arrived. With precision and care, align and press the two pieces of granite together, as if guiding long-lost lovers into an embrace. Apply even pressure to ensure proper contact between the surfaces and to squeeze out any excess adhesive, forging a connection that will withstand the test of time.
Applying the Adhesive
Applying adhesive when joining two pieces of granite together is a captivating process that requires precision and careful attention to detail. The adhesive of choice for this cosmic endeavor is epoxy resin, a robust and durable substance commonly used in construction and fabrication projects. Its ability to create a firm bond between two pieces of granite is truly out of this world.
Before we can embark on our adhesive application journey, we must ensure that our surfaces are ready for this celestial connection. Cleaning and preparing the granite pieces is crucial for achieving a strong bond. Grab your trusty cleaning supplies and remove any dust, dirt, or debris from the surfaces. We want those granite pieces to shine like celestial bodies in the vast expanse of space.
Now that our surfaces are pristine, it’s time to mix up our adhesive concoction. Following the manufacturer’s instructions precisely, we must achieve the perfect ratio of resin and hardener. This ratio determines the strength and curing time of the adhesive, so precision is key in this cosmic bonding equation.
With our adhesive mixed and ready for action, it’s time to apply it to our prepared surfaces. Like an artist layering colors on a canvas, we carefully spread the adhesive onto the granite pieces using a notched trowel or brush. Every stroke counts as we strive for an even application, ensuring a bond that will last for eons.
Now comes the crucial moment – aligning and pressing the two pieces of granite together. With patience and finesse, we carefully bring the two pieces into alignment, making sure there are no gaps or unevenness between them. We want this bond to be seamless, like two celestial bodies orbiting harmoniously in space.
To aid in the curing process and hold our granite pieces together, we can enlist the help of clamps or weights. These cosmic assistants will provide the necessary pressure while the adhesive works its magic. However, caution must be exercised not to apply too much force and damage the delicate surfaces.
The curing time for our adhesive will depend on various factors such as temperature and humidity. This is where patience truly becomes a virtue. We must follow the manufacturer’s instructions regarding the curing time before removing any clamps or weights. Just as the gravitational pull of a black hole is unwavering, we want our bond to be equally strong.
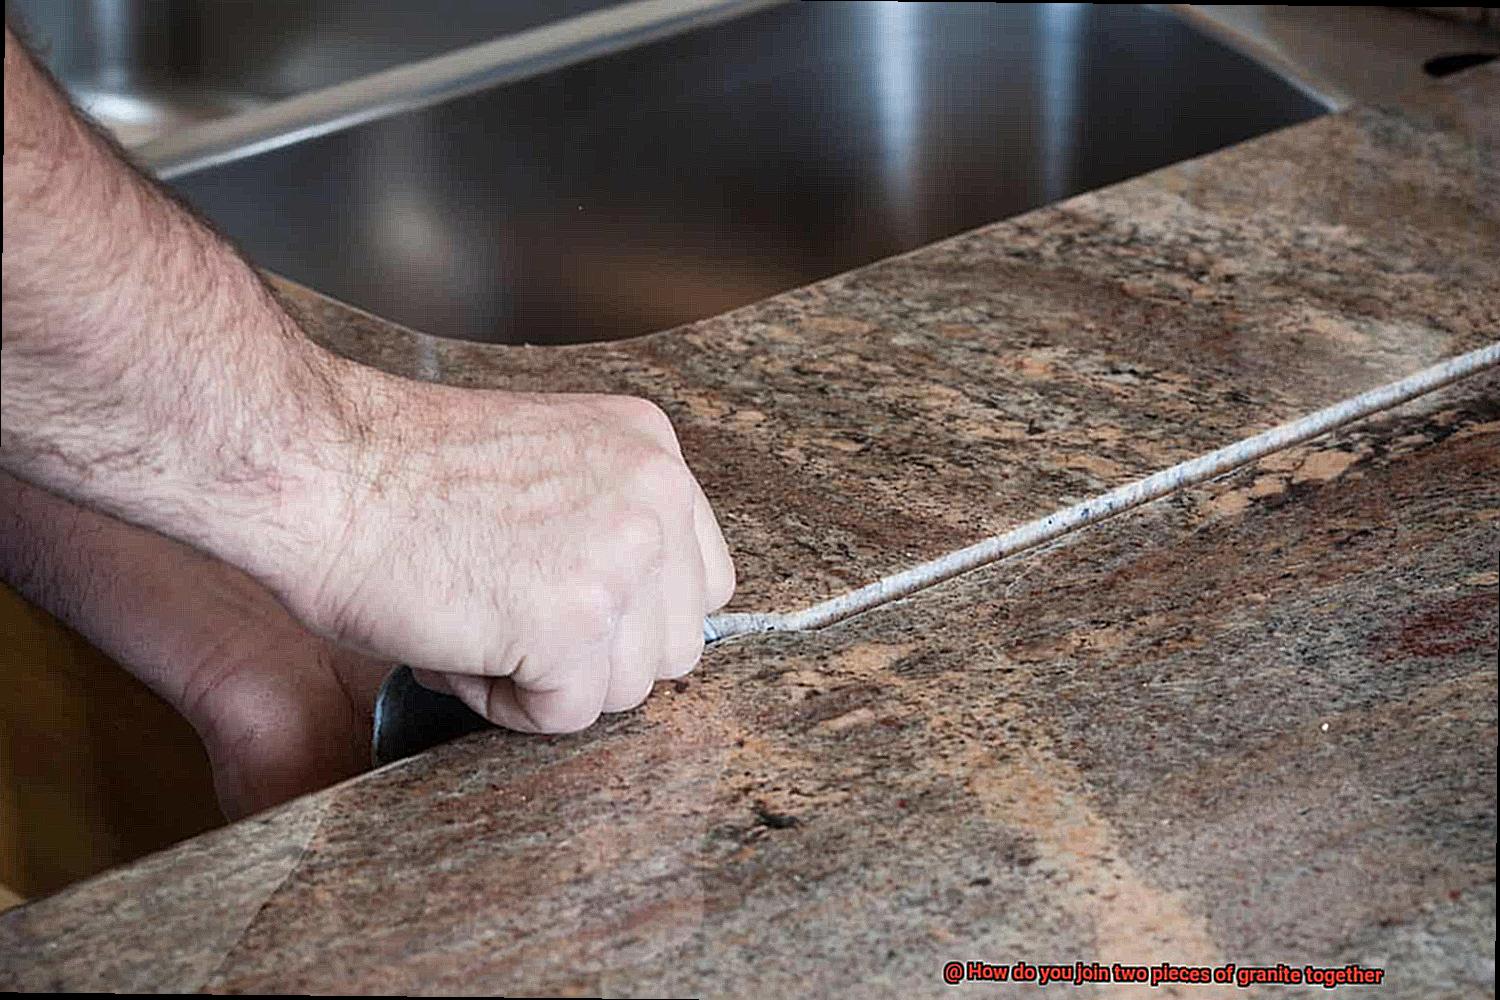
Once the adhesive has fully cured, it’s time to remove any excess. With the grace of an astronaut floating in space, we use a razor blade or putty knife to carefully scrape away the excess adhesive. Gentle precision is crucial here as we don’t want to leave any scars on our magnificent granite surfaces.
Now, my fellow cosmic enthusiasts, comes the hard part – waiting. We must allow our joined granite pieces to cure for at least 24 hours before subjecting them to any stress or load. This period ensures that the adhesive reaches its maximum strength, guaranteeing a bond that will withstand the test of time.
Joining the Granite Pieces Together
The beauty and durability of granite make it a popular choice for countertops, flooring, and other surfaces. But how do you join two pieces of granite together to create a seamless and strong bond? Fear not, fellow cosmic enthusiasts. In this guide, we will explore the fascinating world of gluing granite using epoxy resin.
Preparation is key in any cosmic endeavor, and joining granite pieces is no exception. Begin by thoroughly cleaning the surfaces of the granite pieces, ensuring they are free from dirt, dust, or debris that could interfere with the bonding process. Take care to dry the surfaces completely before proceeding further.
Now it’s time to mix the epoxy resin, specially formulated for bonding natural stone materials like granite. Follow the manufacturer’s instructions to combine the resin and hardener components in the correct proportions for optimal bonding strength.
Next, apply a thin and even layer of the mixed epoxy resin to both surfaces of the granite pieces being joined together. Use a trusty putty knife or a similar tool to ensure a uniform bond that can withstand cosmic forces.
With anticipation building, carefully press the two granite pieces together, aligning them for a seamless joint. As you press them together, excess epoxy resin may squeeze out from the joint – simply wipe away this cosmic residue with a clean cloth or paper towel.
To ensure an unyielding bond, consider using clamps or heavy objects to hold the two granite pieces together while the epoxy resin cures. Consult your chosen adhesive’s manufacturer instructions for guidance on drying time, as it may vary.
Once the epoxy resin has fully cured, trim or sand down any excess resin to achieve a smooth and seamless joint. Be cautious during this process to avoid scratching or damaging the granite surfaces – we want our cosmic creation to shine brightly.
While epoxy resin is a popular choice for gluing granite, other methods exist as well. Some space explorers of the granite realm may choose polyester resin or stone adhesive, depending on their project’s specific requirements. The choice is yours, fellow cosmic adventurer.
Curing and Drying Time
In this article, we will explore the cosmic connection between curing and drying time when using adhesive to join granite. So, sit back, relax, and let’s embark on a journey into the realm of glue and its celestial applications.
The Chemistry Behind the Bond:
When it comes to granite joinery, selecting the right adhesive is paramount. Epoxy-based adhesives are favored due to their exceptional bonding properties. During the curing process, these adhesives undergo a chemical metamorphosis, transitioning from a liquid state to a solid state. This reaction forms an unyielding bond between the granite pieces, akin to stars aligning in the cosmic sky.
Patience is Key:
Curing time varies based on factors such as temperature and humidity. It is imperative to adhere to the manufacturer’s instructions regarding recommended curing times. Succumbing to impatience can lead to a feeble bond that may ultimately falter. So, resist the temptation to hasten the process and grant your cosmic creation the time it needs to reach its full potential.
The Art of Drying:
Once the curing process is complete, your adhesive enters the drying phase. During this interstellar period, excess moisture in the adhesive evaporates, leaving behind a solid and unwavering bond. Again, drying time is influenced by factors such as temperature, humidity, and adhesive thickness. Patience is paramount; allow your masterpiece to bask in the cosmic currents until it is fully dry.
Supporting Your Celestial Creation:
While your adhesive cures and dries, providing proper support and protection for your joined granite pieces is crucial. Employ clamps or other supporting mechanisms to hold everything in place until the adhesive has fully cured and dried. This additional step ensures that your bond remains steadfast and secure, like planets held in orbit by the gravitational force.
Removing Excess Glue
Let’s dive into the world of adhesive removal and explore how to tackle this common challenge.
Allow the Glue to Set:
Just like stars aligning in the night sky, give your adhesive enough time to dry completely before attempting to remove excess glue. This will make it easier to peel off or scrape away without spreading or smearing the glue further.
Gently Lift and Scrape:
To remove dried excess glue, use a plastic scraper or putty knife to gently lift the hardened residue from the surface. Take caution not to apply too much pressure, as it may scratch or chip the granite.
Conquer Stubborn Glue with Solvents:
If the glue proves stubborn, don’t worry. Reach for a solvent specifically designed for adhesive removal. Test it on a small, inconspicuous area first to ensure it won’t cause any discoloration or damage. Apply the solvent directly onto the excess glue and let it sit for a few minutes to soften the adhesive. Then, using a soft cloth or sponge, gently rub the glue in circular motions until it starts to dissolve. Repeat this process until all traces of glue are removed.
Cleanse and Restore:
Once all excess glue is banished, give your granite surface a thorough cleaning. Use a mild soap and water solution, rinse well, and pat dry with a clean cloth to ensure no residue is left behind. If you notice any residual discoloration or staining, consider using a granite cleaner or polish specifically formulated to restore its original appearance.
Prevent Glue Invasion:
Prevention is key. To avoid excess glue seeping out in the first place, apply painter’s tape or masking tape along the edges of the granite before joining the pieces together. This will help contain any glue and make cleanup easier, ensuring your masterpiece remains flawless.
i3RejLpS9nw” >
Conclusion
Joining two pieces of granite together requires careful planning and precise execution. There are several methods that can be used, depending on the desired result and the specific project requirements.
One common method is using epoxy resin to bond the two pieces of granite together. Epoxy resin is a strong adhesive that can create a seamless joint between the two pieces. It is important to choose an epoxy resin specifically designed for bonding stone materials, as it needs to withstand the weight and stress placed on the joint.
Before applying the epoxy resin, the surfaces of both pieces of granite should be thoroughly cleaned and prepared. Any dirt, dust, or debris should be removed to ensure a strong bond. The edges of the granite may also need to be shaped or profiled to create a tight fit.
Once the surfaces are clean and prepared, the epoxy resin can be applied. It is important to follow the manufacturer’s instructions for mixing and application, as different products may have varying requirements. The epoxy resin should be evenly spread on both surfaces, ensuring full coverage.
After applying the epoxy resin, the two pieces of granite should be carefully aligned and pressed together firmly. Clamps or other pressure-applying tools may be used to hold them in place while the adhesive cures. It is crucial to maintain consistent pressure during this process to achieve a strong bond.
The curing time for epoxy resin can vary depending on factors such as temperature and humidity. It is essential to allow sufficient time for the adhesive to fully cure before removing any clamps or applying further stress on the joint.
In some cases, mechanical fasteners such as metal dowels or brackets may also be used in conjunction with epoxy resin to reinforce the joint further. These fasteners provide additional strength and stability, especially for larger or heavier pieces of granite.
Joining two pieces of granite together requires precision, patience, and attention to detail. By following proper techniques and using high-quality materials, a seamless and durable joint can be achieved.