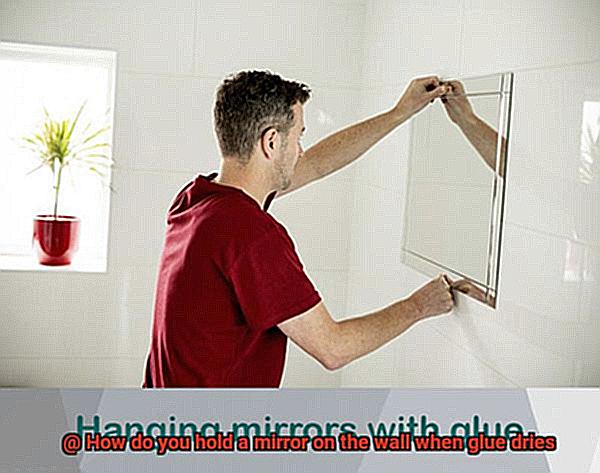
Ever marveled at the sight of a mirror effortlessly clinging to a wall, defying gravity in all its glory? Prepare to be captivated as we delve into the art of mirror installations in this blog post. Today, we’re exploring the fascinating technique of using drying glue to securely hold mirrors in place.
Picture yourself stepping into a room adorned with an exquisitely framed mirror. Its reflective surface dances with the natural light, casting enchanting glimmers across the space. As you stand there, pondering the wizardry behind its mounting, you can’t help but ask: how does that mirror stay put when glue dries?
In this article, we’ll unravel the secrets behind this optical marvel. We’ll guide you through each intricate step of successfully installing a mirror using glue. From discovering different adhesive options and their unique characteristics to understanding which ones suit specific applications best – we’ve got you covered.
But wait, there’s more. We’ll also share essential tips and tricks to ensure your mirror remains firmly attached to the wall for years to come. From prepping your wall surface like a pro to mastering precise glue application techniques, you’ll gain invaluable knowledge for executing your own mirror installation project with confidence.
So whether you’re an enthusiastic DIY-er or someone seeking professional guidance, get ready to embark on a journey into the mesmerizing world where mirrors defy gravity when held by drying glue. Let’s dive headfirst into this captivating blend of artistry and engineering.
Types of Glue for Mirror Installation
Contents
When it comes to hanging a mirror on the wall, you want to ensure it stays firmly in place. The key to achieving a secure and long-lasting installation lies in choosing the right glue. In this guide, we will explore the various types of glue available for mirror installation and delve into their unique advantages and disadvantages.
Liquid Nails or Construction Adhesive:
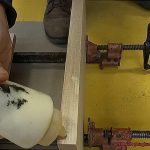
Liquid Nails, a type of construction adhesive, stands as a reliable choice for mirror installation. Renowned for its robust bonding capabilities, it can effortlessly hold heavy mirrors in position, ensuring their unyielding stability. However, it is crucial to select a high-quality adhesive specifically designed for mirror installation to guarantee proper adhesion and steer clear of potential accidents.
Mirror Mastic:
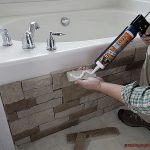
Mirror mastic emerges as a specialized adhesive crafted explicitly for mirror installation purposes. This adhesive is typically applied using a caulk gun and dries to form a firm yet flexible consistency. Ideally suited for smaller mirrors or situations where future removal might be necessary without damaging the wall, mirror mastic offers an optimal blend of strength and flexibility.
Double-Sided Adhesive Tape:
For those seeking convenience and ease of use, double-sided adhesive tape provides an attractive option. Possessing strong adhesive properties on both sides, this tape ensures a secure bond between the mirror and the wall. However, it is crucial to choose a high-quality tape specifically designed for heavy-duty applications to effectively support the weight of the mirror.
Mirror Clips or Brackets:
Mirror clips or brackets can be employed in conjunction with an adhesive to provide additional support and stability. These metal brackets are affixed to the wall, securely holding the mirror in place. This method proves particularly advantageous for larger mirrors or instances where maximal security is desired.
Silicone Adhesive:
Silicone adhesive emerges as a popular choice, offering exceptional adhesion and flexibility. Ideal for mirrors that may experience slight movements due to temperature changes or vibrations, silicone adhesive ensures a strong bond while accommodating some degree of flexibility. Applied using a caulking gun, this adhesive provides an excellent combination of strength and adaptability.
Conclusion:
Selecting the appropriate glue for mirror installation is vital to achieving a secure hold that withstands the test of time. Liquid Nails, mirror mastic, double-sided adhesive tape, mirror clips or brackets, and silicone adhesive all present viable options. When making a choice, consider factors such as the size and weight of the mirror, the type of wall surface, and your specific requirements. It is imperative to adhere to the manufacturer’s instructions regarding proper application and drying times.
Preparing the Wall Surface
Discovering that perfect mirror to elevate your space is just the beginning. To ensure a flawless and secure installation, it’s crucial to properly prepare the wall surface. In this comprehensive guide, we’ll take you through five essential steps that will guarantee your mirror stays firmly in place. Get ready to create a stunning focal point that will leave everyone in awe.
Step 1: Cleanse for Adhesion Brilliance
Before diving into the magical world of glue, take a moment to cleanse your wall surface. Armed with a mild detergent solution and a soft cloth, banish dirt, dust, and grease from the scene. This cleansing ritual ensures a seamless bond between the adhesive and the wall, eliminating any potential adhesion issues.
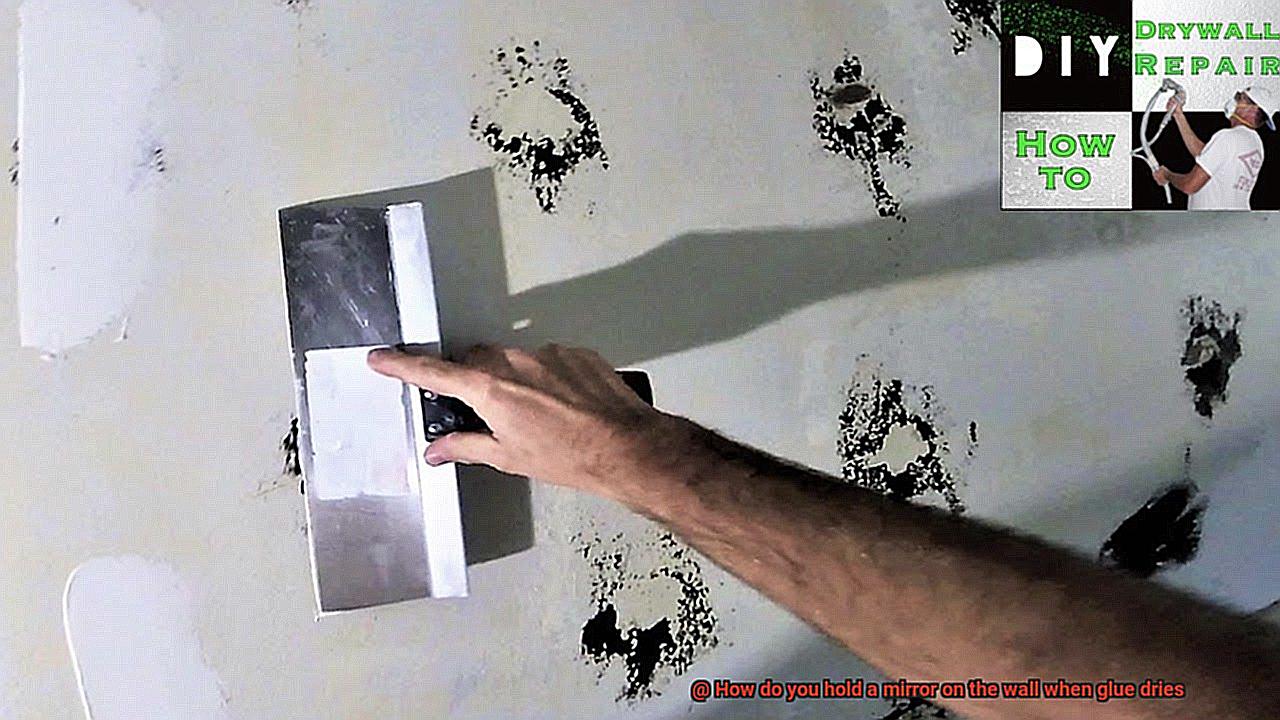
Step 2: Say Goodbye to Imperfections
Bid farewell to unsightly bumps and cracks on your wall surface before welcoming your mirror. Utilize the power of a putty knife or an appropriate filler to smooth out imperfections. Once filled, wield your sanding tool like a magician, transforming the rough terrain into a velvety smooth canvas. Prepare for a mirror installation that exudes elegance and perfection.
Step 3: Prime for Extra Adhesive Enchantment
Unleash the enchantment of primer on your wall surface for optimal adhesion and longevity. Select a primer specifically designed for your chosen wall material – be it drywall, plaster, or another surface type. Follow the spellbound instructions provided by the primer manufacturer for an effortless application and drying process. Watch as your mirror installation takes on an extra layer of strength and durability.
Step 4: Measure with Precision, Mark with Delicacy
Create an enchanting symphony of balance by measuring and marking your desired mirror location with meticulous precision. Arm yourself with a trusty level to ensure straightness and alignment beyond compare. This step not only guarantees the perfect mirror positioning but also saves you from the frustration of a crooked installation. Prepare to revel in picture-perfect harmony.
Step 5: Safeguard the Surrounding Splendor
To protect the splendor of your surroundings, take precautions against accidental glue spills or adhesive mishaps. Shield nearby furniture, flooring, and fixtures with elegant drop cloths or graceful plastic sheets. This thoughtful gesture will not only save you time but also preserve the beauty of your space, allowing your mirror installation to take center stage.
Applying the Glue
In our previous escapades, we delved into the mystical realms of cleansing, measuring, and safeguarding. Today, we embark on a new quest as we explore the art of applying glue to mount your mirror on a wall. So grab your wizard’s robes and let’s dive into this enchanting process step by step.
Step 1: Choosing the Right Glue:
Like a wise sorcerer carefully selects their spell, choosing the right glue is crucial for a strong and durable bond. There are various types of glue available – wood glue, super glue, epoxy glue, and many more. Each type possesses its own unique properties and uses. Select an adhesive specifically designed for mirrors or heavy objects that can withstand the weight and unexpected vibrations.
Step 2: Preparing the Surfaces:
Before casting your adhesive spell, it’s essential to prepare both the wall surface and the back of the mirror. Cleanliness is next to enchantment. Wipe both surfaces with a damp cloth to eliminate any dust or debris, ensuring they are clean, dry, and free from any contaminants. This will create the perfect canvas for your magical bond.
Step 3: Applying the Glue:
Now it’s time to work your magic. Apply a thin layer of glue evenly onto either the wall or the back of the mirror. Avoid excessive application that may lead to unsightly oozing. Keep it elegant and precise.
Step 4: Pressing the Mirror:
With your incantation complete, carefully press the mirror against the wall surface. Take a moment to ensure it is properly aligned and positioned before applying any pressure. To add an extra touch of wizardry, enlist a trusty sidekick to assist you during this step – two sets of eyes are always better than one.
Step 5: Allowing for Drying Time:
As any seasoned magician knows, patience is key. Follow the manufacturer’s instructions on drying time, as it may vary depending on the type of glue you’ve chosen. Resist the urge to touch or move the mirror until the glue has fully cured. Let the magic do its work.
Aligning the Mirror
Prepare to embark on a mesmerizing journey as we delve into the enchanting world of aligning mirrors on your walls. Just like a sorcerer skillfully selects spells, aligning mirrors requires an expert touch to create a visually pleasing and functional result. So gather your caulk gun and get ready to cast our alignment spell.
Determine the Desired Placement:
Before we can work our magic, we must first decide where our mirror will reside. Consider the height, width, and overall positioning in relation to the surrounding space. This step lays the groundwork for a perfectly balanced composition that will captivate all who gaze upon it.
Mark Your Spot:
To ensure flawless alignment during our mystical ritual, mark the exact spot on the wall where your mirror will be mounted. Using a pencil or masking tape, create a guide that will serve as your trusty companion in this journey of precision and artistry.
Cleanse the Wall Canvas:
Just as a sorcerer cleanses their canvas before casting spells, we must cleanse our wall surface before applying any adhesive. Rid it of any dust, grease, or moisture that might hinder the adhesive’s magical bonding powers. A clean canvas sets the stage for a masterpiece.
Choose Your Magical Adhesive:
Now it’s time to choose the perfect adhesive for your mirror mounting adventure. Will you opt for the power of liquid nails, the mystique of mirror mastic, or the reliability of construction adhesive? Remember to select an adhesive specifically designed for mirrors and suitable for your wall material, ensuring a bond that withstands the test of time.
Test the Magic:
Before proceeding with the grand alignment ritual, take a moment to test a small section of adhesive on both the mirror and wall surfaces. This precautionary step ensures compatibility and safeguards against any unwanted consequences. It is through these tests that the true magic of alignment reveals itself.
Apply the Adhesive with Care:
Armed with your chosen adhesive, gracefully apply a thin, even layer onto the back of the mirror or directly onto the wall surface. Like a sorcerer casting intricate spells, wield your caulk gun or trowel with precision, spreading the adhesive in a manner befitting a master of the craft.
Securing the Mirror with Temporary Supports
In our quest to unlock the secrets of flawless mirror mounting, we have arrived at a pivotal stage: the use of temporary supports. Today, we will explore the significance of these supports and uncover the captivating methods that ensure a secure and enchanting mirror display. So gather your tools and let’s embark on this mystical journey.
The Power of Temporary Supports:
The dance between glue and time. Though glue works its magic to bond your mirror to the wall, it requires ample time to set and harden. During this delicate period, it is imperative to provide additional support to maintain stability and ward off any mishaps. After all, no sorcerer desires their masterpiece crashing down in a dramatic spectacle.
Wooden Blocks or Wedges:
Imagine this: wooden blocks or wedges, strategically positioned beneath the bottom edge of your mirror, standing as steadfast allies. These resilient supports evenly distribute the mirror’s weight, ensuring there is no sagging or tilting. Crafted from sturdy hardwood or robust materials, these blocks are meticulously cut to fit snugly against the backside of the mirror, creating a secure embrace. It’s like witnessing a harmonious union between strength and precision.
Embracing Adjustable Brackets:
For those seeking versatility and easy removal, adjustable brackets are your enchanting solution. These remarkable contraptions attach to the wall and can be adjusted to firmly hold the mirror in place. They grant you the freedom to position the mirror as desired and can be effortlessly removed once the glue has fully dried. It’s like having magical assistants at your command, granting you complete control.
Maintaining Stability:
Now that you have chosen your temporary supports, it is crucial to ensure that your mirror remains level and perfectly aligned during this holding period. A trusty level tool becomes your guiding wand, allowing you to achieve precise placement. Remember to periodically check the mirror’s position as the glue dries, making any necessary adjustments. It’s all about maintaining that perfect balance, like a master conductor orchestrating a symphony of magical alignment.
Drying Time for Different Adhesives
In our enchanting journey through the art of mirror mounting, we have explored the power of adjustable supports and bewitching brackets. However, let us not forget the mystical role that adhesive drying times play in this captivating tale. Today, we unveil the secrets behind choosing the right adhesive to create a spellbinding bond between your mirror and the wall.
Chapter 1: The Mesmerizing Array of Adhesives
Chapter 2: Construction Adhesive – The Patient Protector
In this chapter, we encounter the steadfast guardian known as construction adhesive. With its lengthy drying time of approximately 24 hours or more, it weaves an unyielding bond between your mirror and the wall surface. Patience is key when entrusting your mirror’s safety to this noble companion.
Chapter 3: Mirror Adhesive – The Speedy Sorcerer
Prepare to be enchanted by the lightning-fast magic of mirror adhesive, the swift sorcerer of our story. Within a mere 30 minutes to 1 hour, it conjures a secure connection between your mirror and the wall. Yet, heed the instructions bestowed upon you by its manufacturer to ensure a flawless spellcasting.
Chapter 4: Epoxy and Cyanoacrylate – The Swift Tricksters
Beware, for here come the mischievous tricksters known as epoxy and cyanoacrylate (super glue). Their drying times can be as quick as a blink of an eye, often within minutes. But do not be lured by their haste. These magical concoctions may lack the strength and durability required to bear the weight and size of your mirror. Approach with caution, for their spell might prove too delicate.
Chapter 5: Weight and Size Considerations – The Balancing Act
As we delve deeper into the enchantment of mirror mounting, let us not overlook the importance of considering your mirror’s weight and size. Remember, dear adventurer, larger and heavier mirrors demand longer drying times and more potent adhesives. Only through this delicate balance can we ensure a majestic bond that withstands the test of time.
Techniques to Ensure a Secure Bond
Prepare to embark on a journey into the realm of mirror enchantment as we uncover the secrets to creating an unbreakable bond between your mirrors and the walls. A secure bond is not just about preventing accidents; it’s about forging a connection that will withstand the test of time. So, grab your tools and let’s delve into the techniques that will make your mirrors stay put, ensuring both safety and longevity.
The Significance of a Secure Bond:
Imagine this: you’re primping in front of your mirror, lost in a world of self-admiration, when suddenly, disaster strikes. Your mirror comes crashing down, shattering dreams and leaving you with a mess to clean up. To avoid such heartaches, we must acknowledge the importance of a secure bond. It not only keeps our mirrors in place but also guarantees our peace of mind.
Choosing the Perfect Adhesive:
The foundation of a secure bond lies in selecting the right adhesive. Let’s explore our options:
- Mirror Adhesive: This magical potion is tailor-made for mirror installations. With its unrivaled bonding strength and resistance to moisture and heat, it ensures that your bathroom mirror stands strong against steamy showers.
- Construction Adhesive: Say hello to the stalwart companion for larger or heavier mirrors. This adhesive provides an unwavering bond, offering stability and support.
- Silicone-based Adhesives: When it comes to delicate frames or irregular surfaces, these chameleons steal the show. Their flexibility allows for movement without compromising the bond, making them perfect for any artistic masterpiece.
Preparing the Surface for Bonding Brilliance:
To lay the groundwork for an unbreakable bond, surface preparation is key. Follow these steps:
- A Dance with Cleanliness: Purify your wall using a gentle detergent and warm water. Bid farewell to dirt, dust, and grease, ensuring a pristine canvas for your adhesive masterpiece.
- Banishing the Past: If you’re replacing an old mirror, banish any remnants of its former adhesive. Gently scrape away the residue with a putty knife or smooth the surface with a touch of sandpaper.
- Smoothing the Path to Perfection: Treat your wall like royalty, eliminating any cracks or rough patches. A smooth surface allows for optimal contact between adhesive and wall, fortifying the bond.
Benefits of Using Temporary Supports
Get ready to discover the incredible benefits that these handy tools bring to the table.
Let’s start with stability and security. When you’re working on attaching a mirror to a wall, you want to ensure that it stays in place until the glue is completely dry and cured. Temporary supports, such as clamps and brackets, become your trusty companions during this crucial drying period. They hold the mirror firmly in position, providing the stability and security you need for a successful bond.
Now, let’s talk about the freedom from constant supervision and holding. Without temporary supports, someone would have to physically hold the mirror against the wall until the glue sets. This can be exhausting and time-consuming. With temporary supports, you can go hands-free and let them do the heavy lifting while you focus on other tasks. It’s a game-changer that saves you time and energy.
Temporary supports also play a vital role in preventing accidental movement or shifting of the mirror during the drying process. Even a small jolt can disrupt the bonding process and compromise the adhesive’s strength. By using temporary supports, you keep the mirror stationary and secure, ensuring a strong and durable bond between the mirror and the wall.
Safety is paramount when working with mirrors. They are heavy and fragile objects that require proper handling to avoid accidents or breakage. Temporary supports act as your guardian angels during the drying process, significantly reducing the risk of the mirror falling or breaking due to mishandling or accidental impact. It’s all about keeping yourself and your surroundings safe.
Now let’s delve into the convenience factor. Unlike permanent fixtures or mounting methods, temporary supports offer flexibility in terms of placement and positioning. Once the glue has dried, these supports can be easily adjusted or removed without causing any damage to the wall or mirror. This means that if you need to make adjustments or reposition the mirror, you can do so effortlessly, without any hassle.
But the benefits don’t stop there. Temporary supports also make maintenance and replacement a breeze. If you need to clean, repair, or replace your mirror in the future, temporary supports simplify the process. Unlike adhesive mounting methods that can leave residue or damage the wall surface, temporary supports leave no permanent attachment behind. It’s a hassle-free solution for all your mirror-related needs.
Conclusion
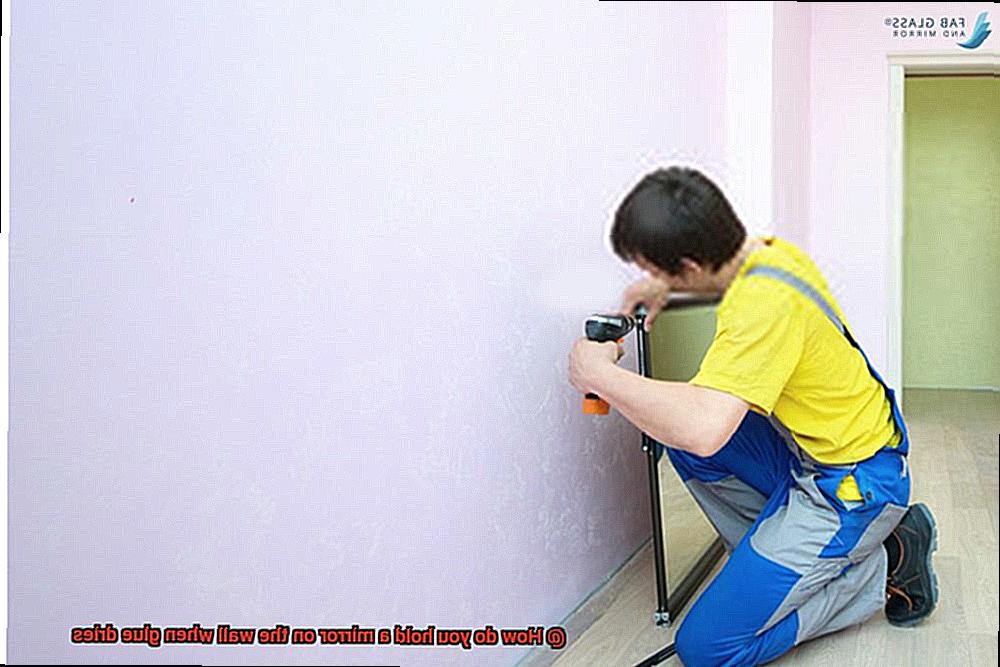
When it comes to holding a mirror on the wall, one common method is using glue. But how do you keep the mirror in place while the glue dries? It may seem like a tricky task, but with a few simple steps, you can ensure that your mirror stays securely attached to the wall.
Firstly, gather all the necessary supplies. You’ll need a strong adhesive specifically designed for mirrors, such as mirror mastic or construction adhesive. Make sure to read and follow the instructions on the adhesive carefully.
Next, clean the wall and mirror surface thoroughly. Any dirt or dust particles can compromise the adhesive’s effectiveness. Use a mild soap and water solution or glass cleaner to wipe down both surfaces and allow them to dry completely.
Apply the adhesive to the back of the mirror in small dots or lines, depending on its size and weight. Be generous with the amount of adhesive used, but avoid applying it too close to the edges to prevent any excess from oozing out when pressure is applied.
With caution, carefully position the mirror against the wall in its desired location. Apply firm pressure evenly across the entire surface of the mirror for a few minutes. This will help ensure proper adhesion between the mirror and wall.
To hold the mirror in place while waiting for the glue to dry completely, consider using temporary supports such as wooden blocks or adjustable clamps. These supports should be placed at strategic points along the bottom edge of the mirror and secured tightly against both surfaces.
Once everything is in place, allow sufficient time for the glue to dry completely according to manufacturer guidelines. This can take anywhere from 24 hours to several days depending on environmental conditions and type of adhesive used.
Afterward, remove any temporary supports gently and inspect your work carefully. If there are any gaps between the mirror and wall due to uneven drying or shifting during application, you may need to reapply adhesive or use additional support methods such as brackets or mirror clips.
In conclusion, holding a mirror on the wall while glue dries requires careful preparation, proper application of adhesive, and temporary supports.