Ever been faced with the dilemma of wanting to mount a wooden shelf or add a touch of rustic charm to your brick wall? The combination of wood’s warmth and brick’s rugged appeal can create a visually stunning contrast, but how do you seamlessly bring these two materials together?
Welcome to our ultimate guide on how to glue wood to brick. Get ready to unravel the mystery behind successfully bonding these vastly different elements. We’ll take you through a range of methods and expert tips that guarantee a secure and long-lasting connection.
Imagine this: a cozy reading nook with an exquisite wooden bookshelf mounted on a sturdy brick wall. Or picture an outdoor pergola where timber beams are skillfully adhered to a robust brick structure. The possibilities for wood-brick fusion are endless – from home renovations and DIY projects to artistic creations that transform spaces.
In this comprehensive guide, we’ll explore various techniques that enable you to achieve a rock-solid bond between wood and brick. From adhesive solutions to mechanical fasteners, we’ll highlight the advantages and considerations of each method. We’ll also address crucial factors like surface preparation, weather resistance, and load-bearing capacities.
Whether you’re an experienced DIY enthusiast or just starting out on your creative journey, this guide will equip you with the knowledge and confidence needed to conquer any wood-to-brick challenge. So let’s dive into this glue-infused adventure where wood meets brick, uncovering the secrets that will bring your creative visions to life.
Are you ready? Let’s embark on this exciting journey of uniting two materials in perfect harmony – wood and brick.
What You Need for Gluing Wood to Brick
Contents
Gluing wood to brick can be a challenging task, but with the right materials and techniques, you can achieve a strong and durable bond. In this comprehensive guide, we will take you through the step-by-step process of gluing wood to brick. From gathering the essential materials to securing the wood in place, we’ve got you covered.
Step 1: Gather Your Materials and Tools
To ensure a successful project, gather the following items:
- High-quality wood glue suitable for indoor and outdoor use.
- Brick adhesive for enhanced bonding on porous surfaces.
- Clean cloth or sponge to clean the surfaces.
- Sandpaper (fine-grit) to roughen up the surfaces.
- Clamps or weights to hold the wood firmly.
- Protective gear like gloves and safety glasses for your safety.
Step 2: Prepare the Surfaces
Preparing the surfaces is crucial for a strong bond. Follow these steps:
- Thoroughly clean both the wood and brick surfaces using a warm water-soaked cloth or sponge. Remove any dirt, dust, or debris that could interfere with adhesion.
- Roughen up the surfaces by lightly sanding them with fine-grit sandpaper. This creates a better surface for the adhesive to grip onto.
Step 3: Apply the Adhesive
Now it’s time to apply the adhesive. Here’s how:<
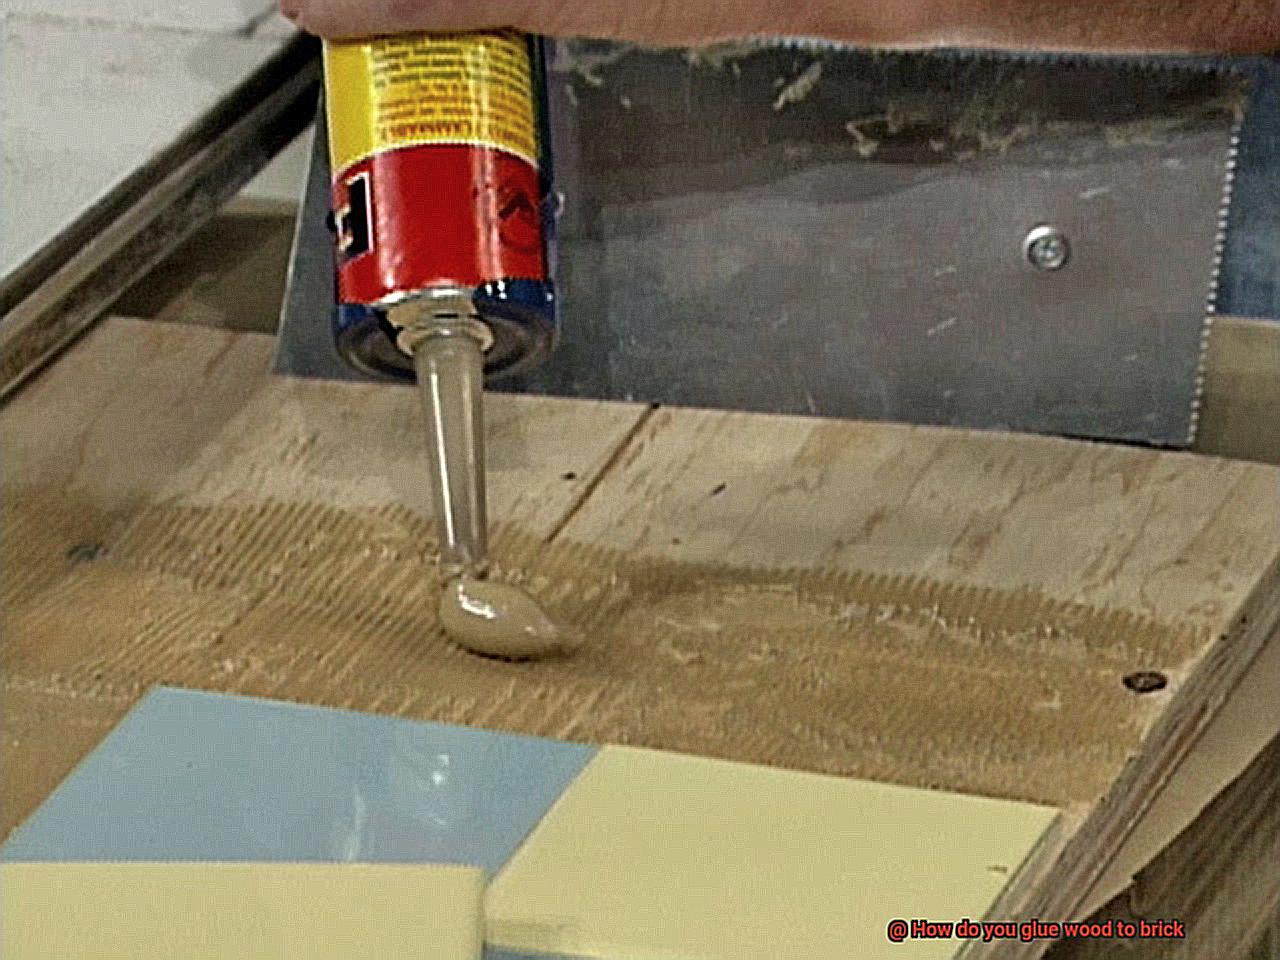
- Apply wood glue onto the wood surface in a zigzag pattern or as directed by the manufacturer. Ensure full coverage over the area where the wood will meet the brick.
- If necessary, apply brick adhesive on top of the wood glue for an even stronger bond.
- Align the wood properly with the desired position on the brick surface.
- Press the wood firmly against the brick, ensuring optimal contact between the two surfaces.
- Use clamps or weights to hold the wood in place while the adhesive cures. Clamps are especially useful for larger pieces of wood or when you need an extra secure bond.
Step 4: Securely Attach the Wood
With the adhesive applied, it’s time to attach the wood to the brick. Follow these steps:
Step 5: Allow the Adhesive to Cure
The curing time will vary depending on the adhesive used. Follow the manufacturer’s instructions and allow the adhesive to cure undisturbed. Avoid moving or disturbing the glued wood during this time to ensure a strong and lasting bond.
Preparing the Surfaces for Gluing
Embarking on the journey of gluing wood to brick requires proper surface preparation to ensure a seamless and rock-solid connection. In this comprehensive guide, we will unveil the essential steps that will transform your wood and brick bond into a work of art. Let’s delve into the world of surface preparation and unlock the secrets to achieving gluing greatness.
Step 1: Cleanliness: The Foundation of Success
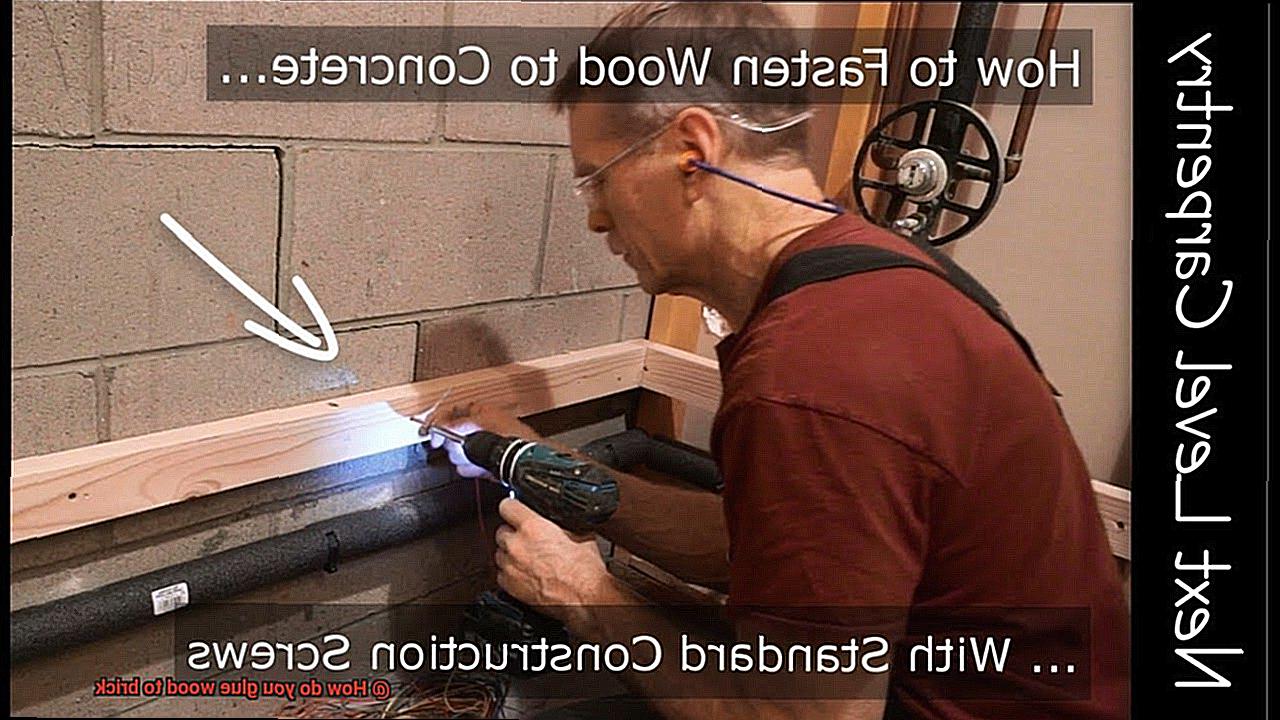
The first commandment in preparing surfaces for gluing is cleanliness. Banish any lurking dirt, pesky debris, or invisible contaminants from both the wood and brick surfaces. Arm yourself with a brush or a trusty vacuum cleaner to eliminate loose particles. Then, with a clean cloth drenched in a mild detergent solution, sweep away any remnants of impurities. Only then can you lay the groundwork for a flawless bond.
Step 2: Sanding: Unleash the Power of Texture
To empower your adhesive with an iron grip, sanding is the key. Equip yourself with medium-grit sandpaper and embark on a journey to create a textured paradise on your wood surface. With every stroke in the direction of the wood grain, you remove not only unwanted finishes but also any varnish that might impede the bonding process. Embrace this step, as it paves the way for an unbreakable union.
Step 3: Bid Farewell to Paint and Coating
As you venture further on your path to perfection, it is crucial to eradicate any remnants of paint or coating from either the wood or brick surface. These clandestine barriers can sabotage even the most robust adhesive bonds. Fear not, for armed with paint stripper or sandpaper, you can conquer these foes. Eliminate every last trace of paint or coating, unveiling fresh surfaces eager for a lifelong embrace.
Step 4: Fill the Gaps: Embrace Wholeness
In your quest for a seamless connection, inspect both surfaces for potential gaps or cracks that threaten your adhesive’s integrity. Should you stumble upon such imperfections, fill them with the appropriate filler material, such as the regal epoxy resin or the humble yet mighty wood putty. Smooth out these blemishes, allowing them to dry completely before proceeding. By embracing wholeness, you pave the way for a bond unblemished.
Applying the Adhesive
Today, we’re diving deep into the mystical realm of applying adhesive when gluing wood to brick. Get ready to unlock the secrets that will transform your projects into jaw-dropping works of art. So grab your favorite adhesive and let’s get down to business.
Step 1: Choose the Perfect Adhesive
In this enchanted world of wood-brick bonding, selecting the right adhesive is paramount. Seek out a construction adhesive specifically formulated for wood and masonry surfaces. These powerful potions are renowned for their resilience and ability to withstand moisture, ensuring a bond that will stand the test of time.
Step 2: Clear the Path for Perfection
Before we embark on this magical journey, let’s ensure our surfaces are pristine. Bid farewell to dust, debris, and those pesky contaminants that threaten to spoil our bonding adventure. Equip yourself with a trusty brush or vacuum cleaner to banish impurities from existence.
Step 3: Roughen It Up
Now, let’s add some texture to our tale. With sandpaper or a wire brush in hand, gently scuff both wood and brick surfaces. We’re not looking for a complete transformation here; just enough to create tiny grooves and scratches that will captivate the adhesive’s attention.
Step 4: Apply with Precision
Ah, the pivotal moment arrives. Unleash the power of your chosen adhesive, but don’t forget to consult the ancient scriptures – also known as the manufacturer’s instructions. Armed with a caulk gun or trowel, bestow a lavish amount of adhesive upon one surface. This is no time for frugality; we seek abundance.
Step 5: Press It Real Good
Now comes the enchanting dance of connection. With determination in your heart, press the wood firmly onto the brick surface, ensuring perfect alignment before applying any pressure. For those seeking the highest level of enchantment, employ clamps or other securing devices to hold everything in place while the adhesive works its sorcery. Optimum bonding awaits.
Pressing and Securing the Wood in Place
You’ve learned about the importance of choosing the right adhesive and preparing the surfaces meticulously when gluing wood to brick. But have you discovered the hidden secret to a rock-solid bond? It lies in the art of pressing and securing the wood in place. In this section, we’ll unveil the key techniques and methods to achieve a strong and durable connection. Get ready to dive into the fascinating world of pressing and securing wood like a true craftsman.
Harnessing the Power of Even Pressure:
Clamps are your trusty companions when it comes to securing wood to brick. These mighty tools apply uniform pressure across the entire surface area, guaranteeing a robust bond. Distribute your clamps strategically to eliminate any gaps or inconsistencies in the connection. Remember, even pressure is the key to unlocking a rock-solid bond.
No Clamps? No Problem.
Don’t fret if clamps are nowhere to be found or if you’re dealing with oddly shaped wood pieces. You can still achieve a secure bond by using weights or heavy objects as your allies. Position these weights thoughtfully to cover every inch of the wood’s surface, exerting ample pressure for a steadfast connection. Who would have thought that your weights could come to the rescue in your woodworking adventures?
Temporary Supports for Unwavering Stability:
Occasionally, you may need to unleash your creativity and construct temporary support structures to hold the wood in place while the adhesive cures. Wooden blocks or sturdy braces can play a heroic role, providing that extra stability during the bonding process. These supports ensure that your wood remains exactly where you desire it until the adhesive sets completely.
Adhesive Considerations:
Remember, each adhesive has its own personality and quirks. Some demand extended curing times, while others set rapidly. To achieve triumphant results, always adhere closely to the manufacturer’s instructions regarding curing times and specific requirements for pressing and securing. Respect the adhesive’s unique traits, and it will reward you with a flawless bond.
Curing the Adhesive
In our quest for the ultimate bond between wood and brick, we have explored the secrets of applying pressure and securing the materials. Now, let us embark on the next chapter of this adhesive adventure – the crucial step of curing. Brace yourselves as we unveil the secrets to achieving a solid connection that can withstand the test of time.
The Power of Curing:
Curing the adhesive is where the magic happens. It’s the process that transforms a mere sticky substance into a formidable bond. Just as a phoenix rises from the ashes, our bond emerges stronger and more resilient through proper curing. Remember, patience is not just a virtue; it’s the key to success.
The Clock is Ticking:
Different adhesives have different curing times. Consult your adhesive’s manual for specific instructions. However, as a general rule, give it at least 24 hours to cure before subjecting it to any stress or load. In this time, miracles happen, and your bond solidifies into an unbreakable connection.
Creating the Perfect Habitat:
During the curing process, the environment plays a crucial role. Extreme temperatures, high humidity, or excessive moisture can sabotage our quest for strength. To counter these adversaries, we must maintain a controlled ambiance. Think Goldilocks – not too hot, not too cold, but just right.
The Sanctuary of Control:
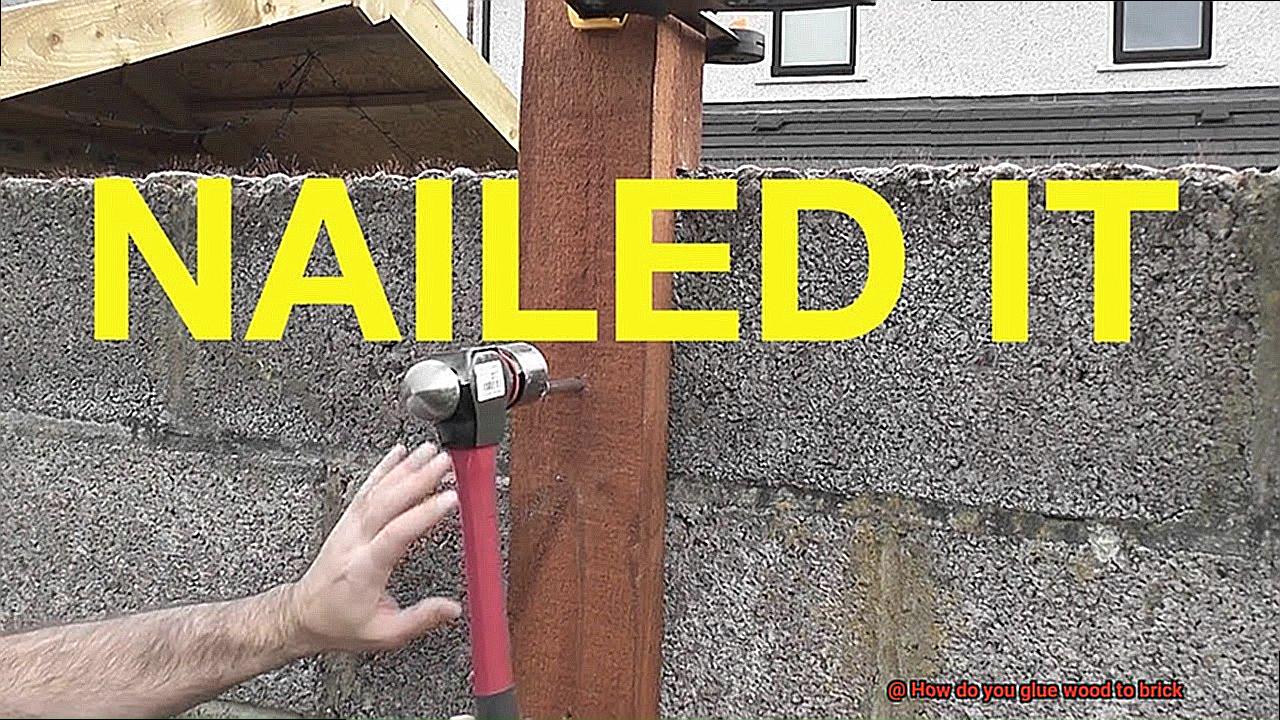
To achieve optimal results, we must create a sanctuary for our glued wood and brick. Envelop them in a protective cover or place them inside a specialized curing box designed for adhesive applications. This fortress shields them from external factors and ensures consistent temperature and humidity levels. It’s like a spa retreat for bonding.
Hands Off.
The adhesive needs time to work its magic undisturbed. Any movement or pressure applied prematurely can shatter our dreams of an unyielding bond. Resist the urge to fiddle, touch, or manipulate the glued surface until the adhesive has fully hardened. Remember, great things come to those who wait.
Testing the Bond Strength
In our previous section, we delved into the art of transforming adhesive into an unbreakable connection. Today, we embark on a journey to explore the vital importance of testing the bond strength when gluing wood to brick. Get ready to unlock the secrets to achieving a bond that can withstand anything life throws its way.
Choosing the Right Adhesive:
Before we dive into testing, let’s lay the foundation of a strong bond: the adhesive. Wood-to-brick bonding offers a plethora of options – epoxy, construction adhesive, or polyurethane adhesive, just to name a few. Each type possesses unique properties and strengths, making it crucial to select the perfect match for your needs.
Cleanliness is Key:
Now that our adhesive is sorted, it’s time to get down and dirty – with cleaning. Remember, a chain is only as strong as its weakest link. That’s why it’s essential to thoroughly clean both wood and brick surfaces before applying the adhesive. A gentle scrub with mild detergent and water, followed by a thorough rinse, ensures no dirt or debris hinders your bonding adventure.
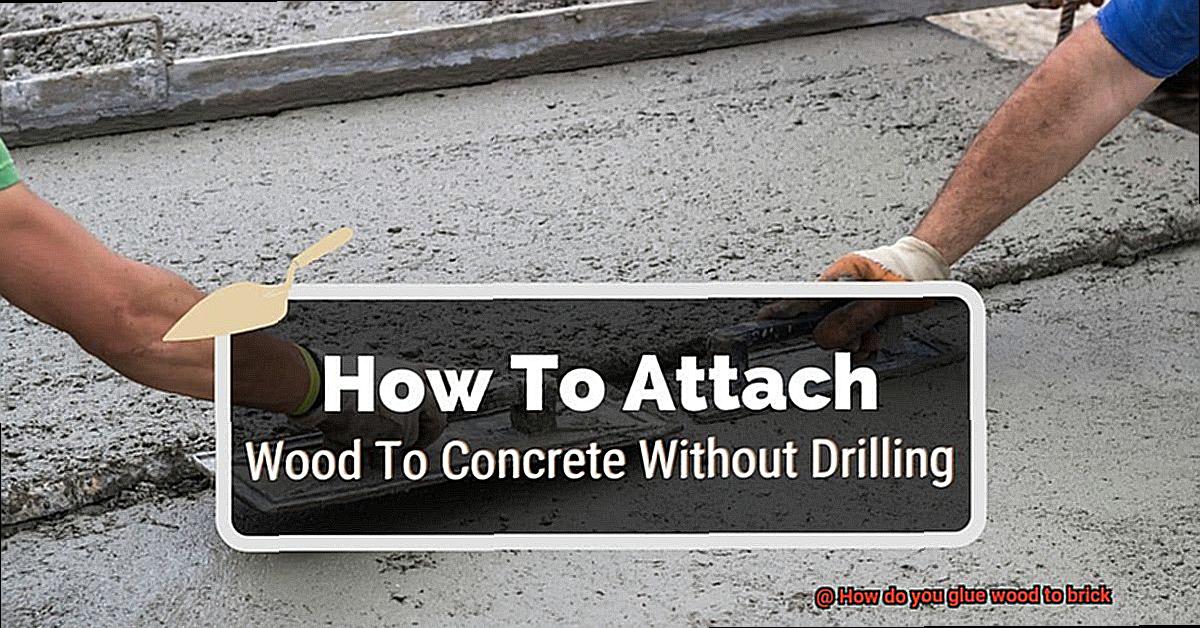
The Test of Strength:
Ah, the moment of truth – testing the bond strength. This step is like taking your bond on a thrilling roller coaster ride. Start by applying a small sample of adhesive to both wood and brick surfaces, following the manufacturer’s instructions carefully. Once the adhesive has fully cured, apply gradual force to gently pull the bonded surfaces apart.
Hold onto your hats. If your bond stands strong and refuses to budge even under pressure, bravo. You’ve achieved excellent bond strength. However, if things crumble easily or show signs of weakness, it’s time to go back to the drawing board. Reevaluating the adhesive or considering additional methods to enhance bond strength may be necessary.
Stress Testing for Real-Life Scenarios:
But wait, we’re not done yet. Our bond needs to prove its mettle in real-life conditions. Think of it as a spa retreat stress test. Subject your bonded wood and brick to extreme temperatures, moisture, vibrations – the works. By simulating these scenarios, you can assess how well the bond holds up and whether it meets your expectations.
Factors That Affect Bond Strength
Picture the thrill of creating an unbreakable bond between wood and brick, a connection that defies time and challenges. This exhilarating journey begins by unraveling the secrets behind the factors that determine your bond strength.
Prepare to embark on an adventure of knowledge, where we’ll explore the intricate dance between materials and discover the key ingredients for a bond that stands strong. Buckle up, because this ride promises to be both captivating and enlightening.
Factor 1: Surface Preparation – Laying the Rock-Solid Foundation
Before delving into the gluing process, it’s vital to establish a firm foundation. Think of it as constructing a sturdy base for your bond. Both the wood and brick surfaces must be meticulously cleaned, dried, and free from any debris. A gentle sanding creates a textured canvas that enhances adhesion. And remember to bid farewell to loose paint or coatings – our bond demands unwavering adherence.
Factor 2: Adhesive Selection – Unleashing Your Bonding Superpower
Selecting the perfect adhesive is akin to discovering your secret weapon for formidable bond strength. With epoxy, polyurethane, and construction adhesive among the choices, you possess immense power. But beware. Not all adhesives are equal. Opt for one explicitly designed to unite wood and brick. Follow the manufacturer’s instructions regarding application and curing time, and you’ll wield an unstoppable ally in your bonding conquest.
Factor 3: Compatibility – The Symphony of Materials
Achieving harmony among materials is paramount in the realm of bonding. Each material possesses distinct properties – porosity, moisture content, expansion/contraction rates – demanding compatibility with our adhesive. It’s like fitting together two puzzle pieces destined to intertwine seamlessly. Neglecting to choose a compatible adhesive risks a feeble bond that crumbles over time. Let’s forge a connection built to endure.
Factor 4: Temperature and Humidity – Conquering Mother Nature’s Whims
Like capricious weather, environmental conditions can influence our bond strength. Extreme temperatures or high humidity levels possess the potential to disrupt bonding perfection. Adhering to the manufacturer’s recommendations concerning temperature and humidity during application and curing ensures our bond remains impervious to nature’s whims. We’ll equip our bond with the resilience to conquer any challenge.
Alternatives to Gluing Wood to Brick
Title: Unleashing the Power of Alternatives: Firmly Bonding Wood to Brick
Introduction:
Welcome back, fellow bonding enthusiasts. In our quest for unbreakable connections, we’ve explored the art of gluing wood to brick. But what if I told you there’s a world beyond glue? Yes, my friends, there are alternatives that can provide an even stronger and more secure bond between wood and brick. Today, we’ll dive into this exciting realm, discussing different methods and factors to consider when choosing the perfect alternative. Let’s explore the fascinating world of bonding wood to brick.
Masonry Screws or Anchors: The Mighty Drilling Heroes
Imagine a fastener that drills directly into the brick, creating an unyielding connection. Masonry screws or anchors are just that. These specially designed fasteners provide a strong and reliable bond by gripping the brick through pre-drilled holes. Remember to choose the right size and type of masonry screws or anchors based on the weight and size of the wood you’re attaching.
Metal Connectors or Brackets: The Bridge Builders
In the world of construction projects, metal connectors or brackets reign supreme. By attaching them to both the wood and brick using screws or nails, they create a robust bridge between the two materials. This method guarantees stability and durability in any bonding endeavor that demands strength. It’s a tried-and-true technique trusted by professionals.
Adhesive-Backed Hooks or Clips: Simplicity and Versatility Combined
Looking for a simpler solution for lightweight objects or small pieces of wood? Look no further than adhesive-backed hooks or clips. With their strong adhesive backing, they stick effortlessly to both wood and brick surfaces. However, keep in mind that they may not be suitable for heavy loads or high-stress applications due to their lower bond strength. They are perfect for hanging decorative items and organizing small tools.
Mechanical Fasteners: The Classic Approach
Ah, the classic nails and screws. When other alternatives aren’t suitable, this method can save the day. However, be aware that it requires drilling pilot holes into the brick, which can be challenging and may damage the surface. Additionally, mechanical fasteners may not provide as strong of a bond as other methods, especially for heavy wood or intense stress situations.
EnQ-60AYLEg” >
Conclusion
When it comes to the task of gluing wood to brick, there are a few key steps you should follow.
First and foremost, make sure the surfaces are clean and free of any debris or dust. This will ensure a strong bond between the wood and brick.
Next, choose an adhesive that is specifically designed for bonding these two materials together. There are many options available, such as construction adhesive or epoxy glue.
Apply the adhesive evenly to both the wood and brick surfaces, using a notched trowel or a brush. Press the wood firmly against the brick, making sure it is aligned properly.
Allow the glue to dry completely before applying any pressure or weight to the bonded area. And voila.
You now have successfully glued wood to brick, creating a durable and secure connection that will withstand the test of time.

