Picture this: you’re holding a breathtaking glass vase, bursting with vibrant flowers, when suddenly, it slips from your grasp and crashes to the ground. Your heart sinks as you see the shattered pieces scattered around you. But fear not. There’s a way to defy gravity and seamlessly mend those broken fragments. Welcome to the captivating world of gluing rubber to glass – a method that breathes new life into shattered glass objects and creates bonds that are truly unbreakable.
In this enthralling blog post, we’ll dive deep into the art of gluing rubber to glass, exploring techniques that bring together two seemingly incompatible materials in perfect harmony. Get ready for an intriguing journey of experimentation, discovery, and adhesive wizardry.
First things first – let’s unravel the wonders of adhesive types suitable for bonding rubber to glass. From versatile cyanoacrylate glue to specialized epoxy resins, we’ll examine their unique properties and find the perfect match for your specific needs.
But wait, there’s more. We’ll reveal the secret ingredient for a successful bond – surface preparation. Discover the significance of cleaning and drying both rubber and glass surfaces, ensuring optimal adhesion and unbeatable durability.
And that’s not all. Temperature, humidity, and pressure also play critical roles in the gluing process. We’ll unlock the secrets behind manipulating these factors like a true adhesive master, achieving outstanding bonding results every time.
But our quest for perfection doesn’t stop there. We’ll equip you with invaluable tips and tricks for working with rubber and glass. From aligning techniques to clamping strategies and everything in between – we leave no stone unturned on our path towards adhesive mastery.
So hold on tight as we embark on this captivating journey into the enchanting world of gluing rubber to glass. Get ready to mend, restore, and create with newfound confidence, crafting unbreakable bonds that bridge the divide between rubber and glass.
Adhesive Selection: Choosing the Right Adhesive for Rubber-to-Glass Bonding
Contents
- 1 Adhesive Selection: Choosing the Right Adhesive for Rubber-to-Glass Bonding
- 2 Surface Preparation: Cleaning and Roughening Surfaces for Maximum Adhesion
- 3 Applying the Adhesive: Following Manufacturer Instructions for Optimal Results
- 4 Aligning Surfaces: Ensuring Even Pressure Across the Bonded Area
- 5 Curing Time: Allowing Sufficient Time for the Adhesive to Fully Cure
- 6 Benefits of Using Silicone Adhesives for Rubber-to-Glass Bonding
- 7 Common Mistakes to Avoid When Gluing Rubber to Glass
- 8 Tips for Successful Rubber-to-Glass Bonding
- 9 Conclusion
Unlocking the secret to a robust and enduring bond between rubber and glass lies in the careful selection of the right adhesive.
The distinct properties of these materials can pose a challenge, but with the correct adhesive and surface preparation, success is within reach. In this comprehensive guide, we will delve into the crucial factors to consider when choosing an adhesive for rubber-to-glass bonding.
Factors to Consider:
Adhesive Type:
- Silicone Adhesives: Embrace the flexibility, durability, and moisture, heat, and chemical resistance offered by silicone adhesives. These versatile options come in various forms like sealants, adhesives, or double-sided tapes.
- Cyanoacrylate Adhesives: Enter the realm of quick bonding and high strength with cyanoacrylate adhesives, also known as super glue. Ensure compatibility with both rubber and glass surfaces.
- Epoxy Adhesives: Unleash superior bonding strength and durability with epoxy adhesives. Opt for flexible formulations designed to accommodate materials with different coefficients of expansion.
Application Requirements:
- Temperature Resistance: Conquer extreme temperature ranges by selecting an adhesive that can withstand the conditions your bonded assembly will face.
- Chemical Resistance: Defend against specific chemicals or substances with an adhesive known for its resistance.
- UV Resistance: Shield your bonded assembly from the sun’s harmful rays by opting for an adhesive with UV resistance.
- Flexibility: Embrace an adhesive with excellent flexibility to accommodate the varying expansion coefficients of rubber and glass.
Compatibility Testing:
Surface Preparation:
- Cleanliness: Create a pristine surface by ensuring both the rubber and glass are clean, dry, and free from contaminants like dust, oil, or grease. Employ suitable solvents or cleaners for optimal results.
- Surface Treatment: Enhance bond strength by considering surface treatments such as alcohol cleaning or adhesion promoters.
Application Technique:
Surface Preparation: Cleaning and Roughening Surfaces for Maximum Adhesion
In our quest for the perfect bond between rubber and glass, we must explore the vital steps of surface preparation. Today, we delve into the world of cleaning and roughening surfaces, unlocking the secrets to maximum adhesion. So don your lab coats and safety goggles as we embark on this fascinating journey.
Cleaning the Surfaces: Cleansing for Adhesion Brilliance
Imagine trying to unite two pieces of paper with an oily smudge in between. It’s a recipe for failure, right? The same principle applies when it comes to bonding rubber to glass. Before diving into your adhesive adventure, ensure both surfaces are pristine.
Utilize a gentle detergent or rubbing alcohol, along with a clean cloth or sponge, to banish dirt, dust, and oily residue. Remember, a spotless foundation is the key to adhesion greatness.
Roughening the Surfaces: Unlocking the Power of Texture
Now that cleanliness reigns supreme, let’s add some texture to the mix. Picture tiny hooks grabbing hold of both rubber and glass surfaces, creating an unbreakable bond. Achieve this mechanical interlocking effect by embracing sandpaper or an abrasive pad.
Employ circular motions to create a textured surface on both materials. Be mindful of not over-sanding or applying excessive pressure; our goal is strength, not deformation.
Sanding the Rubber: A Gentle Dance of Texture
The delicate art of sanding – where roughness meets finesse. To preserve the integrity of your rubber material, select fine-grit sandpaper as your trusty companion. Employ gentle circular motions, crafting a slightly rough texture that enhances adhesion without causing damage. Remember, moderation is key in this dance.
Etching the Glass: Unleashing the Power of Pits and Irregularities
Smooth as glass may seem, a touch of etching can work wonders for adhesion strength. Two popular methods await: acid-based solutions or sandblasting. Whichever path you choose, embrace safety precautions and don protective gear. Etching carves microscopic pits and irregularities on the glass surface, transforming it into a gripping haven for adhesives.
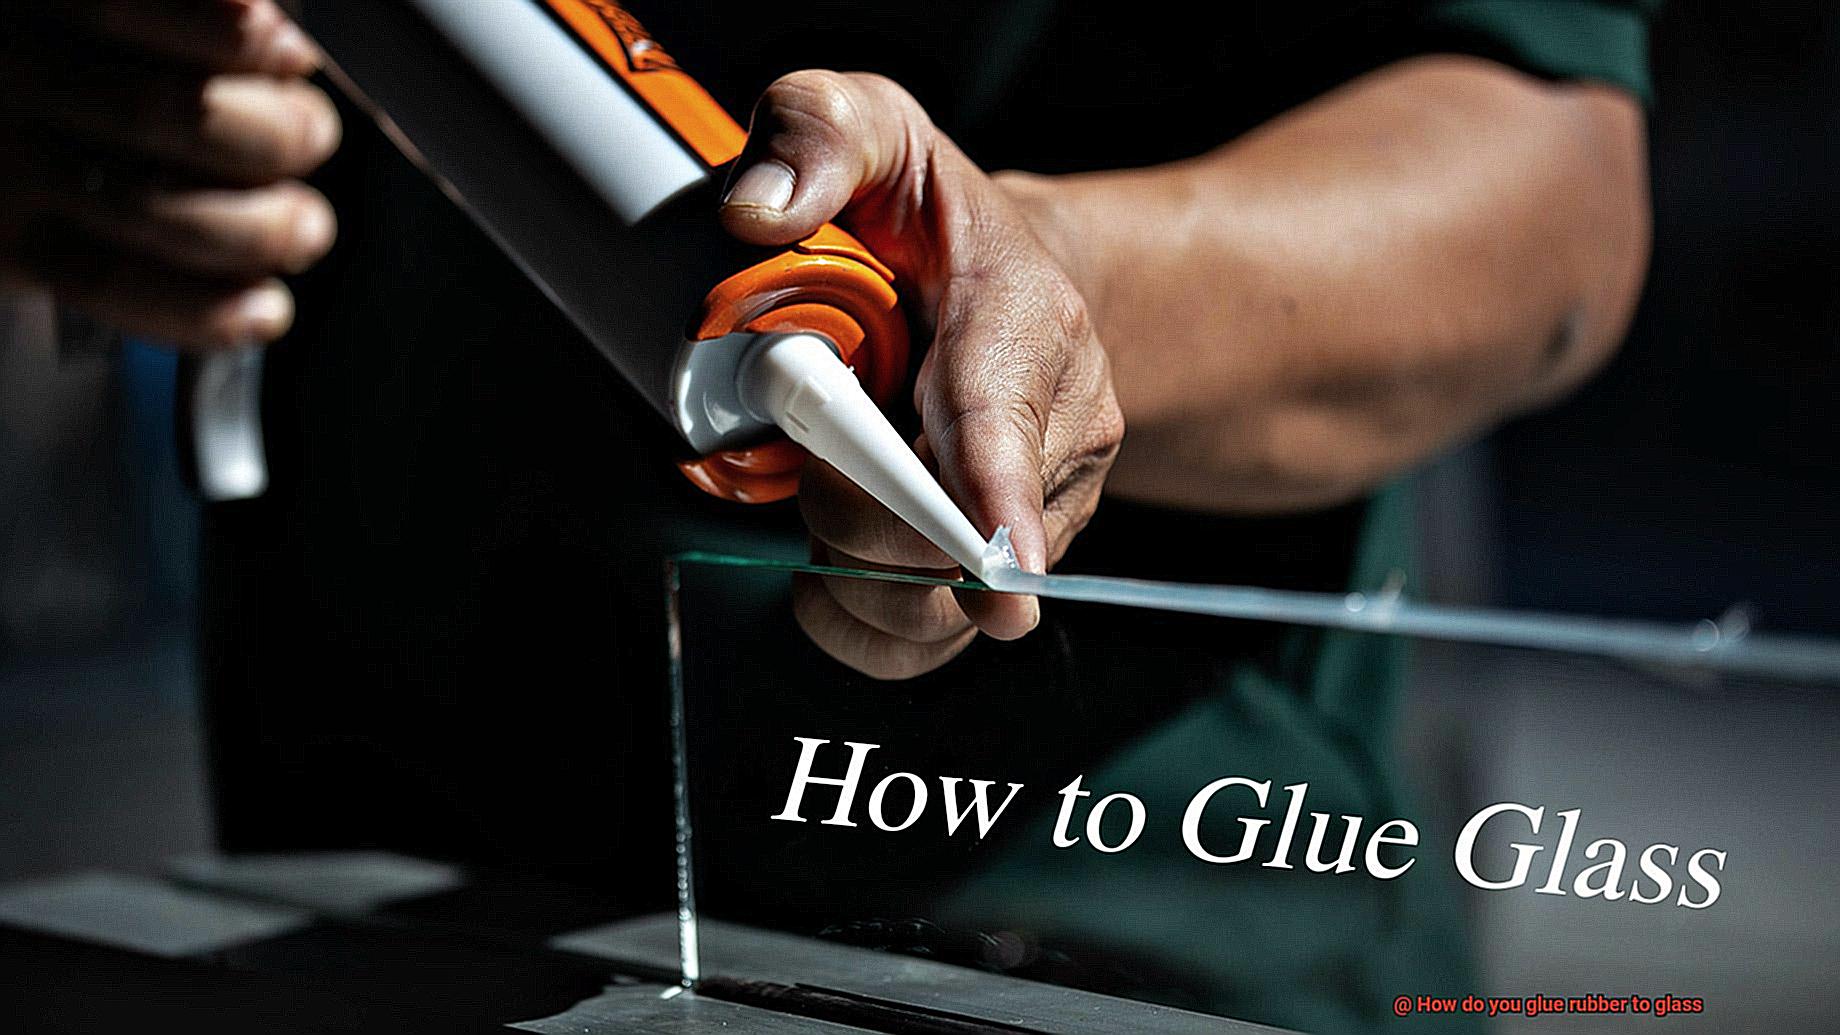
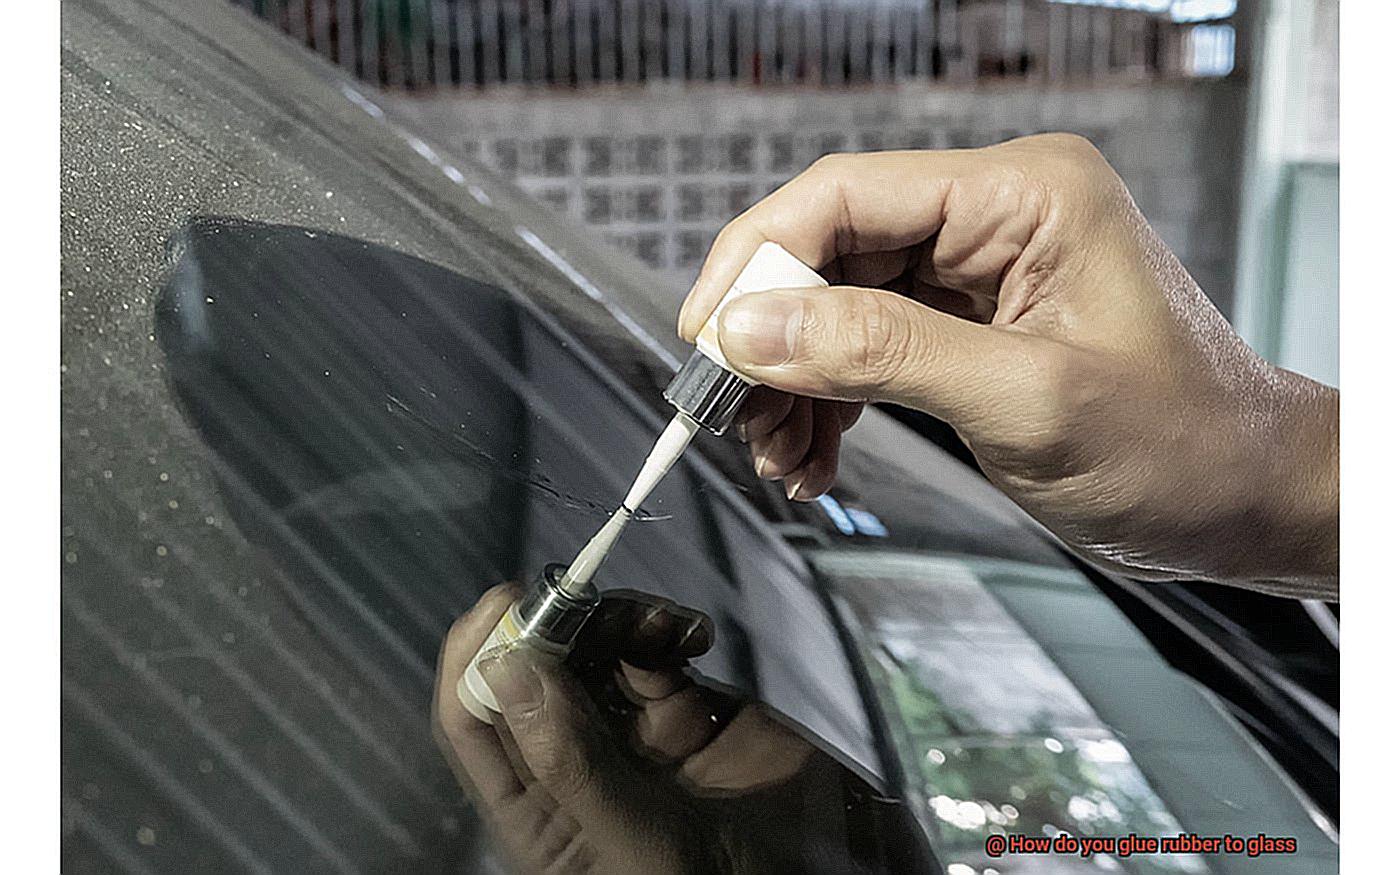
Applying the Adhesive: Following Manufacturer Instructions for Optimal Results
In our previous exploration, we learned the importance of surface preparation in creating an unbreakable bond between rubber and glass. Now, let us delve deeper into the next crucial step: applying the adhesive. Brace yourselves, for today we shall uncover the secrets to achieving optimal results by following the sacred instructions bestowed upon us by the adhesive gods. So grab your favorite adhesive, and let us embark on this sticky adventure.
The Power of Instructions:
Before we embark on this adhesive odyssey, let us pay homage to the unsung heroes of any adhesive product – the manufacturer’s instructions. These sacred scripts hold within them the key to unlocking a bond that is both strong and enduring. So, resist the urge to disregard them and allow us to unveil their true significance.

Thorough Reading:
Behold, dear readers, for within these instructions lies the wisdom of ages. Each adhesive product possesses its unique set of guidelines and recommended techniques. By immersing ourselves in these instructions, we shall uncover the specific steps required for triumphant adhesion. Take heed of any warnings or precautions, for they are there to safeguard our journey.
Cleanliness is Next to Stickiness:
Before we embark on our adhesive conquest, let us ensure that our surfaces are pristine. The vile agents of dirt, dust, and grease can impede our path towards a robust bond. Arm yourselves with a mild detergent or rubbing alcohol, and cleanse those rubber and glass surfaces with vigor. Remember to grant them the gift of complete drying before proceeding.
Apply with Precision:
Now comes the exhilarating moment – applying the adhesive. But hold thy horses, dear readers; let us not apply it haphazardly. Instead, let us follow the instructions as a master chef follows a recipe (without the indulgence of tasting). Whether it be a brush, nozzle, or spatula, let us spread the adhesive with finesse across the surface. Some adhesives may demand multiple coats or specific drying times, so exercise patience and obey the guidelines diligently.
Aligning Surfaces: Ensuring Even Pressure Across the Bonded Area
In our previous discussion, we emphasized the importance of following manufacturer’s instructions and surface preparation when gluing rubber to glass. Now, let’s dive deeper into the world of alignment.
Picture this: a flawless bond that withstands the test of time and varying conditions. How can we achieve such perfection? By ensuring even pressure distribution across the bonded area through proper alignment. So grab your notepads and let’s get ready to align surfaces like true adhesive artists.
Cleanliness is Next to Strongness:
Before we jump into alignment, let’s quickly revisit the importance of cleanliness. Remember, a tidy surface is a strong surface. To eliminate any potential bond saboteurs, grab a mild detergent or some trusty rubbing alcohol and give those surfaces a good scrub. Once they’re squeaky clean, ensure they’re thoroughly dry before proceeding.
Align Like a Pro:
Now that we have clean surfaces ready for action, it’s time to focus on perfect alignment. Uneven pressure is the arch-nemesis of a strong bond, so let’s explore some foolproof methods for aligning surfaces like seasoned professionals.
Alignment Marks or Guides:
These trusty sidekicks in the alignment game will lead us to success. Temporary markers or physical guides are your secret weapons for positioning rubber and glass accurately. They’ll ensure that the adhesive spreads evenly across the entire bonded area, leaving no room for stress-induced surprises.
Clamps or Weights:
Sometimes, a little extra support is necessary to hold things together during the bonding process – enter clamps and weights. Clamps provide that firm grip we crave, but remember to choose ones with an even distribution of pressure. No imbalances allowed. If clamps aren’t available, weights can save the day. Place them strategically across the bonded area, and voila. Uniform pressure application achieved.
Jigs and Fixtures:
For larger areas or complex shapes, we need heavy-duty assistance. That’s where jigs and fixtures come into play. These specialized tools hold rubber and glass in place while the adhesive works its magic. With precise alignment at our fingertips, we can confidently glue away.
Curing Time: Allowing Sufficient Time for the Adhesive to Fully Cure
In our previous section, we delved into the art of alignment for achieving a perfect bond between rubber and glass. Today, we embark on a journey to uncover the hidden power of curing time.
Just like a masterpiece requires time to dry and set, adhesive bonding demands patience and sufficient curing time to create a robust and enduring bond.
So, let’s pick up our brushes (or in this case, adhesives) and unveil the captivating world of allowing enough time for the adhesive to fully cure, ensuring an impeccable bond.
Understanding Curing Time:
Curing time is the magic waiting period required for the adhesive to fully dry and effectively bond rubber to glass. Each adhesive possesses its own unique personality, with different curing times. To unlock the full potential of your chosen adhesive, it is crucial to follow the manufacturer’s instructions specific to your creation. Remember, every adhesive has its artistic flair.
The Waiting Game:
Why can’t we rush the curing process? Just like a masterpiece needs time to dry before it can be displayed, adhesives require sufficient curing time before they can withstand stress or pressure. Disturbing or manipulating the glued surfaces prematurely can lead to weak bonds or even complete failure of the adhesive. So, resist the temptation to fast-forward and allow your masterpiece to cure properly.
Patience is Key:
Most adhesives demand at least 24 hours to fully cure, but bear in mind that some may require longer periods depending on factors such as temperature and humidity. During this delicate curing process, it is paramount to keep the glued objects in a stable position, shielding them from excessive heat or moisture.
Think of it as providing your artwork with the ideal environment for flawless maturation.
Strength Over Time:
Just as an artist’s skill improves over time, some adhesives continue to strengthen even after the initial curing period. Therefore, for a few days after gluing, it is best to avoid subjecting the bonded objects to extreme conditions. Allow your adhesive masterpiece the time it needs to reach its full strength and resilience.
Benefits of Using Silicone Adhesives for Rubber-to-Glass Bonding
Get ready to uncover the remarkable benefits that make silicone adhesives the top choice for rubber-to-glass bonding.

First and foremost, let’s talk about adhesion. Silicone adhesives are renowned for their exceptional adhesion properties. They create a powerful bond between rubber and glass surfaces, ensuring a connection that stands the test of time.
Now, let’s address the challenge of thermal expansion. Rubber and glass have different coefficients of thermal expansion, meaning they expand and contract at different rates when temperatures change. But fear not. Silicone adhesives are incredibly flexible. They can accommodate these differences, providing a bond that remains strong even in the face of extreme temperature fluctuations.
But that’s not all – silicone adhesives also offer resistance to moisture and weathering. Imagine your rubber-to-glass bonded assembly exposed to rain, humidity, or harsh UV radiation. Sounds like a recipe for disaster, right? Not with silicone adhesives. They act as a protective barrier, preventing water and other contaminants from penetrating the bond and causing deterioration. So, no matter the environmental conditions, your bond stays intact.
Now let’s talk electricity. Silicone adhesives possess excellent electrical insulation properties, making them ideal for bonding rubber and glass in electrical or electronic devices. They serve as insulators, ensuring that no unwanted electrical current passes through the bond.
Chemical resistance is another ace up the sleeve of silicone adhesives. They can withstand exposure to various chemicals without compromising their adhesive properties. This is crucial in industries such as automotive, aerospace, or medical, where rubber-to-glass bonded parts may come into contact with fuels, oils, solvents, or cleaning agents. With silicone adhesives, your bond remains unyielding no matter what chemicals come into play.
Convenience is key when it comes to application, and silicone adhesives have you covered. They are available in various forms – liquids, gels, or pastes – allowing for easy and precise application tailored to your specific rubber-to-glass bonding project. Whether you need precision or simplicity, silicone adhesives deliver.
Common Mistakes to Avoid When Gluing Rubber to Glass
In the intricate dance of gluing rubber to glass, there are pitfalls that can shatter your dreams of a strong and unyielding bond. But fear not. We’re here to guide you through the treacherous terrain of mistakes and provide you with expert insights to ensure your rubber and glass stick together like a match made in adhesive heaven. Prepare to embark on a journey that will forever change your gluing game.
The Sticky Situation of Using the Wrong Adhesive:
Picture this: you’ve carefully selected your rubber and glass materials, but then you commit the grave error of using a general-purpose adhesive instead of one specially formulated for rubber-to-glass bonding. The horror. To avoid this catastrophe, seek out silicone adhesives designed specifically for this purpose. They possess the magical powers required to forge an unbreakable connection.
Surface Preparation: The Key to Success:
Before the adhesive can work its magic, proper surface preparation is an absolute must. Don’t neglect this crucial step. Both the rubber and glass surfaces must be immaculate, free from any dirt, dust, or grease. Give them a gentle cleansing with a mild detergent and water solution, followed by a thorough drying session with a clean cloth. Only then will their surfaces be ready to embrace the adhesive’s power.
The Perilous Rush: Insufficient Curing Time:
Impatience is the enemy of strength when it comes to adhesive bonding. Rushing the curing process is a grave mistake that can lead to a weak bond, susceptible to stress and temperature changes. Heed the wisdom of the adhesive gods and follow the manufacturer’s instructions regarding curing time. Allow ample time for the adhesive to fully cure and unleash its maximum strength.
The Goldilocks Dilemma: Over- or Under-Applying Adhesive:
In this adhesive tale, there is no room for extremes. Applying too much adhesive can result in a messy disaster, with the excess squeezing out and interfering with the bond. But using too little adhesive is equally perilous, resulting in a feeble connection that won’t stand the test of time. Embrace the art of balance by adhering to the recommended application guidelines provided by the adhesive manufacturer.
Tips for Successful Rubber-to-Glass Bonding
Achieving a successful rubber-to-glass bond can be challenging due to the different properties of these materials. However, with the right techniques and materials, a strong and durable bond can be achieved.
This article will provide detailed tips on how to achieve successful rubber-to-glass bonding, including choosing the right adhesive, properly cleaning and preparing the surfaces, applying the adhesive evenly, allowing for proper curing time, considering primers, and taking into account environmental factors.
Choose the Right Adhesive:
To ensure a strong rubber-to-glass bond, it is crucial to select an adhesive specifically designed for this purpose. Look for adhesives labeled as suitable for bonding rubber and glass. Silicone-based adhesives are commonly used for this application due to their excellent flexibility and durability. By choosing the right adhesive, you can ensure optimal adhesion between rubber and glass.
Clean and Prepare the Surfaces:
Before applying the adhesive, thoroughly clean and prepare both the rubber and glass surfaces. Dirt, dust, oil, or grease can hinder the bonding process. Use a mild detergent or alcohol-based cleaner to remove any contaminants from the surfaces. Additionally, lightly roughen the glass surface using sandpaper or a glass etching solution to improve adhesion. This step ensures that the adhesive has a clean and receptive surface to bond to.
Apply the Adhesive Evenly:
When applying the adhesive, it is important to evenly spread it across both the rubber and glass surfaces. Use a brush or spatula to apply a thin and uniform layer of adhesive on each surface. Avoid applying excessive amounts of adhesive as it can result in a weaker bond.
The goal is to have just enough adhesive to create a strong bond without any excess that may compromise the integrity of the bond.
Allow Proper Curing Time:
After applying the adhesive, it is crucial to allow sufficient time for it to cure. Follow the manufacturer’s instructions regarding the recommended curing time. Curing time can vary depending on the type of adhesive used.
It is important not to disturb or put pressure on the bonded surfaces during the curing process to ensure a strong bond. Patience is key to allow the adhesive to fully set and create a durable bond.
Consider Using Primers:
In certain cases, using a primer before applying the adhesive can enhance the bonding strength between rubber and glass. Primers create a better surface for adhesion by promoting chemical interactions between the adhesive and the materials being bonded.
Consult with an adhesive specialist or refer to the manufacturer’s instructions to determine if using a primer is necessary for your specific application. Using a primer can significantly improve the strength and longevity of the rubber-to-glass bond.
HxZUpKgQ8Gs” >
Conclusion
When it comes to the task of gluing rubber to glass, there are a few key steps you need to follow. First and foremost, make sure you have the right adhesive for the job. Look for a glue that is specifically designed for bonding rubber and glass together.
Before applying the adhesive, it’s crucial to clean both surfaces thoroughly. Use a mild detergent or rubbing alcohol to remove any dirt, dust, or oils that could interfere with the bonding process. This step ensures maximum adhesion and long-lasting results.
Next, apply a thin layer of adhesive onto both the rubber and glass surfaces. Be careful not to use too much glue as it can lead to messy application and potential damage. A small amount goes a long way in creating a strong bond between the two materials.
Once you’ve applied the adhesive, carefully press the rubber onto the glass surface. Make sure to align them properly before firmly pressing them together. You may want to use clamps or weights to keep them in place while the glue sets.
Allow sufficient drying time as specified by the adhesive manufacturer. This is crucial for ensuring a secure bond between rubber and glass. Avoid disturbing or moving the glued objects during this period as it can compromise the effectiveness of the bond.
Lastly, inspect your work once the glue has fully cured. Ensure that there are no visible gaps or weak spots in the bond. If needed, you can reinforce it further by applying additional layers of adhesive.
In conclusion, gluing rubber to glass requires careful preparation, proper adhesive selection, and precise application techniques.