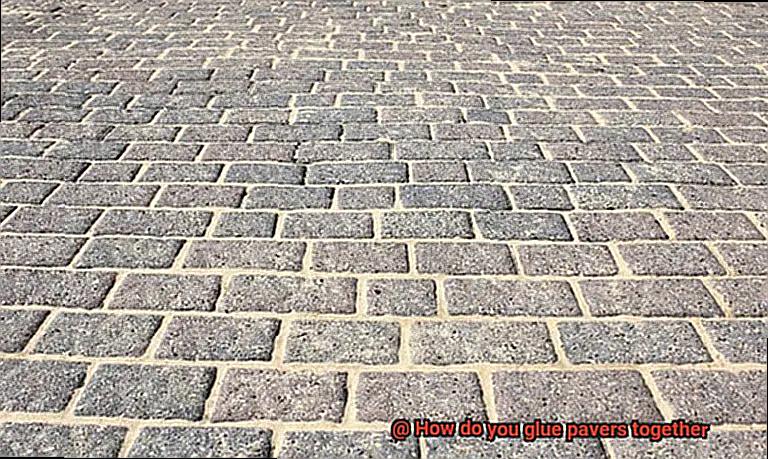
Imagine yourself in your own backyard paradise, surrounded by a mesmerizing stone pathway that leads to a cozy patio. The intricate patterns, the solid foundation – it’s like stepping into a work of art. But have you ever wondered how those magnificent pavers seamlessly come together? Well, get ready to uncover the secrets of gluing pavers together.
Whether you’re a DIY enthusiast or simply a homeowner looking for an easy yet effective way to secure your pavers, we’ve got you covered. In this guide, we’ll dive deep into the world of gluing pavers together, revealing the techniques and products that will transform your outdoor space into a stunning haven.
Hook:
Imagine hosting a garden soiree, with laughter and clinking glasses filling the air. Now picture your guests gracefully strolling along an impeccably laid stone pathway. Pure perfection, right? It’s time to turn that dream into reality.
Main Points:
- Preparing the Surface: Before diving into the gluing process, it’s crucial to ensure that the surface is spotless, dry, and level. We’ll explore the necessary steps to achieve professional-grade results.
- Choosing the Perfect Adhesive: With countless adhesive options available, making the right choice can be overwhelming. From polymeric sand to construction adhesive, we’ll break down each type and its ideal application for specific projects.
- Gluing Techniques: Discover foolproof methods for gluing pavers together – from traditional “wet application” to cutting-edge “dry application.” We’ll reveal step-by-step instructions on achieving a flawless bond that will withstand the test of time.
- Troubleshooting Tips: Even seasoned craftsmen encounter hurdles along the way. We’ll address common glitches during the gluing process and offer expert advice on tackling them head-on.
As we embark on this journey together, get ready to unlock the secrets of creating a sturdy and visually striking paver installation. Whether you’re adding charm to your garden or revamping your driveway, gluing pavers together will breathe new life into your outdoor spaces.
So, roll up your sleeves, arm yourself with knowledge, and prepare to craft a masterpiece that will leave your guests in awe. Let’s make those dreams of a picture-perfect oasis come true.
Types of Glue Used for Gluing Pavers
Contents
- 1 Types of Glue Used for Gluing Pavers
- 2 Polymeric Sand: A Popular Option for Gluing Pavers
- 3 Construction Adhesive: An Effective Option for Gluing Pavers
- 4 Epoxy Resin: A Durable Solution for Gluing Pavers
- 5 Landscape Block Adhesive: A Good Choice for Concrete or Stone Pavers
- 6 Mortar: An Alternative to Glue for a Traditional Look
- 7 Preparing the Surface Before Gluing Pavers
- 8 Applying the Glue to the Paver Joints
- 9 Conclusion
Creating a sturdy and visually appealing pathway using pavers requires careful consideration of the glue used for bonding. With a variety of options available, understanding the advantages and disadvantages of each type is crucial. In this article, we will delve into five different types of glue used for gluing pavers together, empowering you to make an informed decision for your upcoming project.
Polyurethane Adhesive:
Polyurethane adhesive is a popular choice due to its robust bond and flexibility, making it suitable for various paver types such as concrete, natural stone, and clay. This adhesive boasts resistance to moisture and temperature fluctuations, making it ideal for outdoor applications.
Its strength lies in its ability to withstand the stresses caused by foot traffic and environmental factors. However, ensure proper surface preparation and follow the manufacturer’s instructions to achieve optimal results.
Epoxy Adhesive:
For those seeking exceptional strength and durability, epoxy adhesive is the go-to option. Its rigid bond can withstand heavy loads and extreme weather conditions, making it a reliable choice for high-traffic areas or locations prone to water exposure.
It is worth noting that epoxy adhesives may not be suitable for all paver types and may require surface preparation before application. Yet, when used correctly, epoxy adhesives create an unyielding connection between pavers.
Construction Adhesive:
A blend of polyurethane or epoxy resins, construction adhesive offers a strong bond suitable for various paver types. Its versatile nature makes it a go-to option in many projects.
However, it is essential to adhere to the manufacturer’s instructions regarding application and curing time to ensure optimal performance. By doing so, construction adhesive can provide a dependable bond that withstands the test of time.
Specialized Adhesives for Interlocking Concrete Pavers:
Certain pavers, such as interlocking concrete pavers, require specialized adhesives designed explicitly for their installation. These adhesives strike a delicate balance between strength and flexibility, accommodating the movement of the pavers while maintaining a robust bond. This unique formulation ensures stability and durability for interlocking paver systems, making them a wise choice for your project.
Consideration for Non-Adhesive Installation:
It is important to note that not all pavers require glue for installation. Interlocking concrete pavers, for instance, rely on their innovative design and proper compaction of the base material to create a stable and durable surface without the need for adhesive. This non-adhesive option allows for flexibility in future repairs or modifications while still providing a reliable pathway.
Conclusion:
Choosing the appropriate glue for bonding pavers requires careful consideration of various factors such as paver type, intended environment, and desired bond strength. Whether opting for polyurethane adhesive’s flexibility or epoxy adhesive’s unparalleled durability, following the manufacturer’s instructions and considering surface preparation are paramount.
Polymeric Sand: A Popular Option for Gluing Pavers
When it comes to creating a stunning pathway with pavers, the adhesive you choose can make all the difference. Among the many options available, there is one that stands out above the rest – polymeric sand.
This remarkable choice has gained widespread recognition for its multitude of benefits when it comes to gluing pavers together. So, why exactly is polymeric sand the go-to option for paver installation? Let’s explore its unique advantages.
Polymeric sand is not your ordinary sand; it’s a powerful blend infused with polymers. These additives work their magic by binding the sand particles together, creating a solid and durable bond when activated by water. The result? A pathway that is stable, long-lasting, and built to withstand the test of time.
One of the standout features of polymeric sand is its ability to prevent unsightly weed growth between pavers. We all know how those pesky little invaders can ruin the aesthetic appeal of any pathway. But fear not. The polymers in polymeric sand create an impenetrable barrier, preventing weed seeds from germinating and taking over your beautiful paver installation.
Stability is paramount when it comes to pavers. Nobody wants their carefully laid pathway to shift or become loose over time. Here’s where polymeric sand truly shines. It fills in the gaps between the pavers, hardening to create a solid surface that keeps everything in place. Say goodbye to wobbly pathways and hello to a sturdy foundation.
But what about heavy rainfall? Will it wash away all your hard work? Not if you choose polymeric sand. This remarkable adhesive boasts exceptional erosion resistance, standing strong even in the face of torrential downpours. Your pathway will remain intact, unaffected by nature’s wrath.
Now, let’s address the issue of unwanted guests – insects. The last thing you want is creepy crawlies making themselves at home between your pavers. Thankfully, polymeric sand makes it incredibly challenging for insects to burrow and create habitats in the joints. The solid bond created by the sand serves as a formidable deterrent, keeping those critters at bay.
Construction Adhesive: An Effective Option for Gluing Pavers
Crafted to withstand the harshest outdoor conditions, this adhesive is a game-changer for your paver installation. In this comprehensive guide, we will walk you through the steps of effectively using construction adhesive to ensure a secure bond between your pavers.
Step 1: Prepare and Cleanse
Before diving into gluing your pavers together, it is crucial to prepare the surface meticulously. Start by giving your pavers a thorough cleanse, eliminating any dirt, debris, or loose particles. This rigorous cleansing ritual will not only promote a solid bond but also enhance the adhesive’s effectiveness. Grab that broom and let’s get sweeping.
Step 2: Select the Perfect Adhesive
Construction adhesive comes in various forms – tubes, cartridges, and cans. Choose the one that best suits your project’s magnitude. Opt for tubes for smaller jobs and cartridges or cans for larger areas. Regardless of your choice, ensure that the adhesive is compatible with pavers and approved for outdoor use by perusing the label.
Step 3: Apply with Precision
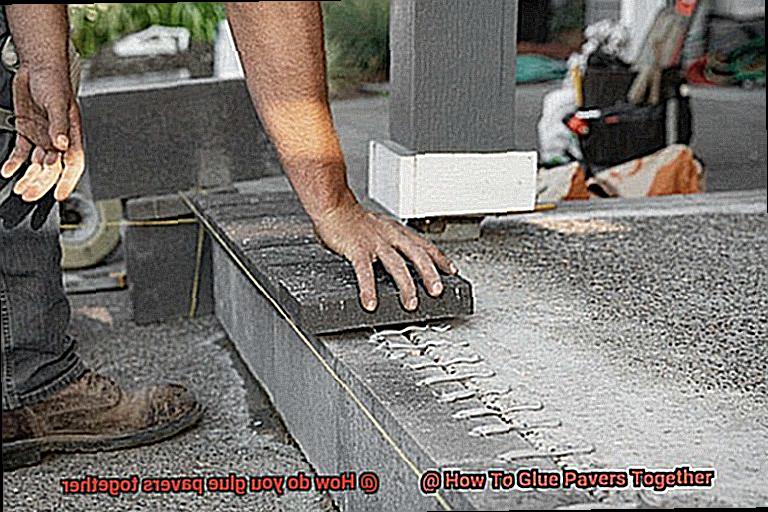
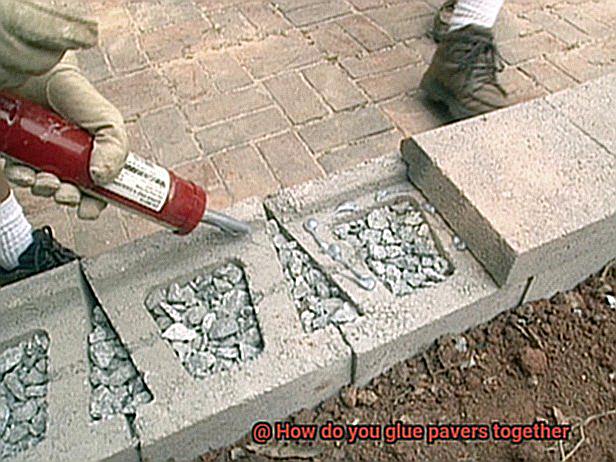
Now comes the exciting part – applying the construction adhesive. Begin by evenly dispensing it onto the edges of the pavers or in a captivating zigzag pattern across the entire surface. Don’t hold back; generously coat each paver with adhesive to forge an unyielding bond.
Step 4: Firmly Join the Pieces
After applying the adhesive, it’s time to unite those pavers with unwavering force. This pivotal step allows the adhesive to spread evenly, creating an impregnable bond. Utilize your hands or wield a rubber mallet to exert even pressure on all pavers. Pay meticulous attention to corner or edge pieces for a seamless, flawless finish.
Step 5: Embrace Patience and Curing Time
Exercise your patience muscles. To unleash the full potential of the adhesive, meticulously follow the manufacturer’s instructions regarding curing time. This might entail an overnight wait or even several days before subjecting your newly glued pavers to heavy traffic or burdensome loads. Trust us – the wait will be rewarded with unparalleled resilience.
Epoxy Resin: A Durable Solution for Gluing Pavers
Look no further than epoxy resin – the ultimate adhesive solution for securely bonding pavers together. With its exceptional strength, resistance to moisture and UV radiation, and versatility in formulation, epoxy resin is the go-to choice for durable paver installations.
Strength that Endures:
Epoxy resin is designed to withstand heavy loads and extreme weather conditions, making it perfect for outdoor applications. From driveways to walkways and patios, epoxy resin ensures that your pavers stay firmly in place, even under the harshest circumstances.
Shielded from the Elements:
When it comes to moisture, chemicals, and UV radiation, epoxy resin has got you covered. Say goodbye to water damage, oil spills, and fading colors. Once your pavers are glued together with epoxy resin, they remain unaffected by the elements, keeping your installation intact and pristine.
Versatility at Your Fingertips:
With various formulations available, epoxy resin offers tailored solutions for any project. Outdoor applications benefit from enhanced UV resistance and flexibility, while indoor projects enjoy high strength and low odor. Whatever your needs may be, there’s an epoxy resin specifically designed to meet them.
Simple Application Process:
Gluing pavers with epoxy resin is a breeze. Start by thoroughly cleaning the pavers to remove any debris or oils that could hinder adhesion. Then, prepare the epoxy resin mixture according to the manufacturer’s instructions. Apply the mixture evenly on one paver surface using a trowel or brush. Place the second paver on top and press firmly for proper adhesion. Ensure correct alignment before the adhesive sets.
Patience for Perfection:
Allow sufficient curing time for the epoxy resin to fully set. Depending on the product used and environmental conditions, this typically ranges from 24 to 48 hours. During the curing period, avoid foot traffic or heavy loads on the newly glued pavers to prevent any damage or displacement.
Landscape Block Adhesive: A Good Choice for Concrete or Stone Pavers
Imagine a breathtaking patio or walkway adorned with concrete or stone pavers, standing strong and unwavering. How does this architectural marvel come to life? Enter landscape block adhesive – the unsung hero behind the perfect bond for your pavers. In this article, we will explore why landscape block adhesive is the ultimate choice, offering unrivaled strength, durability, and ease of application for your concrete or stone pavers.
The Mighty Bond:
When it comes to keeping your pavers in place, landscape block adhesive emerges as the superhero. Unlike traditional mortars or adhesives, it forms an unyielding bond that withstands the elements and heavy loads. Your pavers will remain steadfast for years to come, defying gravity and ensuring a solid foundation.
Defying Nature’s Whims:
Outdoor applications demand an adhesive that can brave Mother Nature’s unpredictable temperament. Landscape block adhesive rises to the challenge with its unique formulation, specifically designed to resist moisture and temperature changes. Rainstorms, snowfall, and scorching heat are no match for this adhesive’s flexibility. Say goodbye to unsightly cracks or gaps between your pavers – they’ll stay intact through all seasons.
Simplicity at its Finest:
Who needs unnecessary complications when simplicity reigns supreme? Landscape block adhesive arrives in a convenient tube or cartridge, simplifying the application process. Just apply it directly onto the edges of your pavers in a zigzag pattern, firmly press them together, and witness the magic unfold before your eyes. No mortar mixing or messy applications required – it’s effortless perfection in three simple steps.
Time Waits for No One:
Time is of the essence, and landscape block adhesive respects that. It boasts a speedy curing time, allowing you to forge ahead with your project without unnecessary delays. In just a few hours, your pavers will be securely bonded, granting you the freedom to continue your creative endeavors. However, exercise caution and avoid heavy traffic until full curing occurs, which typically takes up to 24 hours.
Mortar: An Alternative to Glue for a Traditional Look
When it comes to creating a stunning patio or walkway, landscape block adhesive may be our first choice, but there’s another option that can give our outdoor space a more traditional look. Enter mortar – the unsung hero of achieving that classic, timeless aesthetic.
So, what exactly is mortar? It’s a tried and true material made by mixing cement, sand, and water to create a thick paste-like substance. This magical concoction provides a strong and durable bond between pavers, ensuring they stay put no matter how much foot traffic or heavy loads they endure.
But here’s where it gets exciting – using mortar gives our patio or walkway a more traditional and natural look compared to glue or other adhesive materials. The mortar joints between the pavers create a cohesive and seamless appearance, mimicking the look of traditional masonry. It’s like stepping back in time while still enjoying modern-day durability.
To achieve this classic look, we have to start with proper preparation. Clearing the surface of any debris or loose particles is essential to ensure the mortar adheres properly to the pavers. Once that’s done, it’s time to mix the cement and sand in the right ratio for our project. We want the consistency of the mortar to be similar to peanut butter – not too dry, not too wet.
Now comes the fun part. Using a trowel, we scoop some mortar onto the surface where we want to place the paver. We spread it evenly, covering every inch of the area where the paver will sit. Then, with precision and care, we press the paver into place, giving it a little wiggle to improve contact with the mortar. A rubber mallet or a piece of wood can be used to tap down on the paver and ensure it’s level with its neighbors, creating a smooth surface.
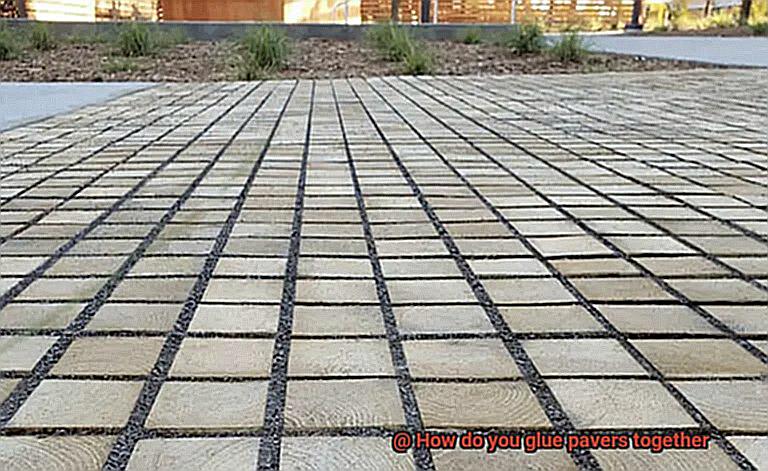
Of course, we can’t forget about the mortar joints – those small gaps that add character and charm. Leaving a 1/4 inch to 3/8 inch gap between each paver is recommended. Once all the pavers are snugly in place, we let the mortar dry and cure for at least 24 hours. During this time, it’s best to avoid walking on the newly installed pavers or placing heavy objects on them.
Preparing the Surface Before Gluing Pavers
Embark on a journey back in time, where craftsmanship and durability converge, as we delve into the art of gluing pavers. But before we immerse ourselves in the magic of mortar and pavers, there is a crucial step that sets the stage for a long-lasting masterpiece – preparing the surface. In this comprehensive guide, we will take you through the essential steps to ensure your pavers adhere securely, resulting in a project that withstands the test of time. So, roll up your sleeves and let’s begin.
Step 1: Cleanliness is Key
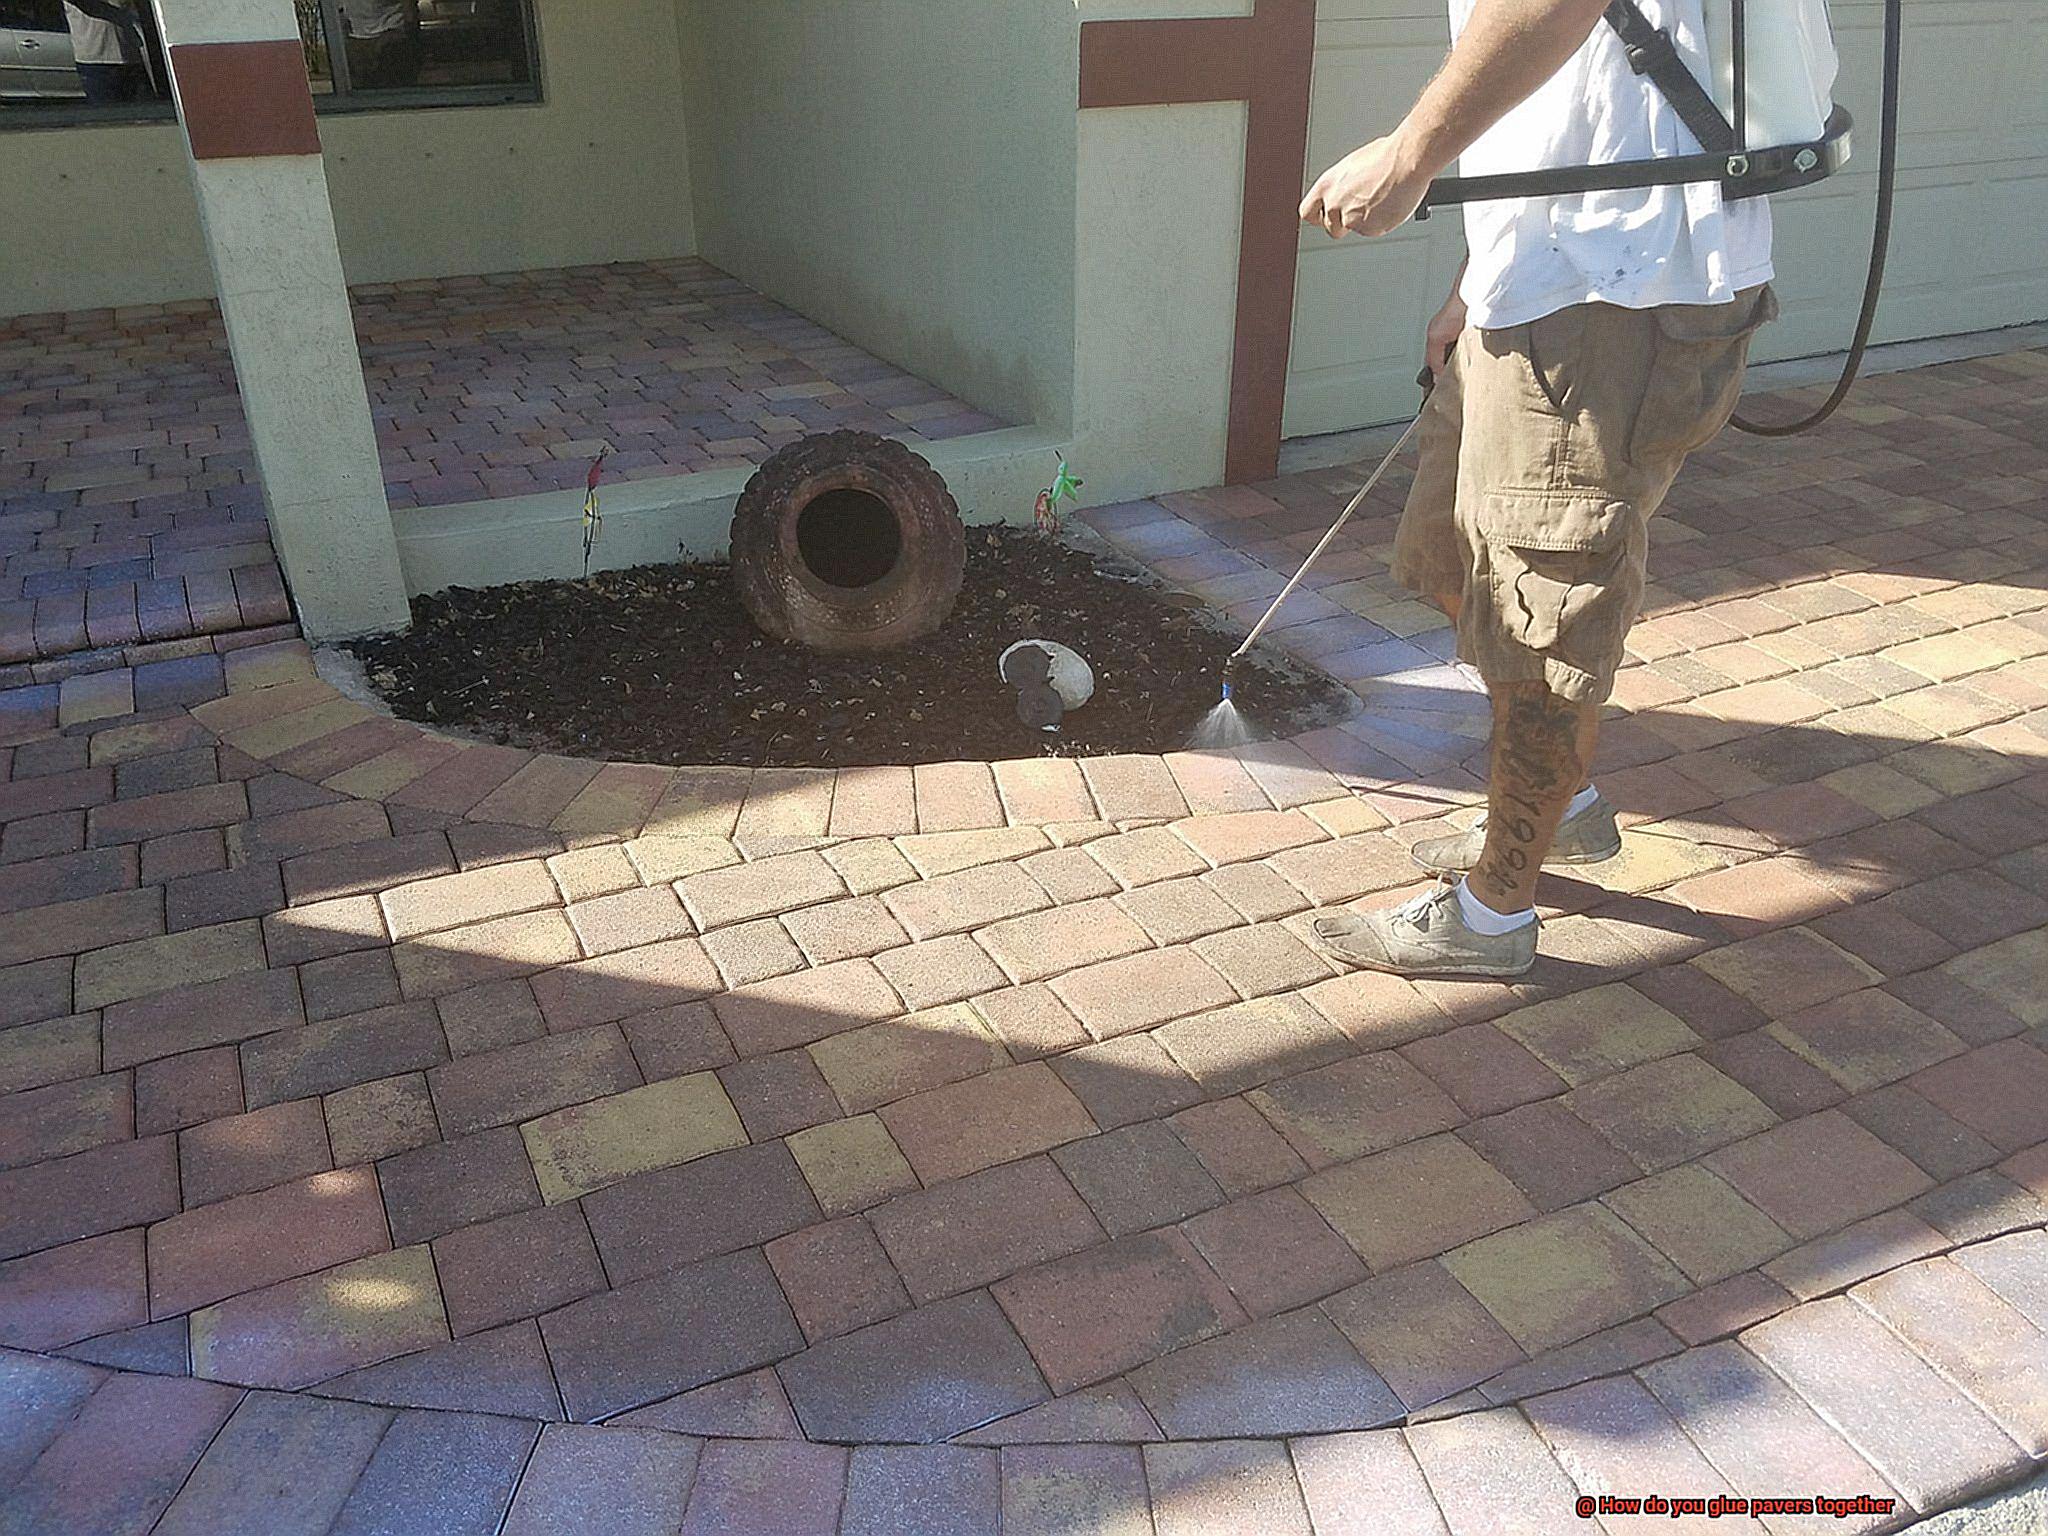
Start by meticulously cleaning the surface. Sweep away any debris, dirt, or loose materials that may impede the bond between the pavers and the surface. For more stubborn grime, unleash the power of a leaf blower or pressure washer to achieve a squeaky-clean canvas.
Step 2: Spot the Cracks
Thoroughly inspect the surface for cracks or uneven areas. Should these pesky cracks rear their ugly heads, fear not. Fill them with an appropriate crack filler material and level them off using a trusty trowel or putty knife. Ensure a smooth and seamless foundation for your pavers to shine.
Step 3: Leveling the Playing Field
A level surface is non-negotiable for a flawless end result. Grab your level tool and scrutinize every nook and cranny for high or low spots. If you come across any humps or dips, level them out using a leveling compound or by adjusting soil as needed. Remember, perfection lies in the details.
Step 4: Priming for Success
To elevate the bond between the surface and the glue, apply a primer or bonding agent – the secret ingredient that propels your project from good to great. With finesse, brush or roll the primer evenly, allowing it to dry according to the manufacturer’s instructions. Trust us, this extra step makes a world of difference.
Step 5: The Glue that Holds it All Together
It’s time to dive into the glue. Select a suitable adhesive, such as a polyurethane-based or epoxy adhesive, in accordance with the manufacturer’s instructions for mixing and application. Spread the adhesive consistently and evenly across the surface, employing a trowel or notched trowel. Precision is paramount.
Applying the Glue to the Paver Joints
We’ve covered the importance of prepping and priming our surface, and now it’s time to delve into the heart of our project – applying the glue to the paver joints. This critical step will ensure that our masterpiece stands strong against the test of time. So let’s roll up our sleeves and dive right in.
The first order of business is to ensure that our paver joints are clean and ready for bonding. Grab your trusty broom or powerful leaf blower and sweep away any debris or loose particles. We want a pristine surface that is clean and dry, providing the perfect foundation for our adhesive to do its magic. Remember, cleanliness is key.
Now comes the exciting part – choosing the right adhesive for our project. Lucky for us, there are several options available, each with its own unique qualities. Let’s explore them one by one.
- Polymeric Sand: This is a crowd favorite among paver enthusiasts. It’s like regular sand but with a special polymer twist. When exposed to moisture, the polymer hardens, creating a powerful bond between the pavers. Applying polymeric sand is a breeze – simply sweep it into the joints and mist it with water. The moisture activates the polymer, ensuring that your pavers stay in place for years to come.
- Epoxy Resin: If durability is what you’re after, epoxy resin is your go-to choice. This two-part adhesive requires a bit more effort to apply, but it guarantees a rock-solid bond that can withstand even the harshest conditions. Mix the epoxy resin according to the manufacturer’s instructions and pour it into the joints. Use a trusty trowel or grout float to spread it evenly, ensuring complete coverage for a long-lasting bond.
- Construction Adhesive: Versatility is the name of the game with construction adhesive. It comes in various forms like liquid, paste, or caulk, offering flexibility to meet your project’s needs. Apply it directly onto the joint surface before placing the paver on top. Be sure to follow the manufacturer’s instructions for proper application and drying time.
4HtjS7EiurM” >
Conclusion
Gluing pavers together is a crucial step in creating a durable and long-lasting surface.
To achieve this, you need to follow a few simple steps. First, ensure that the pavers are clean and free from any debris or dust.
This will help the adhesive bond more effectively. Next, choose a high-quality adhesive that is specifically designed for outdoor use.
Apply the adhesive evenly on the surface of each paver, making sure to cover all edges and corners. Press the pavers firmly together, using a rubber mallet or a similar tool to ensure they are securely bonded.
Allow the adhesive to dry completely before walking or driving on the paved surface.