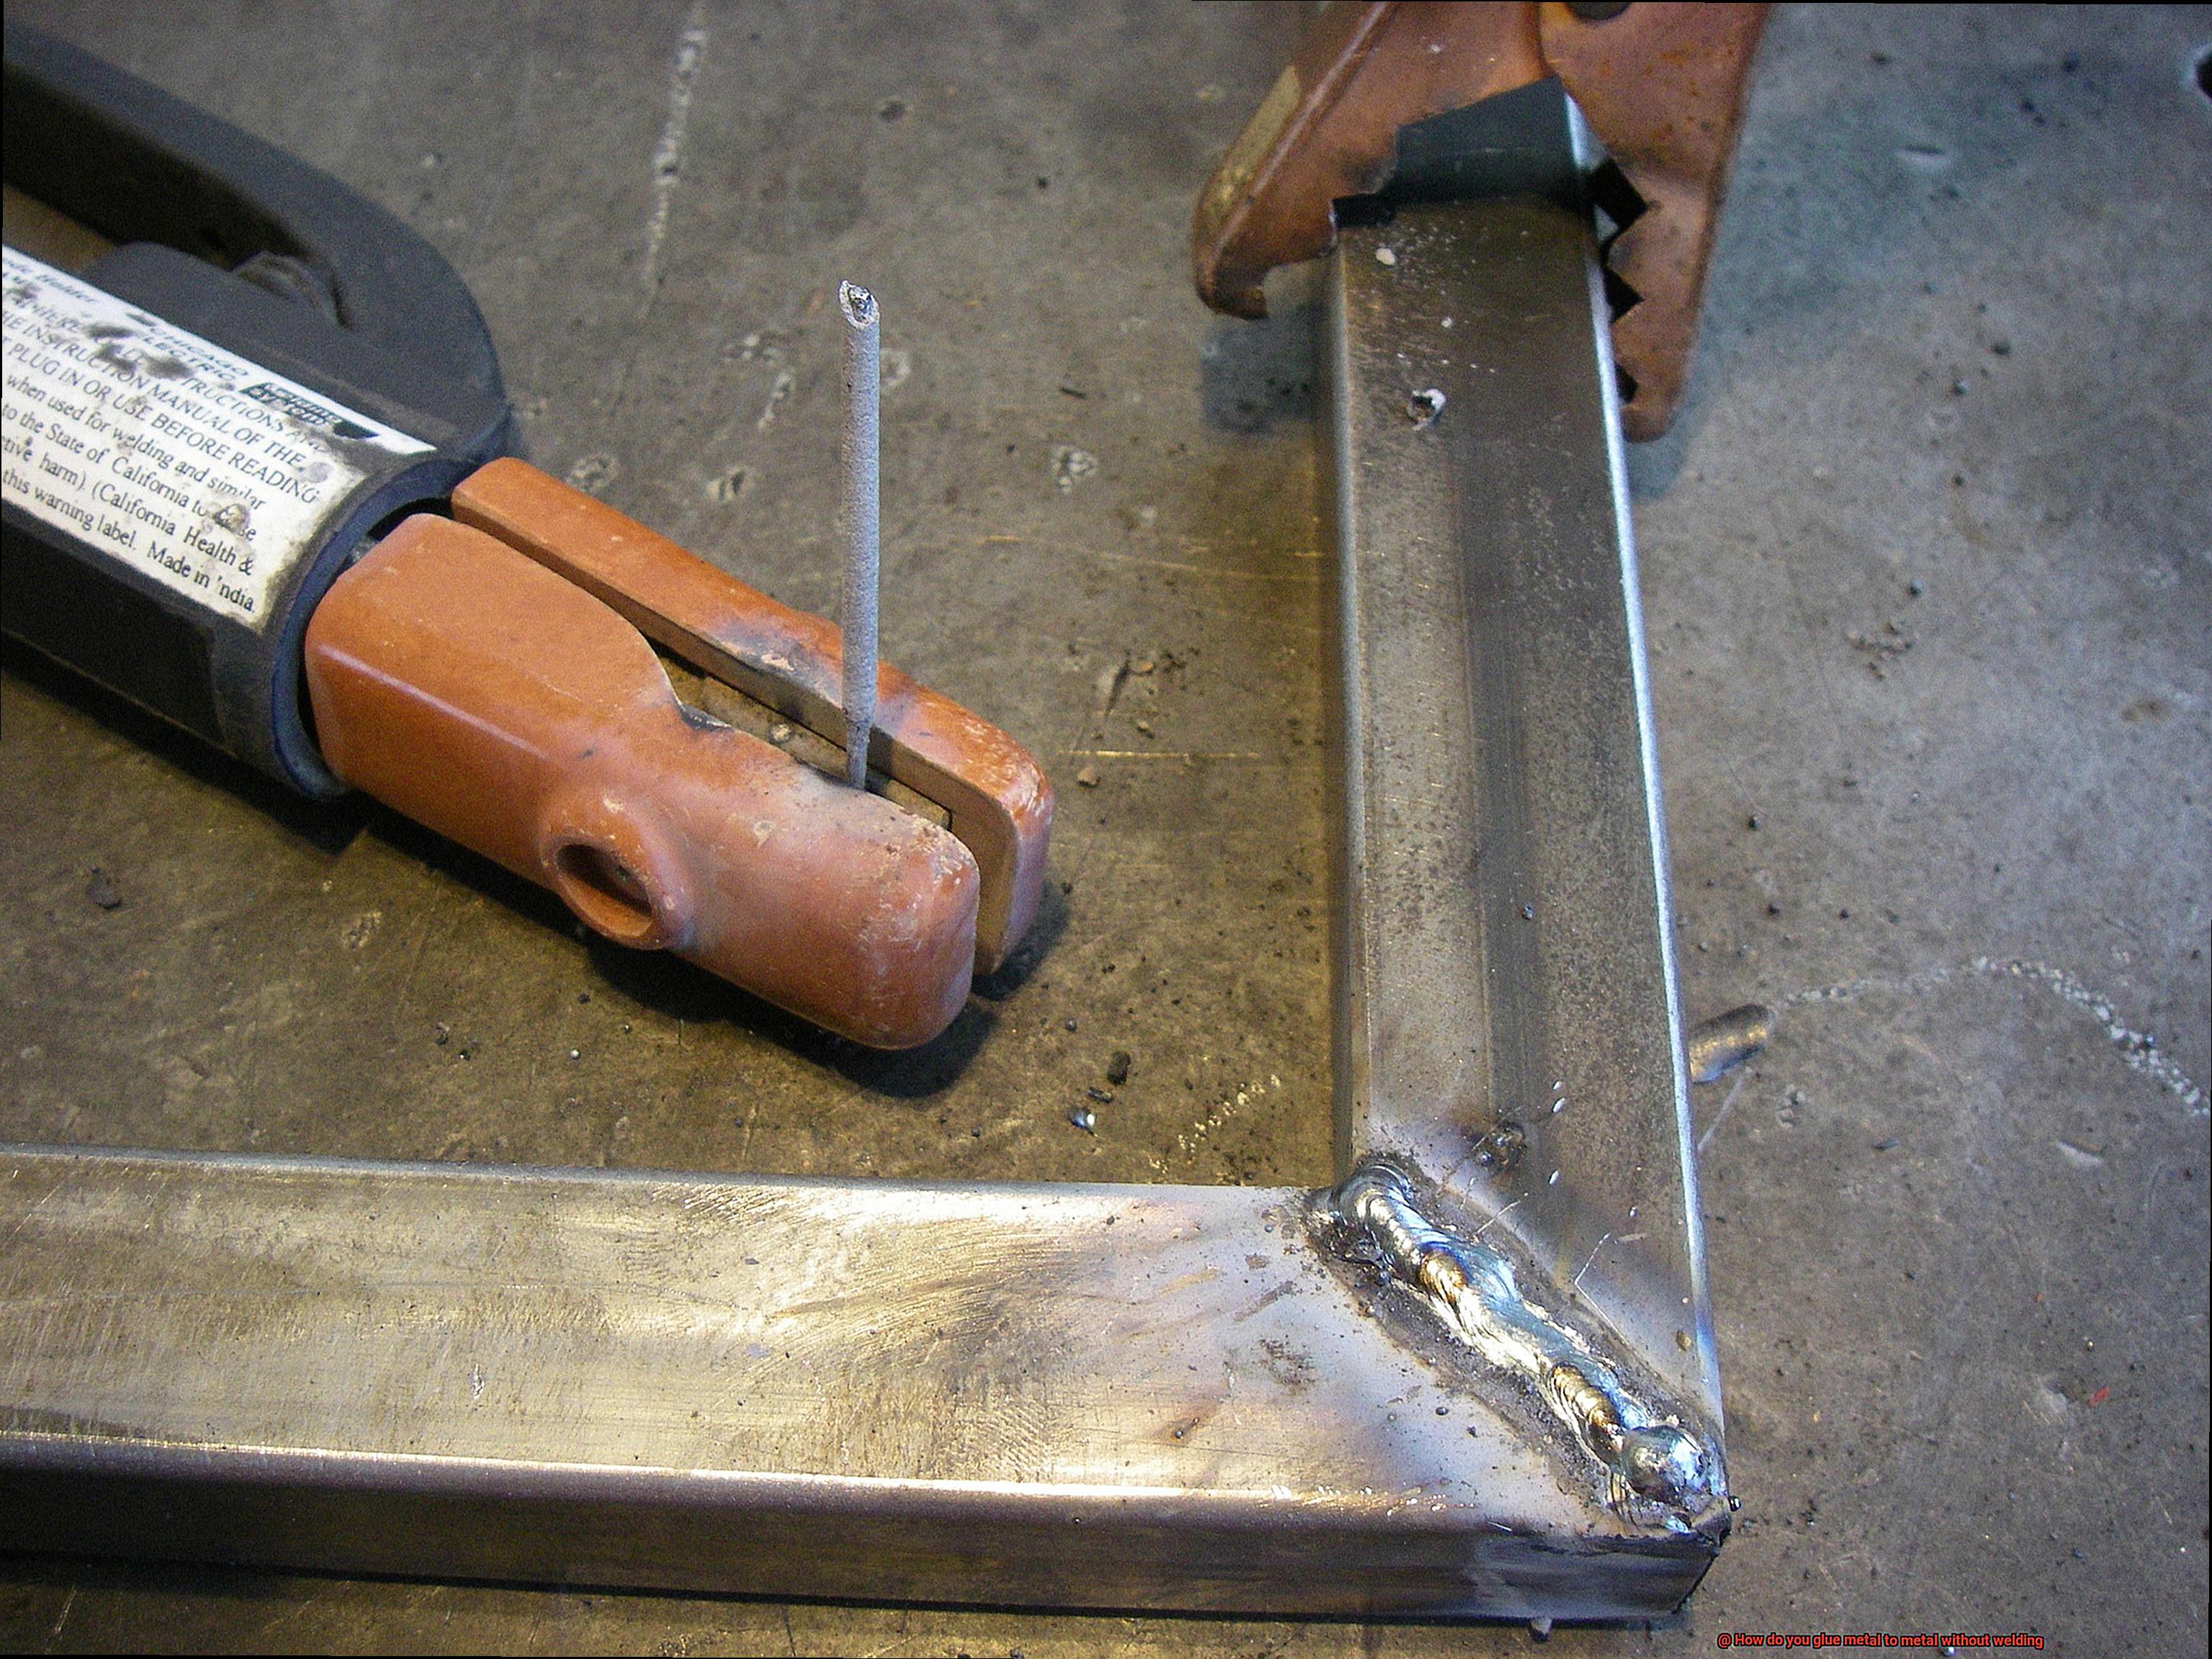
Get ready to dive headfirst into the fascinating world of bonding metal without welding. Sure, welding may be the traditional go-to method, but why not shake things up a bit and explore some welding-free alternatives?
Whether you’re restoring a vintage masterpiece with delicate metalwork or crafting your own mind-blowing sculptures and inventions, this comprehensive guide has got you covered. We’re about to uncover some seriously ingenious techniques and powerful adhesives that will blow your mind.
Forget about the intense heat and complicated equipment – we’re here to show you how to achieve rock-solid bonds that are just as strong as welded connections. So get ready to learn all about game-changing options like epoxy resin, super glue (yes, really.), structural adhesives, and even some secret weapons you’ve probably never heard of.
No more limits imposed by bulky welding gear. It’s time to unleash your inner creative genius and say hello to a whole new world of possibilities. Whether you’re a seasoned metalworker or a curious newbie itching for some metallic adventures, buckle up because we’re about to embark on an exciting journey through the realm of metal bonding.
Get ready for practical tips, step-by-step instructions, and insider secrets that will make those metal-to-metal bonds stronger than ever before. Say goodbye to welding equipment – we’ve got everything you need right here.
So, join us as we carve out a new path where creativity meets strength and durability. Let’s dive in and discover how to glue metal to metal like never before.
What is Glueing Metal to Metal?
Contents
- 1 What is Glueing Metal to Metal?
- 1.1 Step 1: Surface Preparation – Laying the Foundation for a Strong Bond
- 1.2 Step 2: Selecting the Right Adhesive – A Key Ingredient for Success
- 1.3 Step 3: Applying the Adhesive – Precision and Expertise
- 1.4 Step 4: Bonding the Metal Pieces – Fusing Strength and Durability
- 1.5 Step 5: Curing Time – Allowing the Magic to Happen
- 1.6 Step 6: Finishing Touches – Aesthetic Excellence
- 2 Advantages of Glueing Metal to Metal
- 3 Different Types of Adhesives for Glueing Metal to Metal
- 4 Preparing the Metal Surfaces for Glueing
- 5 Applying the Adhesive Properly
- 6 Mechanical Fasteners for Bonding Metals Together
- 7 Considerations When Choosing an Adhesive
- 8 Following Manufacturer Instructions
- 9 Conclusion
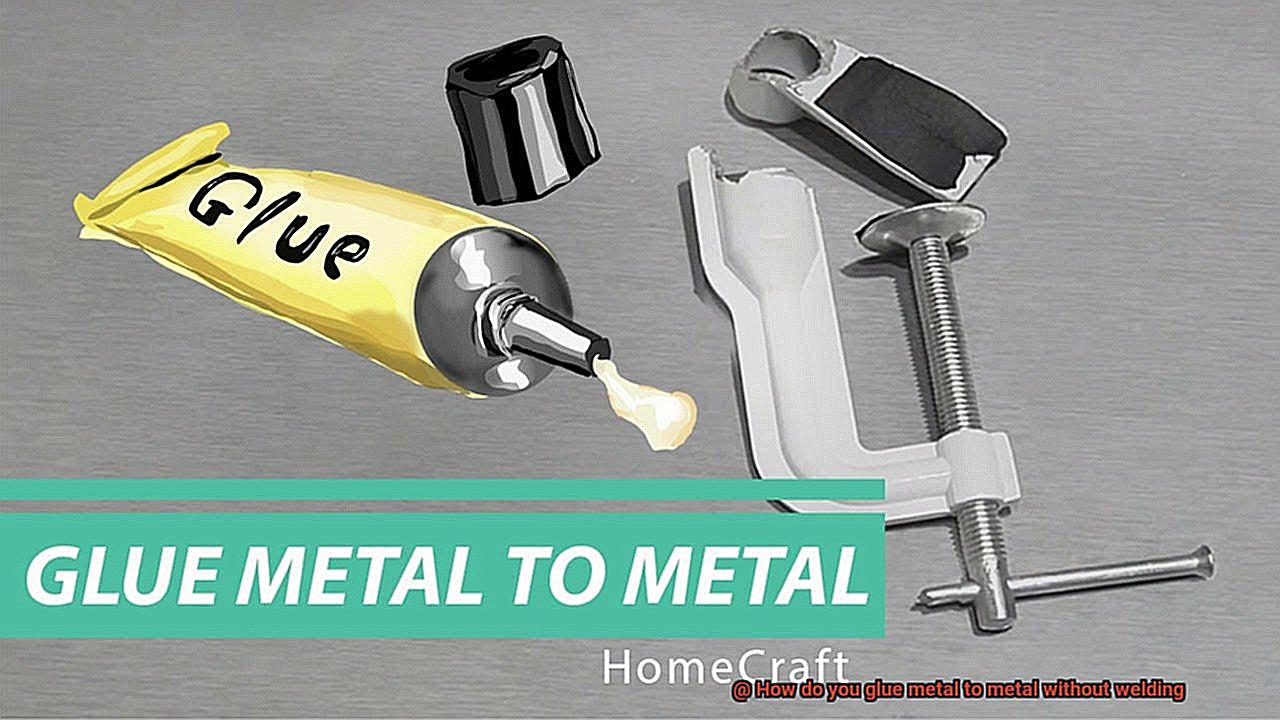
When it comes to joining metal pieces together, gluing offers a versatile and cost-effective alternative to traditional welding techniques. Whether you’re working on a DIY project or tackling a repair job, understanding the process and choosing the right adhesive can make all the difference.
In this article, we will delve into the intricacies of gluing metal to metal, exploring the steps involved, discussing challenges and risks, and highlighting the materials needed for a successful bond.
Step 1: Surface Preparation – Laying the Foundation for a Strong Bond
Proper surface preparation is crucial for achieving a strong and durable bond. Begin by meticulously cleaning the metal surfaces with a degreaser, removing any oil, grease, or contaminants that could compromise the adhesive’s effectiveness.
Next, lightly sand the surfaces to create a rough texture that enhances adhesive adhesion. Remember to wipe away any dust or debris before proceeding.
Step 2: Selecting the Right Adhesive – A Key Ingredient for Success
Choosing the appropriate adhesive is vital for achieving a successful bond.
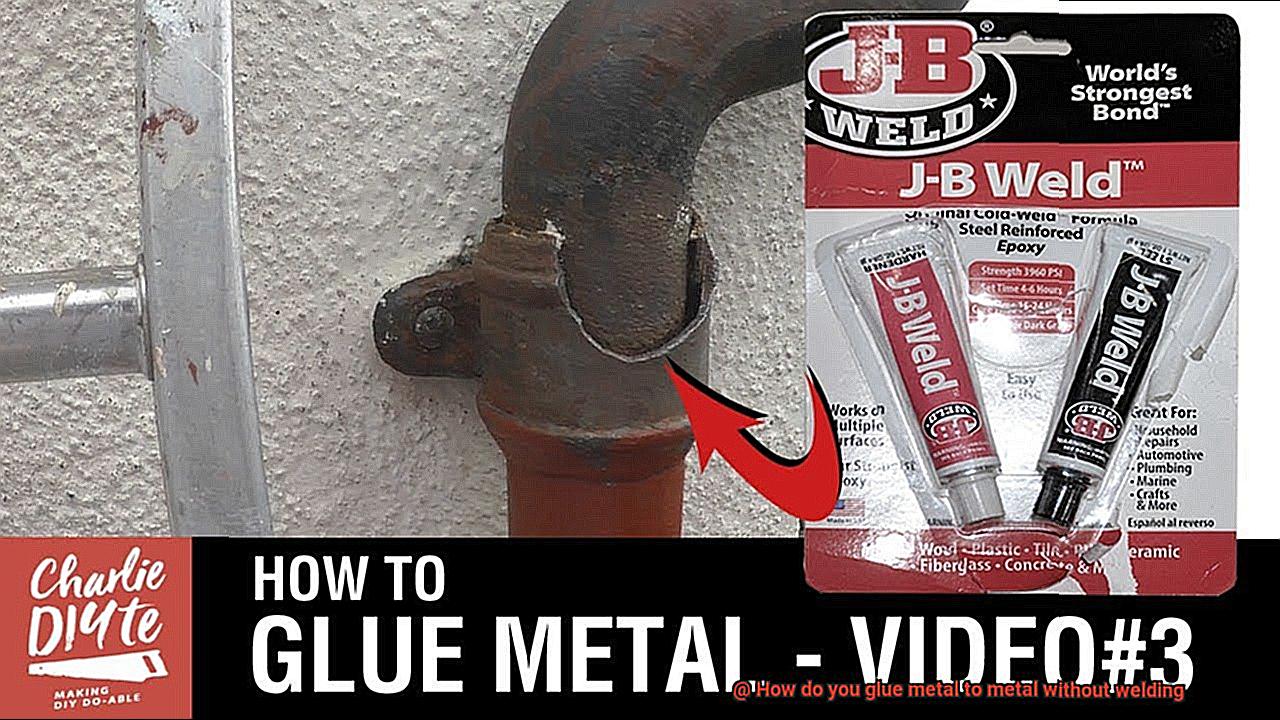
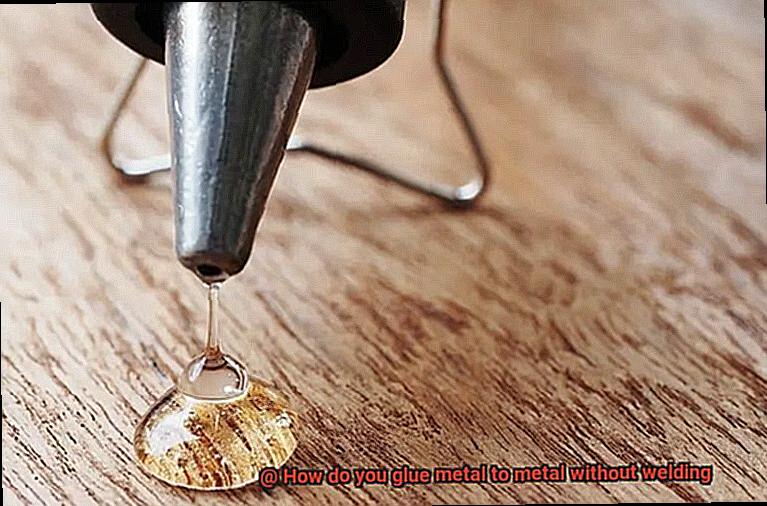
Epoxy adhesives are a popular choice due to their exceptional strength and versatility. Comprising two components – a resin and a hardener – epoxy adhesives are mixed just before application.
For quick repairs, cyanoacrylate (super glue) is another option, offering fast-setting properties.
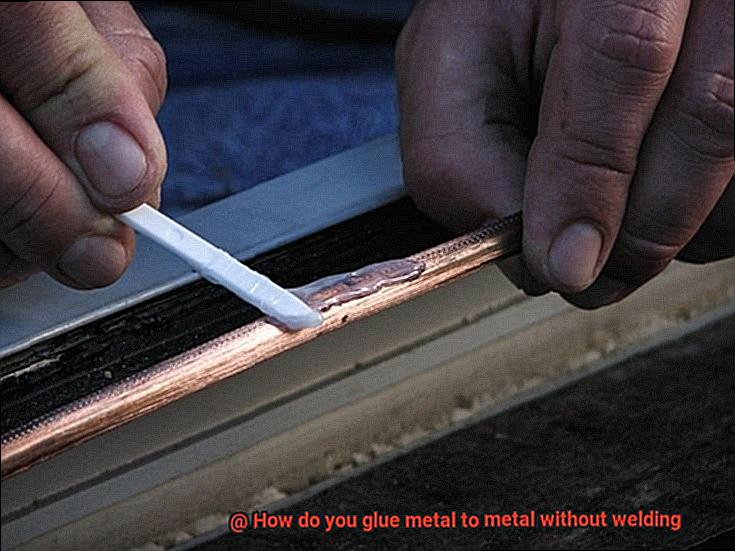
Step 3: Applying the Adhesive – Precision and Expertise
Apply a thin layer of adhesive evenly onto both metal surfaces using a brush or applicator. Exercise caution not to use excessive amounts, as this can result in dripping or running. For intricate designs or small parts, consider using gel-based adhesives like anaerobic adhesive that remains liquid until exposed to air between the metal surfaces.
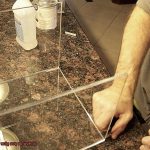
Step 4: Bonding the Metal Pieces – Fusing Strength and Durability
Carefully align and press the metal pieces together, ensuring full contact between the adhesive layers. Apply firm pressure for the duration recommended by the adhesive manufacturer. This allows for proper curing and ensures a strong bond.
Step 5: Curing Time – Allowing the Magic to Happen
Allow sufficient time for the adhesive to cure. The duration may vary depending on the type and brand of adhesive used. Adhere to the manufacturer’s instructions for the recommended curing time, which can range from a few minutes to several hours. During this period, avoid disturbing or stressing the bond.
Step 6: Finishing Touches – Aesthetic Excellence
Once the adhesive has fully cured, inspect the bond for any imperfections or irregularities. If necessary, use sandpaper or a file to smooth out any rough edges or excess adhesive. This step will provide a clean and aesthetically pleasing finish.
Advantages of Glueing Metal to Metal
Joining metal pieces together has never been more magical. Gluing metal to metal offers a wide array of advantages that make it a captivating alternative to traditional welding methods.
In this spellbinding article, we will explore the enchanting benefits of adhesive bonding, from its unparalleled versatility and simplicity to its cost-effectiveness and aesthetic appeal. So grab your cauldron and prepare to be dazzled by the magical world of gluing metal to metal.
Versatility: A Magical Blend of Materials
Prepare to be mesmerized by the versatility of gluing metal to metal. Unlike welding, which is confined to specific metals and requires specialized equipment, adhesive bonding allows for a breathtaking range of materials to be seamlessly joined together.
Picture the possibilities of bonding different types of metals or even combining metals with plastics or composites. It’s like creating a spellbinding potion with diverse ingredients that work harmoniously together.
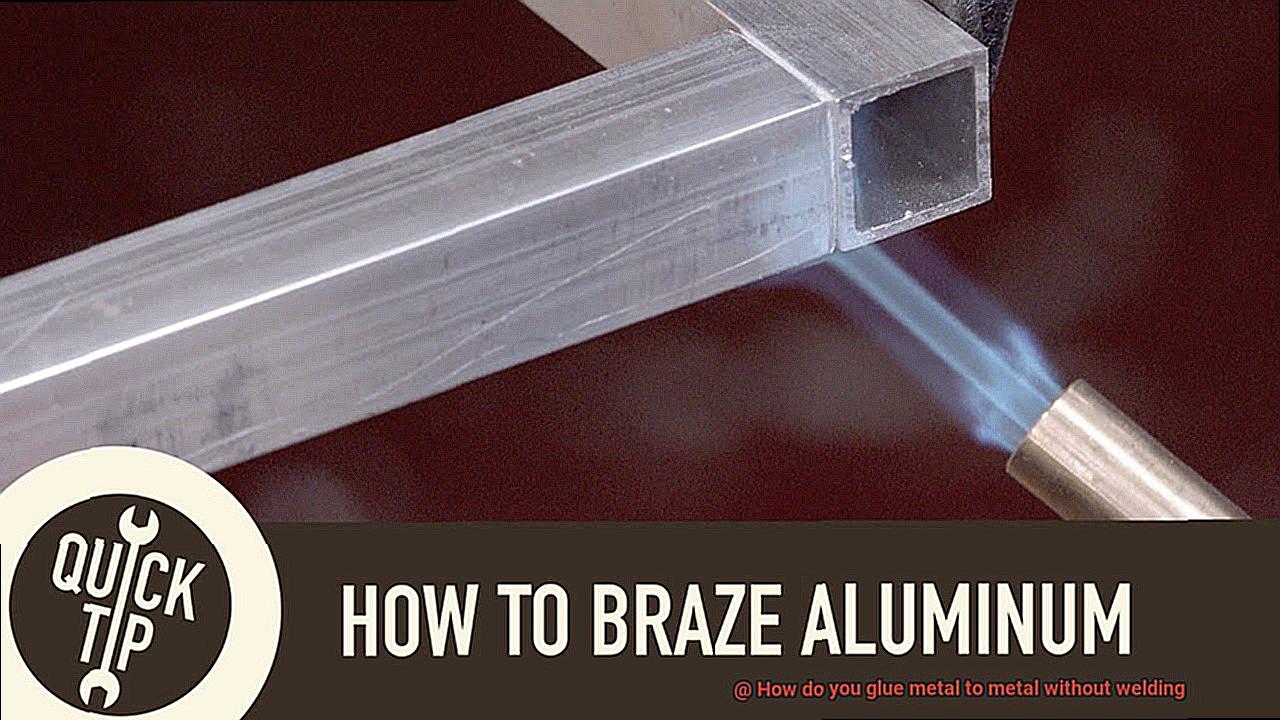
Imagine bonding aluminum to steel for a lightweight yet robust structure or attaching a plastic component to a metal frame for added functionality. The ability to mix and match materials opens up exciting possibilities in various industries, from automotive and aerospace to electronics and construction.
Ease of Use: A Spellbinding Simplicity
Prepare to be enchanted by the simplicity of gluing metal to metal. Compared to welding, which demands skilled labor and specialized equipment, adhesive bonding can often be mastered by anyone with basic DIY skills. It’s like performing a magic trick that anyone can learn.
With adhesive bonding, there’s no need for heat, sparks, or complex setup procedures. Just apply the adhesive, align the pieces, apply pressure, and voila. You have a strong and durable bond that rivals any weld.
This simplicity makes gluing metal to metal accessible to individuals and small businesses who may not have the resources or expertise for welding. It’s like having a magical spell that anyone can cast.
Cost-effectiveness: A Magical Potion for Your Wallet
Prepare to be mesmerized by the cost-effectiveness of gluing metal to metal. While welding often demands expensive equipment, consumables, and skilled labor, adhesive bonding typically requires fewer resources and can be achieved using affordable adhesive products.
Moreover, gluing eliminates the need for additional finishing work such as grinding or sanding that is often required after welding. This saves both time and money, making adhesive bonding a budget-friendly option.
Imagine a small business needing to assemble metal components for a product prototype. Instead of investing in welding equipment or outsourcing the welding process, they can opt for adhesive bonding, saving on initial investment costs while still achieving a strong and reliable bond.
Different Types of Adhesives for Glueing Metal to Metal
When it comes to gluing metal to metal without welding, there are several types of adhesives that can get the job done. Each type has its own unique properties and applications, ensuring that you can find the perfect adhesive for your project.
Epoxy adhesives are one of the most common choices for bonding metal surfaces together. These adhesives consist of two parts: a resin and a hardener.
If you need a quick and strong bond, cyanoacrylate adhesives, also known as super glue, may be the way to go. These adhesives dry rapidly and create a strong bond between metal surfaces. However, they may not be as durable as epoxy adhesives and may not hold up well under extreme conditions.
For projects where movement or vibration is a concern, polyurethane adhesives are an excellent choice. These adhesives are flexible and have good resistance to impact and vibration, making them ideal for applications where things might move around. Additionally, polyurethane adhesives are waterproof, ensuring that your bond won’t come apart if it gets wet.
Acrylic adhesives are another versatile option for gluing metal to metal. They offer good strength and can handle tough jobs. Acrylic adhesives come in liquid form or as a tape, allowing you to choose what works best for your project.
If you need something really strong and heavy-duty, structural adhesives like methyl methacrylate (MMA) or polyurethane-based glue are worth considering. These adhesives are specifically designed for load-bearing applications and can handle lots of weight and harsh conditions.
When choosing an adhesive for metal-to-metal bonding, it’s important to consider the type of metal you’re working with, the desired bond strength, and the environmental conditions the adhesive will be exposed to. Consulting with adhesive manufacturers or experts can help ensure that you select the most suitable adhesive for your specific project.
Preparing the Metal Surfaces for Glueing
Well, get your safety goggles on because we’re about to dive into the essential steps for preparing those metal surfaces for a strong and durable bond. So let’s roll up our sleeves and get started.
First things first – cleanliness is key. Before you even think about applying any adhesive, make sure those metal surfaces are squeaky clean. We’re talking about getting rid of any dirt, dust, oil, or grease that might be hanging around. And how do we do that? Well, my friend, a trusty degreaser or solvent that is compatible with both the metal and adhesive is your best friend here. So grab that cleaner and scrub away until those surfaces shine like a diamond.
Now that we’ve cleaned up our act, it’s time to roughen things up a bit. No, we’re not starting a brawl – we’re creating a slightly rough texture on the metal surface. Why? Because this step is crucial for providing more surface area for the adhesive to grip onto. Think of it as giving the adhesive something to hold onto, like little hooks digging into the metal. You can achieve this by using sandpaper or a wire brush – just be careful not to go overboard and remove too much material. We want texture, not destruction.
After roughening those surfaces, it’s important to remove any residue leftover from the cleaning process. Residue can be a real buzzkill when it comes to bonding, so grab a lint-free cloth or paper towel soaked in an appropriate solvent and give those surfaces a wipe-down. We want them clean and pristine, ready for the next step.
Now, here’s where things get interesting – primer time. If you’re working with non-ferrous metals like aluminum or copper, applying a primer or adhesion promoter can really up your bonding game. These magical substances enhance the adhesion properties of the adhesive and improve bond strength. It’s like giving your adhesive a superpower. Just make sure you choose the right primer for your specific metal and adhesive combo. Don’t worry, there are plenty of options out there to suit your needs.
Last but definitely not least – dryness matters. Before you apply that adhesive, make sure those metal surfaces are bone dry. We don’t want any moisture sneaking in and wreaking havoc on our bond. So give them some time to air dry completely before moving forward. Patience is a virtue, my friend, and it will pay off in the end.
Applying the Adhesive Properly
Achieving a Strong and Durable Bond: Applying the Adhesive Properly for Gluing Metal to Metal without Welding
Imagine a project that requires bonding metal to metal, but welding is not an option. Don’t fret. With the right adhesive and proper application techniques, you can create a bond that is as strong as steel. So, let’s dive into the world of adhesive application and get ready to conquer your metal bonding projects like a pro.
Step 1: Surface Preparation – The Foundation of a Strong Bond
Before you start gluing, it is crucial to prepare the metal surfaces properly. Begin by thoroughly cleaning the surfaces to remove any dirt, grease, or rust. A trusty degreaser or solvent will work wonders. To enhance adhesion, consider roughening the surfaces using sandpaper or a wire brush. This simple step creates a better bonding surface for the adhesive.
Step 2: Choosing the Right Adhesive – The Secret Ingredient
Now that your surfaces are squeaky clean, it’s time to select the perfect adhesive for the job. From epoxy and cyanoacrylate (super glue) to polyurethane and acrylic adhesives, there is an array of options available. Each type has its own unique strengths and weaknesses, so be sure to choose one that suits your specific needs and the metals you are working with.
Step 3: Applying the Adhesive – A Delicate Dance
With your adhesive in hand, it’s time to apply it. Carefully follow the manufacturer’s instructions. Use a clean brush, spatula, or applicator to apply the adhesive evenly onto one of the metal surfaces. Be cautious not to apply too much adhesive, as this can lead to excess squeeze-out or weak bonds. If necessary, use clamps or other methods to hold the pieces together while the adhesive cures.
Step 4: Curing Time – Patience is Key
Different adhesives require different curing times, so exercise patience and allow sufficient time for the adhesive to fully cure. Rushing this step may compromise the strength of your bond. Follow the recommended curing time mentioned on the adhesive packaging. Remember, good things come to those who wait.
Step 5: Testing and Finishing – The Proof is in the Pudding
Congratulations. Your adhesive has cured, and it’s time to put your bond to the test. Gently apply pressure or perform a stress test to ensure the bond is strong and secure. If needed, reinforce the bond with additional adhesive or consider using mechanical fasteners for added strength. Lastly, clean up any excess adhesive using solvents or scrapers, and add the finishing touches to your project.
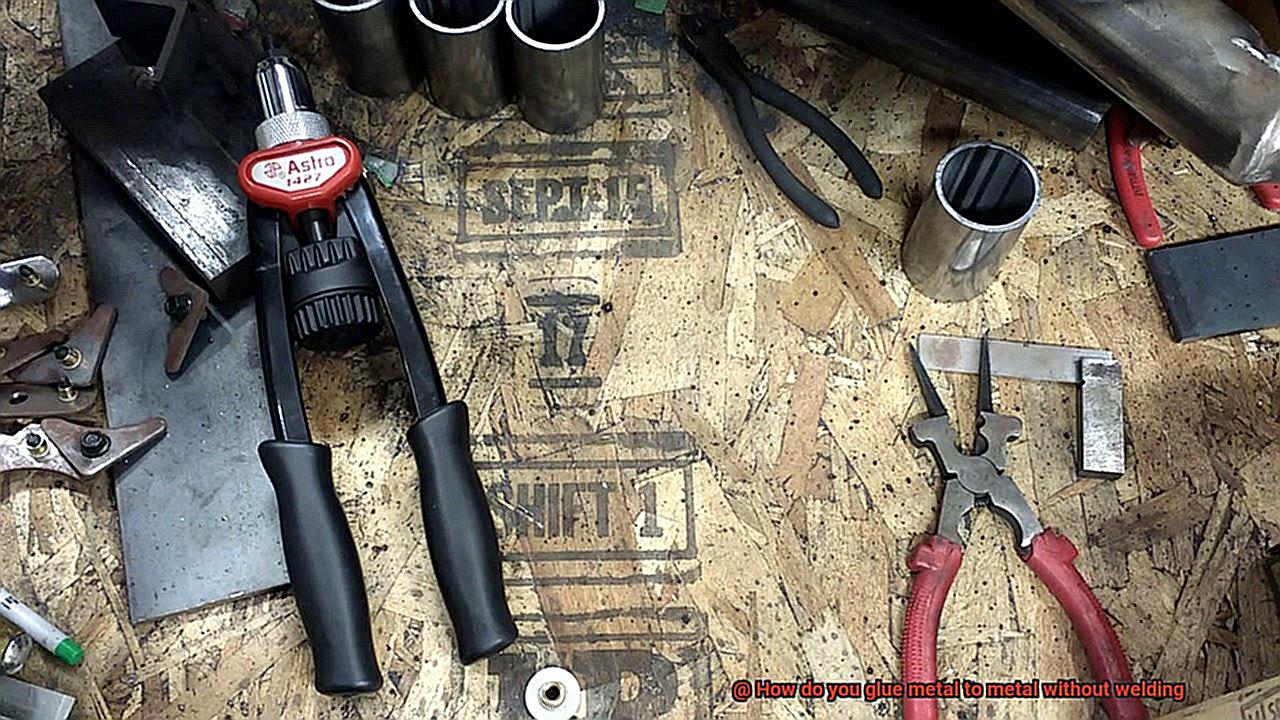
Mechanical Fasteners for Bonding Metals Together
When it comes to bonding metals together without the hassle of welding, mechanical fasteners are the unsung heroes. These versatile connectors provide a strong and durable bond that can withstand the test of time. In this blog post, we will explore the advantages and disadvantages of different types of mechanical fasteners, including screws, bolts, nuts, rivets, and clips. So, if you’re eager to learn about alternatives to welding and want to join the glue enthusiasts’ club, keep on reading.
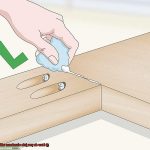
Screws:
Advantages:
- Secure and adjustable connection.
- Easy tightening with a screwdriver or wrench.
- Suitable for disassembly.
Disadvantages:
- Requires pre-drilled holes.
- Not as strong as bolts or rivets.
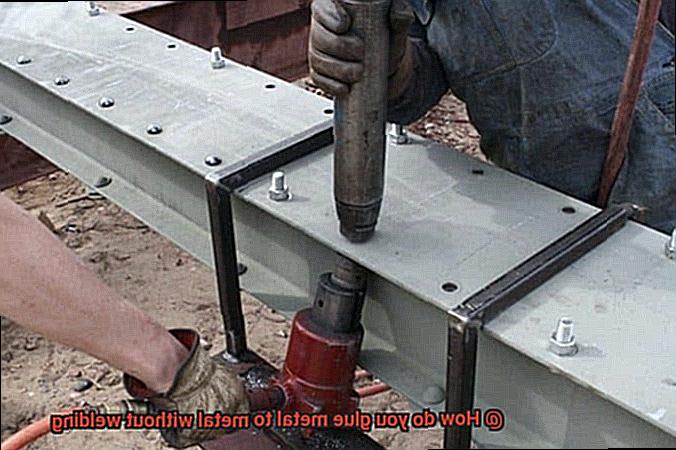
Bolts and Nuts:
Advantages:
- Strong and permanent bond.
- Ideal for high-strength applications.
- Handles heavy loads and stress.
Disadvantages:
- Requires access to both sides of the metal surfaces.
- More time-consuming than screws.
Rivets:
Advantages:
- High shear strength and vibration resistance.
- No need for access to both sides of metal surfaces.
- Provides a secure connection without loosening over time.
Disadvantages:
- Requires specialized tools like a rivet gun or hammer.
- Difficult to remove without damaging the metal surfaces.
Clips or Clamps:
Advantages:
- Perfect for temporary bonding needs.
- Easy installation and removal.
- Suitable for frequent disassembly.
Disadvantages:
- Lower strength compared to other mechanical fasteners.
- Not suitable for heavy-duty applications.
Considerations When Choosing an Adhesive
When it comes to bonding metal-to-metal without welding, selecting the right adhesive is crucial. With a myriad of options available, it’s essential to consider certain factors to ensure a strong and durable bond. In this article, we will explore the key considerations when choosing an adhesive for metal-to-metal bonding.
Adhesive Type:
To begin, there are several adhesive types suitable for metal bonding: epoxy, cyanoacrylate (super glue), polyurethane, and acrylic adhesives. Each type possesses unique properties and strengths. Understanding the characteristics of each adhesive type is paramount when selecting the ideal one for your specific application.
Bond Strength:
The strength of the bond is a critical factor. Different adhesives offer varying tensile and shear strengths. It’s important to choose an adhesive that can withstand the load-bearing requirements of your project. Consider the weight and stress that will be applied to the bonded metals.
Surface Preparation:
Proper surface preparation is key to achieving a strong bond. Thoroughly clean the surfaces to remove dirt, grease, or corrosion. Enhance adhesion by abrading the surfaces with sandpaper or using a solvent-based cleaner to create a rougher surface for the adhesive to grip onto.
Temperature Resistance:
Take into account the temperature conditions that the bonded metals will experience. Certain adhesives may lose their strength or fail under high temperatures, while others are designed to withstand extreme heat. Choose an adhesive that can maintain its bond strength over the expected temperature range.
Environmental Resistance:
Consider the environmental factors that the adhesive may encounter, such as moisture, chemicals, or UV radiation. Select an adhesive that exhibits good resistance to these elements to ensure durability and longevity.
Application Method:
Consider the ease and convenience of applying the adhesive in your specific situation. Some adhesives come pre-mixed or pre-packaged, while others require mixing or special application techniques. Choose an adhesive that aligns with your skill level and the available equipment for application.
Drying/Curing Time:
The drying or curing time of the adhesive should be taken into consideration, especially if there are time constraints for the project. Quick-drying adhesives allow for faster completion, while others may require longer curing times to achieve full strength.
Following Manufacturer Instructions
Imagine trying to glue two pieces of metal together without welding. Sounds challenging, right? Well, fear not. With the right adhesive and a bit of know-how, you can achieve a strong and durable bond that will make any superhero duo jealous. The key? Following the manufacturer’s instructions. In this article, we’ll dive into why it’s crucial to follow these instructions when gluing metal to metal and walk you through the steps to ensure a successful bond. So, grab your cape, put on your thinking cap, and let’s get started.
Why follow the manufacturer’s instructions?
Adhesive products have unique properties and requirements. Each adhesive is carefully designed to bond specific materials, including metal. By following the manufacturer’s instructions, you ensure that you are using the adhesive in the manner it was intended, maximizing its effectiveness.
Manufacturer instructions provide essential information for proper application and curing. These instructions have been developed through extensive research and testing, providing you with valuable insights into the best practices for achieving a strong metal-to-metal bond.
Deviating from instructions can lead to weak bonds or even damage the metal surfaces. Adhesives have specific limitations and precautions that must be followed to ensure successful bonding. Ignoring these instructions can compromise the integrity of the bond and put your project at risk.
Surface preparation: The first step to success
To ensure optimal adhesion, proper surface preparation is essential. Clean and roughen metal surfaces using solvents or sanding. This step removes dirt, oil, oxidation, or any contaminants that may hinder the bonding process.
Manufacturer instructions will specify the recommended surface preparation techniques. By following these guidelines, you create an ideal surface for the adhesive to bond securely and permanently.
Application: The art of sticking it together
Applying the adhesive correctly is crucial for a strong metal-to-metal bond. Follow the recommended amount and method of adhesive application. Some adhesives require thin layers, while others can be applied more generously.
The instructions will guide you on how to achieve an effective and secure bond. They may recommend using specific tools or techniques to ensure even distribution and full coverage of the adhesive.
Curing: Give it time to work its magic
Proper curing is vital for the adhesive to reach its maximum strength. Different adhesives have specific curing requirements, which may include temperature, humidity, or untouched resting time.
Following the manufacturer’s instructions ensures that you provide the optimal conditions for the adhesive to cure. This patience will result in a bond that is as strong as steel and as reliable as your favorite superhero.
Limitations and precautions: Safety first.
Adhesive manufacturers provide important information on limitations and precautions associated with their products. These guidelines cover temperature resistance, chemical compatibility, and safety measures during application.
Also Read: Does Krazy Glue Work on Metal?
Conclusion
When it comes to joining metal without welding, there are several effective adhesive options available.
These adhesives are specially formulated to bond metal surfaces together, providing a strong and reliable connection. One popular choice is epoxy adhesive, which consists of two components that need to be mixed together before application.
This adhesive creates a durable bond that can withstand extreme temperatures and harsh environments. Another option is structural adhesive, which is designed for heavy-duty applications and can provide high strength bonding.
Additionally, there are specialized metal adhesives that are specifically formulated for certain types of metals, such as aluminum or stainless steel. These adhesives ensure optimal bonding performance for specific metal combinations.
Following the manufacturer’s instructions and allowing sufficient curing time will ensure a successful bond.