Are you a DIY fanatic or an intrepid soul seeking a thrilling project? If so, then you’ve likely encountered the timeless challenge of uniting fibreglass with metal. Whether it’s fixing up your car or crafting captivating sculptures, this fusion can be quite perplexing. But fret not, my curious comrades, for today we’re about to unveil a secret that will revolutionize your approach to bonding fibreglass to metal.
Imagine this: A grand metal sculpture, its intricate details entwined with the fluidity of fibreglass, standing tall in all its resplendence. How does one achieve such artistic wizardry? The answer lies in the art of impeccable adhesion.
To embark on our journey into the realm of fibreglass-to-metal bonding, we shall delve into the extraordinary properties of these materials. Then, we’ll explore foolproof techniques recommended by seasoned experts in the field. Here’s a sneak peek:
- Surface Preparation: Like any successful union, preparation is paramount. We shall reveal the necessary steps to ensure both fibreglass and metal surfaces are primed for optimal adhesion.
- Selecting the Perfect Adhesive: With an overwhelming array of options flooding the market, fear not. We’ll guide you through selecting an adhesive that suits your project’s unique demands – guaranteeing a bond that stands strong and endures.
- Masterful Application Techniques: From brush-on adhesives to spray systems, we’ll uncover the trade secrets employed by professionals to forge seamless connections between fibreglass and metal.
- Curing and Finishing Flourishes: Patience becomes virtuous when bonding fibreglass to metal. Discover essential curing and finishing processes that add that final touch of perfection to your creation.
If you’ve ever yearned to defy the boundaries of creativity by merging fibreglass and metal, join us on this revelatory journey as we unlock the secrets behind this enigmatic art form. Prepare to plunge deep into the realm of adhesion, where metal and fibreglass embrace, forever transforming your project endeavors.
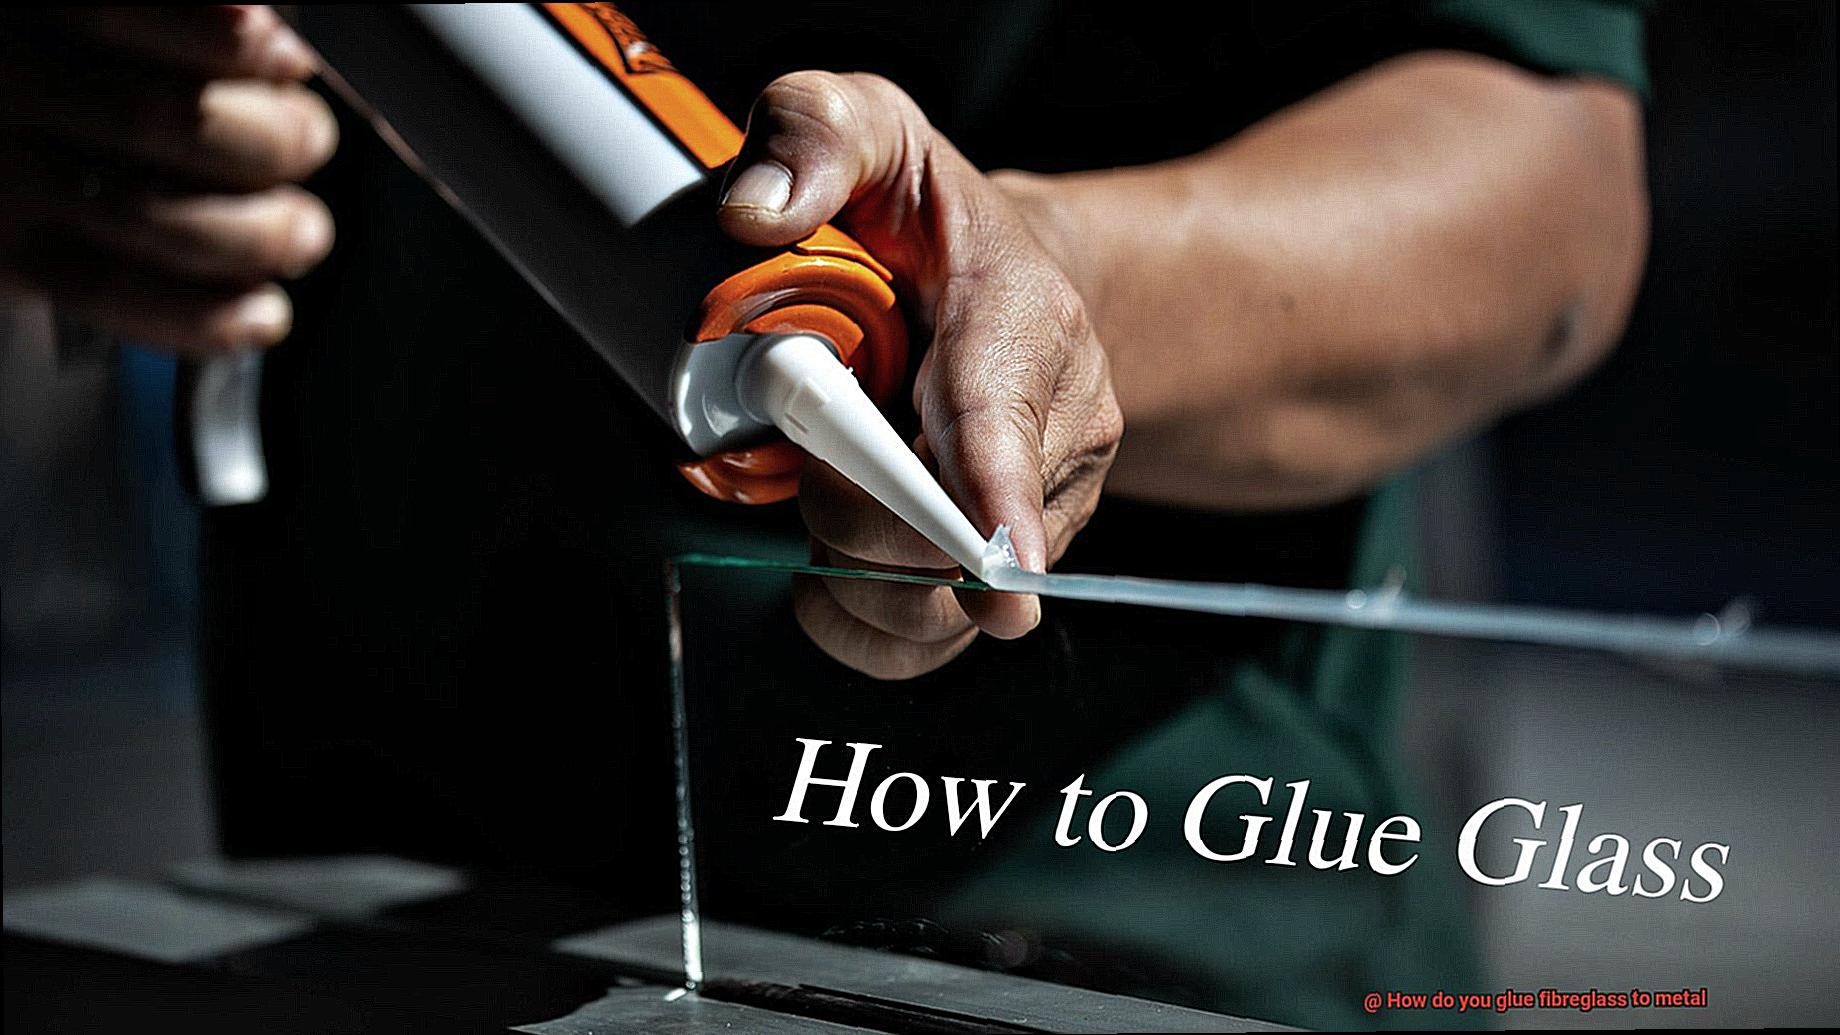
Selecting the Right Adhesive for Gluing Fibreglass to Metal
Contents
- 1 Selecting the Right Adhesive for Gluing Fibreglass to Metal
- 2 Preparing the Surfaces for Bonding
- 3 Applying a Primer or Bonding Agent
- 4 Mixing and Applying the Adhesive
- 5 Securing the Fibreglass and Metal Together
- 5.1 Step 1: Prepare the Surfaces – Build a Solid Foundation
- 5.2 Step 2: Roughen the Surfaces – Creating Texture for Adhesion
- 5.3 Step 3: Mix the Epoxy Resin – Unleash Your Inner Artist
- 5.4 Step 4: Apply the Epoxy Resin – Brushing on the Bond
- 5.5 Step 5: Position and Hold Firmly – Aligning for Perfection
- 6 Curing Time and Temperature Considerations
- 7 Inspecting the Bond After Curing
- 8 Alternatives to Glue for Bonding Fibreglass to Metal
- 9 Conclusion
When it comes to bonding fibreglass to metal, the adhesive you choose plays a crucial role in determining the strength and durability of the bond. In this article, we will explore the various factors to consider when selecting the right adhesive for this specific application, ensuring a successful and long-lasting bond.
Factors to Consider:
Type of Metal and Fibreglass:
- Different adhesives work best with specific types of metal and fibreglass. Ensure compatibility between the adhesive and both materials for optimal bonding.
- Epoxy resins, renowned for their bonding properties, are often recommended for fibreglass to metal bonding. However, be sure to select an epoxy resin specifically formulated for this purpose.
Application Method:
- Consider your preferred application method when choosing an adhesive. Some adhesives come in squeeze tubes or cartridges, while others require mixing before use.
- Select an adhesive that aligns with your chosen application method, ensuring ease of use and proper bonding.
Intended Use:
- Take into account the intended use of the bonded materials. Will they be exposed to high temperatures, moisture, or other harsh conditions?
- Specialized adhesives with increased heat resistance or flexibility are available for specific applications. Seek guidance from adhesive manufacturers or experts in the field.
Surface Preparation:
- Proper surface preparation is vital for a successful bond. Thoroughly clean both the metal and fibreglass surfaces, removing any dirt, grease, or contaminants.
- Enhance adhesion by lightly sanding the metal surface with fine-grit sandpaper, creating a rough texture that promotes better bonding.
Follow Manufacturer’s Instructions:
- Always adhere to the manufacturer’s instructions when applying the adhesive. This includes precise mixing ratios and even application on both surfaces.
- Allow sufficient curing time and maintain the recommended temperature conditions as specified by the adhesive manufacturer.
Testing Bond Strength:
- After the adhesive has fully cured, test the bond strength before subjecting the materials to heavy loads or stresses.
- Gradually apply increasing force to the bonded area, observing any signs of separation or weakness. If the bond fails during testing, reevaluate the adhesive choice or explore alternative bonding methods.
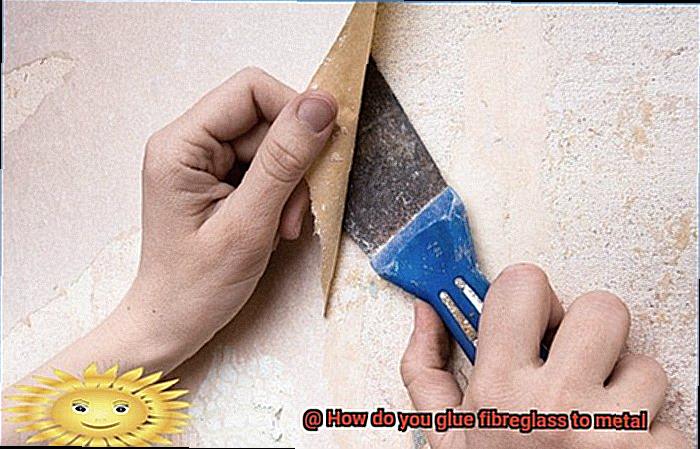
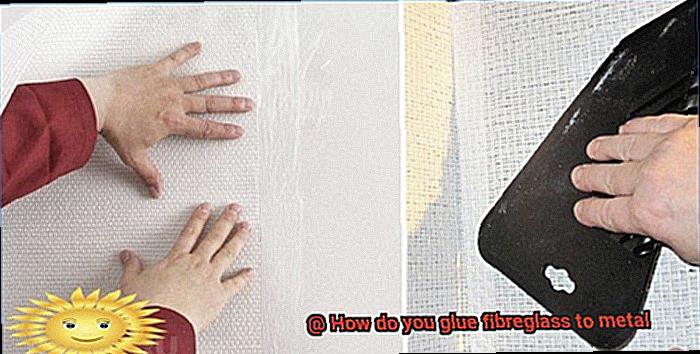
Preparing the Surfaces for Bonding
Before we embark on this adhesive adventure, there’s a secret recipe we must follow. It all starts with preparing our surfaces for success. So, gather your tools and get ready to unleash the power of pristine surfaces.
Step 1: A Clean Slate
First and foremost, cleanliness is key. We must banish any dirt, grease, or contaminants that dare to challenge our bond. Armed with a solvent or cleaning agent, we shall scrub our surfaces until they gleam. Remember, a spotless foundation is vital for an unbreakable connection.
Step 2: Rough and Ready
Now that our surfaces are squeaky clean, it’s time to unleash the power of roughness. Sandpaper or a sanding block will be our trusty companions on this journey. With gentle strokes and back-and-forth motion, we shall create a textured surface that begs for adhesion. Let’s give our bond that extra grip it craves.
Step 3: Dust Busters Unleashed
After the exhilaration of roughening up our surfaces, it’s time to banish the remnants of our sanding escapade. Dust and debris have no place in our sacred bonding ritual. Armed with a clean cloth or the mighty force of compressed air, we shall sweep away every particle standing in our way. Only immaculate surfaces shall remain.
Step 4: The Primer’s Charm
With clean and roughened surfaces in place, it’s time to sprinkle some magic onto our bond – enter the primer or adhesion promoter. This enchanting elixir will grant our bond unparalleled strength and endurance. Following the manufacturer’s instructions, we shall apply a thin and even coat to both metal and fibreglass surfaces. Watch as our bond ascends to new heights.
Step 5: The Dance of Patience
Ah, patience, my fellow bonding padawans. Before we can fully embrace the adhesive application, we must allow our primer to dry completely. The countdown begins, and the drying time will vary depending on our chosen product. Let us consult the manufacturer’s instructions and wait with eager anticipation. Great things come to those who wait.
Applying a Primer or Bonding Agent
In our quest to achieve an unbreakable bond between fiberglass and metal, we have conquered the art of surface preparation. Now, it’s time to take the next step and dive into the world of applying a primer or bonding agent. Get ready to witness the magic unfold.
The Foundation of Success: Properly Preparing Surfaces
Before we embark on our primer or bonding agent adventure, let’s remind ourselves why surface preparation is crucial. It’s like laying the groundwork for a rock-solid connection. By thoroughly cleaning both the fiberglass and metal surfaces, we banish dirt, grease, and debris to create a pristine canvas for our adhesive masterpiece. This ensures that the primer or bonding agent can work its wonders and form a strong bond.
Choosing Your Secret Weapon: Primer or Bonding Agent Options
Now that our surfaces are squeaky clean, it’s time to choose our secret weapon – the primer or bonding agent. Brace yourself, as we explore the options available to us:
Epoxy Primers: The Superheroes of Bonding
In the realm of bonding, epoxy primers reign supreme. They offer excellent adhesion and corrosion resistance, making them perfect for fiberglass-to-metal connections. These primers come in two parts – a resin and a hardener. Remember to mix them according to the manufacturer’s instructions for optimal results. Once mixed, apply the epoxy primer in thin, even coats on both surfaces using a brush or roller.
Adhesion Promoters: Unleashing Chemical Magic
Prepare to witness chemical magic at its finest with adhesion promoters. These products create a chemical reaction that enhances the bond between fiberglass and metal. Applying them with a brush or spray gun, following the recommended method from the manufacturer, strengthens the connection between the two materials. Say hello to a bond that will stand the test of time.
Specialized Bonding Agents: Elevating Your Bond
If you’re seeking to elevate your bond to new heights, specialized bonding agents designed for fiberglass-to-metal connections are your go-to option. These agents are specifically formulated for this purpose and come in one-part or two-part systems. Apply them following the manufacturer’s instructions, just like epoxy primers or adhesion promoters.
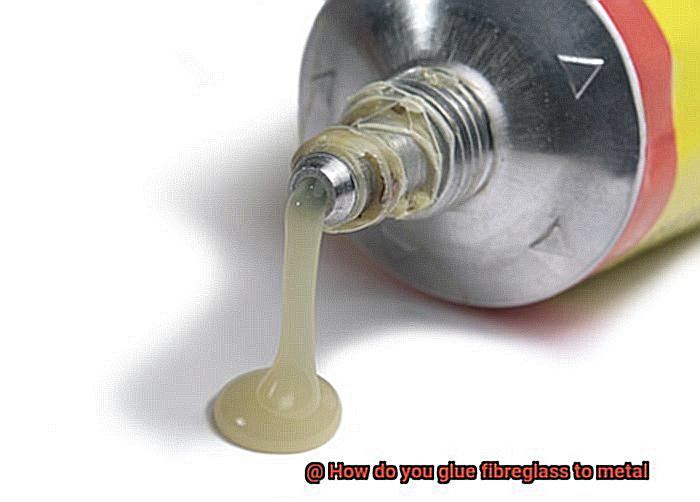
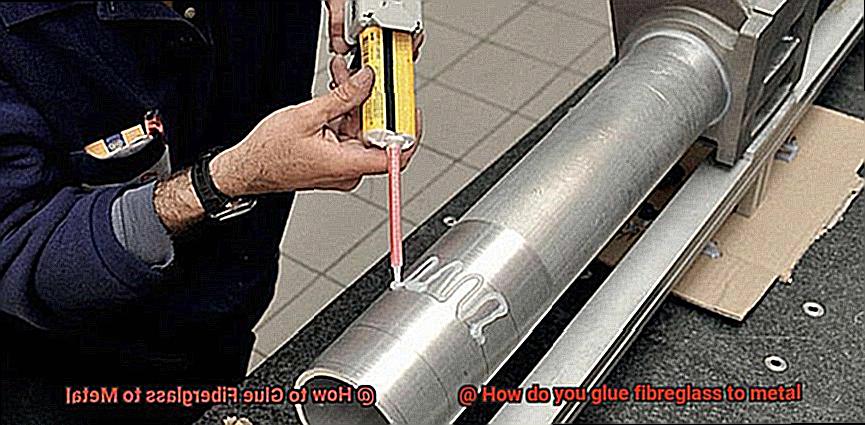
Mixing and Applying the Adhesive
In our previous section, we explored the importance of surface preparation and the wonders of primers and bonding agents. Now, let’s dive into the exciting world of mixing and applying the adhesive itself. Get ready to unleash your inner chemist and learn the secrets to creating unbreakable connections.
Step 1: Prepare the Surfaces
Before we embark on the mixing and applying process, ensure that both the fiberglass and metal surfaces are squeaky clean. Wipe them down with your solvent of choice – acetone or isopropyl alcohol. We need dry, grease-free surfaces to achieve a bond that will stand the test of time.
Step 2: Choose the Right Adhesive
For bonding fiberglass to metal, epoxy resin is our superhero adhesive. With its excellent adhesive properties and ability to bond different materials, epoxy resin becomes our trusted companion in this adhesive adventure.
Step 3: Mix the Epoxy Resin
Now, let’s get down to business – mixing the epoxy resin adhesive. Most epoxy resin adhesives come in two parts – a resin and a hardener. Follow the manufacturer’s instructions for the correct ratio. We don’t want any lopsided bonds here.
To achieve a thorough mix, grab your trusty stir stick or plastic spatula and start stirring away. Scrape the sides and bottom of your mixing container, ensuring all parts of the adhesive are beautifully combined.
Step 4: Apply the Adhesive

With our mixed epoxy resin in hand, it’s time to apply it like a true artist. Whether you prefer brushes, rollers, or spreading tools, aim for a uniform layer of adhesive. No excessive or uneven application allowed – we’re aiming for a rock-solid bond.
Step 5: Clamp and Cure
Now that the adhesive is applied, it’s time to play the waiting game. Clamp or hold the fiberglass and metal parts together firmly, ensuring they don’t budge during the curing process. Remember, curing time can vary based on temperature and humidity, so consult the manufacturer’s instructions for guidance.
Step 6: Inspect and Fill
Once the adhesive has cured, inspect the bond for any weak spots or gaps. If needed, fill them with a small amount of mixed epoxy resin. Smooth out any excess adhesive for a clean finish.
Securing the Fibreglass and Metal Together
In our previous section, we became chemists, creating unbreakable connections with the power of epoxy resin. Today, we’ll delve into the fascinating world of securing fibreglass and metal together. So grab your tools and let’s embark on this exciting journey.
Step 1: Prepare the Surfaces – Build a Solid Foundation
To secure fibreglass and metal together, we need a clean canvas. Ensure both surfaces are free from dirt, dust, grease, or any contaminants that could hinder the bonding process. Wipe them down with a solvent or cleaner specifically designed for these materials.
Step 2: Roughen the Surfaces – Creating Texture for Adhesion
Let’s add some texture to our canvas. Gently roughen both surfaces using sandpaper or a wire brush. This creates a conducive environment for the epoxy resin to grip onto the fibreglass and metal securely. Remember, we want a gentle texture – no deep scratches or damage.
Step 3: Mix the Epoxy Resin – Unleash Your Inner Artist
Time to become a master chemist again. Follow the manufacturer’s instructions to mix the epoxy resin components thoroughly. The right mixing ratios are essential for achieving a bond that’s as strong as steel. Take your time and embrace your inner artist.
Step 4: Apply the Epoxy Resin – Brushing on the Bond
With your mixed epoxy resin in hand, let’s paint our masterpiece. Use a brush or spatula to apply an even layer of adhesive to one of the surfaces. Remember, we’re aiming for generous but not excessive coverage. This ensures a reliable bond between fibreglass and metal.
Step 5: Position and Hold Firmly – Aligning for Perfection
Now it’s time to bring our elements together. Gently position the fibreglass onto the metal surface, making sure they align perfectly. Keep in mind that once the adhesive sets, repositioning becomes a challenge. To secure them firmly, apply pressure or use clamps. This step guarantees a tight bond during the curing process.
Curing Time and Temperature Considerations
In our journey to perfect the art of gluing fiberglass to metal, let us now explore the mesmerizing world of curing time and temperature considerations. These often-overlooked factors hold the key to unlocking the strength and durability we desire in our fiberglass-metal bonds. So, gear up and embark on this scientific adventure with me.
Unraveling the Mystery of Curing Time:
Curing time, dear craftsmen, is the magical period when our adhesive reaches its pinnacle of strength. It is during this time that chemical reactions occur, resulting in cross-linking and hardening. Brace yourselves for the diverse nature of adhesives, as curing times can range from mere minutes to several hours.
Harnessing Temperature for Bonding Brilliance:
Temperature takes center stage in our curing process, my fellow craftsmen. Higher temperatures are akin to a mighty accelerator, propelling our curing time forward. Conversely, lower temperatures compel us to exercise patience as they slow down the process. Yet, we must tread cautiously, for excessive heat may bring about premature curing and feeble bonds while chilly conditions might prolong our wait.
The Symphony of Adhesive Types:
Let us now unravel the secret symphony of adhesive types, each with its unique temperature requirements for optimal bonding. Some crave room temperature curing, while others yearn for elevated temperatures. In this intricate dance, it is vital to heed the manufacturer’s instructions on curing time and temperature for your chosen adhesive type.
Reveling in Optimal Curing Temperature:
To forge an unyielding bond between fiberglass and metal, we must strive to attain that perfect curing temperature prescribed by our adhesive’s creators. This sacred quest can be accomplished through heating devices like ovens or heat guns, elevating our temperature game. For those embracing room temperature curing, we must ensure that the ambient environment aligns with the adhesive’s specified range.
Conquering the Humidity Challenge:
In our quest for bonding brilliance, we cannot overlook the role of humidity levels, my dedicated craftsmen. High humidity has the audacity to meddle with adhesive properties and sow the seeds of moisture-related troubles. Let us be warriors of precision, adhering to the adhesive manufacturer’s guidelines on humidity levels during curing.
Inspecting the Bond After Curing
Our journey through the captivating world of fiberglass-metal bonding continues. Today, we embark on the quest to inspect the bond after curing, ensuring its effectiveness and durability. So grab your magnifying glasses and join me as we uncover the secrets of a flawless connection.
First and foremost, let us feast our eyes upon the bond’s appearance. A visually sound bond is a thing of beauty – smooth, even, and free from any visible gaps or irregularities. As we examine the joint closely, we must be vigilant for signs of unevenness or inconsistencies that may betray a poor bond jeopardizing the entire structure. In our pursuit of perfection, flawlessness is our ultimate goal.
But appearances can be deceiving, my dear craftsmen. To truly gauge the strength of our bond, we must put it to the test. Pull, twist, bend – subject the bonded fiberglass and metal assembly to various stressors. Unleash your inner Hulk. A bond that remains steadfast under these trials without any signs of detachment or weakening speaks volumes about its reliability and durability.
Flexibility is another key player in this game of inspections. Fiberglass and metal have different expansion and contraction rates, creating a dance of movement that can put our bond to the test. Will it crack under pressure or stand tall like a mighty oak? A good bond should exhibit resilience under these movements without showing any signs of distress.
As we venture further into this inspection, we must consider the bond’s resilience in the face of moisture and other environmental factors. Water, humidity, chemicals, UV radiation – these formidable foes can wreak havoc on our bonds over time. We must scrutinize for cracks, discoloration, or peeling as signs of deterioration or degradation. These red flags signal the need for additional protective measures to ensure the bond’s longevity.
Now, my dedicated craftsmen, let me introduce you to the world of non-destructive testing methods. Prepare to be amazed by ultrasonic testing, a technique that harnesses the power of high-frequency sound waves to assess bond quality without causing harm. It delves deep into the heart of the bond, searching for any internal flaws or weaknesses that may compromise its integrity. This method provides valuable insights into the bond’s structural properties, ensuring our connection remains strong.
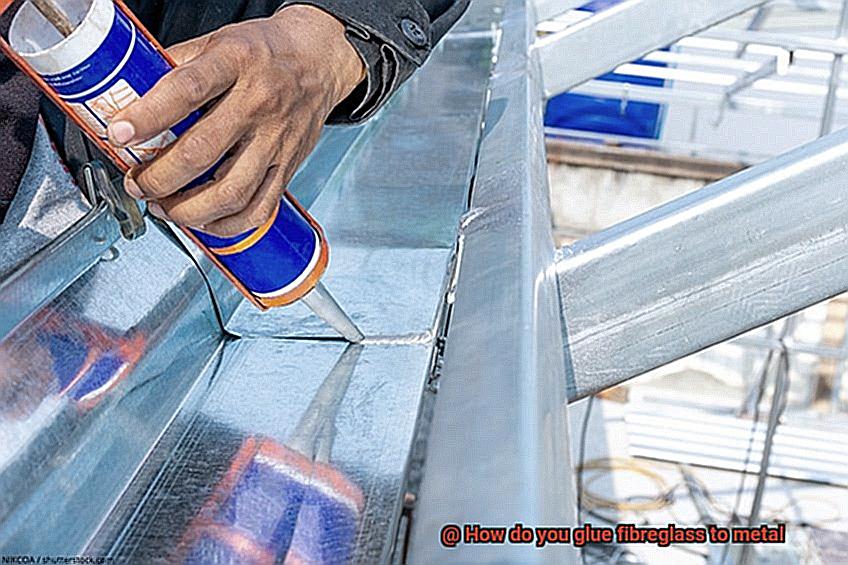
Alternatives to Glue for Bonding Fibreglass to Metal
Today, we embark on a journey to explore the captivating realm of alternatives for bonding fibreglass to metal. With an array of options at our disposal, we shall uncover the secrets to creating bonds that defy time itself. So, gather your tools and let us dive headfirst into this enchanting quest.
Epoxy Resin: The Mighty Protector
In the realm of fibreglass bonding, epoxy resin reigns supreme as a formidable alternative to traditional glue. With its exceptional bonding properties, this mighty adhesive creates a robust and reliable connection between fibreglass and metal surfaces. Dissimilar materials bow down to its power, ensuring your project remains steadfast against the relentless forces of nature.
Mechanical Fasteners: Bolts, Screws, and Rivets, Oh my.
For those who crave unwavering strength and stability, mechanical fasteners come to the rescue. By combining screws, bolts, or rivets with adhesive bonding, you unlock a bond capable of withstanding even the most formidable stressors. This versatile alternative shines brightest when dealing with heavier or thicker materials.
Welding: The Ultimate Powerhouse
In our pursuit of fibreglass-metal harmony, welding emerges as the ultimate powerhouse. With its unrivaled strength and durability, this method becomes paramount when working with thick or heavy materials. However, heed this cautionary note – welding may not be suitable for all fibreglass applications and often requires specialized expertise and equipment.
Specialized Adhesives: Strength in Diversity
Our quest reveals specialized adhesives that possess unique advantages in forging unbreakable bonds. Enter the domain of structural adhesives and polyurethane adhesives – two alternatives that offer exceptional bonding strength and durability. These adhesive marvels can be tailored to meet the specific requirements of your project, ensuring a bond that endures the harshest of environments.
ImmqS_faFLs” >
Conclusion
When it comes to bonding fibreglass to metal, there are a few key steps you need to follow.
First, make sure both surfaces are clean and free of any dirt or debris. This will ensure a strong bond between the materials.
Next, apply a high-quality epoxy adhesive to the metal surface, making sure to spread it evenly. Then, carefully place the fibreglass onto the adhesive, pressing down firmly to create a tight seal.
Allow the adhesive to cure for the recommended amount of time before handling or applying any additional stress.