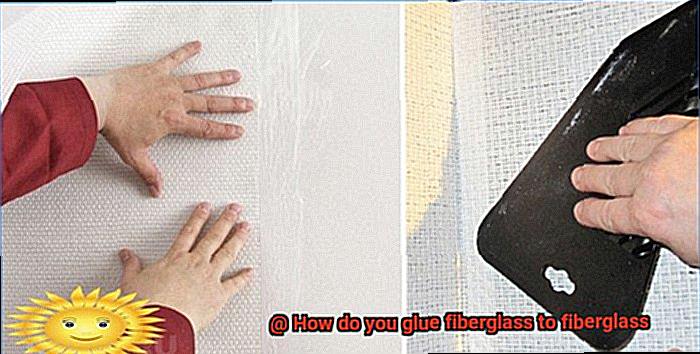
Picture yourself diving headfirst into a thrilling DIY project, whether it’s constructing a one-of-a-kind sailboat or sculpting an outdoor masterpiece that defies convention. Fiberglass is the material that holds the power to bring your visions to life. But when it comes to joining two fiberglass pieces, traditional methods just won’t cut it. That’s where the captivating art of gluing fiberglass to fiberglass swoops in, offering immense potential to transform your projects into seamless masterpieces.
In this blog post that will leave you spellbound, we’ll unlock the secrets behind achieving an impeccable bond between fiberglass materials. Whether you’re a seasoned enthusiast or a newcomer to the world of fiberglass, buckle up as we dive deep into this exhilarating process.
To kick things off, we’ll explore the mesmerizing properties of fiberglass and why it demands a unique approach for gluing. From there, we’ll navigate through crucial factors that contribute to a successful bond – think surface preparation, selecting the perfect adhesive, and employing techniques that ensure maximum adhesion.
As our journey unfolds, we’ll reveal insider tips and tricks while busting myths along the way. We’ll introduce you to groundbreaking adhesive products that have revolutionized the fiberglass industry. Plus, we’ll tackle common challenges head-on and shed light on troubleshooting techniques so your projects remain strong and stunning for years to come.
So whether you’re an avid hobbyist, an aspiring artist ready to make waves, or simply a DIY enthusiast looking for guidance, this blog post is your ultimate companion in unlocking the secrets of gluing fiberglass to fiberglass. Prepare yourself for an extraordinary bonding adventure where art meets science – together, we’ll empower you to create enduring creations that leave an indelible mark on all who behold them. Get ready for a journey like no other.
Choosing the Right Adhesive
Contents
In the realm of fiberglass-to-fiberglass bonding, the adhesive you choose can make or break your project. It’s a delicate dance between strength, durability, and compatibility with the smooth and non-porous nature of fiberglass. Get ready to dive into the world of adhesives as we explore the key factors to consider, from epoxy to polyester resin to polyurethane. With proper surface preparation and expert application techniques, you’ll be well on your way to achieving a bond that stands the test of time.
The Adhesive Arsenal:
- Epoxy resin takes center stage as the go-to adhesive for fiberglass bonding due to its unparalleled strength and durability.
- Polyester resin struts onto the scene as a reliable alternative, widely used in fiberglass construction and repairs with its strong adhesion capabilities.
- Don’t overlook polyurethane adhesives, offering a unique blend of flexibility and moisture resistance for applications that demand movement or exposure to water.
A Strong Foundation: Surface Preparation:
- Scrub away any trace of dirt, grease, or contaminants that dare stand between your fiberglass surfaces and a flawless bond.
- Give those surfaces a light sanding, creating a textured embrace that allows the adhesive to hold on tight.
Mixing and Applying with Finesse:
- Play by the manufacturer’s rules when it comes to mixing epoxy resin, carefully measuring precise ratios of resin and hardener for optimal curing.
- Dip your toes in the water by testing a small area with epoxy resin, ensuring compatibility and gauging its adhesive strength on fiberglass.
- With brush or roller in hand, gracefully apply a thin, even layer of epoxy resin across one fiberglass surface, ensuring full coverage.
- Bring those surfaces together with conviction, using clamps or weights if necessary to create an unbreakable union.
Time and the Art of Curing:
- Epoxy resin won’t wait forever, so work swiftly and confidently during the gluing process, aware of its limited working time.
- As the resin cures, respect the manufacturer’s instructions and allow ample time for the bond to reach its full strength.
- Nurture your creation with a controlled environment, embracing moderate temperatures and low humidity to coax forth the ultimate bond.
Preparing the Surfaces for Bonding
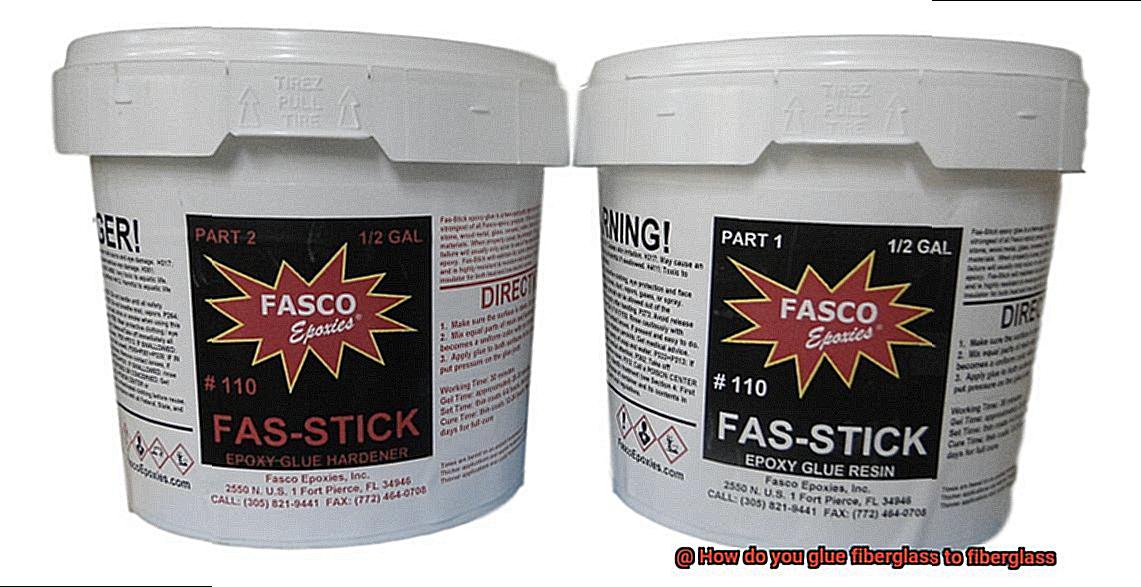
Achieving a durable and long-lasting bond between fiberglass materials requires more than just the right adhesive choice. The key lies in the meticulous preparation of the surfaces. In this comprehensive guide, we will unveil the secrets to surface preparation, ensuring that your fiberglass bond withstands the test of time. Get ready to embark on a journey into the world of flawless fiberglass bonding.
Step 1: Immaculate Surfaces through Thorough Cleaning
To lay the foundation for a successful bond, cleanliness is paramount. Rid both surfaces of any dirt, dust, or grease using an appropriate cleaner or solvent. Wipe them down with a clean cloth soaked in the cleaning solution, leaving no room for contaminants.
Step 2: Sanding for Enhanced Adhesion
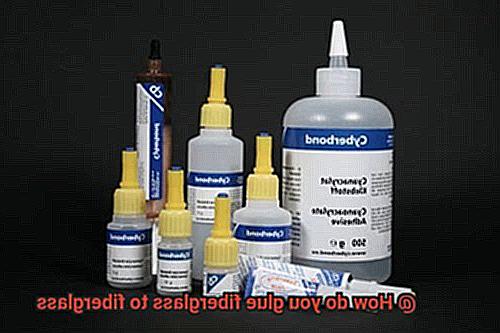
Smooth and glossy fiberglass surfaces pose a challenge for adhesives to adhere effectively. Overcome this hurdle by gently sanding both surfaces with fine-grit sandpaper. By creating a rough texture, you provide the adhesive with optimal grip and maximize bonding effectiveness.
Step 3: Eliminating Sanding Residue
After sanding, it’s crucial to eliminate any remnants of loose particles. Employ a clean cloth or compressed air to whisk away these particles from the surfaces. Remember, a pristine surface is vital for an unyielding bond.
Step 4: Amplifying Adhesion with Primers or Bonding Agents
Elevate your bond to new heights by utilizing primers or bonding agents specifically formulated for fiberglass materials. These products intensify adhesion and fortify the connection between the two surfaces. Follow the manufacturer’s instructions meticulously regarding application techniques and drying times.
Step 5: Strengthening the Edges (If Necessary)
For added resilience in your bond, consider roughening up the edges of your fiberglass pieces. Skillfully score or notch them using a file or sharp knife, creating an increased surface area for the adhesive to cling onto. This simple step can make a remarkable difference in the strength of your bond.
Step 6: Ensuring Utmost Dryness
Before commencing the gluing process, ensure that both surfaces are impeccably dry, devoid of any moisture. Even the slightest presence of moisture can jeopardize the bonding process. Allow ample time for the primer or bonding agent to completely dry before proceeding.
Mixing the Epoxy Resin
In our previous section, we explored the meticulous steps of surface preparation before gluing fiberglass materials. Now, let’s dive into another crucial aspect of this process – the mystical art of mixing epoxy resin. As an expert in fiberglass bonding, I’ve compiled research notes to guide you through the steps and precautions involved in achieving the perfect epoxy resin mixture. So, gear up with your gloves and safety glasses, and let’s embark on an extraordinary epoxy resin mixing adventure.
Step 1: Gather Your Tools and Materials:
Before embarking on your epic epoxy resin mixing journey, ensure that you have all the necessary tools at your disposal. Your trusty epoxy resin kit awaits, complete with precisely proportioned resin and hardener. Don’t forget to grab your measuring cups or scales for accurate measurements. We’re all about precision here.
Step 2: Don Your Personal Protective Equipment (PPE):
Safety is paramount. Epoxy resin can be a formidable opponent if it comes into contact with your unprotected skin or eyes. So, don your superhero gear – gloves and safety glasses – to shield yourself from any potential harm. Let’s face this challenge with confidence.
Step 3: Measure Accurately:
Random pouring won’t cut it in the world of flawless fiberglass bonding. We need to follow the manufacturer’s instructions and adhere to the recommended mixing ratio for extraordinary results. Precision is our secret weapon here, ensuring a harmonious fusion of resin and hardener.
Step 4: Mix it Up:
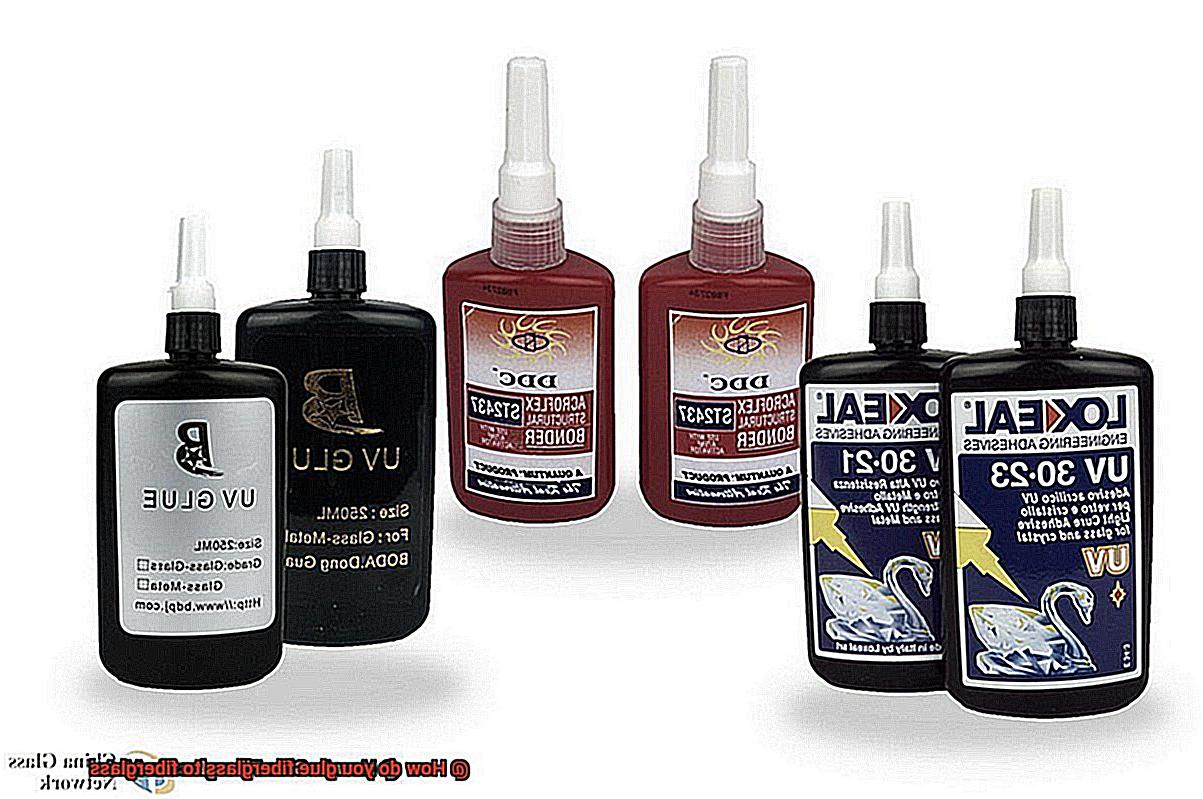
Now that you’re equipped and have measured with meticulous care, it’s time to mix that epoxy resin like a true artist. Begin by pouring the measured resin and hardener into separate cups or containers. Then, unite them in a larger mixing container. Embrace the power of your stir stick or paddle as you blend the components together, forging a connection that defies the ordinary.
Remember, patience is a virtue. Stir gently to keep those pesky air bubbles at bay, especially when working with larger quantities of epoxy resin. We’re aiming for a seamless and bubble-free concoction that will give your fiberglass bond strength and resilience.
Testing for Compatibility and Adhesion Strength
Prepare to embark on an exhilarating journey into the realm of testing for compatibility and adhesion strength. Think of this as the secret sauce that unlocks flawless, long-lasting connections between fiberglass pieces. So, grab your lab coats, because we’re about to delve into the exciting science behind it all.
Let’s start with the crucial first step – ensuring compatibility between your adhesive and the materials you’re working with. Not all adhesives are created equal, and not all of them play nice with fiberglass. That’s why it’s essential to conduct compatibility tests before diving into the bonding process.
To perform these tests, we recommend starting with a small-scale experiment using a sample piece of fiberglass. Apply a small amount of adhesive according to the manufacturer’s instructions and let it cure completely. Once it’s ready, it’s time to put your bond to the ultimate test.
Get ready for some excitement – stress tests are up next. Pulling, bending, twisting – unleash all sorts of forces on your bonded sample and see how well it holds up. The goal is to ensure that your adhesive creates a robust and durable bond capable of withstanding any challenge thrown its way. It’s like giving your bond a superhero strength trial.
But wait, there’s more. When testing for compatibility, you must also consider the specific type of fiberglass being used and the intended application. Fiberglass can take different forms – woven cloth, chopped strands, or matting – each potentially requiring a different adhesive. So, choose wisely to ensure a perfect match.
Don’t forget about environmental conditions either. Some adhesives excel at resisting moisture, temperature fluctuations, or chemical exposure better than others. So, think about where your bonded fiberglass will be exposed and select an adhesive that can handle the heat (or cold).
Now, let’s talk about surface preparation – a vital aspect of compatibility and adhesion strength. Before applying any adhesive, make sure to thoroughly clean and prepare the surfaces of both fiberglass pieces. Eliminate any contaminants, such as dirt, grease, or mold release agents that could hinder your bond. Remember, a squeaky-clean surface is the key to success.
Applying the Epoxy Resin
In this guide, we will explore the step-by-step process of achieving superhero-strength bonds that withstand the test of time. But first, let’s delve into the importance of compatibility and surface preparation for a successful bonding experience.
Compatibility and Surface Preparation:
Like any successful relationship, compatibility is crucial when bonding fiberglass. Conduct compatibility tests to find an epoxy resin that plays well with your specific type of fiberglass and environmental conditions. And don’t forget about surface preparation – clean those surfaces like a pro for squeaky-clean success.
The Process:
Prepare the Surfaces:
Before diving into epoxy resin application, ensure your surfaces are ready for a strong bond. Thoroughly clean the fiberglass, removing any dust, dirt, or grease that could hinder adhesion. For an even better bond, consider sanding the surfaces to create a rough texture.
Mix According to Instructions:
Epoxy resin is a dynamic duo consisting of a resin and a hardener that must be mixed in specific proportions. Follow the manufacturer’s instructions precisely to achieve optimal bonding strength.
Apply Evenly:
Using a brush or spatula, evenly apply the mixed epoxy resin onto one of the fiberglass surfaces. Spread it out in a thin layer, ensuring complete coverage over the entire bonding area.
Press and Align:
Carefully press the second fiberglass surface onto the epoxy-coated surface, taking the time to align them perfectly before applying pressure. This ensures a secure bond from start to finish.
Apply Pressure:
To eliminate air bubbles and maximize contact between the two surfaces, evenly apply pressure across the bonded area using clamps or weights. Even superheroes need a little help sometimes.
Allow for Curing Time:
Patience is key. The epoxy resin requires sufficient curing time to fully set and achieve its maximum strength. Follow the manufacturer’s instructions regarding curing time and conditions, as it may vary from a few hours to several days.
Remove Excess Resin:
Once the epoxy resin has cured, remove any excess or squeezed-out resin using a scraper or sandpaper. This final touch creates a clean and smooth finish on the bonded fiberglass surfaces.
Additional Considerations:
Joining the Fiberglass Surfaces Together
In our previous guide, we discovered the superhero strength of epoxy resin for bonding fiberglass surfaces. Today, we’ll dive deeper into the world of joining fiberglass surfaces together using an epoxy adhesive. Get ready to become a true master of this art as we explore the step-by-step process and techniques involved. So, grab your tools and let’s embark on this exhilarating journey.
Step 1: Surface Preparation – A Clean Canvas
Prepare your fiberglass surfaces like a pro by giving them a thorough cleaning. Remove any dirt, grease, or contaminants that could hinder the bonding process. A mild detergent and water or a solvent recommended by the adhesive manufacturer will do the trick. Remember, cleanliness is key to achieving a strong bond.
Step 2: Roughen it Up – Creating a Grip
Now it’s time to roughen things up a bit. Lightly sand the fiberglass with fine-grit sandpaper to create a slightly rough texture. This texture allows the adhesive to grip onto the surface effectively. Think of it as giving your surfaces tiny little hooks to hold onto that adhesive like glue.
Step 3: Applying the Epoxy Adhesive – The Secret Ingredient
Bring in the star of the show: epoxy adhesive. Choose an adhesive designed specifically for bonding fiberglass, as they offer superior strength and durability. Mix the epoxy components in the correct ratio and apply it evenly onto one of the fiberglass surfaces. Follow the manufacturer’s instructions carefully to ensure success.
Step 4: Aligning and Pressing – Bringing it Together
The moment of truth has arrived. Carefully align the two fiberglass surfaces and press them firmly together. Use clamps or weights to hold the pieces in place while the adhesive works its magic. Remember, a little pressure goes a long way in creating a solid bond. Just make sure not to crack your precious fiberglass.
Step 5: Curing Time – Patience is a Virtue
A strong bond takes time to develop, so be patient and let the epoxy adhesive cure. Refer to the manufacturer’s instructions for guidance on the specific curing time. During this process, maintain the proper temperature and humidity conditions specified by the manufacturer. Optimal conditions ensure a flawless bond.
Allowing Sufficient Time for Curing
Today, we’re diving into the fascinating world of allowing sufficient time for curing when gluing fiberglass to fiberglass. Trust me, this is a step you don’t want to rush if you’re aiming for a bond that’s as strong as steel. So, let’s explore why giving your adhesive the time to cure is absolutely crucial.
First things first, what exactly is curing? It’s the magical process that takes your adhesive from a mere liquid or gel-like state to a solid and mighty bond. Picture it as the superhero transformation of your adhesive, gaining strength and durability over time. And just like any superhero, it needs time to train and become powerful.
Now, let’s dive into why allowing sufficient curing time is so vital:
- Strength and Durability: Curing time is directly linked to the strength and durability of your bond. It’s during this period that the adhesive develops its full potential, forming an unbreakable connection between the fiberglass surfaces. So, if you want a bond that can withstand any challenge thrown its way, give it the time it needs to become truly invincible.
- Adhesive Type and Environmental Conditions: Not all adhesives are created equal. Different types have different curing requirements, so make sure to follow the specific instructions provided by the manufacturer. Additionally, factors like temperature and humidity can impact curing time. So, create an optimal environment for your adhesive to work its magic by maintaining proper temperature and humidity levels.
- Size and Complexity: The size and complexity of your fiberglass parts can also influence curing time. Larger or more intricate pieces may require additional time to ensure every nook and cranny is properly bonded together. Patience is key here – allow those adhesive molecules enough time to form strong connections throughout the entire surface.
- Pressure Matters: Applying pressure during curing can significantly enhance the bond strength by ensuring proper contact between the fiberglass surfaces. So, don’t be afraid to give your adhesive a gentle squeeze. Just remember to strike the right balance and avoid damaging the delicate fiberglass.
- Don’t Disturb the Peace: Once you’ve glued your fiberglass pieces together, it’s essential to resist the urge to fiddle with them during the curing process. Moving or disturbing the parts can disrupt the bond and result in a weak joint. Find your inner zen and let the adhesive work its magic undisturbed.
Keeping in a Controlled Environment
In our previous discussion, we marveled at the transformation of adhesive from a mere liquid to an unbreakable bond. Today, we embark on a new adventure as we explore the secrets to keeping your glued fiberglass in a controlled environment. Get ready to unlock the power of a strong and durable bond.
Temperature: The Goldilocks Zone
Just like Goldilocks and her quest for the perfect porridge, finding the ideal temperature for your bonding process is crucial. Aim for an environment between 70°F and 90°F (21°C and 32°C) to create the sizzle that sets your glue just right. This temperature range ensures that your adhesive doesn’t dry too quickly or sluggishly, striking the perfect balance for optimal bonding.
Humidity: Battling the Moisture Monster
Excess moisture can be the arch-nemesis of your adhesive’s bonding capabilities. Keep humidity levels below 60% to prevent interference with your glue’s performance. In this battle against unwanted moisture, less is definitely more. Let your adhesive molecules focus on forging powerful connections without any distractions.
Cleanliness: Laying the Foundation for Success
Before diving into your gluing adventure, take a moment to ensure cleanliness reigns supreme. Sweep away any debris or contaminants that might hinder the bonding process. Give those fiberglass surfaces a thorough wipe-down with a clean cloth and, if needed, enlist a mild cleaning agent to guarantee they’re sparkling clean and ready for action.
Surface Prep: Rough and Ready for Bonding Brilliance
To achieve a bond as solid as steel, roughen up your fiberglass surfaces using sandpaper or a sanding block. This step creates a rough texture that increases the surface area available for adhesion. It’s like giving your adhesive superhero an upgraded suit, enhancing its ability to create an unbreakable bond.
Adhesive Selection: Choosing Your Bonding Sidekick
Selecting the right adhesive is paramount when working with fiberglass. Seek out adhesives specifically designed for bonding fiberglass materials, such as epoxy or polyurethane-based glues. By choosing the perfect sidekick for your bonding journey, you ensure a strong and reliable bond that withstands the test of time.
AOFLLLp0nQE” >
Conclusion
Gluing fiberglass to fiberglass requires the right technique and adhesive for a strong and durable bond.
To begin, ensure that both surfaces are clean and free from dirt, grease, or any other contaminants. Next, choose an epoxy resin specifically designed for bonding fiberglass.
Apply the epoxy evenly on one surface using a brush or roller, making sure to cover the entire area. Then, carefully align the second piece of fiberglass and press them together firmly.
Remember, a well-executed glue job will provide a seamless connection that can withstand the test of time and maintain the structural integrity of your project.

