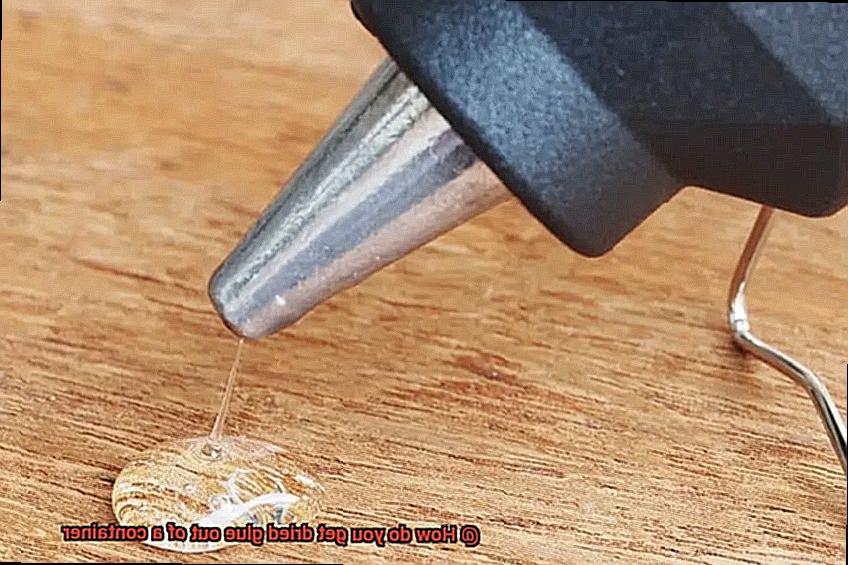
Ever been hyped up for a DIY project, only to find your glue container transformed into an impenetrable fortress of dried adhesive? We’ve all been there, my friends. Dealing with dried glue can be like wrestling with a stubborn beast that just won’t let go. But fret not. We’re here to crack the code and arm you with the wisdom needed to rescue your glue containers from their sticky demise.
In this mind-blowing blog post, we’ll dive headfirst into this sticky conundrum and unveil the tried-and-tested techniques for resurrecting your beloved glue containers. Prepare yourself for a journey where we conquer dried glue once and for all.
First things first – let’s understand why glue dries up in the first place and why it’s such a pain in the neck to fix. Then, we’ll reveal the secret stash of supplies you need in your arsenal to wage war against that pesky dried adhesive. You’ll be amazed to find out that some of these miraculous products may already be lurking in your kitchen or bathroom cabinets.
But hold on tight because here comes the heart of this post – our step-by-step guide to saving your glue container. We’ll explore a range of methods for softening that stubborn adhesive, from using heat and moisture to harnessing the power of everyday household items. Each technique will be broken down in detail so that you’re armed with all the knowledge necessary to tackle any dried glue disaster.
So whether you’re an experienced crafter or just desperate for a practical solution to salvage your precious adhesives, this blog post is your ultimate savior. Get ready to peel away layers of frustration as we unlock the secrets behind bidding farewell to those dreaded dried glue woes forever.
What is Dried Glue?
Contents
- 1 What is Dried Glue?
- 2 Common Methods for Removing Dried Glue
- 3 Checking the Label for Specific Instructions
- 4 Soaking in Warm Water and Dish Soap
- 5 Using a Solvent or Adhesive Remover
- 6 Scraping Off the Dried Glue
- 7 Cleaning the Container Thoroughly After Removal
- 8 Safety Precautions to Consider When Removing Dried Glue
- 9 Conclusion
Dried glue is like a stubborn adversary, clinging to containers and refusing to let go. But fear not. With a dash of knowledge and a sprinkle of perseverance, you can conquer dried glue and restore the functionality of your containers. In this captivating guide, we will delve into the depths of dried glue and uncover the secrets to effectively removing it from containers.
Unveiling the Essence of Dried Glue:
Dried glue is the transformed state of adhesive substances that have hardened after prolonged exposure to air or moisture. Through a process called curing, glue evolves from a liquid or semi-liquid form into a solid entity. Its properties in the dried state, such as hardness or flexibility, vary depending on the type of glue used and conditions during the drying process.
Decoding Glue Types:
Before embarking on your mission to remove dried glue, deciphering the specific characteristics of your chosen adhesive is paramount. Consult the label or packaging for instructions and recommended removal methods tailored to that particular glue. Misguided attempts could result in damage to the container or hinder its future usability.
Submerging in Warm Water:
Like a warm embrace, soaking the container in warm water is a gentle yet effective approach to loosen dried glue’s grip. The warmth softens the adhesive, making it more pliable for removal. If warm water alone fails to yield desired results, infusing a touch of dish soap amplifies its adhesive-breaking prowess.
Harnessing the Power of Solvents and Adhesive Removers:
For those tougher cases of dried glue tenacity, bringing in reinforcements in the form of solvents or adhesive removers designed specifically for glue removal can turn the tide in your favor. These magical elixirs dissolve adhesives, rendering them more susceptible to eradication. Apply a dab of the solvent onto a cloth or sponge, gently massage it onto the dried glue, and grant it a few minutes to work its magic before scrubbing away with a sponge or brush.
Common Methods for Removing Dried Glue
Dried glue, the arch-nemesis of containers, has met its match. No longer will it hold us hostage with its relentless grip. In this guide, we will unlock the secrets of removing dried glue from your cherished containers. With a sprinkle of knowledge and a dash of determination, you will reclaim their functionality and bid farewell to that tenacious adhesive. So, let’s embark on this journey together.
Method 1: Soaking in Hot Water
Sometimes, simplicity reigns supreme. Fill your container with piping hot water and let it bask for a few minutes. The heat will work its enchantment, causing the dried glue to surrender its hold. Once soaked, equip yourself with a trusty sponge or cloth and tenderly scrub away the softened glue, unveiling a pristine surface beneath.
Method 2: The Vinegar Wonder
When hot water is not within reach, the magic elixir known as vinegar comes to the rescue. Pour a small amount of vinegar into the container and grant it a few moments to work its marvels. This potent liquid possesses the power to dissolve adhesives effortlessly. Armed with your sponge or cloth, wage war against the remnants of dried glue until victory is yours.
Method 3: Rubbing Alcohol to the Rescue
In the absence of vinegar, fear not, for rubbing alcohol shall be your savior. Apply a modest amount onto a cloth or sponge and tenderly massage the dried glue until it succumbs to dissolution. Persist in your efforts until every trace of stubborn adhesive vanishes into thin air.
Method 4: Baking Soda Paste Power
For those resilient dried glue stains that refuse to yield, it’s time to unleash the baking soda brigade. Forge a formidable paste by blending equal parts baking soda and water. Bestow this magical concoction upon the dried glue and allow it to work its sorcery for approximately 15 minutes. Armed with your trusted sponge or cloth, wage a relentless assault on the softened glue until your container stands unblemished.
Checking the Label for Specific Instructions
Today, we unveil a secret weapon that will ensure your victory – checking the label for specific instructions. This simple step holds the key to defeating the stickiest foes and emerging triumphant. So, equip yourselves and prepare to dive into this expert advice.
The Significance of Specific Instructions:
- Unique rules for different glues: Just like superheroes with their distinct powers, different types of glue have specific instructions for removal. Checking the label is essential, as it reveals the battle strategy required.
- Safety first: Specific instructions often include vital safety precautions, such as protective gear or ventilation requirements. Ignoring these guidelines can lead to messy mishaps or even harm. Always prioritize safety before taking action.
Decoding the Label:
- Clues within magical phrases: Seek out phrases like “clean up with warm water” or “use solvent for removal” on the label. These tiny hints hold the secrets to overcoming that stubborn dried glue.
- Examine every detail: Scrutinize every nook and cranny of the label; hidden instructions may lurk amidst colorful graphics or sneaky fonts.
General Methods for Glue Removal:
- Soak it up: When specific instructions are elusive, immerse the container in warm water. This relaxing soak works wonders by loosening the grip of dried glue.
- Gently scrub away: Armed with a sponge or cloth, softly scrub away at the softened glue after its warm water retreat. For stubborn remnants, trusty sidekicks like a plastic scraper or an old toothbrush lend their aid.
The Mighty Solvent:
- Glue removal superheroes: Glue removal solvents are specially designed to obliterate dried glue. Seek them out at hardware stores or with a click of a button online.
- The power of reading: Before unleashing the solvent’s might, read the instructions carefully. They hold secrets like application guidelines and safety precautions that can save the day.
- Patience is key: Stronger adhesives may require applying the solvent directly to the dried glue and allowing it to sit for a few minutes. This grants the solvent time to break down the adhesive properties, making cleanup easier.
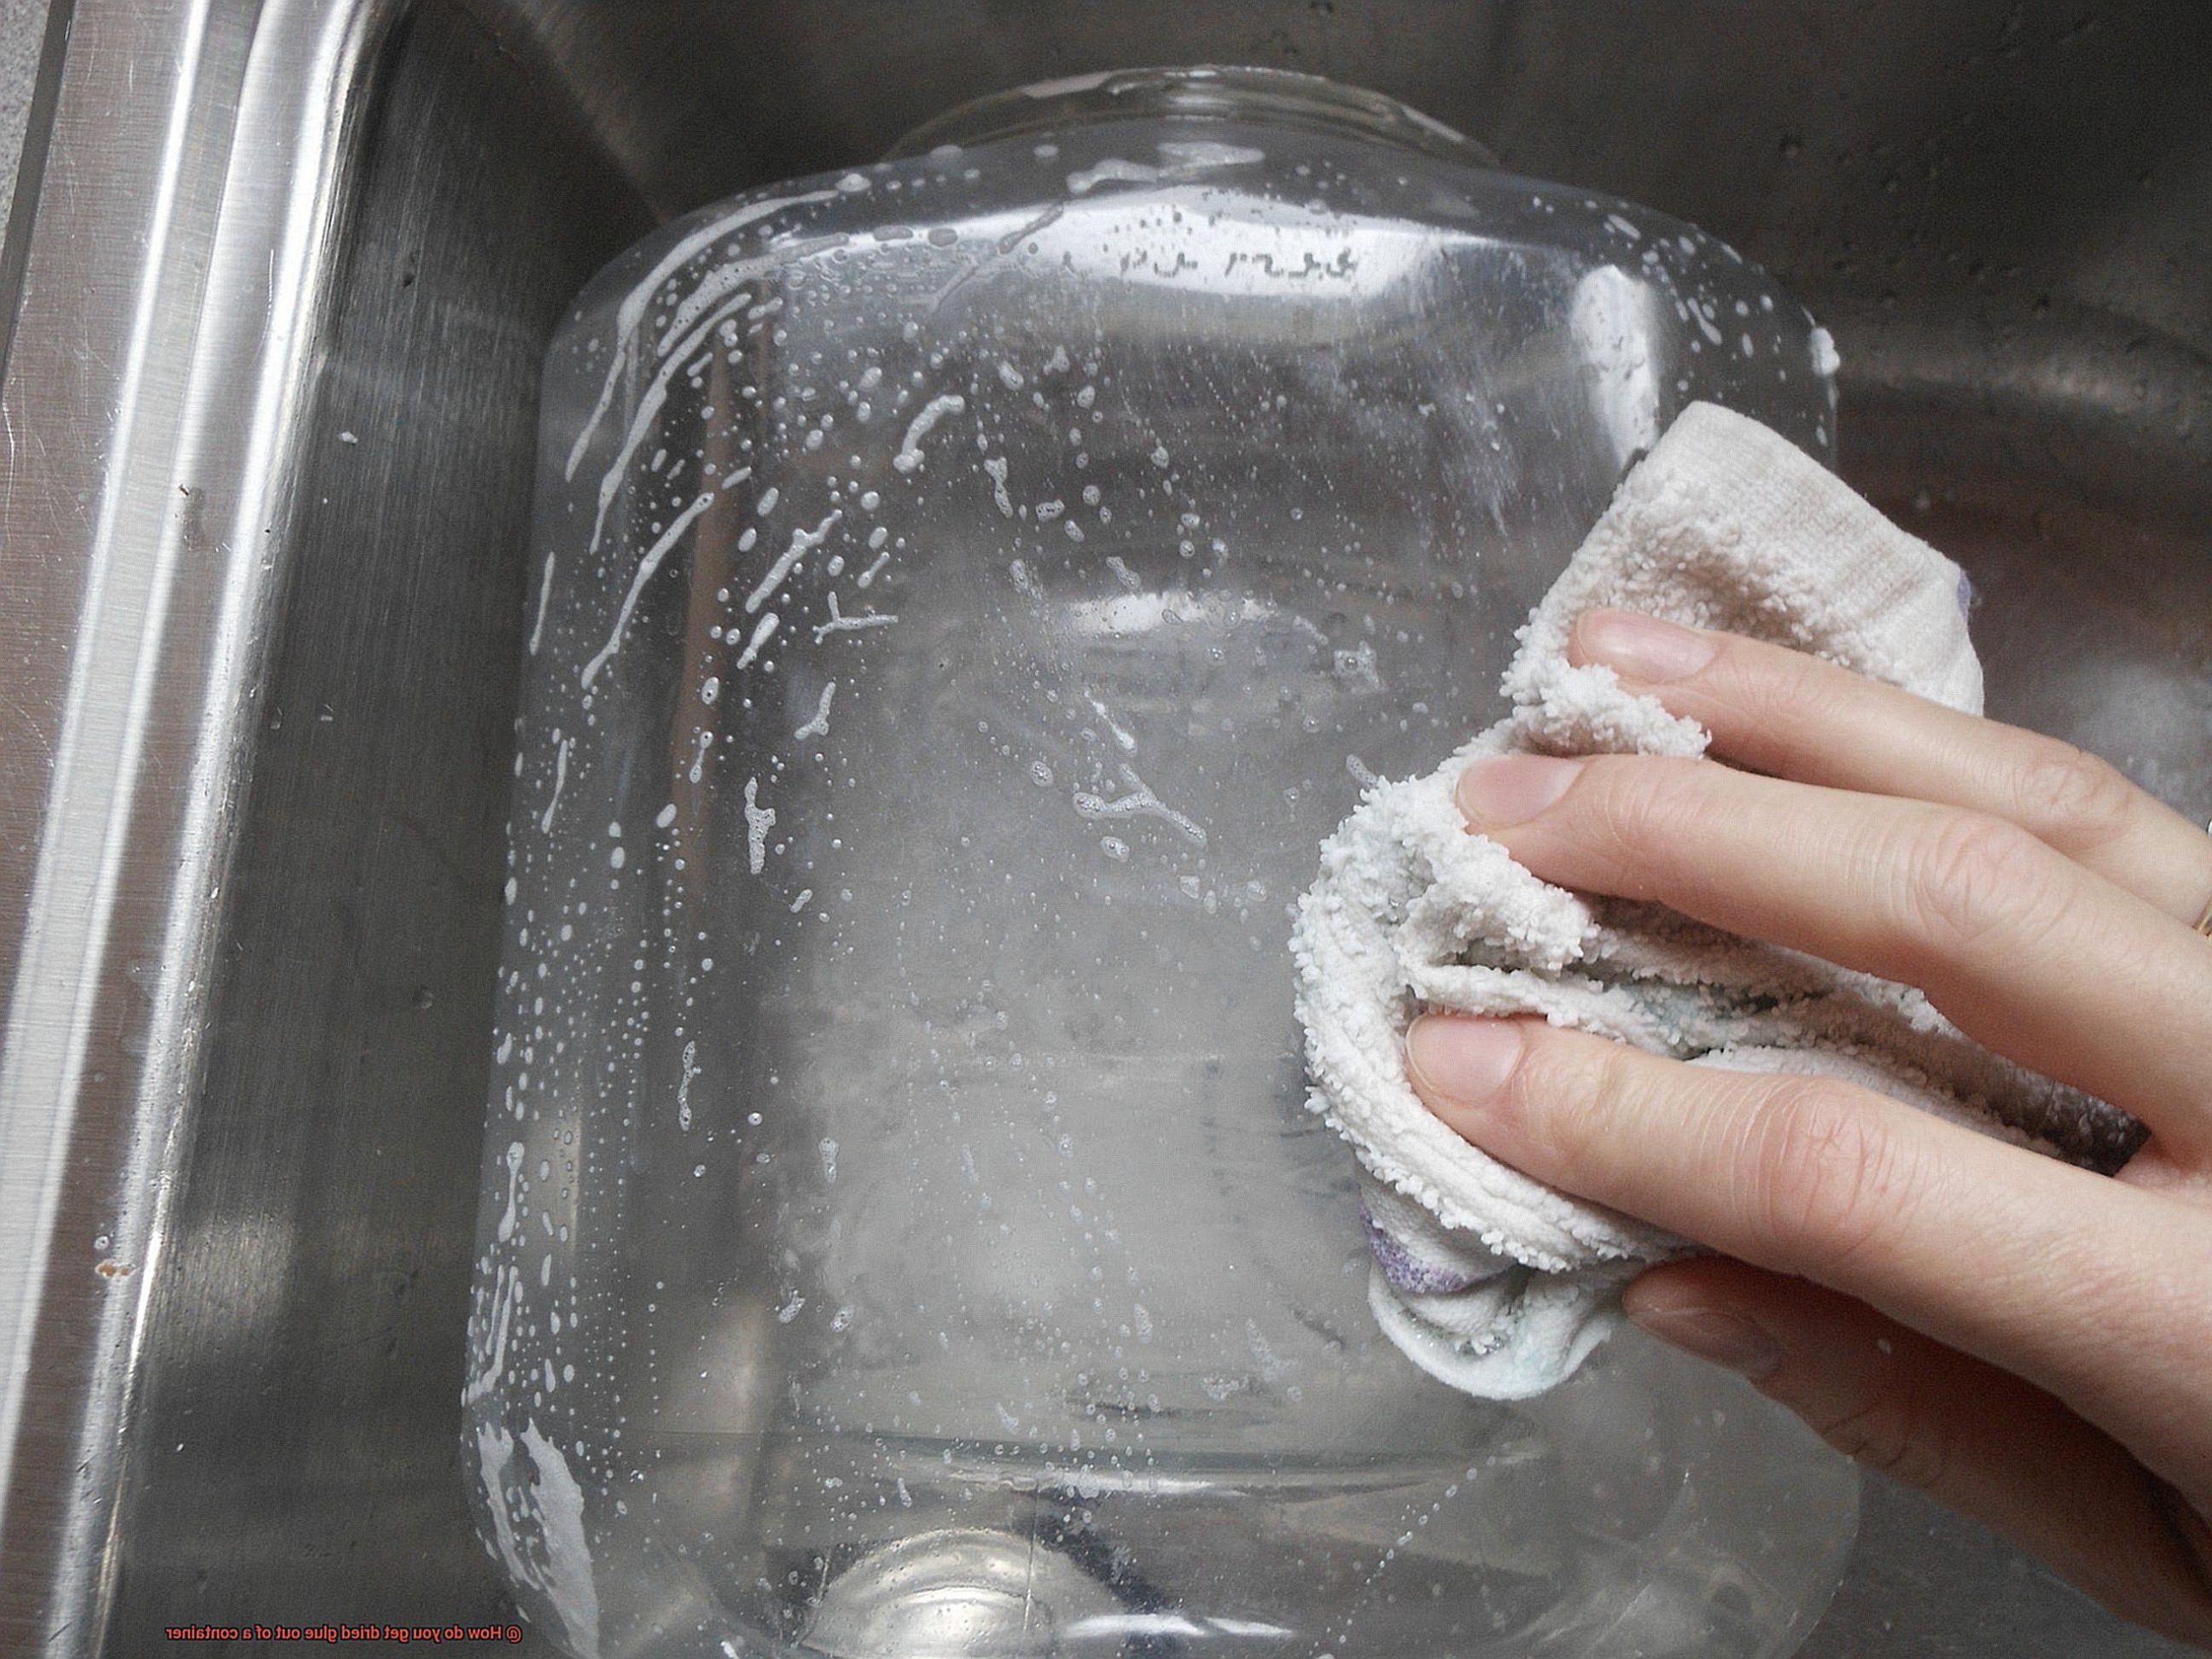
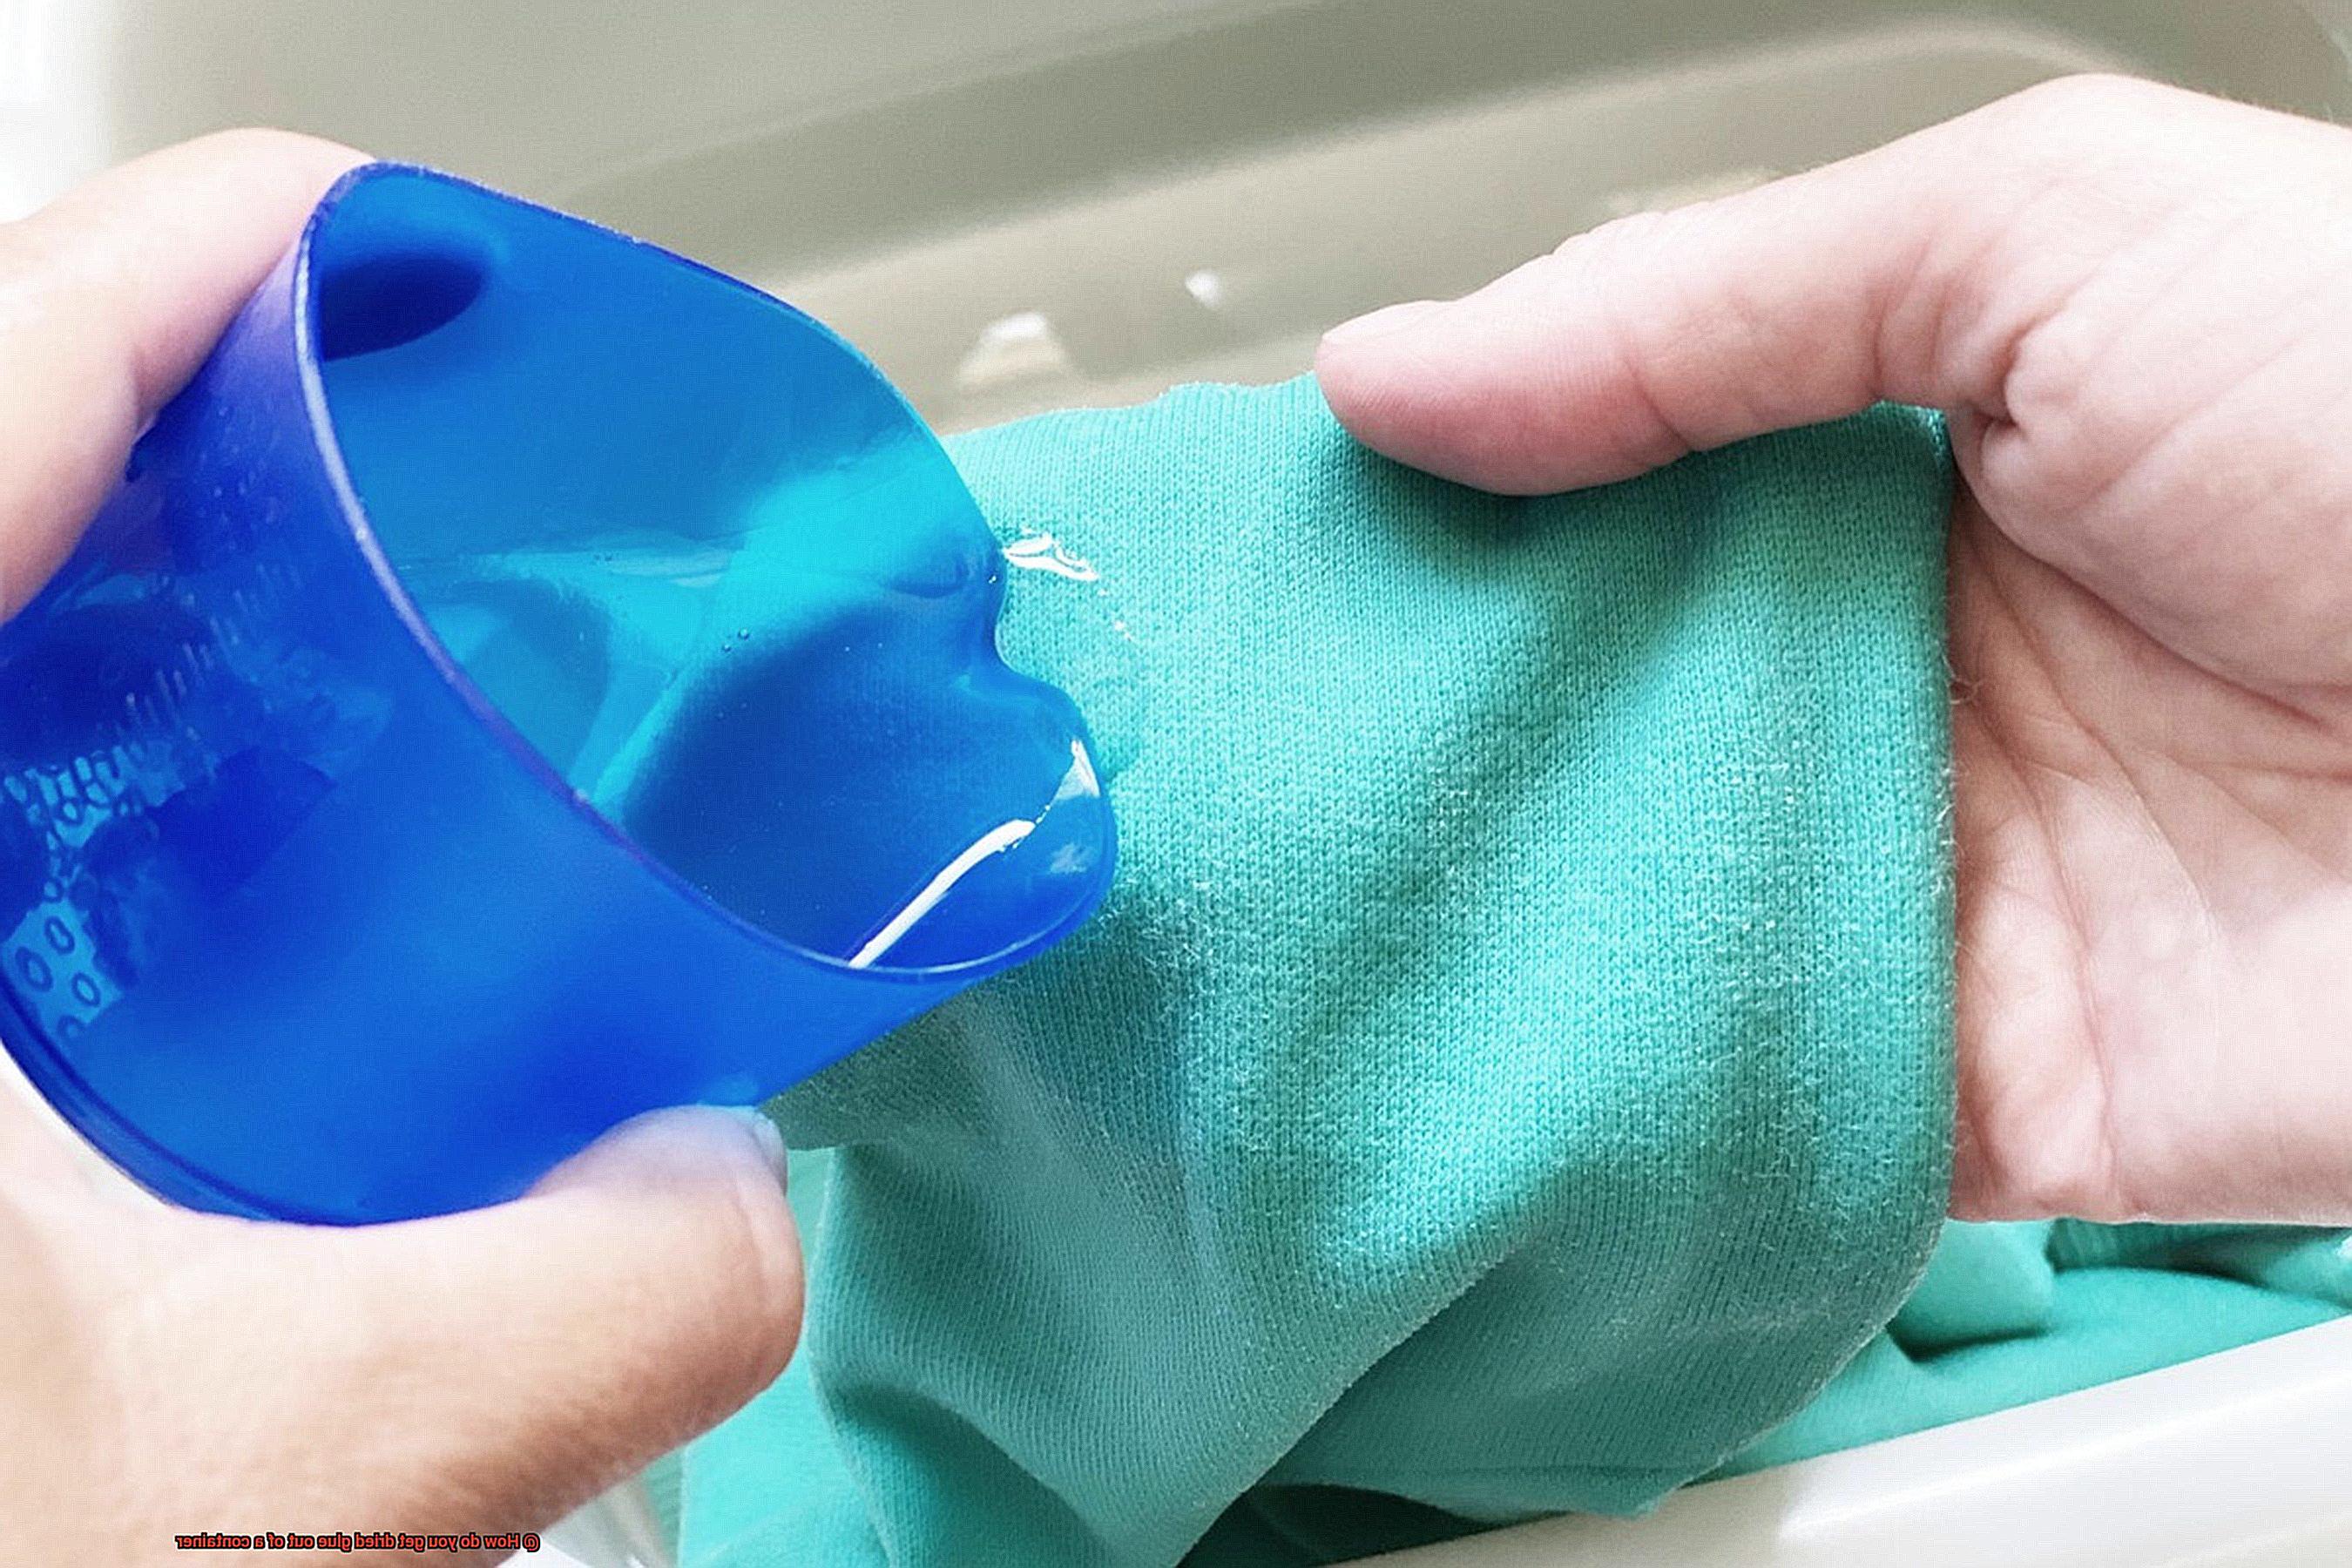
Soaking in Warm Water and Dish Soap
In our quest to conquer the stickiest of foes, we have stumbled upon a secret weapon – soaking in warm water and dish soap. This simple yet effective method has proven its worth time and time again. So, grab your armor and let’s dive into this expert advice on how to banish dried glue from your containers.
The Magic Behind Soaking in Warm Water:
Imagine warm water as a gentle masseuse, soothing the hardened glue and coaxing it to let go of its stubborn grip. The heat works its magic by softening the glue, making it easier to remove. But we can’t forget our trusty sidekick – dish soap.
The Surfactant Superpowers of Dish Soap:
Dish soap isn’t just for cleaning dirty dishes; it has a hidden talent for breaking down and dissolving glue. Packed with surfactants, these superhero molecules work diligently to dismantle the adhesive bond. Together with warm water, they form an unstoppable duo against dried glue.
The Battle Plan:
Now that we know the secrets behind this mighty method, let’s lay out the battle plan step by step:
- Prepare the battlefield: Fill a sink or basin with warm water, ensuring it’s not scorching hot to avoid damaging your container.
- The secret ingredient: Add a few drops of your trusted dish soap to the warm water and give it a good mix. We’re creating a powerful potion here.
- Submerge and conquer: Immerse your container with dried glue into the soapy water, making sure it’s fully submerged. Let it soak for about 30 minutes to an hour – time for our heroes to work their magic.
- The final scrub: After the glorious soak, remove the container from the water and grab a sponge or soft cloth. Gently scrub away any remnants of the defeated glue residue.
- Rinse and shine: Rinse the container thoroughly with clean water, ensuring no soap residue remains. We want it squeaky clean for its triumphant return to duty.
- Dry and celebrate: Give your container a pat on the back, but not literally – you don’t want more glue sticking to you. Ensure it’s completely dry before putting it back into action.
Using a Solvent or Adhesive Remover
Calling all glue warriors. If you’ve ever found yourself trapped in a sticky situation with dried glue clinging stubbornly to your containers, fear not. I’m here to equip you with the ultimate weapon: a solvent or adhesive remover. Get ready to banish that gunk and restore your containers to their former glory. Let’s dive in and conquer this adhesive battle.
First and foremost, solvents and adhesive removers are your secret allies in this epic struggle. These powerful concoctions are specifically formulated to break down and dissolve dried glue, making your life a whole lot easier. One standout hero in this fight is acetone, a renowned glue-destroyer found in nail polish remover or as a standalone product. It’s like the Superman of solvents.
To embark on your journey of conquering dried glue with acetone, arm yourself with a cloth or cotton ball soaked in this mighty solvent. Gently rub it onto the dried glue, allowing the acetone to work its magic and break down those stubborn adhesive bonds. Give it a few minutes to unleash its power, then confidently wipe away the dissolved glue. Piece of cake, right?
Safety is paramount, my fellow warriors. Remember to choose a well-ventilated area for your battle with acetone. Those fumes can pack quite a punch. And don’t forget to don a pair of gloves, shielding your hands from any potential harsh effects. We want gleaming containers and unscathed skin.
But wait, there’s more. If acetone isn’t quite your taste, fear not. The market offers an array of commercial adhesive removers specifically designed for this heroic task. These magical potions can be easily found at hardware stores or online, ready to lend you a helping hand.
When wielding an adhesive remover, follow the instructions provided on the packaging for optimal results. Typically, you’ll need to apply the remover directly onto the dried glue, allowing it a few minutes to work its wonders (cue the Jeopardy theme song), and then effortlessly wipe it away with a cloth or sponge. Some removers may require an additional step, such as rinsing the container with water to bid adieu to any lingering residue.
Before launching into battle, it’s wise to test the solvent or adhesive remover on a small, inconspicuous area of the container. We wouldn’t want any unpleasant surprises like discoloration or damage, would we? It’s always better to err on the side of caution.
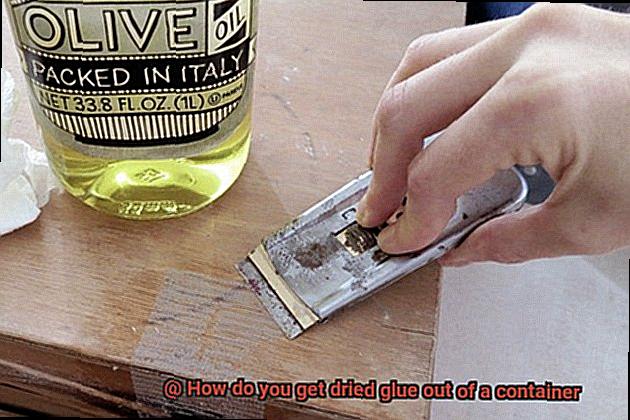
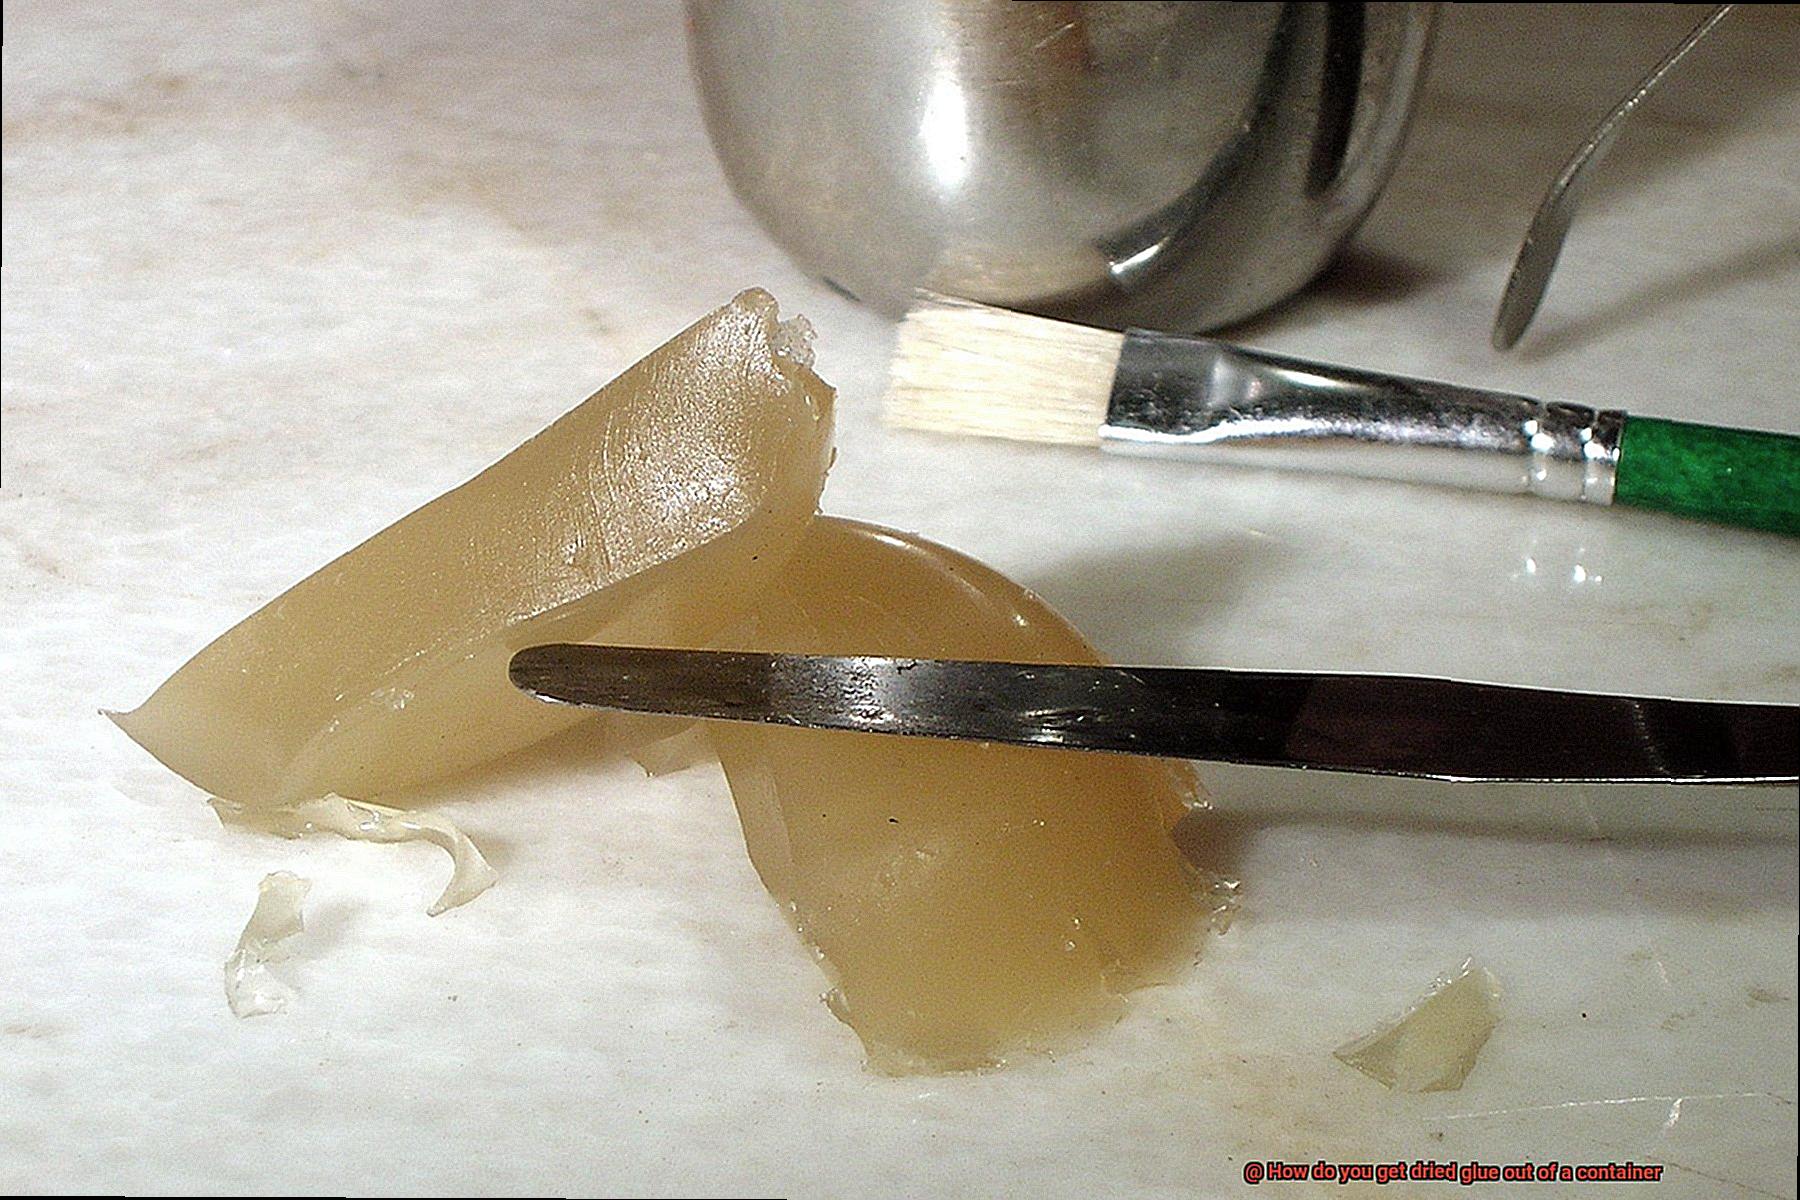
Scraping Off the Dried Glue
Prepare yourself, glue warriors, for an epic battle against the stubborn remnants of dried glue on your beloved containers. Fear not, for I am here to arm you with the techniques and tools necessary to scrape off that pesky glue and restore your containers to their former glory. Get ready to embark on a journey of finesse and triumphant victories as we conquer this adhesive challenge together.
Gather Your Arsenal:
Before delving into battle, equip yourself with the essential tools for victory. A plastic scraper or an old credit card will be your trusted companions, skillfully loosening and removing the dried glue without causing harm to your precious container.
Timing is Everything:
Patience is a virtue, my fellow glue warriors. Ensure the glue is completely dry before launching your assault. Attempting to scrape off partially dried glue will only lead to frustration and a messy removal process. Exercise self-restraint and wait until that glue is bone dry.
The Art of Scrape:
Now, it’s time to unveil your scraping skills. With precision and care, angle the scraper against the dried glue, applying firm yet gentle pressure. Begin at the edge of the glue and gradually make your way towards the center, always mindful of avoiding scratches or damage to the container’s surface.
Patience and Persistence:
Do not surrender if the dried glue proves to be a formidable opponent. Sometimes, a little heat can soften its resolve. Reach for a hairdryer on low heat or a heat gun at a safe distance and warm up that stubborn glue. This gentle application of heat will render it more pliable, making scraping it off a breeze.
Safety First:
Remember, brave warriors, safety is paramount in this battle. Shield your hands when using heat sources and exercise caution to prevent overheating the container, which could lead to damage. Our mission is to conquer the glue, not create new problems.
The Final Touch:
Congratulations, victorious warrior. You have successfully scraped off the dried glue and emerged triumphant. But before you revel in your conquest, there is one last step – cleaning. Thoroughly cleanse the container with warm soapy water or a mild cleaning solution to eradicate any residue left behind by the defeated glue.
Cleaning the Container Thoroughly After Removal
Cleaning the Container Thoroughly After Removal: A Guide to Glue-Free Glory
Congratulations, brave glue warriors. You have successfully defeated the stubborn remnants of dried glue on your beloved containers. But the battle isn’t over just yet – now it’s time to clean the container thoroughly and restore it to its former glory. Fear not, for I am here to guide you through this crucial step with finesse and expertise.
To begin this epic quest, assemble your trusty tools: warm water, dish soap or mild detergent, a sponge or soft cloth, and a scrub brush or toothbrush. With these weapons in hand, you can rid your container of any lingering glue residue without causing harm.
First, unleash a torrent of warm water upon your container, loosening any loose glue particles and making it easier to remove the dried glue. Once wet, apply a small amount of dish soap or mild detergent to a sponge or soft cloth. With gentle strokes, scrub away the remnants of glue, lifting them from the surface.
But what about those stubborn stains that refuse to yield? Fear not, my friend. Equip yourself with a scrub brush or toothbrush boasting soft bristles. Dip it into warm soapy water and wage war against those pesky areas. Remember, we aim to remove the glue, not damage the container, so wield your brush with caution.
Should traces of glue persist after your valiant efforts, call upon specialized adhesive removers or solvents. These magical potions possess the power to vanquish even the most stubborn residues. Apply a small amount of remover onto a clean cloth and gently massage it over the affected areas. But heed this warning – test the remover on a small, inconspicuous area first. We must avoid any unforeseen calamities.
Once all traces of dried glue have been banished from your container, honor it with a thorough rinse under warm water. This final baptism shall wash away any remnants of soap or solvent residue, leaving your container pure and ready for the next adventure. And here’s a pro tip: before stowing or using the container again, ensure it is bone-dry. Moisture must not be allowed to cause future glue mishaps.
Safety Precautions to Consider When Removing Dried Glue
As we embark on our quest to banish the remnants of dried glue from our noble containers, it is imperative that we prioritize our safety. As an expert in the art of glue removal, I am here to unveil a comprehensive arsenal of safety precautions. Let us fortify ourselves and emerge triumphant in this battle for pristine surfaces.
Don Your Protective Armor:
Before venturing into the fray, equip yourself with the necessary protective gear. Envelop your hands in sturdy gloves, secure your eyes with formidable safety goggles, and shield your delicate respiratory system behind a trusty face mask. With these impenetrable barriers, direct contact with glue removers is thwarted, and the pernicious fumes are kept at bay.
Embrace Fresh Air’s Embrace:
Remember, valiant warriors, a well-ventilated battlefield is paramount. Unleash the power of open windows and doors, allowing the invigorating breeze to circulate. Alternatively, enlist the aid of a loyal fan to enhance airflow. By doing so, you vanquish potent odors and dispel any respiratory irritants that may arise from the formidable glue remover.
The Sacred Commandments:
Respect the wisdom bestowed upon us by the gods of glue remover and diligently follow their commandments. Imbibe every word inscribed upon the sacred instructions provided by the manufacturer. Each divine product may possess unique guidelines and precautions for safe and effective usage. Obeying these commandments shall shield us from harm’s reach and ensure a triumphant victory over stubborn glue.
Test the Waters:
Before unleashing the full force of your chosen glue remover upon the adhesive stronghold, perform a small-scale test in a covert area of the container. This tactful maneuver guarantees the preservation of the container’s material from any unintended damage or discoloration. Should this trial yield favorable results, you may proceed with unwavering confidence.
Conclusion
Removing dried glue from a container can be quite a challenge, but fear not.
There are several effective methods you can try. First, grab a plastic scraper or an old credit card to gently scrape away the dried glue.
Be careful not to scratch the container surface. If scraping doesn’t do the trick, soak the container in warm soapy water for about 15 minutes.
This will help soften the glue and make it easier to remove. For stubborn glue, try using rubbing alcohol or nail polish remover.
Remember to test these solutions on a small inconspicuous area before applying them to the entire container to avoid any damage.