Ever found yourself in the sticky situation of a loose or broken tooth filling? Maybe you’ve had the misfortune of losing a crown or dealing with a pesky dental mishap at the worst possible time. Well, fear not, because Dentemp, your trusty dental repair sidekick, is here to save the day.
In this blog post, we’re diving deep into the art of making Dentemp stick like glue and giving your smile a temporary fix until you can see your dentist. Whether you need to smooth out rough edges, reattach a crown, or stabilize a wobbly filling, Dentemp can be your superhero –– if you know how to use it right.
As we uncover the secrets of getting Dentemp to stick like nobody’s business, we’ll navigate through all sorts of dentistry dilemmas. We’ll be sharing handy tips and techniques straight from the pros and real-life experiences. So whether you’re new to this whole Dentemp thing or just want to level up your adhesive game, consider this guide your ultimate companion.
Ready to unleash your inner dental hero and reclaim that confident smile with Dentemp’s magical stickiness? Then let’s jump right in.
What is Dentemp?
Contents
Dealing with a dental emergency can be both painful and stressful. Thankfully, there is a solution to provide temporary relief until you can see a professional dentist. Enter Dentemp, the go-to dental repair material that can come to your rescue when you’re in a bind. In this blog post, we’ll explore what Dentemp is, how it works, and why it’s essential to use it correctly.
What is Dentemp?
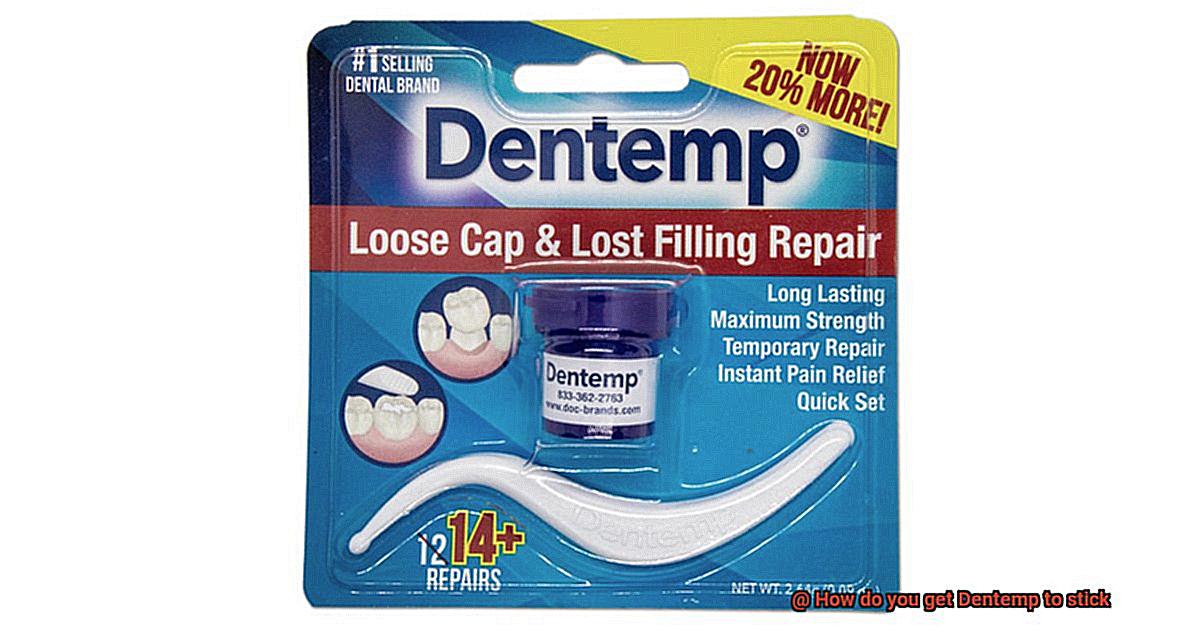
Dentemp is a temporary dental cement that comes in different forms, such as Dentemp One Step and Dentemp O.S. Maximum Strength. Whether you have a broken or loose tooth, a lost filling, chipped or broken teeth, or even loose orthodontic brackets or wires, Dentemp is designed to temporarily fix these issues. It creates a secure bond when applied to the affected area, providing immediate relief and stability until you can seek professional dental care.
How to Use Dentemp:
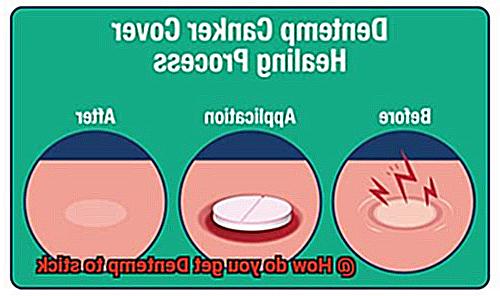
Using Dentemp is straightforward. Here’s a step-by-step guide to help you through the process:
- Clean and dry the affected area: Thoroughly clean and dry the damaged tooth or dental appliance before applying Dentemp.
- Mix Dentemp according to instructions: Follow the packaging instructions to correctly mix the two-component system of Dentemp – a powder and a liquid.
- Apply a small amount of Dentemp: Take a small amount of mixed Dentemp using an applicator or your finger (if instructed), and evenly distribute it over the damaged tooth or dental appliance.
- Shape and smooth: Shape and smooth the applied Dentemp using a wet finger or recommended tool for a natural appearance.
- Bite down gently: Enhance adhesion and promote better bonding by gently biting down on the repaired tooth for a few seconds.
- Allow proper curing time: Give Dentemp enough time to set and cure before eating or drinking, following the recommended curing time provided by the manufacturer.
- Maintain good oral hygiene: Keep practicing good oral hygiene by brushing and flossing regularly, being mindful of the repaired area while using Dentemp.
Remember, Dentemp is a temporary fix and should not replace professional dental care. Schedule an appointment with your dentist as soon as possible to address the underlying issue and prevent further damage.
Preparing the Area for Application
Emergencies happen, and when it comes to sudden dental mishaps, Dentemp is a lifesaver. In this comprehensive guide, we will delve into the essential steps you must take to prepare the area for Dentemp application. By ensuring a strong bond, you can achieve effective relief until you can see a dental professional.
Step 1: Brush and Floss Gently

Before applying Dentemp, meticulous oral hygiene is key. Gently brush and floss the affected tooth to eliminate any debris such as food particles, plaque, or tartar that might hinder Dentemp’s adhesive properties. Remember, a gentle touch ensures protection against potential damage to your teeth and gums.
Step 2: Rinse Thoroughly
Once you’ve brushed, rinse your mouth thoroughly with water. This step eradicates any traces of toothpaste or mouthwash, providing a pristine surface for Dentemp to bond with. Think of it as preparing a blank canvas for an artist to work their magic.
Step 3: Dry the Tooth Surface
Moisture is Dentemp’s arch-nemesis when it comes to effective adhesion. To combat this, make sure the tooth surface is completely dry before applying Dentemp. Employ a clean cotton swab or gauze pad to gently blot the area dry. Avoid exerting excessive force to prevent discomfort or damage.
Step 4: Isolate and Protect (if necessary)
In certain cases, employing a dental dam or saliva ejector can prove beneficial. These tools help isolate and protect the treated area, maintaining a dry environment and preventing contamination from saliva or other oral fluids. It’s an extra layer of defense against potential setbacks.
Step 5: Ensure Intact Teeth or Restorations
Dentemp is designed for intact teeth or restorations. If you have loose fillings, crowns, or other dental restorations, it is crucial to consult a dental professional before using Dentemp. They can provide proper guidance and ensure the best course of action for your specific situation.
Mixing the Dentemp Components
In times of dental emergencies, finding a quick and easy solution to fix the problem can be a lifesaver. Luckily, Dentemp, the dental adhesive that can save the day, is here to help.
But how can you ensure that Dentemp sticks like glue and provides the reliable repair or securement you need? Let’s dive into the steps for properly mixing the Dentemp components.
Step 1: Prepare Your Mixing Surface
Before you begin mixing, it is crucial to ensure that your mixing surface is clean and dry. This will prevent any contamination that may affect the performance of Dentemp. Use a small dish or a specialized mixing pad designed for dental materials to provide the perfect foundation for your mixture.
Step 2: Pour a Small Amount of Liquid
To start the mixing process, pour a small amount of the liquid component onto your clean and dry mixing surface. Remember, it’s always better to start with less and add more if necessary.
Step 3: Add the Powder Gradually
Slowly add the powder component to the liquid on your mixing surface. Thoroughly mix them together using a spatula or a small brush. This step is crucial to achieving a proper bond, so make sure to distribute the powder evenly throughout the mixture.
Step 4: Mix Until Smooth and Homogenous
As you blend the components, observe how the texture transforms from a liquid consistency to a thicker paste-like texture. Continue mixing until you achieve a smooth and homogenous mixture. This ensures that Dentemp will adhere effectively to your dental structure.
Step 5: Mind the Working Time
Dentemp has a relatively short working time once mixed. To avoid wastage, only mix what you need for immediate use. If you mix too much Dentemp and don’t apply it within the recommended time frame, it may harden before you have a chance to use it.
Step 6: Consider the Temperature
Be mindful of the temperature in your working environment. Extreme heat or cold can impact the performance of Dentemp. For optimal results, store and mix Dentemp at room temperature.
Step 7: Apply the Mixture
Once you have thoroughly mixed the components, it’s time to apply Dentemp to the desired area in your mouth. Use a clean instrument or your finger to apply the mixture directly onto the tooth or dental structure that needs repair or securement. Press the mixture firmly into place, ensuring it covers the entire area.
Step 8: Allow Time to Set
Dentemp will start to set and harden within a few minutes, so work quickly and efficiently. After applying Dentemp, refrain from eating or drinking for at least 30 minutes to allow it to fully set and adhere to the tooth surface.
Applying a Small Amount of Dentemp
When a filling comes loose or a crown breaks, panic can set in.
With Dentemp, you can give yourself some relief and buy time until you can see your dentist. In this comprehensive guide, we’ll walk you through the process of applying a small amount of Dentemp.
Rest assured, this temporary fix will ensure a strong bond without any unnecessary mess or discomfort.
Step 1: Cleanse and Prepare
Start by gently brushing the affected area with a soft-bristle toothbrush and toothpaste. This will remove any debris or bacteria that may interfere with the adhesive. Rinse your mouth thoroughly with water to ensure everything is squeaky clean.
Step 2: Dry to Perfection
Take a clean tissue or cotton swab and meticulously dry the affected tooth and restoration. Moisture can hinder the effectiveness of Dentemp, so make sure everything is completely dry before proceeding.
Step 3: Less is More
Using the provided applicator or a clean cotton swab, take a small pea-sized amount of Dentemp. Remember, in this case, less is more. Apply the adhesive directly onto the affected tooth or restoration.
Step 4: Gentle Pressure for Optimal Adhesion
To ensure proper adhesion, gently press and hold the Dentemp in place. Avoid biting down on the restoration or using excessive force while the adhesive sets. Give it some time to work its magic.
Step 5: Respect the Setting Time
Check the product packaging for the recommended setting time. It could be anywhere from 15 minutes to an hour. During this time, avoid eating or drinking anything that could dislodge the adhesive. Give it the time it needs to set properly.
Step 6: Temporary Solution, Permanent Fix
Keep in mind that Dentemp is just a temporary solution. While it can provide relief, it’s crucial to visit your dentist as soon as possible for a proper evaluation and permanent repair. Your dental health deserves the investment.
Step 7: Monitor for Comfort and Safety
If you experience any discomfort or irritation after applying Dentemp, it’s best to remove the adhesive and consult with a dentist. They can provide further guidance and address any underlying issues with your dental restoration.
Shaping and Smoothing the Material
Shaping and smoothing the Dentemp material is a delicate process that requires precision and finesse. When it comes to repairing broken or loose dental restorations, such as crowns or fillings, getting the right fit and comfortable feel is essential. So, let’s dive into the steps involved in shaping and smoothing Dentemp, and get your smile back on track.
First things first, start with a small amount of Dentemp. You don’t want to overload your mouth with this stuff. Gradually build it up as needed, giving yourself more control and precision during the shaping process. Remember, less is more.
Now, using clean hands or a clean tool (we don’t want any nasty bacteria getting in there), gently press the Dentemp into place. Make sure to fill in any gaps or spaces around your restoration. We want everything snug and secure.
But wait, don’t go overboard. Dentemp should not be overfilled. Trust me, you don’t want to have difficulty biting down or feeling discomfort every time you chew. So be mindful of how much you’re using.
Once the Dentemp is in place, it’s time to smooth things out. Grab a wet finger or a wet tool – moisture is our friend here. This will help to smooth out any rough edges or uneven surfaces. Think of it like sculpting your very own masterpiece.
But remember, time is of the essence. Dentemp starts to harden within a few minutes of being mixed, so work quickly during this shaping and smoothing process. We don’t want it turning into a rock before we’re done.
If you find that you’ve gone a bit overboard and have excess Dentemp, no worries. You can easily remove it with a dental pick or a similar tool. Just be careful not to disturb the parts that are already perfectly shaped.
Once you’re satisfied with your handiwork, it’s time for the ultimate test – biting down gently. This will ensure a proper fit and comfort. If anything feels off or uncomfortable, it’s best to consult a dental professional for further guidance.
Remember, different Dentemp products may have slightly different application techniques, so always follow the instructions provided by the manufacturer. They know their stuff.
Gently Biting Down to Enhance Adhesion
When it comes to damaged or loose dental restorations, Dentemp is a temporary solution that can provide much-needed relief.
However, to ensure its effectiveness and longevity, there’s a simple yet often overlooked technique that can significantly enhance its adhesion – gently biting down.
In this article, we will explore the science behind this method and provide some expert tips on how to maximize the adhesion of Dentemp.
The Science Behind It:
Research suggests that applying gentle pressure by biting down on Dentemp helps the material conform to the shape of the tooth, increasing its contact with the tooth surface. This pressure aids in creating a stronger bond between the adhesive glue and the tooth, improving its overall adhesion.
Removing Excess Material:
In addition to enhancing adhesion, biting down on Dentemp also helps remove any excess material that may have been applied. This ensures that only the necessary amount of Dentemp remains on the tooth, preventing any interference with the adhesion process. It also minimizes discomfort or difficulty while biting or chewing.
Important Considerations:
While biting down on Dentemp can be beneficial, it’s crucial to exercise caution. Applying excessive force can cause the material to dislodge or become misshapen, reducing its ability to adhere properly. Start with light pressure and gradually increase if necessary, making sure not to exceed a comfortable level.
Seek Professional Dental Care:
It’s important to note that gently biting down on Dentemp is not a substitute for professional dental care. While Dentemp provides temporary relief, it’s essential to seek dental treatment as soon as possible. A qualified dentist will assess your situation and provide appropriate long-term solutions.
Additional Tips for Optimal Adhesion:
To maximize the adhesion of Dentemp, follow these additional tips:
- Follow the manufacturer’s instructions for application and usage.
- Properly prepare the tooth surface before applying Dentemp.
- Ensure correct mixing and application of the material.
- Allow sufficient time for Dentemp to set.
Alternative Techniques:
For individuals with limited jaw mobility or other oral health issues, biting down on their own teeth may be challenging. In such cases, using a cotton swab or a clean finger to apply gentle pressure on Dentemp can be an effective alternative. The goal is to create a slight compression that encourages the material to adhere effectively.
Allowing Proper Curing Time for Dentemp
Dentemp, the lifesaver for lost fillings, crowns, and bridges. It’s the quick fix you need when you can’t make it to the dentist right away. But here’s the secret to Dentemp’s success – allowing proper curing time. Let’s dive into why it matters.
Curing is the process that makes Dentemp harden and set in place, creating a bond that can withstand anything. Giving Dentemp enough time to cure is crucial for its effectiveness. The curing time can vary depending on the product, environment, and oral hygiene. Follow the manufacturer’s instructions for best results.
Typically, Dentemp needs at least an hour to cure before you can eat or drink. This gives it the chance to fully set and harden, ensuring stability and longevity. During this crucial period, avoid any activities that could put pressure on the treated area.
Remember, Dentemp is a temporary solution, not a permanent fix. Seeking professional dental care as soon as possible is always recommended. Think of Dentemp as your trusty sidekick until you can get proper treatment.
Maintaining Good Oral Hygiene After Application
You’ve successfully used Dentemp, the superhero of dental emergencies, to save the day and repair your tooth. Now, the question arises: how can you make sure that Dentemp’s superpowers last and keep your dental repair in top shape? Fear not, we’re here to guide you through maintaining good oral hygiene after using Dentemp. Let’s dive in.
Regular Brushing and Flossing:
Brushing and flossing are fundamental for maintaining oral hygiene after using Dentemp. Brush your teeth at least twice a day with a soft-bristled toothbrush and fluoride toothpaste. This removes food particles and plaque that might accumulate around the repaired area. Remember to be gentle while brushing near the repaired tooth to avoid dislodging or damaging the temporary filling.
Floss with Care:
Flossing is vital for accessing hard-to-reach areas, but you must exercise caution when flossing around the repaired tooth. Use gentle, back-and-forth motions to clean between teeth and along the gumline. Make sure the floss doesn’t get caught on the temporary filling.
Antimicrobial Mouthwash:
Take your oral hygiene up a notch by incorporating an antimicrobial mouthwash into your routine. This powerful addition helps eliminate bacteria and prevents infection around the repaired area.
Avoid Sticky or Hard Foods:
To maintain your repaired tooth’s integrity, steer clear of sticky or hard foods that exert excessive pressure on the temporary filling. Avoid chewing on ice, hard candies, or sticky sweets that could potentially dislodge or damage the filling.
Say No to Teeth Grinding or Clenching:
Habits like teeth grinding or clenching can compromise Dentemp’s repair. Consider wearing a nightguard or seeking professional help to protect your repaired tooth from unnecessary stress.
Regular Dental Check-ups:
Regular dental check-ups are essential for the success and longevity of your temporary dental repair. Dentists can assess the condition of the filling, provide guidance on oral care, and make adjustments or repairs if necessary.
Seek Professional Help for Discomfort or Pain:
If you experience any discomfort or pain after using Dentemp, it’s crucial to consult a dentist immediately. Ignoring signs of complications can worsen the situation and may require more extensive dental work in the future.
SdcqWhplJZQ” >
Conclusion
To ensure Dentemp sticks securely, follow these expert tips and tricks.
First and foremost, make sure the tooth surface is clean and dry before applying Dentemp. This will help create a strong bond between the temporary filling material and your tooth.
Next, use a small amount of Dentemp and apply it directly to the cavity or broken tooth. Gently press down on the material to ensure it adheres properly.
Give it a few minutes to set and harden before eating or drinking anything. And remember, avoid biting down too forcefully on the repaired tooth to prevent any dislodging of Dentemp.
With these simple steps, you can trust that Dentemp will stay in place, providing you with reliable temporary relief until you can see your dentist for a permanent solution.