We’ve all been there – an accidental tape mishap, a drink spill, or just plain sticky fingers can turn your phone into a residue magnet. Not only does it look gross, but it also messes with your phone’s performance. But fret not, my friend. I’ve got the solution you’ve been searching for.
In this blog post, we’re diving headfirst into the world of sticky residue removal. I’ll spill the beans on practical and effective methods to restore your phone’s pristine glory. Whether it’s stubborn adhesive, scratches, or grime that’s clinging to your device like a determined koala, I’ve got your back.
But before we embark on this epic journey of residue eradication, let’s gather our supplies. You’ll need a lint-free microfiber cloth (no fuzzies allowed), some cotton swabs or a soft-bristled toothbrush, rubbing alcohol or isopropyl alcohol (the good stuff), and a dash of patience.
Method 1: The Mighty Magic of Isopropyl Alcohol
- Step 1: Power off your phone and remove any case or cover.
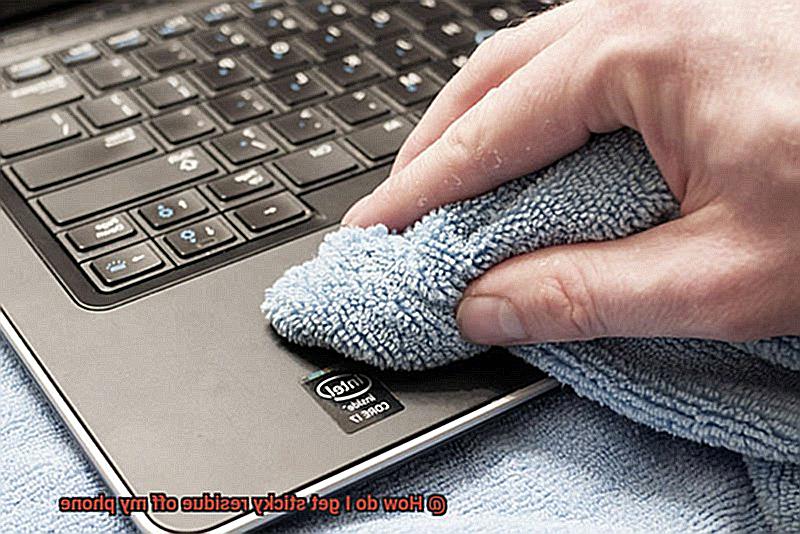
- Step 2: Dampen a cloth or cotton swab with isopropyl alcohol. Remember, we don’t want it dripping wet – that could spell disaster.
- Step 3: Gently massage the sticky residue in small circles using light pressure. Don’t go overboard with the alcohol; we don’t want it seeping into every nook and cranny.
- Step 4: If that pesky residue is still hanging on for dear life, grab that soft-bristled toothbrush and dip it in isopropyl alcohol. Give the affected area a gentle scrub.
- Step 5: Once you’ve triumphantly removed all traces of stickiness, wipe down your phone with a dry microfiber cloth to banish any excess moisture.
Method 2: Sudsy Savior – Dish Soap Solution
- Step 1: Mix a few drops of mild dish soap with warm water, creating a soapy superhero solution.
- Step 2: Dampen your trusty microfiber cloth with the soapy solution, making sure it’s not sopping wet.
- Step 3: Gently massage the sticky residue in circular motions, applying just enough pressure to do the job.
- Step 4: Rinse your cloth with clean water and wipe away any lingering
Turning off the Phone and Removing Accessories
Contents
- 1 Turning off the Phone and Removing Accessories
- 2 Using Rubbing Alcohol or Isopropyl Alcohol
- 3 Using Warm Water and Dish Soap
- 4 Using Baking Soda and Water
- 5 Using a Commercial Adhesive Remover for Electronics
- 6 Caution While Removing Sticky Residue
- 7 Cleaning the Phone After Removing Sticky Residue
- 8 Allowing the Phone to Dry Completely Before Turning it On
Sticky residue on your phone can be a frustrating problem that affects both functionality and aesthetics. Whether it’s adhesive from stickers, spills, or oils from our hands, it’s important to remove sticky residue properly to avoid any damage. In this article, we will explore the importance of turning off the phone and removing accessories before attempting to clean sticky residue. Additionally, we will discuss effective methods to tackle this issue, ensuring that your phone is restored to its optimal condition.
Why Turn off the Phone?
Turning off the phone is a crucial step in safely cleaning sticky residue. By doing so, you eliminate the risk of liquid or cleaning agents seeping into sensitive areas and causing irreversible damage. It also helps prevent accidental screen taps that could interfere with the cleaning process or even unintentionally activate certain functions. Furthermore, removing power sources reduces the possibility of electrical short-circuits during the cleaning process, ensuring the safety of your device.
Importance of Removing Accessories:
Removing accessories such as cases, screen protectors, or pop sockets is equally vital when cleaning sticky residue. This allows for better access to the affected areas, making it easier to clean off the sticky residue effectively. Moreover, accessories often accumulate residue themselves, so removing them prevents any transfer of sticky substances onto your phone during the cleaning process. Additionally, detaching cables and chargers minimizes the risk of accidental tugging or bending during cleaning, preventing any potential damage to these accessories or your phone’s ports.
Effective Methods for Cleaning Sticky Residue:
To successfully remove sticky residue from your phone, consider using one of these effective methods:
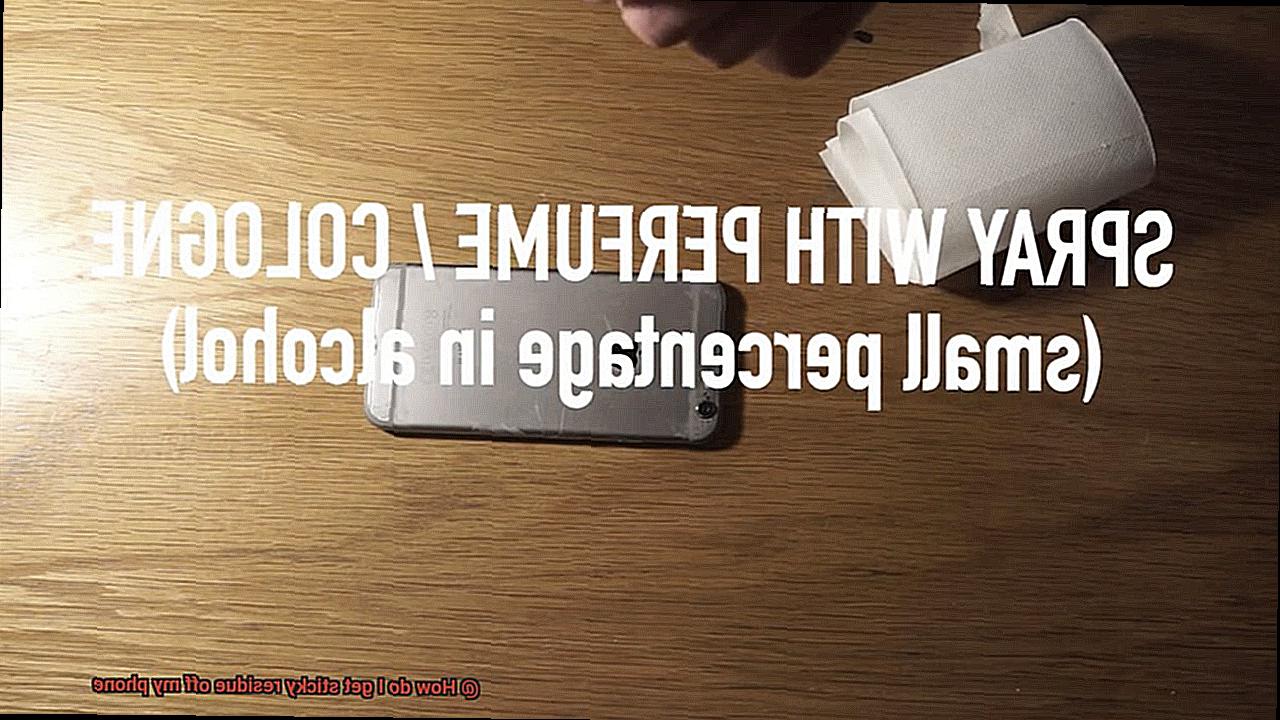
- Rubbing alcohol/isopropyl alcohol: Apply a small amount to a microfiber cloth or cotton swab and gently rub on the affected area until the residue lifts off.
- Warm water and dish soap: Create a soapy solution and gently wipe the phone with a soft cloth or sponge. Avoid excessive moisture in the phone’s openings.
- Baking soda paste: Mix baking soda with water to form a paste, and gently rub it onto the sticky residue using a soft cloth until it loosens.
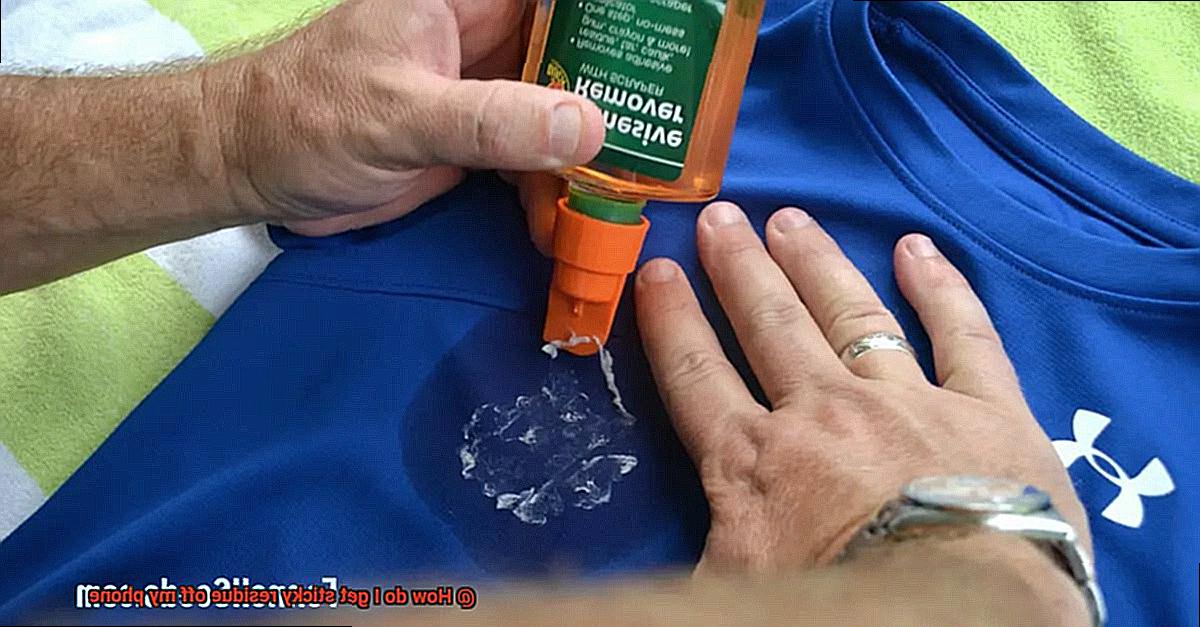
- Commercial adhesive removers: Follow the manufacturer’s instructions for safe use on your specific phone model.
- Test before applying: Always test any cleaning solution on a small, inconspicuous area of the phone to ensure it doesn’t cause any damage or discoloration.
Using Rubbing Alcohol or Isopropyl Alcohol
Rubbing alcohol is here to save the day. Also known as isopropyl alcohol, this magical elixir that can be found in most households can work wonders in removing that stubborn residue from your beloved device. So let’s dive into the process of using rubbing alcohol to give your phone a well-deserved clean.
First and foremost, it’s imperative to ensure that your phone is turned off and unplugged before embarking on this cleaning mission. We definitely don’t want any accidents happening while we work our magic. Once that’s taken care of, grab yourself a trusty cotton ball or a soft cloth and dampen it with a splash of rubbing alcohol. But remember, moderation is key here – we don’t want any excessive liquid seeping into the depths of your device and causing damage.
Now it’s time to get down to business. Gently rub the sticky residue on your phone with the alcohol-soaked cotton ball or cloth. Apply a bit of pressure if needed, but be cautious not to scratch or damage the surface of your phone. As you diligently rub away, you’ll start to notice the sticky residue dissolving and lifting off, revealing the shiny glory beneath.
Ah, those stubborn areas that refuse to budge…but fear not. We have an ace up our sleeves. Reach for a toothbrush or a gentle-bristled brush and give those pesky spots a soft scrub. However, remember to exercise caution and avoid pressing too hard or using bristles that are too stiff – we’re aiming for cleanliness, not destruction.
Once you’re satisfied with your scrubbing skills and all the residue has vanished, take a clean cloth or cotton ball soaked in water and wipe away any remaining traces of alcohol from your phone. Ah, the finishing touch. Now comes the hardest part – the waiting game. Exercise your patience and allow your phone to air dry completely before eagerly turning it back on.
Voila. Behold your phone, free from sticky residue and shining like new. Take a moment to admire your handiwork. You’ve successfully tackled that annoying sticky problem, and now your phone can reclaim its rightful place as a sleek, sparkling device.
Using Warm Water and Dish Soap
Sticky residue on your phone can be an unwelcome annoyance. It clings to your device, refusing to let go. But fear not, my friend. Today, we’re about to reveal a magical solution that will banish that stubborn mess from your phone. Get ready to welcome back the pristine shine and smoothness of your beloved device.
The Power of Warm Water and Dish Soap:
Prepare to be amazed by the dynamic duo of warm water and dish soap. Let’s dive into the science behind their remarkable effectiveness.
Loosening the Grip:
Warm water acts as a gentle persuader, coaxing the adhesive properties of sticky residue to let go. It’s like a warm embrace that weakens its hold and prepares it for removal.
Surfactants to the Rescue:
Dish soap contains surfactants, those fancy molecules that specialize in breaking down oils and sticky substances. They swoop in like superheroes, combating stickiness and restoring your phone’s original glory.
Step-by-Step Guide:
Now that we understand the power behind this dynamic duo, let’s embark on our journey towards a residue-free phone with this step-by-step guide:
Prepare the Soapy Solution:
Create a soapy solution by filling a bowl or sink with warm water – just the right temperature, as we don’t want our dear companion to suffer any harm. Add a few drops of dish soap and gently mix until you achieve a perfect blend.
The Gentle Touch:
Dip a soft cloth or sponge into the soapy water, ensuring you wring out any excess liquid beforehand. We must be cautious not to allow water to seep into sensitive phone components.
Scrub with Care:
With the damp cloth or sponge, gently scrub the sticky residue on your phone. Apply just enough pressure to coax the sticky mess to release its grip. We want to avoid any battle scars on our device, so let patience be our guiding virtue.
Rinse and Dry:
Once most of the residue is gone, rinse your phone with clean water to eliminate any lingering soap residue. Finally, grab a clean, lint-free cloth and give your phone a thorough drying session before turning it back on.
Using Baking Soda and Water
All you need is some baking soda and water to restore your device’s shine and smoothness. Baking soda is a versatile household ingredient that can work wonders when it comes to cleaning, and removing sticky residue is no exception.
To begin, gather your supplies: a small bowl, water, baking soda, a soft cloth or sponge, and a toothbrush. Start by creating a paste by mixing baking soda and water in the bowl. You want the consistency to be thick enough to spread easily but not too runny.
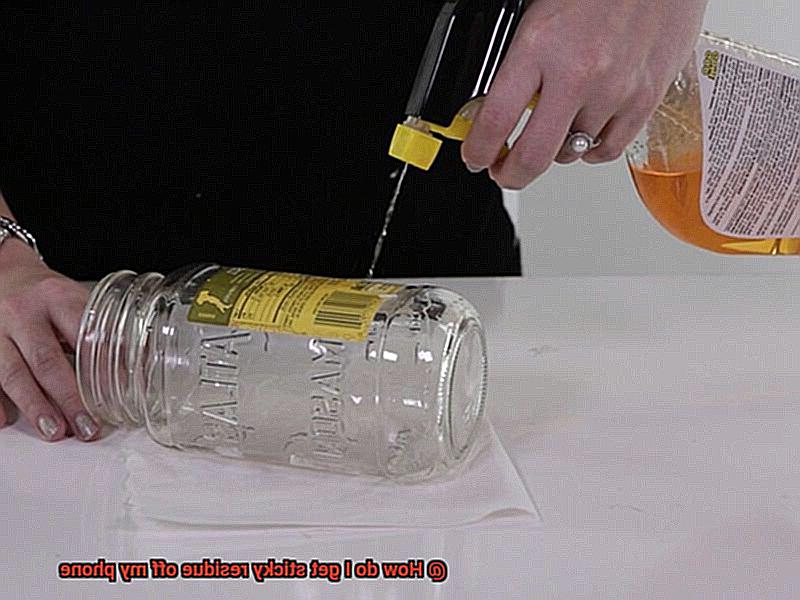
Before applying the paste to your phone, make sure it is turned off and any removable parts are detached. This ensures the safety of your device during the cleaning process.
Next, dip the cloth or sponge into the paste and gently rub it onto the sticky residue on your phone. Be careful not to apply too much pressure as this could damage the screen or other sensitive parts. The abrasive nature of baking soda helps to break down the stickiness effectively.
If there are small crevices or hard-to-reach areas with residue, you can use a toothbrush dipped in the paste to scrub gently. The bristles of the toothbrush can reach into tight spaces and remove stubborn residue.
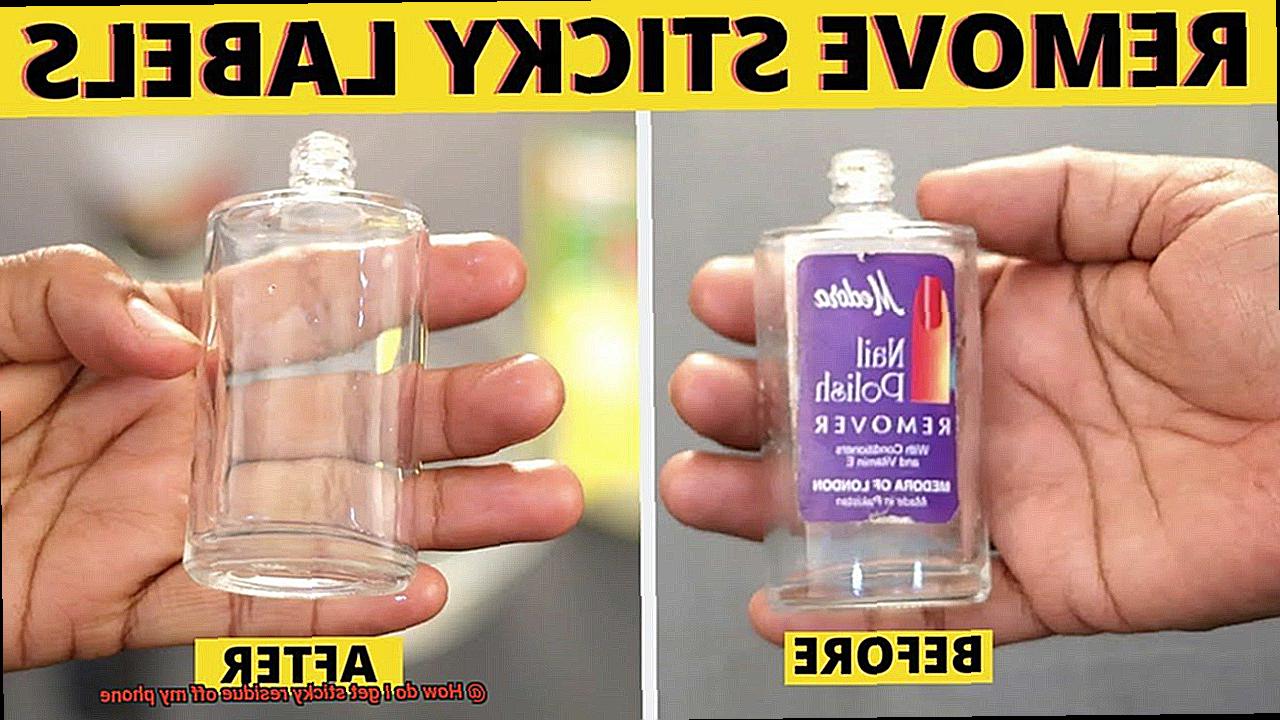
Allow the paste to sit on the sticky residue for a few minutes to loosen it. This gives the baking soda time to work its magic and dissolve the stickiness effectively.
Afterward, dampen a clean cloth or sponge with water and wipe away the baking soda paste from your phone. Make sure to remove all traces of the paste. This step ensures that no residue is left behind on your device.
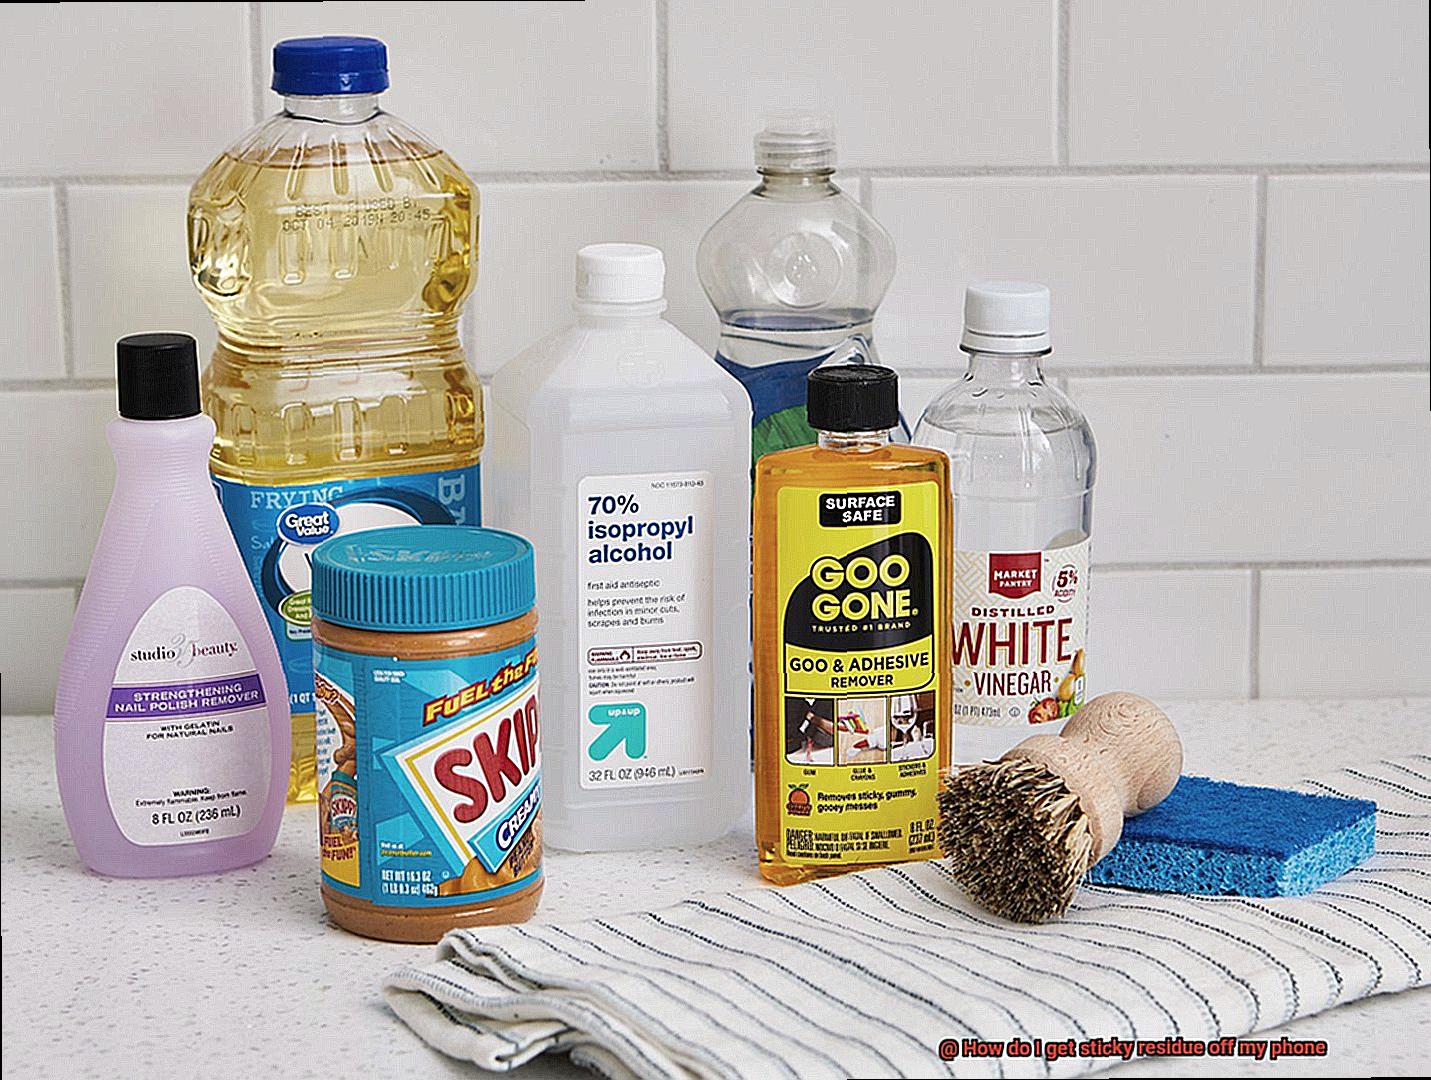
Use a dry cloth or towel to remove any excess moisture from your phone. It’s important to dry your device thoroughly to prevent any potential damage.
Lastly, let your phone air dry completely before turning it back on or reattaching any removed parts. This step is crucial to avoid any electrical damage when using electronic devices.
And there you have it. With just a few simple steps and some baking soda and water, you can say goodbye to that annoying sticky residue on your phone. Your device will look and feel brand new again.
Using a Commercial Adhesive Remover for Electronics
Dealing with sticky residue on your electronic devices can be frustrating, but with the right approach, you can effectively remove it using a commercial adhesive remover.
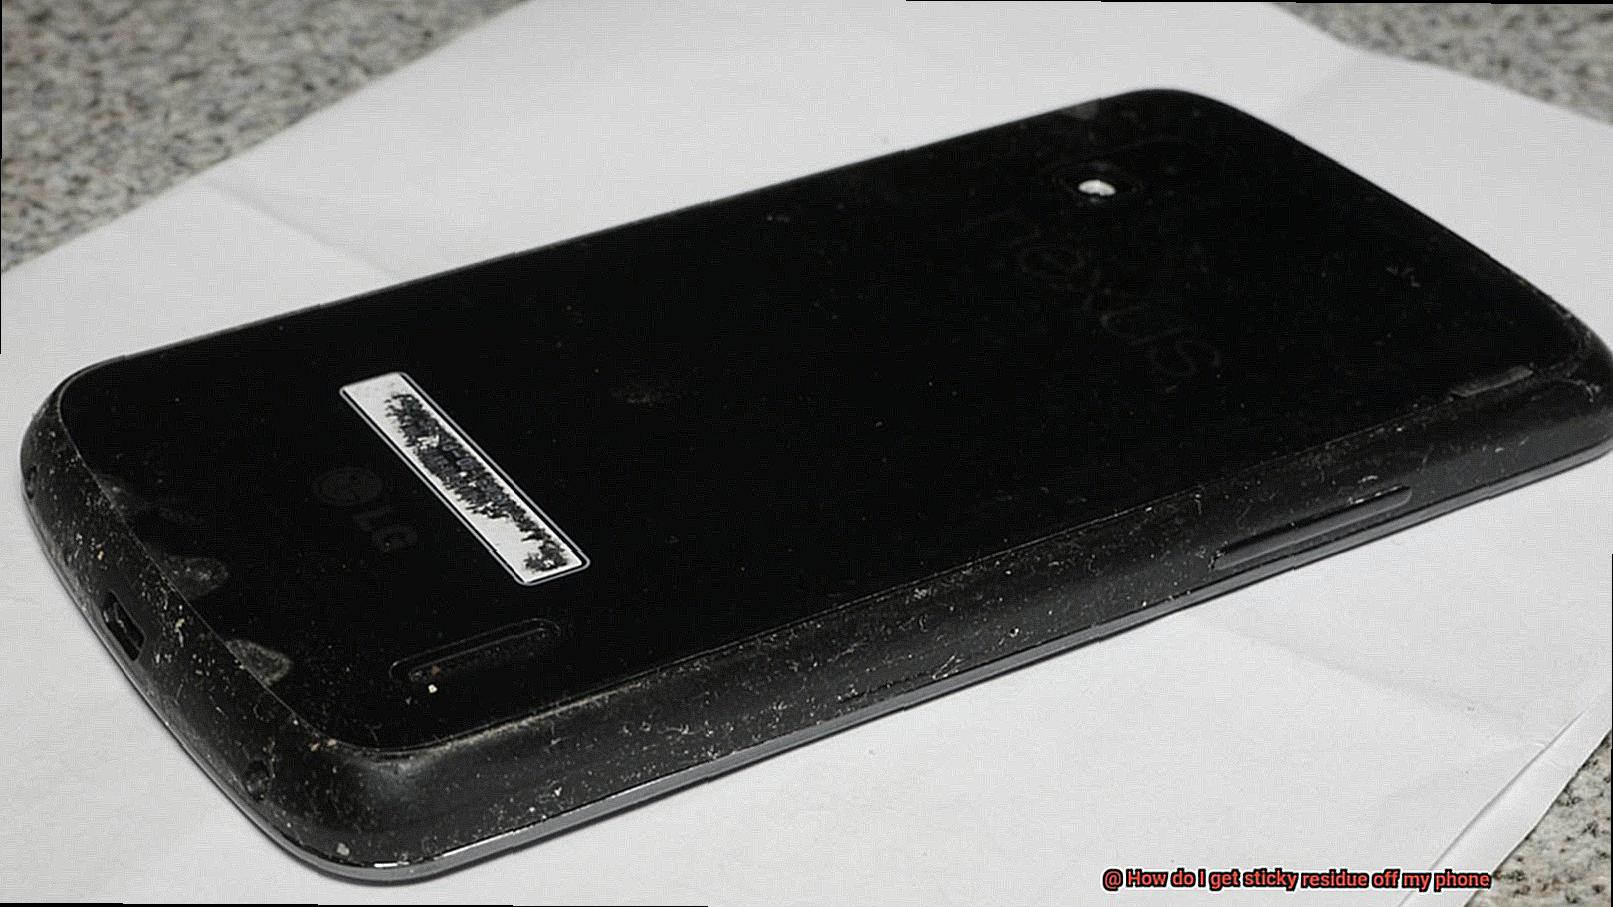
In this article, we will provide step-by-step instructions on how to safely use a commercial adhesive remover for electronics. We will cover important considerations such as product selection, safety precautions, application methods, and removal techniques to ensure a successful outcome.
Step 1: Choose the right product:
When selecting a commercial adhesive remover, opt for one specifically formulated for use on electronics. Look for products that are labeled as safe for use on electronic surfaces to avoid any potential damage.
Step 2: Ensure device safety:
Before applying any adhesive remover, power down and unplug your electronic device. This precautionary step minimizes the risk of electrical issues or short-circuiting during the cleaning process.
Step 3: Apply the adhesive remover:
Using a clean, lint-free cloth or cotton swab, apply a small amount of the adhesive remover onto the affected area. It’s important to use a minimal amount to prevent excess liquid from seeping into sensitive components.
Step 4: Allow time for action:
Gently rub the cloth or swab onto the sticky residue, ensuring not to apply excessive pressure that could damage the surface. Let the adhesive remover sit on the residue for a few minutes to allow it to dissolve and loosen the adhesive.
Step 5: Wipe away residue:
Using a separate clean cloth or swab, wipe away the dissolved residue. If necessary, repeat this step until all traces of sticky residue are removed. Take care to be patient and gentle during this process to avoid any potential damage.
Step 6: Clean the surface:
To remove any remaining residue from the adhesive remover, clean the surface of your electronic device with a mild detergent or electronics cleaner. This step will ensure a thorough and residue-free finish.
Step 7: Dry thoroughly:
Using a dry cloth or tissue, gently dry the surface of your device. Ensure there is no moisture left before turning it back on or plugging it in, as moisture can cause damage to electronic components.
Caution While Removing Sticky Residue
We’ve all experienced the frustration of discovering sticky residue on our phones – whether it’s from a forgotten sticker or spilled adhesive. However, it’s crucial to exercise caution when removing this residue to avoid causing any damage to our precious devices.
In this comprehensive guide, we will walk you through the necessary steps to safely and effectively eliminate sticky residue from your phone, ensuring it remains unharmed throughout the process.
- Turn off and unplug your phone: A crucial first step in protecting your device is to turn it off and unplug it before attempting any removal methods. This precautionary measure will help prevent any electrical mishaps and ensure your safety throughout the cleaning process.
- Remove the phone’s case or cover: If your phone is protected by a case or cover, it’s advisable to remove it before cleaning. Not only will this make the cleaning process easier, but it will also safeguard your device from any potential damage caused by cleaning solutions seeping into its delicate components.
- Choose a safe cleaning agent: Selecting a suitable cleaning solution is essential for protecting your phone. Opt for mild options that are safe for electronics, such as isopropyl alcohol or a mixture of water and dish soap. Avoid using harsh chemicals or abrasive materials that can scratch or corrode your phone’s surface.
- Test the cleaning solution: Before applying the cleaning solution to the entire affected area, it is crucial to conduct a test on a small, inconspicuous part of the phone. This test will ensure that the solution doesn’t cause any adverse reactions or damage to your device.
- Gently wipe away the residue: To remove the sticky residue, utilize a soft cloth or cotton swab soaked in the cleaning solution and gently wipe away the residue from your phone. It’s imperative to avoid applying excessive pressure or scrubbing vigorously, as this can lead to scratches or dislodging small parts of the phone.
- Stubborn residue? Try scraping gently: If the sticky residue proves to be particularly stubborn, you can try using a plastic scraper or an old credit card to carefully scrape it off. However, exercise extra caution and gentleness to prevent scratching the surface of your phone.
- Wipe down and air dry: After successfully removing the sticky residue, wipe down your phone with a clean, dry cloth to ensure all traces of the cleaning solution are removed. Finally, allow your phone to air dry completely before turning it back on or reattaching the case/cover. This step is vital as it prevents any moisture from causing damage to the internal components.
Cleaning the Phone After Removing Sticky Residue
Congratulations on successfully removing the sticky residue from your phone. Now it’s time to give it a thorough cleaning to ensure that no leftover residue or cleaning agents remain. Follow these steps to clean your phone effectively without causing any damage:
- Prepare a gentle cleaning solution: Start by preparing a cleaning solution using warm water and mild dish soap. Mix a small amount of dish soap in a bowl of warm water until it forms a soapy solution. This solution is safe for most phone materials and won’t cause any harm.
- Choose the right tool: Use a soft microfiber cloth or cotton swab for cleaning. These materials are gentle on the phone’s surface and won’t scratch or damage it. Avoid using abrasive materials like paper towels or tissues, as they can leave behind lint or scratches.
- Wipe away the stickiness: Dip the cloth or cotton swab into the soapy water, ensuring it is damp but not soaking wet. Excess moisture can seep into the phone’s openings and cause damage. Gently wipe the entire surface of your phone, paying extra attention to areas where the sticky residue was present. Use circular motions and apply slight pressure to remove any remaining stickiness.
- Don’t forget the hard-to-reach areas: If necessary, use a toothbrush with soft bristles to clean hard-to-reach areas or crevices on your phone. Dip the toothbrush into the soapy water and gently scrub away any remaining residue. Be careful not to apply too much pressure, as it may damage delicate components.
- Rinse and dry: Once you have thoroughly cleaned your phone, rinse the cloth or cotton swab with clean water to remove any soap residue. Gently wipe away any soap residue from the device. Dry the phone with a clean, dry microfiber cloth or let it air dry for a few minutes. Avoid using heat sources like hairdryers, as excessive heat can damage your phone.
- Inspect for remaining residue: Finally, inspect your phone for any remaining residue or spots. If needed, repeat the cleaning process until your phone is completely free from stickiness.
Remember, different phone materials may require specific cleaning methods. For phones with a glass back, you can use isopropyl alcohol or glass cleaner to remove sticky residue. However, avoid using these solutions on phones with plastic or coated surfaces, as they may cause damage.
Allowing the Phone to Dry Completely Before Turning it On
We’ve all experienced that heart-stopping moment when our beloved phone encounters liquid or sticky substances. The urge to immediately power it on is strong, but doing so can cause irreversible damage.
In this post, we will delve into the importance of allowing your phone to dry completely before turning it on, providing valuable tips for a successful recovery.
Preventing Short-Circuiting:
The internal components of a wet phone are vulnerable to short-circuiting. When moisture creates unintended pathways for electricity to flow, irreversible damage can occur. By giving your phone ample time to dry thoroughly, you greatly minimize the risk of short-circuiting and increase the chances of saving your device.
Removing Excess Moisture and Residue:
Wiping down your phone with a soft, lint-free cloth immediately after contact with liquid or sticky residue helps eliminate surface moisture. However, this may not be sufficient. To ensure complete drying, leave your phone in a well-ventilated area for at least 24-48 hours. Alternatively, utilizing desiccant packets or placing the device in rice can expedite the drying process by absorbing any remaining moisture.
Avoiding External Heat Sources:
While the temptation to speed up the drying process with hairdryers or ovens may be strong, it is strongly discouraged. The delicate internal components of your phone can be damaged by excessive heat, leading to permanent malfunctions. Stick with air-drying methods and exercise patience.
Consulting Professionals:
If you still observe residual moisture or stickiness after the drying period, seeking professional assistance or contacting the phone manufacturer is advisable. These experts possess the necessary expertise and tools to handle stubborn residue without compromising your device’s functionality.
IhMGB0tLfnc” >

