It’s a material that exudes sophistication and adds a touch of class to any setting. But when it comes to sticking two glass pieces together for the long haul, things can get tricky. Whether you’re a DIY fanatic or just looking for a solution that won’t let you down, understanding the ins and outs of achieving an unbreakable bond is crucial.
In this blog post, we’re diving headfirst into the world of permanently gluing glass to glass. With years of experience under our belts, we’ll spill the beans on the most reliable methods and materials that will make your creations last a lifetime. From everyday projects around the house to intricate crafts that push your skills to new heights, we’ve got the casual yet professional insights you need to embark on your adhesive adventure with confidence.
So buckle up and get ready to unlock the secrets behind creating an unshakeable connection between glass pieces. We’re about to take your craftsmanship from fragile to fabulous in no time.
What is Glue and Adhesives?
Contents
- 1 What is Glue and Adhesives?
- 2 Types of Adhesives for Gluing Glass to Glass Permanently
- 3 Preparation of the Glass Surfaces
- 4 Applying the Epoxy Resin Adhesive
- 5 Aligning and Pressing the Two Pieces Together
- 6 Curing Time for Epoxy Resin
- 7 Other Types of Adhesives for Gluing Glass to Glass Permanently
- 8 Special Considerations when Bonding Different Types of Glasses
- 9 Conclusion
Glue and adhesives are seemingly unassuming substances, yet they hold immense power in our everyday lives. From repairing broken objects to crafting magnificent creations, these versatile materials play a vital role in countless applications. In this blog post, we will embark on an exploration of the captivating world of glue and adhesives, delving into their diverse uses and remarkable types.
Types of Glue and Adhesives:
- PVA Glue: Also known as white glue or school glue, PVA glue reigns supreme in the realm of crafts and woodworking projects. It effortlessly bonds porous materials such as wood, paper, fabric, and cardboard, making it a cherished choice among creators.
- Super Glue: When a quick and formidable bond is required, super glue takes center stage. This extraordinary adhesive forms an instant stronghold on non-porous surfaces like metal, plastic, and glass, leaving no room for separation.
- Epoxy: For enduring bonds that withstand the test of time, epoxy emerges as the hero. Comprised of two components that intertwine to create a robust adhesive, it is particularly well-suited for metals, ceramics, glass, and select plastics.
- Hot Glue: A go-to for temporary bonds or imaginative projects, hot glue showcases its prowess when wielded with a trusty glue gun. Solidifying rapidly upon cooling, it becomes the perfect companion for materials like fabric, foam, and lightweight plastics.
Bonding Glass to Glass:
The art of permanently gluing glass to glass demands specialized adhesives due to the smooth and non-porous nature of glass surfaces.
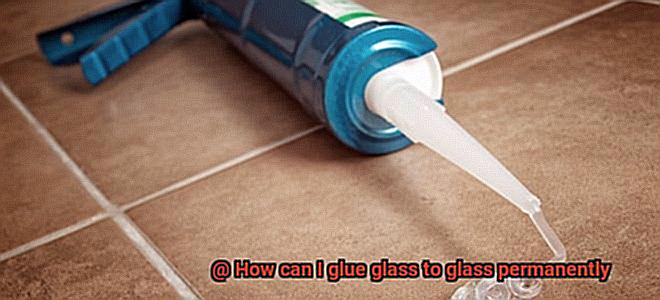
- Silicone Adhesive: Renowned for its flexibility and resilience against moisture and temperature fluctuations, silicone adhesive forms an unwavering alliance between glass surfaces. Its sealant or caulk form ensures effortless application, allowing for a seamless and durable bond.
- UV-Curing Adhesive: The epitome of precision bonding, UV-curing adhesive requires exposure to ultraviolet light in order to cure and forge an unyielding connection. With its extensive use in industries like electronics and optics, this remarkable adhesive offers transparent or opaque bonds, tailored to every meticulous need.
Types of Adhesives for Gluing Glass to Glass Permanently
In this blog post, we will explore the different types of adhesives that can create a strong and lasting bond between glass surfaces. From silicone superheroes to epoxy wizards, we’ve got all the glue knowledge you need.
Silicone Adhesives: Flexibility at Its Finest
When it comes to bonding glass to glass, silicone adhesives are the masters of flexibility. These magical glues are resistant to moisture, making them perfect for creating a strong and durable bond. Whether you’re fixing a broken vase or creating a stunning glass masterpiece, silicone adhesives will be your trusty sidekick.
Silicone adhesives offer excellent resistance to temperature fluctuations and environmental factors. They can withstand both hot and cold temperatures without losing their bond strength, making them suitable for both indoor and outdoor applications. Additionally, silicone adhesives have low toxicity and emit low levels of volatile organic compounds (VOCs), making them environmentally friendly adhesive options.
Epoxy Resins: Strength and Excellence
If you’re searching for an adhesive that can withstand anything life throws at it, epoxy resins are your best bet. These superheroes boast high strength and excellent bonding properties. With their resistance to heat, chemicals, and moisture, they are perfect for projects that require long-lasting adhesion. Just remember, handling these powerhouses requires precision and care.
Epoxy resins provide a strong and durable bond between glass surfaces. They can withstand extreme temperatures, making them suitable for applications in high-heat environments like kitchen backsplashes or outdoor structures. However, it’s important to note that epoxy resins can be more challenging to work with due to their two-part formula and the need for precise mixing ratios.
UV-Curing Adhesives: Speedy Wizards
UV-curing adhesives are here to save the day. These magical potions cure within seconds when exposed to ultraviolet light. Perfect for industries like electronics and optics, they create a fast and efficient bond. Just like a wizard’s spell, these adhesives work their magic in no time.
UV-curing adhesives offer rapid curing times, allowing for quick assembly and reduced production time. They provide a clear and transparent bond, making them ideal for applications where aesthetics are crucial. Additionally, UV-curing adhesives do not emit harmful VOCs and have low toxicity, making them environmentally friendly options.
Preparation of the Glass Surfaces
If you’re looking to create a strong and durable bond between glass surfaces, you’ve come to the right place. In this comprehensive guide, we will explore the essential steps to ensure optimal adhesion for your gluing adventures.
Step 1: Cleanliness is Key
Before anything else, it is crucial to thoroughly clean the glass surfaces. Use a mild detergent or glass cleaner to remove dirt, dust, and grease that may hinder the bonding process. Remember, cleanliness is key.
Step 2: Roughening Up the Surface
To boost adhesion, we need to roughen up those smooth glass surfaces. There are two methods you can choose from:
- Sanding: Gently sand both surfaces with fine-grit sandpaper, creating microscopic scratches that act as anchor points for the adhesive. This creates a rougher surface for better bonding.
- Etching: Utilize specialized glass etching solutions that dissolve a thin layer of the glass surface, providing a textured surface for improved bonding. Follow the manufacturer’s instructions carefully when using these solutions.
Step 3: Cleaning Again for Pristine Surfaces
After sanding or etching, it is essential to clean the glass surfaces once more. Use a lint-free cloth or paper towel and a suitable glass cleaner to ensure a pristine surface free of any debris or residue.
Step 4: Primer Application for Extra Bonding Boost
Consider applying a primer specifically designed for glass bonding. This additional step enhances adhesion and increases bond strength. Follow the primer manufacturer’s instructions carefully for proper application techniques and drying times.
Step 5: Masking Off (if necessary)
If your project requires specific portions of the glass to be bonded together, use painter’s tape or masking tape to protect other areas from coming into contact with the adhesive. This ensures precise and controlled bonding.
Applying the Epoxy Resin Adhesive
In this comprehensive guide, we will walk you through the step-by-step process of applying epoxy resin adhesive to glass surfaces, ensuring that you achieve a bond that is not only robust but also resistant to the test of time.
The journey to a successful application begins with proper surface preparation. To begin, cleanse your glass surfaces with a mild detergent and water solution. Rinse them with meticulous care, leaving no trace behind. Remember, even the tiniest speck of dirt, grease, or dust can sabotage the adhesive’s ability to bond effectively.
Once your surfaces are immaculate, it’s time to unleash their hidden strength. Gently roughen them using fine-grit sandpaper or a sanding block. With delicate precision, create a textured landscape that will serve as the foundation for an unbreakable bond. But beware. Avoid excessive pressure or deep scratches that may mar the beauty of your glass.
Now that your surfaces are primed for greatness, it’s time to perform the alchemical dance of mixing your epoxy resin adhesive. This adhesive is a masterful concoction of two parts: the resin and the hardener. Adhere strictly to the manufacturer’s instructions, harmoniously combining equal measures of each ingredient in a pristine vessel. Stir them together vigorously until they blend seamlessly into one cohesive force.
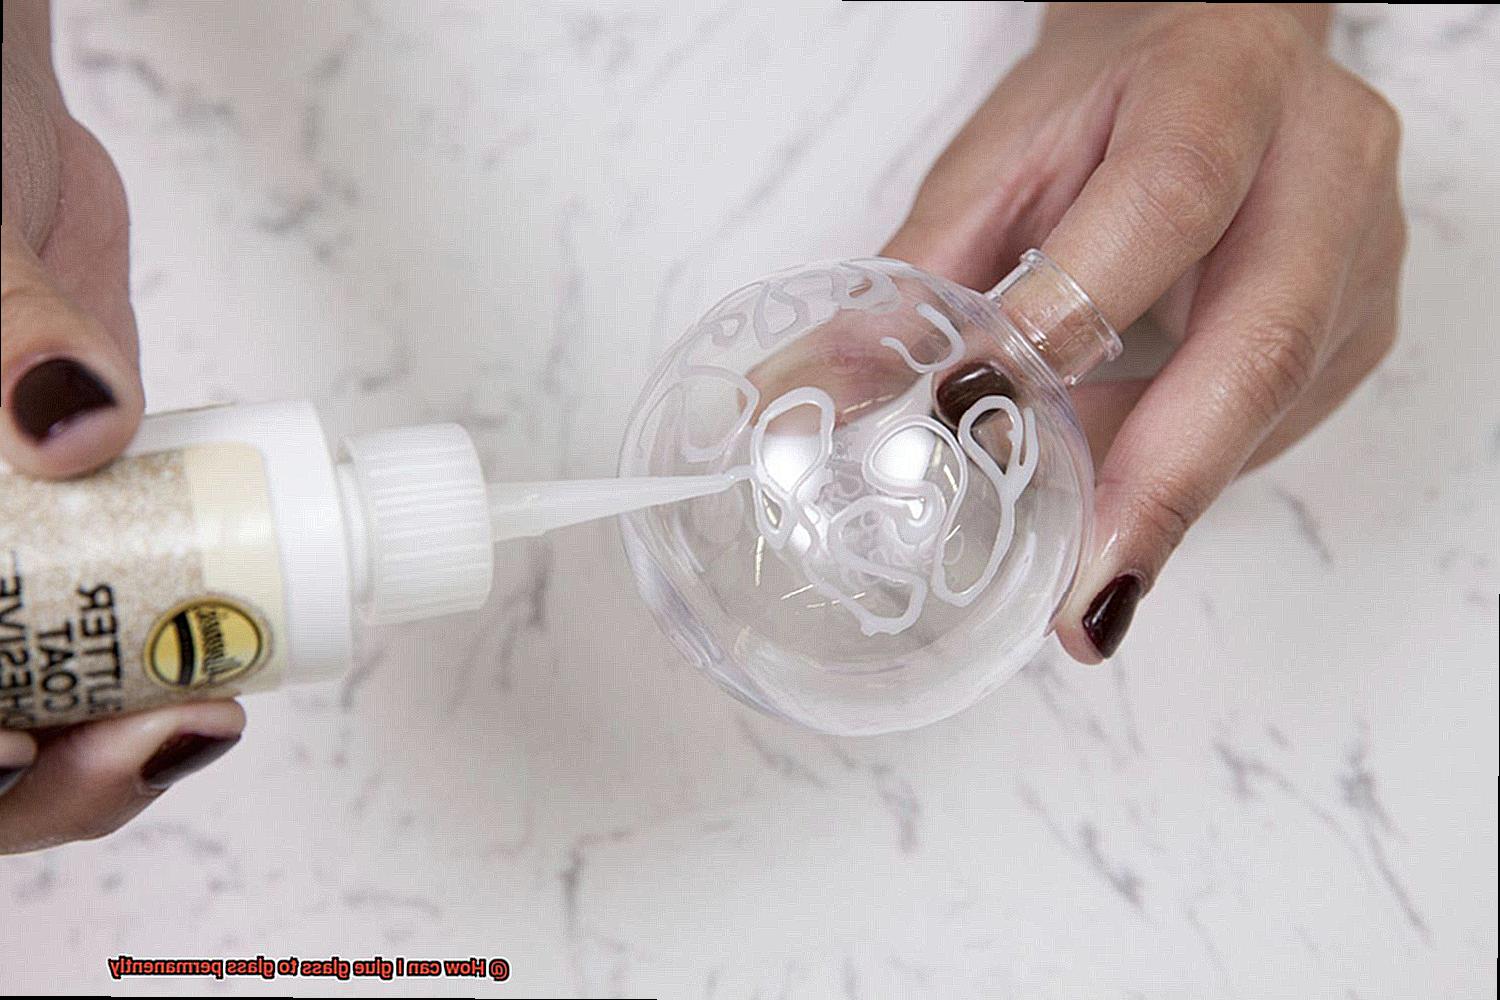
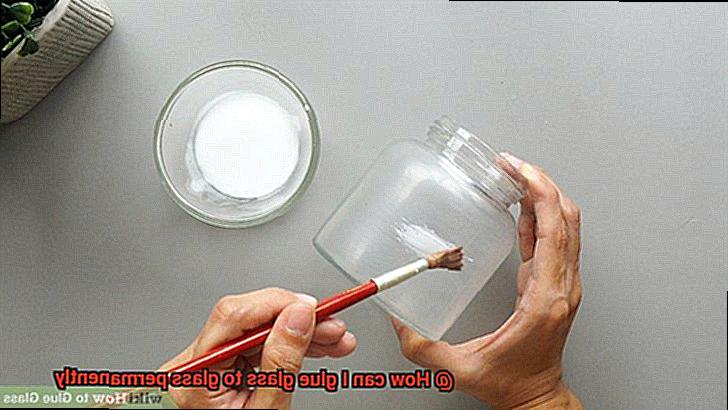
With grace and purpose, apply a thin layer of this mystical elixir onto one of your glass surfaces using a small brush or applicator. Spread it with an artist’s touch, ensuring every inch is shrouded in its embrace. But remember, moderation is key. Too much adhesive can spill over, creating a chaotic mess that defies elegance.
With profound intentionality, align your second glass surface with the first and press them together with unwavering determination. Apply gentle pressure, forging a connection that will withstand the trials of time. Take heed, though, for any movement or shifting may curse your bond with misalignment and weakness.
As the adhesive sets, any excess that dares to seep through can be vanquished with the swipe of a cloth or paper towel dampened with the ethereal essence of rubbing alcohol. Act swiftly before the adhesive’s transformation into an unyielding fortress.
And now, we wait. Allow the adhesive to cure undisturbed, relinquishing control to time itself. Trust in the wisdom of the manufacturer’s specified curing time, for it is during this period that the adhesive reaches its zenith of strength and durability. After this sacred passage, assess the bond between your glass surfaces. Should any weakness rear its head, fear not. Additional adhesive can be summoned and cured using the same sacred rituals.
Aligning and Pressing the Two Pieces Together
Creating a strong and unbreakable bond between two glass pieces requires careful alignment and pressing. Follow these steps to achieve a successful bond that will withstand the test of time.
Prepare the Surfaces:
- Cleanse the glass surfaces thoroughly to remove any dirt, dust, or oils that could hinder the bond. Utilize a glass cleaner or create a mixture of vinegar and water.
- Ensure that the surfaces are completely dry before proceeding.
Choose the Right Adhesive:
- Select an adhesive specifically designed for glass-to-glass bonding. Consult with a knowledgeable professional or refer to the manufacturer’s recommendations.
- Options include epoxy, silicone, or UV-curing glue.
Apply the Adhesive:
Align with Precision:
- Take your time to align the second piece with the first one. Pay attention to details and ensure perfect alignment.
- Alignment marks or a level can assist in achieving accuracy.
Press Firmly:
- Once the pieces are aligned, press them together firmly and evenly across the entire surface. This will ensure a strong and secure bond.
- Clamps or weights can be utilized to hold the pieces in place as the adhesive cures.
Allow for Curing Time:
- Be mindful of the curing time specified by the adhesive manufacturer. Avoid disturbing or moving the bonded pieces during this time.
- Allow sufficient time for the bond to strengthen and harden before subjecting it to any stress or load.
Remove Excess Adhesive:
Exercise Patience:
- Patience is key in achieving a strong bond. Allow ample time for the adhesive to fully set and harden before putting any strain on the bonded pieces.
- Curing time may vary depending on the adhesive used, so consult the manufacturer’s instructions.
Curing Time for Epoxy Resin
Curing time refers to the duration it takes for epoxy resin to reach its maximum strength and achieve a fully cured state. When the resin and hardener components of epoxy resin are mixed together, a chemical reaction occurs, leading to the hardening or curing of the adhesive. The longer you allow the adhesive to cure, the stronger and more durable your bond will be.
Let’s delve deeper into why curing time is so important:
- Maximum Strength: Epoxy resins are renowned for their incredible strength and durability. However, rushing the curing process can result in a weaker bond. By allowing sufficient curing time, you give the epoxy resin ample opportunity to develop its full potential, providing you with an unbreakable bond between your glass pieces.
- Manufacturer’s Instructions: Each epoxy resin product comes with specific instructions from the manufacturer regarding the ideal temperature range and curing time for optimal results. It is crucial to follow these guidelines to ensure that your bond reaches its maximum strength and durability.
- Environmental Factors: Temperature and humidity significantly impact the curing time of epoxy resin. Higher temperatures accelerate the curing process, while lower temperatures slow it down. Similarly, higher humidity levels can speed up the curing time. Considering these factors when planning your glass-to-glass bonding project ensures that you create the perfect environment for your epoxy resin to cure.
- Size Matters: The size and complexity of your glass-to-glass bonding project also influence the required curing time. Smaller projects may have shorter curing times, usually around 24 hours, while larger or more intricate projects may require at least 48 hours or as recommended by the manufacturer. Patience is key when it comes to achieving a strong and durable bond.
During the curing process, it is crucial to keep your glass pieces undisturbed and in a stable position. Any movement or disturbance can compromise the bond or misalign the glass pieces, resulting in a less-than-desirable outcome.
In conclusion, curing time plays a vital role in the success of your glass-to-glass bonding project. By respecting the manufacturer’s instructions, considering environmental factors, and allowing sufficient time for the epoxy resin to cure, you can achieve a bond that is not only visually stunning but also unbreakable. So, grab your epoxy resin and embark on your glass bonding adventure with confidence.
Other Types of Adhesives for Gluing Glass to Glass Permanently
Glass possesses a delicate beauty that adds an elegant touch to any project. However, permanently gluing glass to glass can be quite challenging. Fortunately, there are various types of adhesives specifically formulated for this purpose. Let’s embark on a journey into the enchanting world of adhesives and discover the magic they hold for bonding glass to glass permanently.
Epoxy Resin: Unbreakable Bond, Transcendent Strength
Epoxy resin is the epitome of adhesive superheroes. Comprised of two parts – a resin and a hardener – when combined, these components create an unyielding bond. Its strength is unrivaled, with resistance to water, chemicals, and heat. Additionally, the transparent quality of epoxy resin makes it ideal for projects where aesthetics are paramount.
UV-Curing Adhesives: Wizards of Swift Bonding
When speed and reliability are of the essence, UV-curing adhesives come to the rescue. These magical adhesives require exposure to ultraviolet light to cure and form a robust bond. They work wonders on glass surfaces without leaving any visible residue. However, one must exercise caution as prolonged exposure to sunlight can cause them to yellow over time.
Silicone Adhesives: Allies of Flexibility
For unparalleled flexibility and durability, silicone adhesives reign supreme. They can withstand extreme temperatures, moisture, and even underwater applications. Silicone adhesives provide a resilient bond capable of handling movement and vibration with ease. While they may not offer the same level of strength as epoxy or UV-curing adhesives, their adaptability is unmatched.
Polyurethane Adhesives: The Multitalented Performers
Polyurethane adhesives are known for their versatility and exceptional performance across various applications. Boasting both high strength and flexibility, they resist water, chemicals, and temperature fluctuations with ease. These adhesives excel even on irregular or porous glass surfaces. However, it is important to note that they may require a longer curing time compared to other options.
Cyanoacrylate Adhesives: Speedy Superheroes
When time is of the essence, cyanoacrylate adhesives, also known as super glue, swoop in as the ultimate saviors. They bond quickly and securely, making them perfect for small glass projects. However, it is crucial to exercise caution as they can leave a visible bond line and may not fare well under extreme temperatures or moisture.
Special Considerations when Bonding Different Types of Glasses
The process of bonding different types of glasses together is a delicate art that requires special considerations. In this blog post, we will explore the secrets behind creating a strong and lasting bond between different types of glasses, taking into account factors such as glass composition, surface preparation, adhesive selection, compatibility, and curing time.
The Glass Puzzle: Understanding Glass Composition
Glass, in all its forms, possesses unique compositions and properties. From soda-lime glass commonly used in windows to borosilicate glass found in laboratory equipment, understanding the type of glass being bonded is crucial.
This knowledge allows for the selection of an adhesive that can create a harmonious connection between different glasses. For instance, soda-lime glass bonds easily with itself or other materials using a wide range of adhesives. However, when bonding it to borosilicate or tempered glass, special adhesives may be necessary.
A Clean Canvas: Surface Preparation
Just as an artist prepares their canvas before painting, bonding different types of glasses requires meticulous surface preparation. Thoroughly cleaning the surfaces removes dirt and oils that could hinder the bonding process.
With squeaky-clean surfaces, the adhesive can adhere effectively, creating a stronger bond. It is recommended to use gentle detergents or specialized glass cleaners and rinse the surfaces thoroughly before bonding.
Choosing the Perfect Glue: Adhesive Selection
The choice of adhesive plays a vital role in creating a lasting connection between different glasses. Various adhesives are available, each with its own set of properties. Epoxy adhesives offer strength and durability, while UV-curing adhesives provide instant bonding under UV light. Selecting the right adhesive for the specific combination of glasses ensures a secure and permanent bond. It is essential to consider factors such as curing time, temperature tolerance, and compatibility with the glasses being bonded.
The Dance of Compatibility: Matching Glasses
Not all glasses are created equal, and some combinations require extra attention. Different glasses have varying expansion coefficients, causing them to expand and contract at different rates when exposed to temperature changes. Choosing an adhesive that can accommodate these differences is vital to prevent stress build-up and potential cracks in the bond. Testing the adhesive on a small, inconspicuous area before bonding the entire surface can help ensure compatibility and avoid unwanted reactions.
Time is of the Essence: Curing and Drying
The bonding process requires patience, just like a delicious cake needs time to bake. Each adhesive has its own curing and drying time, which must be followed diligently. Rushing the process can weaken the bond, while giving it the time it needs ensures a strong and secure connection. Adhering to the manufacturer’s instructions regarding curing and drying times is crucial for achieving optimal results.
WKIoHKDH0F4″ >
Also Read: How to Glue Plexiglass to Glass?
Conclusion
Achieving a permanent bond between glass surfaces may seem like a daunting task, but fear not.
With the right adhesive and proper technique, you can securely glue glass to glass for an enduring connection. It’s time to bid farewell to those flimsy bonds that let you down.
Get ready to embark on a journey of glass-to-glass adhesion mastery, where we’ll explore the secrets to achieving a rock-solid bond that will stand the test of time.