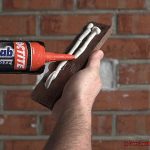
Rubber is a jack-of-all-trades material, finding its way into everything from shoes to car parts. But what happens when rubber gets damaged and needs fixing? That’s where rubber cement comes to the rescue. In this blog post, we’ll tackle the burning question: “Does rubber cement really work on rubber?”
Picture this: you’re knee-deep in a DIY project, painstakingly assembling a model made of rubber pieces. One wrong twist, and oops. A tiny tear appears. Panic sets in as you wonder how to repair it seamlessly. Or maybe you’re a pro mechanic, dealing with tires day in and day out. Accidental cuts and punctures are bound to happen, and you need a reliable solution to keep things rolling smoothly.
Whether you’re an avid crafter or an industry expert, knowing if rubber cement is compatible with rubber is key. So come along with us as we dive into the nitty-gritty of science, explore real-life applications, and dish out some handy tips to help you decide if rubber cement is the adhesive superhero your rubber-related woes have been waiting for.
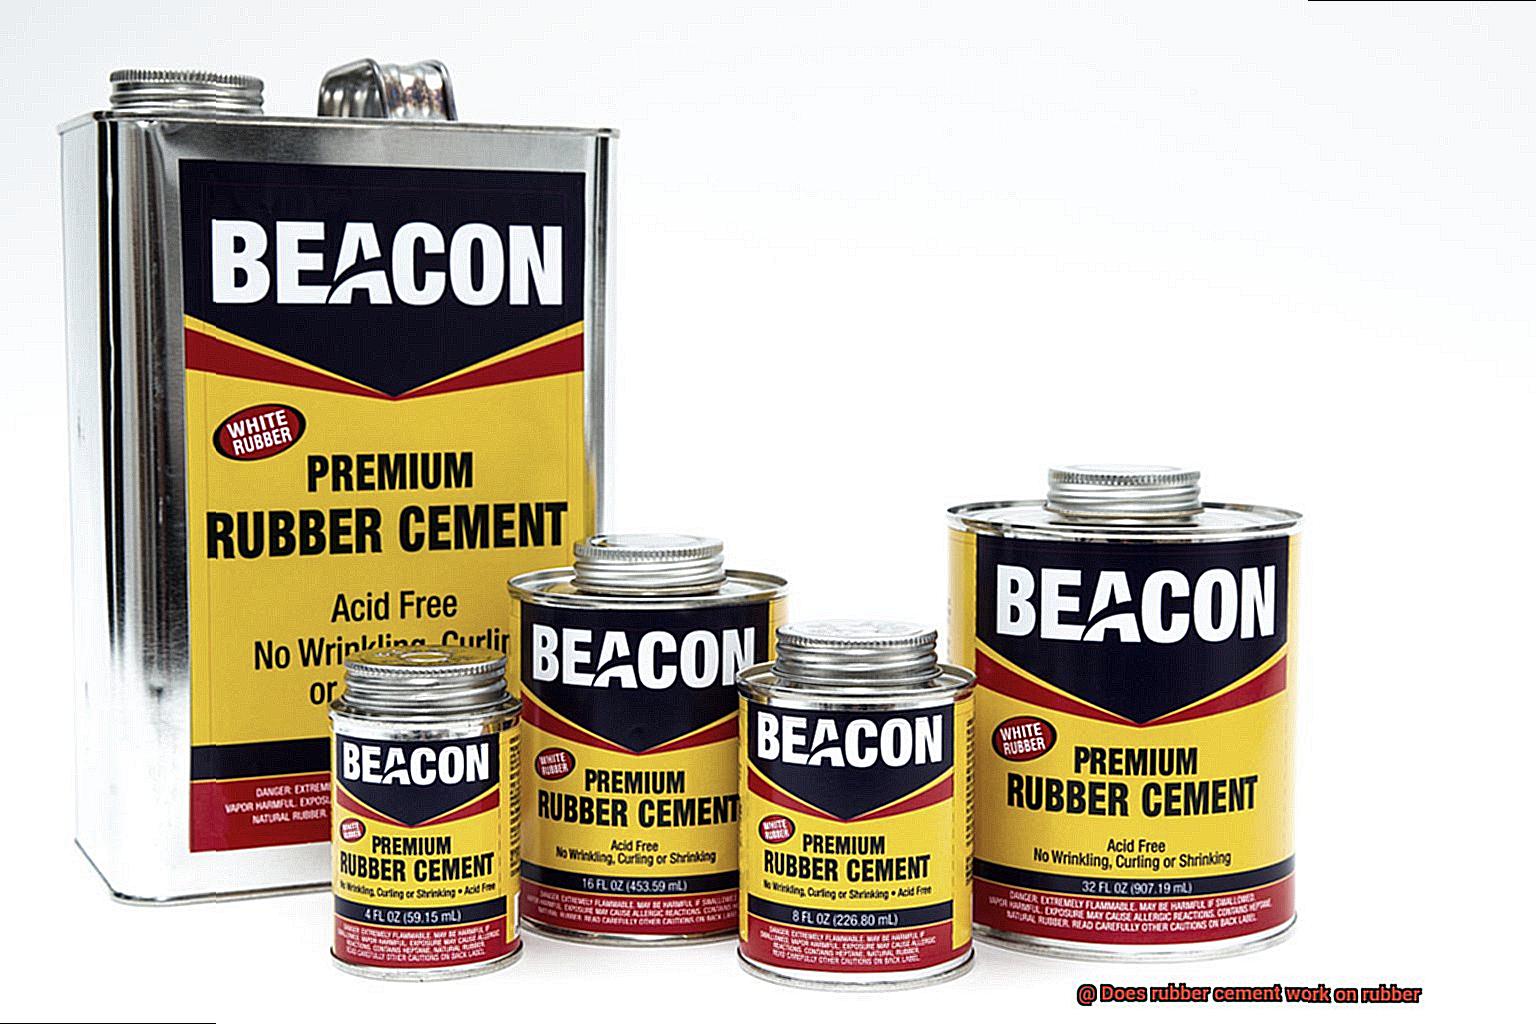
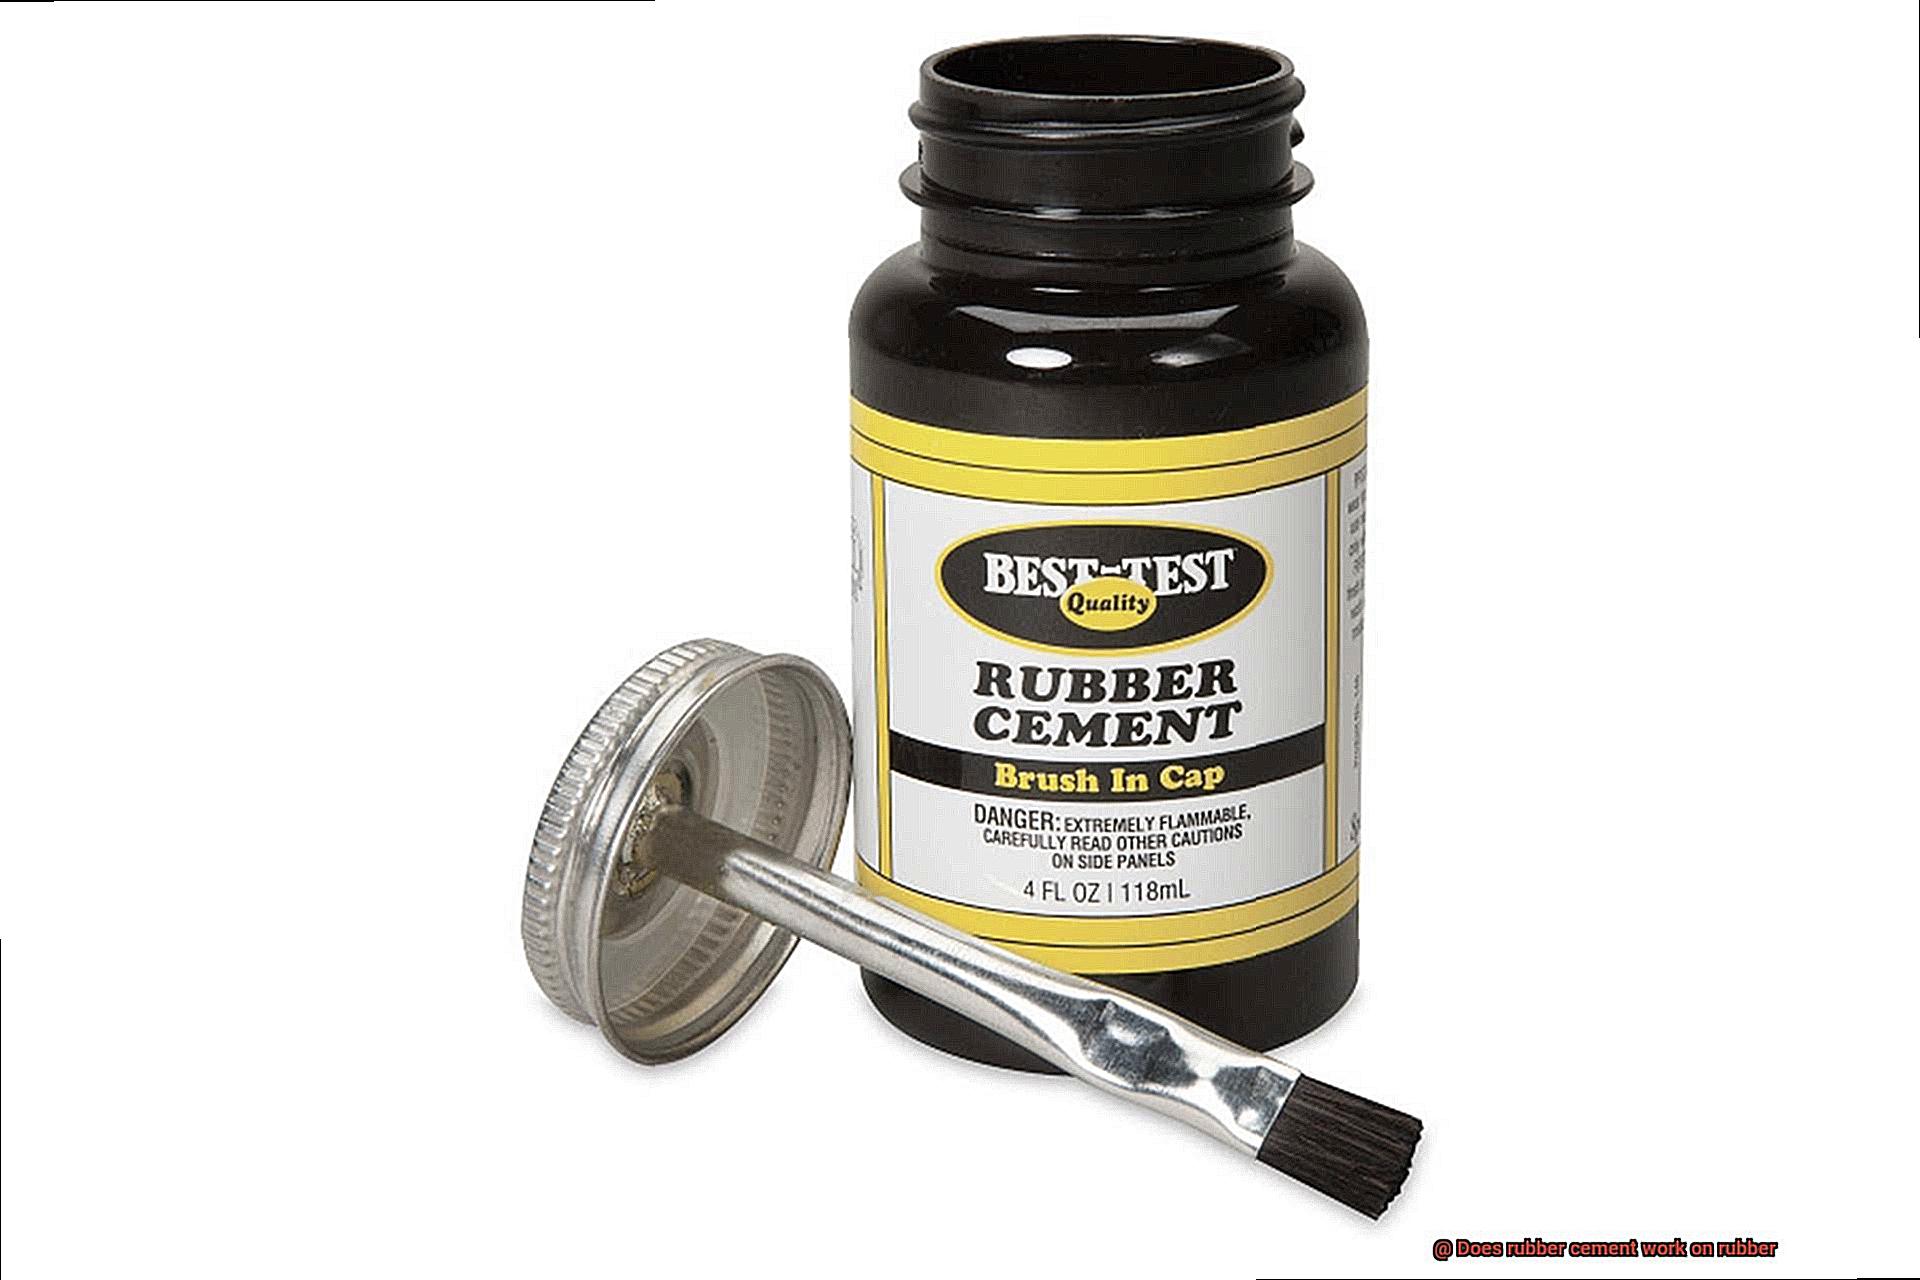
What is Rubber Cement?
Contents
- 1 What is Rubber Cement?
- 2 Does Rubber Cement Work on Rubber?
- 3 Advantages of Using Rubber Cement on Rubber
- 4 How to Apply Rubber Cement to Rubber
- 5 Surface Preparation for Applying Rubber Cement to Rubber
- 6 Application Technique for Applying Rubber Cement to Rubber
- 7 Drying Time for Applying Rubber Cement to Rubber
- 8 Conclusion
Discover the enchanting world of rubber cement, a versatile adhesive that has become a staple in arts and crafts projects. This remarkable bonding solution offers a captivating way to unite a wide range of materials, including rubber. In this article, we will embark on a journey through the composition of rubber cement, its mesmerizing temporary bond feature, and its exceptional effectiveness when used on rubber surfaces.
Composition and Properties:
At the heart of rubber cement lies latex, a natural material obtained from the mighty rubber trees. With its inherent adhesive properties, latex is the secret ingredient that transforms rubber cement into a formidable bonding agent. To ensure seamless application and rapid evaporation, additional elements like acetone or toluene are blended into the mixture. The result is an alluring concoction that guarantees reliable adhesion for diverse applications.
Temporary Bond:
Prepare to be spellbound by the temporary bond offered by rubber cement. Unlike ordinary adhesives that forge permanent connections, rubber cement grants you the power to reposition and adjust your creations without leaving behind any scars. This bewitching quality makes it an invaluable companion for projects requiring precision or frequent alterations.
Application on Rubber:
Unravel the mysteries of using rubber cement on rubber materials with care and consideration. Each type of rubber holds its own secrets. Natural rubber, born from the sap of rubber trees, forms a harmonious union with rubber cement due to its lavish latex content. However, synthetic rubbers, crafted from petroleum-based materials, may not share the same affinity for this magical adhesive.
Surface Preparation and Application Technique:
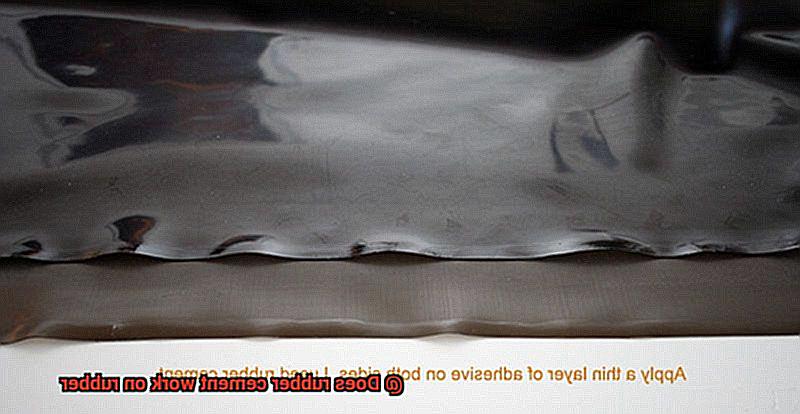
Enchanting results require meticulous preparation. Before casting your spell with rubber cement, ensure that both surfaces are cleansed thoroughly, banishing any traces of dirt or oil. Armed with a brush or an applicator provided with the product, apply a delicate layer of rubber cement to both surfaces, spreading the magic evenly. Beware of excessive amounts of adhesive, for they may weaken the bonds or distort the very essence of the rubber.
Drying Time and Strength:
Patience is a virtue when it comes to unleashing the full potential of rubber cement. Allow time for the adhesive to dry and strengthen its enchantment. The temperature, humidity, and thickness of the adhesive all play a part in this mystical process. Granting your creation a minimum of 24 hours before subjecting it to stress or strain ensures that the bond becomes an unbreakable spell.
Does Rubber Cement Work on Rubber?
Today, we embark on a journey into the enchanting world of rubber cement to determine its efficacy in bonding rubber to rubber. Prepare to be captivated as we unravel the secrets behind this mystical adhesive.
The Alchemy of Rubber Cement:
Crafted from natural latex or synthetic rubber dissolved in a solvent, rubber cement possesses a unique alchemical quality. Its solvent base grants it effortless spreadability and rapid evaporation, leaving behind a sturdy bond that defies gravity.
The Enchanting Application Process:
To harness the full potential of rubber cement, pristine surfaces are imperative. Banish contaminants and oils from your rubber materials before applying the adhesive. With a brush or applicator, apply the enchanting elixir known as rubber cement evenly to both surfaces.
Flexibility: A Wand That Bends Without Breaking:
Rubber materials possess an inherent knack for stretching, bending, and twisting. Yet fear not, for rubber cement is here to save the day. This magical adhesive remains pliable even under immense stress, flexing with the rubber surfaces without cracking or relinquishing its bond.
Beware of Potions: Additives That Influence Adhesion:
Not all rubbers are created equal. Some contain higher levels of oils or additives that can impact the strength of the bond. In such cases, additional primers or adhesion promoters may be necessary to enhance the magical connection between the rubbers.
Confronting Elemental Forces:
Rubber materials often encounter challenges from heat, moisture, and chemicals in their quest for longevity. But fear not, for rubber cement boasts remarkable resistance against these adversaries. However, always consult the specific product instructions to ensure optimal performance against these elemental foes.
Advantages of Using Rubber Cement on Rubber
Today, we shall explore the enchanting advantages of using rubber cement on rubber. Grab your wands (or rather, your brushes) and prepare to be amazed by the mystical powers of this extraordinary glue.
Strong and Flexible Bond:
Rubber cement stands out from other adhesives with its ability to create a strong and flexible bond. It magically adheres to rubber surfaces, ensuring a secure bond that can withstand various stresses and strains. This advantage is particularly valuable when working with rubber materials that need to maintain their flexibility, such as repairing or bonding rubber hoses, gaskets, or seals.
Quick Drying Time:
In the realm of rubber adhesives, time is of the essence. Fear not. Rubber cement comes to your rescue with its remarkable quick-drying properties. Unlike other glues that may leave you waiting for hours, rubber cement dries within minutes, allowing you to complete your projects in a flash and continue on your magical journey.
Reversible Bond:
As if by magic, rubber cement offers a reversible bond. Even if you make a mistake or need to remove the adhesive later on, fear not. With the wave of a wand (or a bit of heat or solvent), the rubber cement dissolves, allowing for smooth disassembling or repositioning of the bonded parts. This versatility ensures that your rubber creations are not constrained by previous magical choices.
Versatile Application:
Rubber cement’s versatility knows no bounds. From mending inflatable toys or air mattresses to fixing shoe soles or creating custom rubber stamps – this magical adhesive can do it all. With its wide range of uses, rubber cement becomes an indispensable tool for both DIY enthusiasts and professionals alike. Let your imagination soar as you discover new ways to harness its magical powers.
Minimal Residue:
In this realm of adhesive wonders, rubber cement leaves minimal residue behind. This is especially important when working with delicate or sensitive rubber materials that may be prone to damage from harsh chemicals or adhesives. With rubber cement, the appearance and integrity of your rubber creations remain intact, leaving behind a clean and flawless finish.
Easy Application and Cleanup:
No magic spell would be complete without a touch of convenience. Rubber cement comes in easy-to-use containers, making application a breeze. Whether it’s a squeeze bottle or a brush applicator, you can effortlessly spread the adhesive smoothly and evenly onto your rubber surfaces.
Cleanup is a snap as any excess rubber cement can be easily removed with a simple rub of a rubber eraser or gentle rubbing. Your magical creations will be pristine and ready for their grand debut.
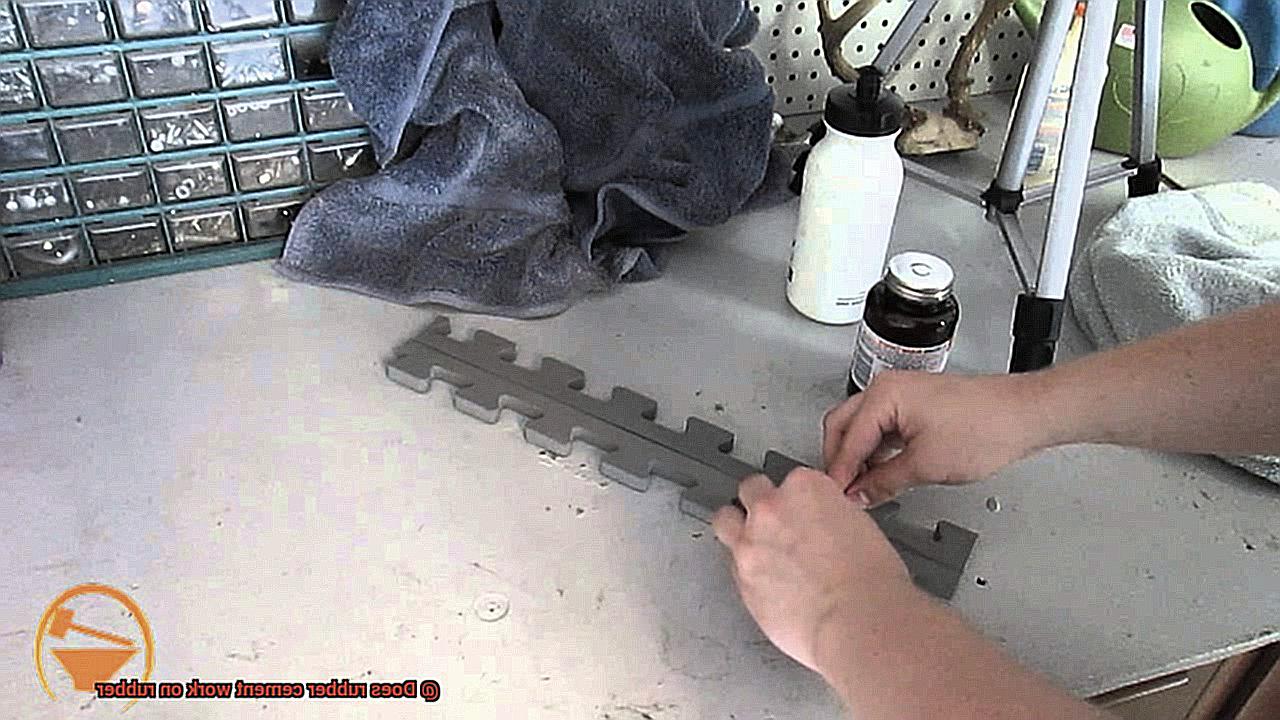
How to Apply Rubber Cement to Rubber
Rubber cement is a magical adhesive that securely bonds rubber materials together. Whether you’re working on a craft project or repairing a beloved rubber item, knowing how to apply rubber cement effectively is essential. In this guide, we’ll take you through the step-by-step process, transforming you into a rubber cement pro.
Step 1: Prepare the Rubber Surfaces
Before diving into the adhesive fun, ensure that your rubber surfaces are clean and dry. Use a gentle soap and water solution to wash away any dirt or grime. Once they’re squeaky clean, pat them dry with a towel or let them air dry completely. Remember, cleanliness is key for a strong bond.
Step 2: Apply the Rubber Cement
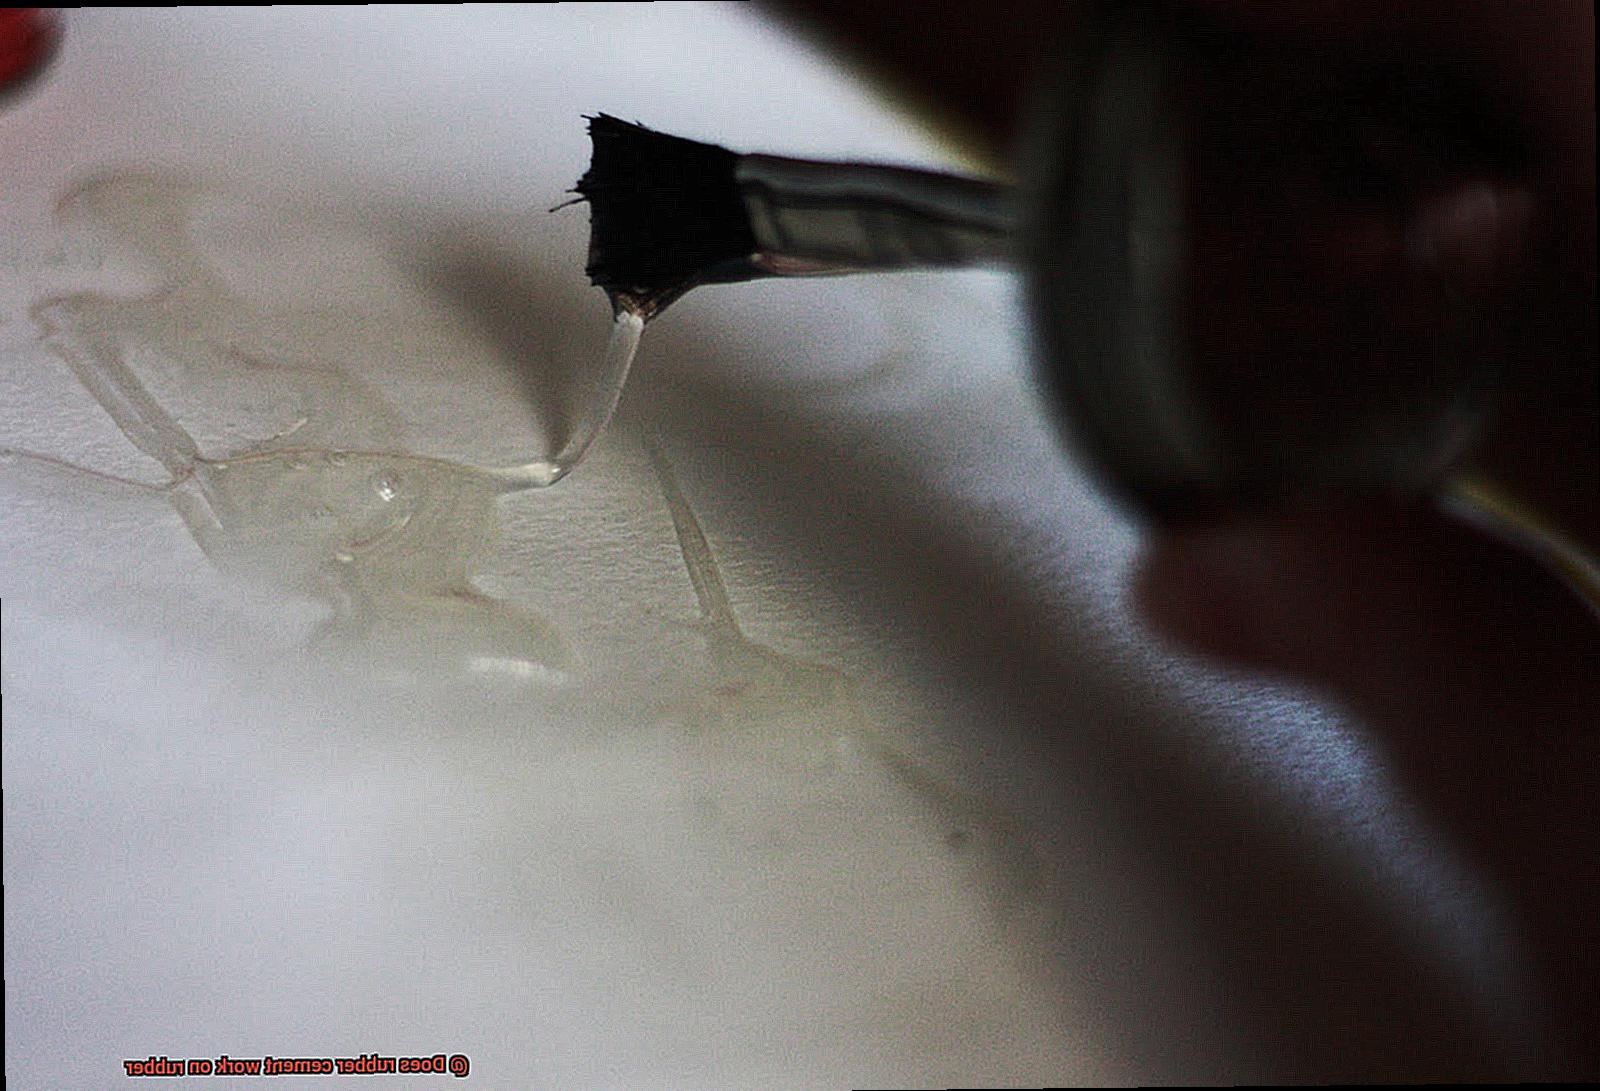
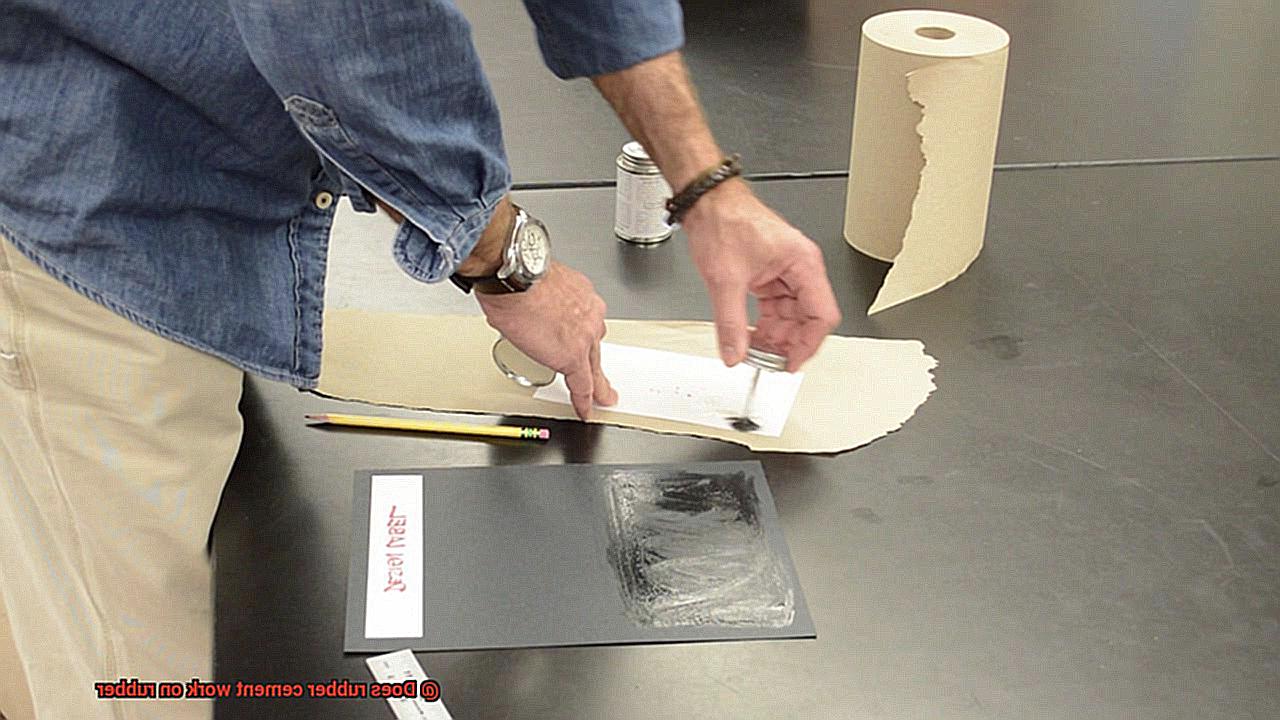
Now it’s time to unleash the power of rubber cement. Shake the bottle vigorously to mix the adhesive thoroughly. Then, pour a small amount onto one of the rubber surfaces. Grab a brush or sponge applicator and spread a thin, even layer of glue over the surface. Remember, less is more – avoid going overboard.
Step 3: Allow Partial Drying
After applying the rubber cement, give it a few minutes to partially dry. You’ll notice it becoming tacky, which indicates it’s ready for the next step. Keep an eye on it as drying times can vary depending on factors like temperature and humidity.
Step 4: Align and Press Firmly
Now comes the exciting part – bonding the rubber surfaces together. Carefully align the two surfaces, ensuring a perfect fit. Once aligned, press them firmly together, applying even pressure across every inch. This will create a robust and secure bond.
Step 5: Maintain Pressure
To guarantee success, maintain pressure on the bonded area for several minutes. Use clamps, heavy objects, or even your hands to apply steady pressure. Treat it like a little rubber sandwich that needs some tender loving care.
Step 6: Allow Full Cure

Patience is essential in the final step. Allow the rubber cement to fully cure as per the manufacturer’s instructions. Typically, this takes around 24 hours, but it’s worth the wait for a durable and long-lasting bond. Avoid moving or stressing the bonded area during this time.
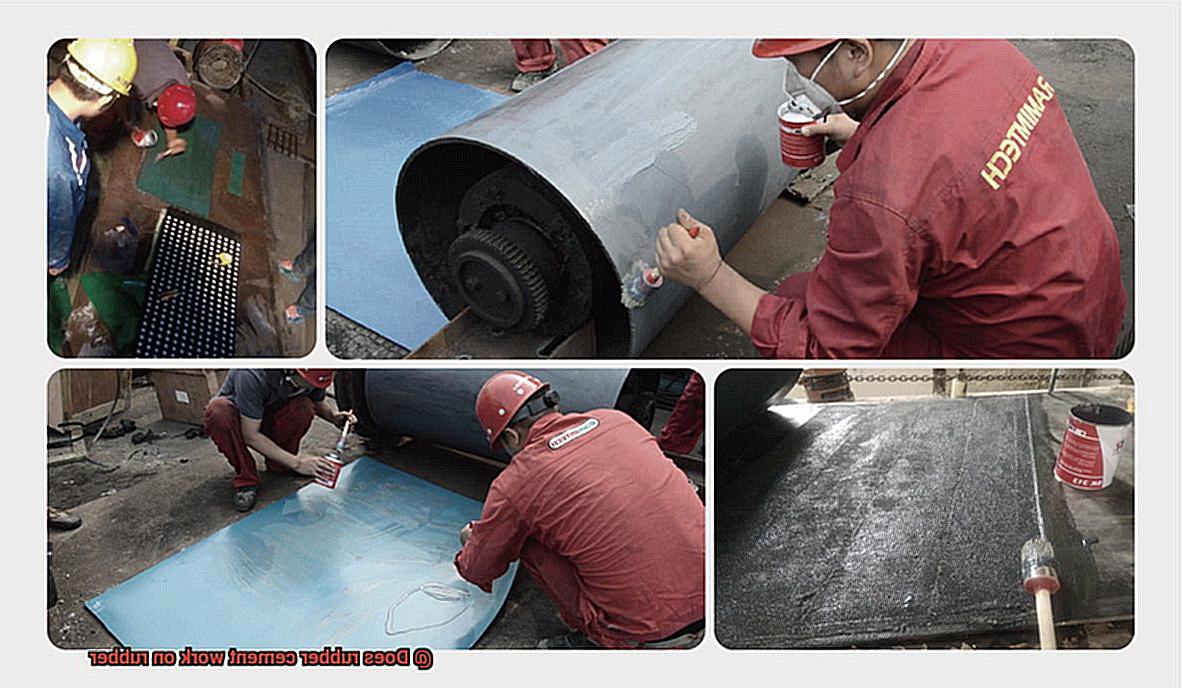
Surface Preparation for Applying Rubber Cement to Rubber
Surface preparation is a crucial step when it comes to applying rubber cement to rubber. To ensure a strong and long-lasting bond, it is important to follow these steps:
- Clean the surface: Start by thoroughly cleaning the rubber surface. Any dust, dirt, or oils present can interfere with the bonding process and weaken the adhesive strength. Use a mild detergent or soap and water solution to gently scrub the surface with a soft brush or cloth. Rinse the surface thoroughly with clean water to remove any residue from the cleaning solution. Allow the surface to dry completely before proceeding.
- Roughen the surface: For enhanced adhesion, lightly sand the rubber surface with fine-grit sandpaper or use a wire brush. This creates a slightly roughened texture, providing more surface area for the rubber cement to adhere to. Be careful not to damage the rubber surface in the process.
- Remove debris: After roughening the surface, make sure to remove any debris or dust particles left behind. Use a clean cloth or compressed air to ensure that the surface is completely free from loose particles. Even small particles can compromise the strength of the adhesive.
- Apply rubber cement: Pour a small amount of rubber cement onto one of the surfaces that you want to bond together. Remember, less is more. You only need a thin and even layer of glue for a strong bond. Use a brush or sponge applicator to spread the rubber cement evenly over the surface, ensuring that you cover the entire area that will come into contact with each other.
- Partially dry: Allow the rubber cement to partially dry until it becomes tacky. This partial drying period allows for solvents in the rubber cement to evaporate, leaving behind a sticky surface. When the surfaces are brought together, this tackiness helps create a strong bond.
- Press firmly: Align the two surfaces perfectly and then press them firmly together with even pressure across every inch. Think of it as making a little rubber sandwich that needs some tender loving care. Maintain pressure on the bonded area for several minutes using clamps, heavy objects, or your own hands. This step eliminates any air bubbles and helps the rubber cement bond securely.
- Exercise patience: Allow the rubber cement to fully cure, which typically takes around 24 hours. During this time, avoid moving or stressing the bonded area to ensure the strongest possible bond. Patience is key for a bond that’s durable and long-lasting.
Application Technique for Applying Rubber Cement to Rubber
Before we jump in, let’s talk about the importance of prepping your rubber surface. Just like cleaning up before a big party, you want to make sure your rubber surface is squeaky clean.
Grab a cloth and some mild detergent or rubbing alcohol, and give that rubber surface a wipe-down. We don’t want any dirt or oils crashing our bonding party.
Now that our surface is prepped, it’s time for the star of the show – rubber cement. Shake that container like you’re dancing to your favorite tune. We want everything nicely mixed for optimal bonding performance. Then, it’s time to apply. Grab a brush or a sponge applicator and spread a thin and even layer of rubber cement onto your rubber surface. Don’t drown your surfaces in glue – less is more in this case. We want a strong bond, not excessive drying time.
Once the rubber cement is applied, let it partially dry for a few minutes. It should be tacky to the touch but not completely dry. This is the sweet spot for bonding. Now, it’s time for the magical moment – carefully align and press those two rubber surfaces together firmly. Apply even pressure across the entire bonded area to ensure a secure bond. And remember, once those surfaces are pressed together, resist the urge to reposition them. They need their bonding time.
Patience is key here. Let the adhesive cure for at least 24 hours before subjecting it to any stress or strain. This allows the glue to fully set and reach its maximum strength. And during this curing process, avoid extreme temperatures or moisture. We want our bond to stay strong and intact.
Drying Time for Applying Rubber Cement to Rubber
Rubber cement is a versatile adhesive that forms a strong bond between rubber materials. But how long does it take for this magical glue to dry and create that unbreakable connection? Let’s dive into the world of rubber cement and explore the factors that influence its drying time when applied to rubber.
First and foremost, the type of rubber cement you’re using plays a crucial role in drying time. Different brands and formulations may have varying drying times, so it’s essential to follow the manufacturer’s instructions. They have spent countless hours perfecting their formula and will provide you with the right guidance for optimal results.
Next, let’s talk about thickness. Thin is in. When applying rubber cement, remember that less is more. Thicker layers take longer to dry compared to thinner layers. So resist the urge to go heavy-handed with the glue and aim for a thin and even application. Not only will this speed up drying time, but it will also result in better bonding.
Now, let’s bring in the environmental factors. Temperature and humidity can either be your best friends or your worst enemies when it comes to drying time. Warm temperatures are like a shot of espresso for your glue, energizing it and making it dry faster. On the other hand, cooler temperatures can put your bonding party on ice, slowing down the drying time. Similarly, higher humidity levels can make your glue say “hold up, I need more time,” while lower humidity levels give it a “let’s get this show on the road” attitude.
But here’s the catch – even though rubber cement may become tacky within minutes of application, resist the temptation to reposition or stress your newly bonded rubber surfaces. They need time to cure fully and establish that rock-solid bond. So be patient and give them at least 24 hours before subjecting them to any stress or strain.
xaKys5ZjCaY” >
Conclusion
In conclusion, rubber cement is a truly remarkable adhesive that works wonders when it comes to bonding rubber surfaces. Its composition is like a potion, with natural latex or synthetic rubber dissolved in a solvent, giving it the power to effortlessly spread and quickly evaporate. This creates a bond that defies gravity and remains pliable even under the toughest pressures.
However, not all rubbers are created equal. While natural rubber forms a perfect partnership with rubber cement thanks to its latex content, synthetic rubbers may need some extra help in the form of primers or adhesion promoters to achieve optimal bonding.
To use rubber cement on rubber, you must prepare the surfaces carefully. Clean them thoroughly and give them a slight roughening for enhanced adhesion. Then comes the application technique: apply a thin layer of rubber cement to both surfaces and let it partially dry before aligning and pressing them together firmly. Remember, patience is key during the drying process as full curing usually takes around 24 hours.
The advantages of using rubber cement on rubber are plentiful. It creates a bond that is both strong and flexible, drying in record time. If you need to reposition or disassemble your project, no worries.
Rubber cement allows for easy adjustments. Its versatility knows no bounds; whether you’re repairing shoe soles or crafting custom rubber stamps, this adhesive superhero has got you covered. Plus, cleanup is a breeze with minimal residue left behind.
So go ahead and unleash your imagination. Let the magical powers of rubber cement take your rubber-related projects to new heights. Just remember to follow proper surface preparation and application techniques for optimal results.