If you’ve ever used Mod Podge for your awesome projects, you’ve probably wondered: Does Mod Podge feel sticky after drying? We’ve all been there, putting our heart and soul into a creation only to worry if it’ll be forever tacky.
Today, we’re diving into this sticky situation to find out if Mod Podge really dries smooth and non-sticky.
So, grab your glue guns and let’s solve this mystery together.
What is Mod Podge?
Contents
- 1 What is Mod Podge?
- 2 Does Mod Podge Feel Sticky After Drying?
- 3 Factors That Can Affect the Stickiness of Mod Podge
- 4 How to Prevent a Sticky Finish with Mod Podge
- 5 Environmental Conditions and Their Effect on Drying Time
- 6 Types of Surfaces and Their Impact on Stickiness
- 7 Solutions for Dealing With a Sticky Finish
- 8 Conclusion
Crafting is more than just a pastime; it is an art form that allows us to unleash our imagination and bring our creative visions to life. In the realm of crafting, there is one name that reigns supreme: Mod Podge. But what exactly is Mod Podge, and why has it become such a beloved staple in the crafting world? Prepare to be captivated as we embark on a journey into the enchanting world of Mod Podge.
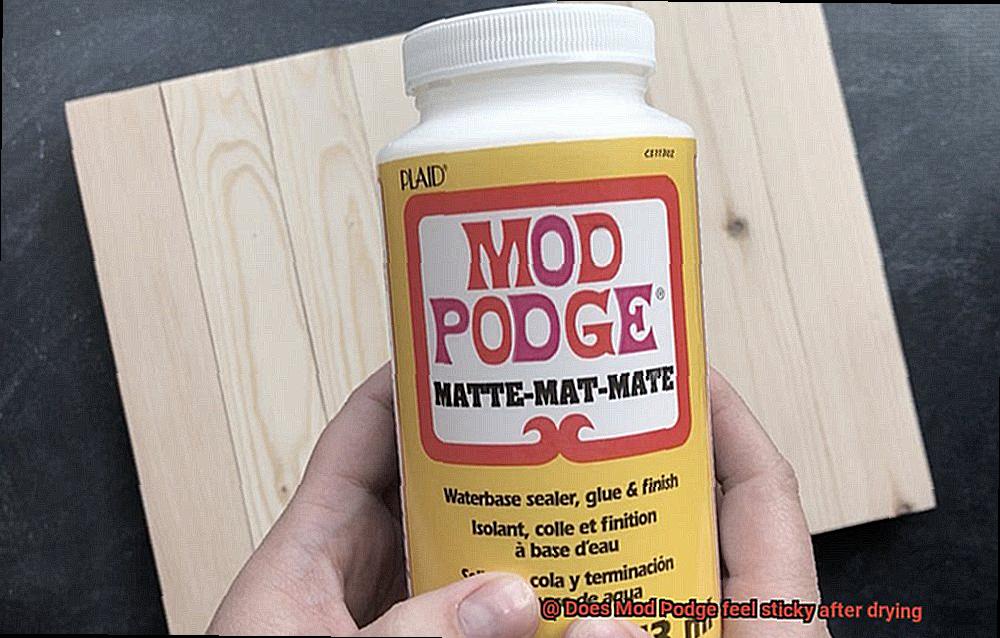
At its core, Mod Podge is a versatile water-based adhesive developed by the crafting maestros at Plaid. It is a magical substance that effortlessly glues and seals various materials together, making it perfect for the mesmerizing art of decoupage. In decoupage, paper or fabric is delicately affixed to surfaces, creating stunning decorative effects that ignite the imagination.
Key Features:
- Transparency when dry: Like a magician’s trick, Mod Podge dries clear, allowing the beauty of your underlying design or surface to shine through, uninterrupted by any trace of glue.
- A shield of protection: Once dry, Mod Podge forms a resilient protective layer over your glued materials, ensuring their endurance against the test of time and warding off any potential damage.
- A spectrum of possibilities: Mod Podge offers an array of formulations to suit every creative whim, from the subtle elegance of matte finishes to the radiant sheen of gloss variants. And for those venturing into the great outdoors with their crafts, there’s even an outdoor formula that laughs in the face of rain and sun.
How to Use Mod Podge:
- Brush on with precision: Harness the power of your craft brush or sponge applicator for seamless coverage and total control over your artistic destiny.
- Swift drying magic: Depending on factors like humidity and application thickness, the enchantment of Mod Podge can dry within a mere 15 to 30 minutes, whisking your creations from wet to wow in no time.
- Patience, young sorcerer: While the surface may appear dry, it takes up to 24 hours for Mod Podge to fully cure and unleash its full potential. So embrace the anticipation and let your masterpiece bask in the magic of Mod Podge.
Conquering Sticky Situations:
- Thin is in: To banish stickiness during drying, apply thin and even coats of Mod Podge.
- Environment is everything: Create your crafting haven in well-ventilated areas with moderate temperatures to ensure optimal drying results and to keep the magic flowing smoothly.
- Taming porous surfaces: For surfaces with a thirst for absorption, protect them from stickiness by applying a clear acrylic sealer on top of the dried Mod Podge. It’s the perfect spell to keep your creations pristine.
Does Mod Podge Feel Sticky After Drying?
Mod Podge is a beloved crafting adhesive that can be used for a multitude of projects, from decoupage to sealing and finishing. It starts off as a milky liquid and dries to a clear, glossy finish. But here’s the thing – during the drying process, Mod Podge may feel slightly tacky or sticky to the touch. Don’t panic. This is completely normal and expected, especially if you’ve applied a thicker layer of Mod Podge.
The stickiness usually diminishes as the adhesive cures and dries completely. However, if your project still feels excessively sticky after drying, it may be due to using too much Mod Podge or not allowing enough drying time. So, let’s talk about how we can reduce this stickiness and achieve that smooth, non-sticky finish we desire.
- Thin, even layers: To ensure that Mod Podge dries without feeling sticky, it’s important to apply it in thin, even layers. Avoid applying thick coats as they can lead to longer drying times and increased stickiness.
- Choose the right formulation: The type of Mod Podge you use can affect how sticky it feels after drying. There are different formulations available, such as Matte, Gloss, Satin, and Sparkle. Some finishes may feel less tacky compared to others once they have dried. So choose wisely.
- Sanding: If your project still feels sticky after drying, you can try lightly sanding the surface with fine-grit sandpaper once the adhesive has fully cured. This will help smooth out any roughness and reduce stickiness.
- Clear acrylic sealer: Another solution is to apply a clear acrylic sealer over the dried Mod Podge. This not only adds extra protection but can also help eliminate any residual stickiness. Just make sure to choose a sealer that is compatible with Mod Podge and follow the manufacturer’s instructions for application.
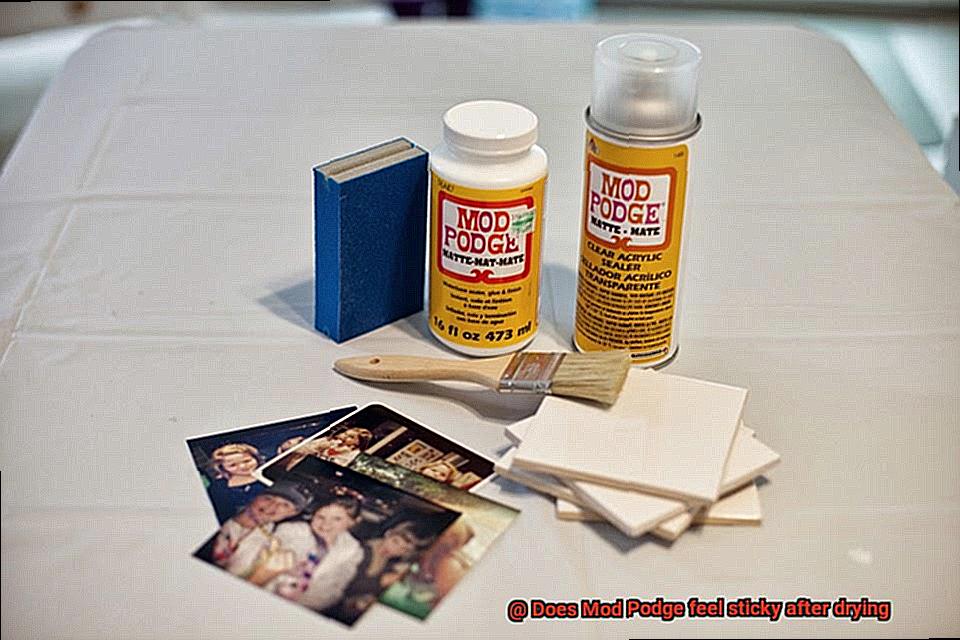
Remember, Mod Podge is water-based, so excessive moisture or exposure to humidity can lead to stickiness even after drying. It’s important to store your Mod Podge projects in a dry environment and avoid contact with water or moisture.
Factors That Can Affect the Stickiness of Mod Podge
Let’s dive into the factors that can affect the stickiness of Mod Podge and discover some tips to achieve that perfect, non-tacky finish.
Humidity: A Sticky Situation
Mod Podge is sensitive to humidity levels in the air. High humidity slows down drying, leaving you with a sticky mess. Combat this by working in a well-ventilated area or using a dehumidifier. Extend drying time or use a fan for better air circulation.
Thin is In: Application Thickness Matters
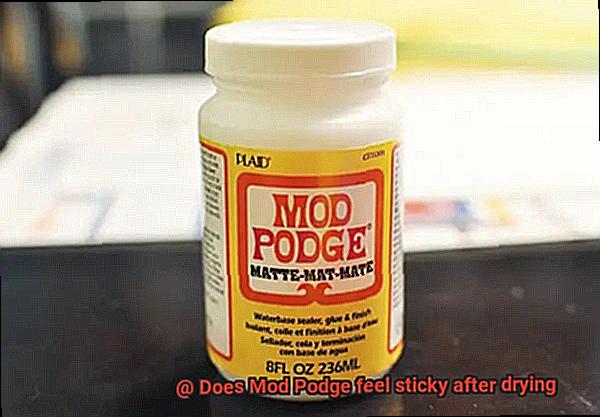
The thickness of your Mod Podge layer plays a significant role in stickiness. Applying it too thickly leads to prolonged drying times and increased stickiness. Avoid this by applying thin, even layers. Patience is key.
Timing is Everything: Follow Drying Time Recommendations
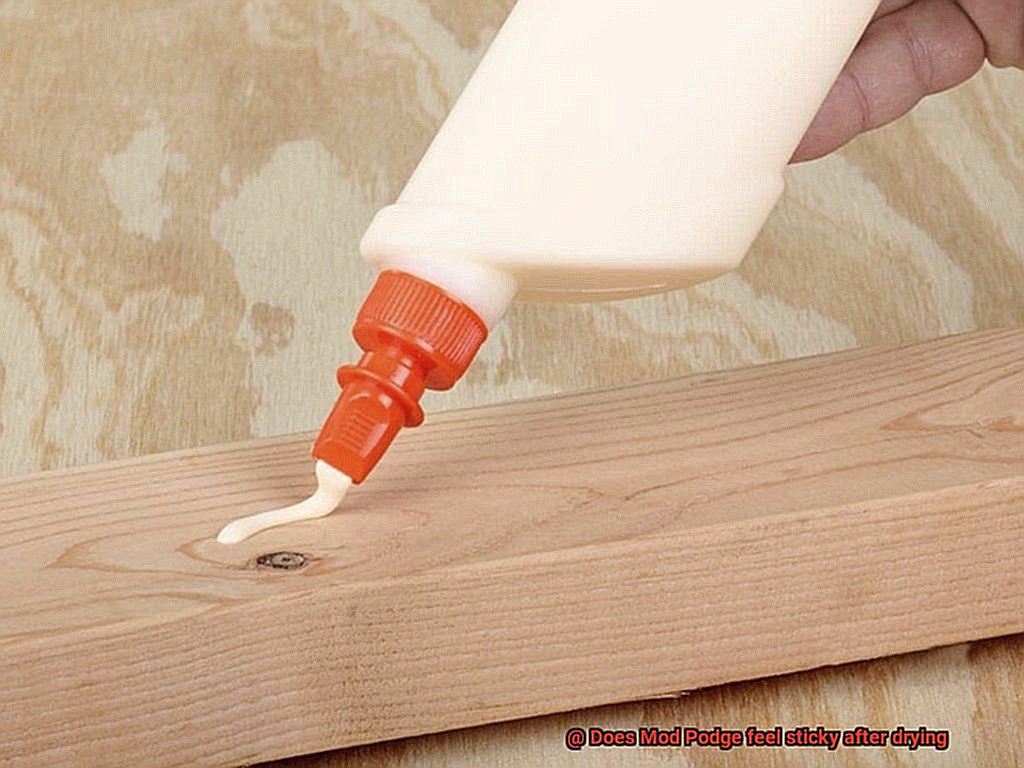
Rushing the drying process results in sticky Mod Podge. Always follow recommended drying times. Adjust for factors like humidity, temperature, and application thickness. Allow ample time for each layer to dry before moving on.
Temperature: Find the Sweet Spot
Extreme temperatures impact Mod Podge stickiness. Avoid excessively hot or cold environments as they affect drying times and lead to stickiness. Work in a temperature-controlled room within the recommended range.
Mix it Right: Proper Mixing Ratios
Different Mod Podge formulas require specific mixing ratios, especially those that require dilution with water. Incorrect mixing affects adhesive properties and results in stickiness. Read and follow instructions for success.
Surface Preparation: The Foundation for Success
Prepare your project surface properly to minimize stickiness. Clean, dry surfaces free from dust, oil, or debris promote better adhesion and prevent unwanted stickiness. Take time to prepare for a smooth finish.
Seal it Right: The Final Touch
Applying a clear sealant enhances durability and protection for Mod Podge projects. However, using an incompatible sealant or applying too much affects texture and stickiness. Choose a compatible sealant and apply thin layers to avoid unwanted stickiness.
How to Prevent a Sticky Finish with Mod Podge
Crafting with Mod Podge is a delightful way to create beautiful projects, but the frustration of a sticky finish can put a damper on your creativity. Don’t fret. We are here to share expert tips and techniques to help you prevent that sticky situation. Grab your foam brush, gather your supplies, and let’s dive into the world of Mod Podge mastery.
Apply Thin and Even Layers:
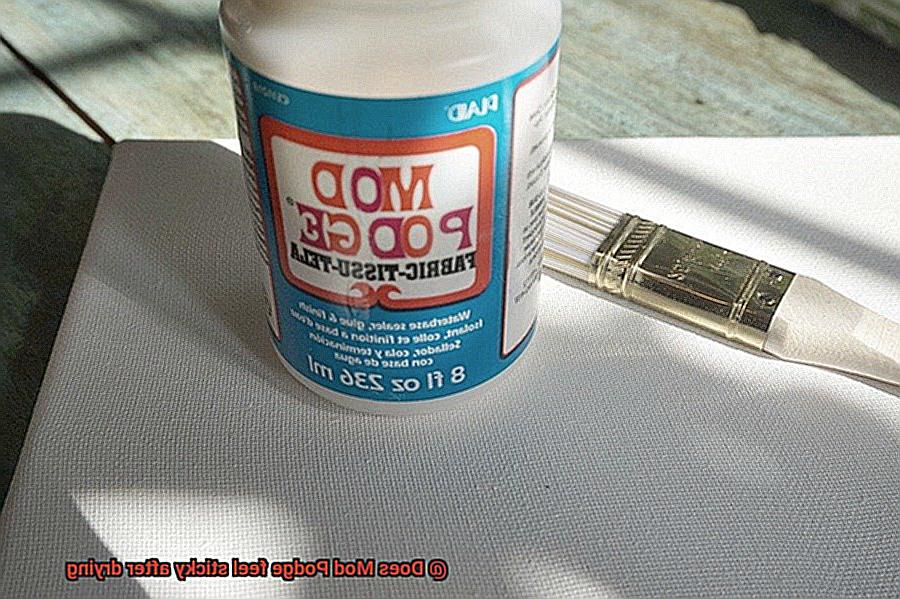
To prevent a sticky finish, apply Mod Podge in thin and even layers. Excess adhesive leads to prolonged drying times and stickiness. Embrace the “less is more” philosophy. Use a foam brush or soft-bristle brush to spread Mod Podge evenly across your surface, ensuring a smooth and flawless finish.
Allow Ample Drying Time:
Patience is key when working with Mod Podge. While it may feel dry to the touch after some time, it can take up to 24 hours for the glue to fully cure and become non-sticky. Resist the temptation to touch or move your project too soon. Give it plenty of time to dry and set before handling or displaying.
Consider Environmental Conditions:
Environmental conditions play a significant role in the drying process of Mod Podge. High humidity or low temperatures can slow down drying time and contribute to stickiness. Create an ideal working environment by choosing a well-ventilated area with moderate temperatures. If needed, use a dehumidifier or air conditioner to control humidity levels and expedite drying.
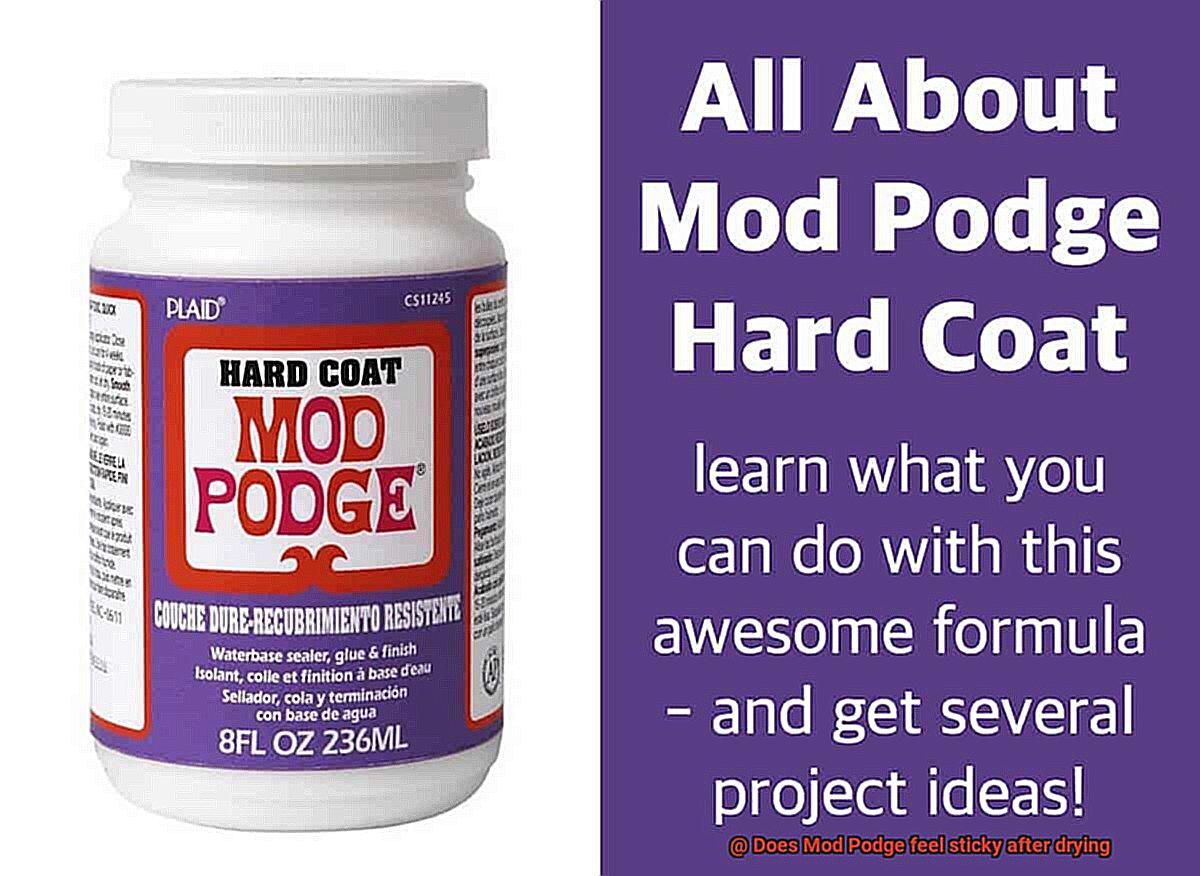
Choose the Right Formulation:
Did you know that different formulations of Mod Podge exist? Each formulation has unique properties, including drying times and stickiness levels. Selecting the right one for your project is crucial. Whether it’s the original gloss finish, matte finish, or outdoor formula, choosing the correct formulation can make all the difference in achieving a non-sticky finish.
Troubleshooting Sticky Finishes:
If you find yourself with a sticky finish, don’t panic. There are solutions. Lightly sand the sticky surface with fine-grit sandpaper to remove excess adhesive and smooth out the finish. Alternatively, apply a clear acrylic sealer over the sticky Mod Podge to create a protective barrier and eliminate stickiness.
Environmental Conditions and Their Effect on Drying Time
The drying time of Mod Podge, that magical crafting essential, is not set in stone. Instead, it’s at the mercy of the environmental conditions in which you choose to create. Temperature, humidity, airflow, the thickness of application, surface type, and even curing time all play a part in determining how quickly your Mod Podge masterpiece will dry.
- Temperature: Picture this – a warm and cozy room, around 70°F or 21°C. This is the sweet spot for Mod Podge drying. Higher temperatures give it a boost, speeding up the process. On the flip side, lower temperatures can put a damper on things, slowing down drying time and leaving you waiting longer than you’d like.
- Humidity: Ah, humidity. The arch-nemesis of Mod Podge drying. Excessive moisture in the air hampers the evaporation of water from the formula, resulting in sticky surfaces that take forever to dry. To combat this sticky situation, consider using a dehumidifier or waiting for drier conditions before getting your craft on.
- Airflow: Good ventilation is key to expediting the drying process. Imagine a gentle breeze wafting through your workspace, carrying away any moisture and leaving your Mod Podge dry and ready to go. If there’s little to no airflow in your crafting haven, fear not. Simply grab some fans or open windows and doors to create circulation and quicken the drying process.
- Thickness of application: When it comes to Mod Podge application, thin is in. Thin layers dry quicker than thick ones. So instead of slathering on one thick coat, opt for multiple thin coats to minimize stickiness and speed up drying.
- Surface type: The nature of the surface you’re working on also affects drying time. Porous materials like paper or fabric have a thirst for moisture and can prolong the drying process. On the other hand, non-porous surfaces like glass or metal allow for faster evaporation and quicker drying without excessive stickiness.
- Curing time: Patience is a virtue when it comes to Mod Podge. While it may feel dry to the touch after a certain period, it needs time to fully cure and reach its maximum hardness. This curing process typically takes around 4 weeks, during which slight stickiness may still be present. So resist the urge to handle or place objects on your Mod Podge-coated surfaces until they’re fully cured.
- Testing: If you’re unsure if your Mod Podge is dry, conduct a touch test. Gently press a finger against the surface and see if it leaves behind any residue or feels tacky. If it does, give it some extra drying time before declaring it completely dry.
Types of Surfaces and Their Impact on Stickiness
Mod Podge is a beloved crafting adhesive renowned for its ability to bond various materials together. However, some crafters may wonder if Mod Podge feels sticky after it dries. In this blog post, we will explore how different types of surfaces can affect the stickiness of Mod Podge, providing insights to achieve a non-sticky finish.
Porous Surfaces:
Porous surfaces, such as wood, fabric, and paper, have a tendency to absorb more Mod Podge, resulting in a stronger bond. While this is advantageous for the durability of the project, it can also lead to a slightly tacky feel even after drying. To minimize stickiness on porous surfaces, it is recommended to apply multiple thin layers of Mod Podge. Each layer should be allowed to dry completely before applying the next, ensuring a smoother finish without compromising the adhesive properties.
Non-Porous Surfaces:
On the other hand, non-porous surfaces like glass and metal do not absorb Mod Podge as readily. This often leads to quicker drying times and less stickiness after drying. However, it is crucial to exercise patience and allow Mod Podge to dry fully before handling the object. This ensures a strong bond without any residual stickiness.
Humidity and Temperature:
The environmental conditions during the Mod Podge application can significantly impact its drying time and stickiness. High humidity levels may prolong drying time and contribute to a stickier finish. Conversely, lower humidity or warmer temperatures can expedite drying and result in a less sticky finish. Therefore, it is advisable to consider these factors when planning your crafting session.
Formulas:
Mod Podge is available in various formulas, each designed for specific purposes. Alternatives like Matte or Outdoor formulas tend to dry with a less sticky finish compared to the original Gloss formula. If stickiness is a concern, experimenting with these formulas may yield more desirable results.
Application Techniques:
To achieve the best results and minimize stickiness, it is crucial to employ proper application techniques. Applying thin and even coats of Mod Podge is key. Each layer should be allowed to dry fully before applying subsequent coats. This technique ensures a smoother finish and maximizes the adhesive properties of Mod Podge.
Solutions for Dealing With a Sticky Finish
Mod Podge, a beloved crafting glue known for its glossy finish, can sometimes leave behind a sticky residue. In this blog post, we will explore the reasons for this issue and provide expert solutions to help you achieve a flawless, non-sticky finish with Mod Podge.
Apply Thin and Even Layers:
To prevent a sticky finish, apply Mod Podge in thin and even layers. Thick layers take longer to dry and increase the chances of stickiness. If you’ve already applied too much glue, use a hairdryer on low heat to speed up the drying process.
Lightly Sand the Surface:
If stickiness persists after drying, lightly sand the surface with fine-grit sandpaper. This removes excess glue and smooths the finish, reducing stickiness. Gently sand in circular motions for best results.
Seal with Acrylic Sealer Spray:
Try using a clear acrylic sealer spray to seal and protect the Mod Podge. Apply a thin coat over the dried glue and let it dry completely. This creates a barrier that reduces stickiness.
Wax or Varnish for Extra Protection:
For added protection and to eliminate stickiness, apply a thin layer of wax or varnish over the Mod Podge. This extra layer smooths the finish and prevents tackiness.
Consider Environmental Conditions:
High humidity can prolong drying time and increase stickiness. Create a drier workspace by using a dehumidifier or air conditioner when working with Mod Podge in humid environments.
Experiment with Different Formulas:
If all else fails, try different formulas of Mod Podge. Matte, glossy, and satin finishes are available. Experimenting with different formulas may help you find one that dries without feeling sticky.
DBDgmKr79DA” >
Conclusion
After the drying process, Mod Podge may still feel sticky to the touch. This can be quite frustrating, especially if you were expecting a smooth and non-tacky finish. However, fear not. There are ways to remedy this sticky situation.
One option is to apply a clear acrylic sealer over the dried Mod Podge. This will create a protective barrier and help reduce the stickiness. Simply spray or brush on the sealer according to the product instructions, and let it dry completely.
Another solution is to lightly sand the surface of the dried Mod Podge with fine-grit sandpaper. This gentle abrasion can help remove any tackiness and leave you with a smoother texture.
If you’re in a hurry and don’t have time for additional steps, try using baby powder or cornstarch. Sprinkle a small amount onto the sticky areas and gently rub it in with your fingers or a soft cloth. The powder will absorb excess moisture and reduce stickiness.
In conclusion, while Mod Podge may initially feel sticky after drying, there are simple remedies available to achieve that desired smooth finish.

