If you’ve ever wondered whether Liquid Nails, that magical construction adhesive, can work its sticky wonders on plexiglass, you’ve come to the right place. In this blog post, we’re diving deep into the world of bonding plexiglass and putting Liquid Nails to the test.
Now, we all know that Liquid Nails is a rockstar when it comes to sticking stuff together. DIY enthusiasts and pros swear by its incredible bonding capabilities. But does it have what it takes to tackle the unique challenges of plexiglass? That’s what we’re here to find out.
So buckle up as we embark on this adhesive adventure. We’ll explore the ins and outs of both Liquid Nails and plexiglass to see if they make a match made in glue heaven. Get ready for some serious bonding talk as we uncover compatibility quirks and potential hurdles along the way.
But hold on tight because there’s more. We’ll also delve into the secret composition of plexiglass and how it might affect our adhesion mission. Plus, we’ll dish out essential tips on prepping your plexiglass surface and nailing down curing times when using Liquid Nails.
By the time you reach the end of this post, you’ll be armed with all the knowledge you need to determine whether Liquid Nails is your go-to solution for sticking plexiglass like a pro. So stick around (pun intended) as we debunk myths, share insider insights, and unleash the true power of Liquid Nails on plexiglass.
Let’s get this adhesive party started.
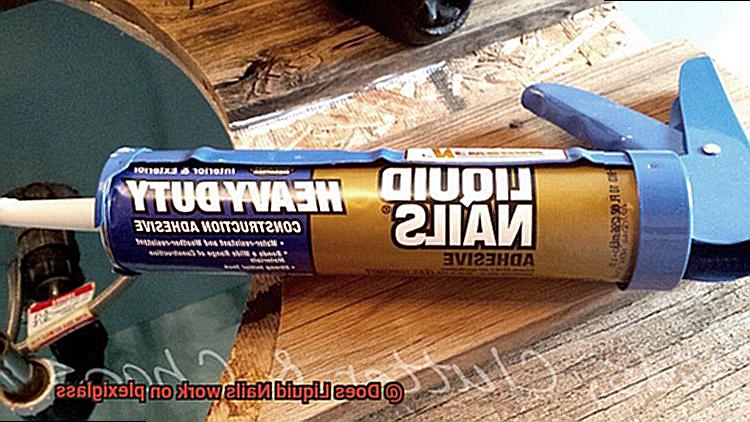
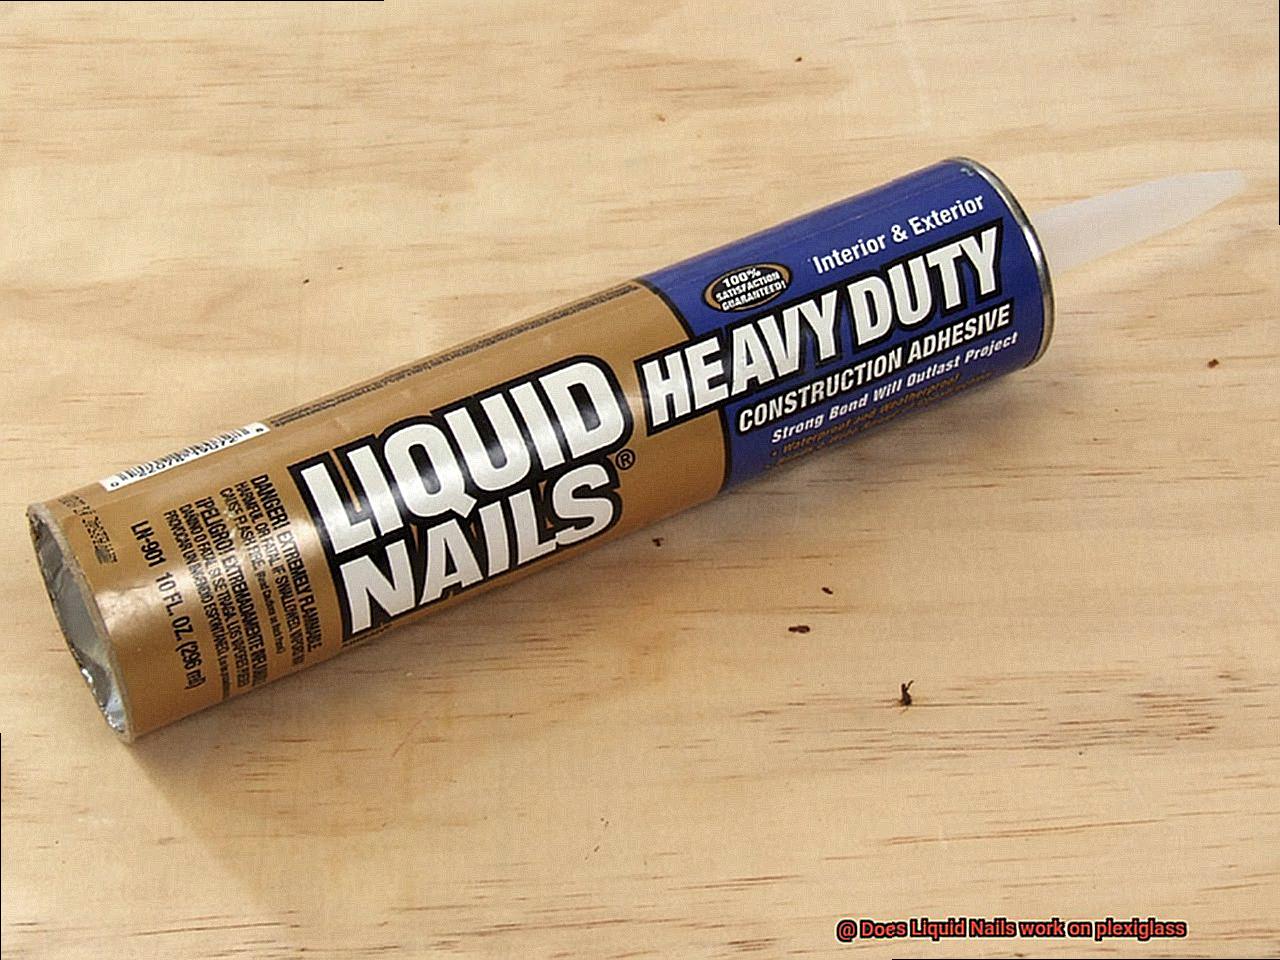
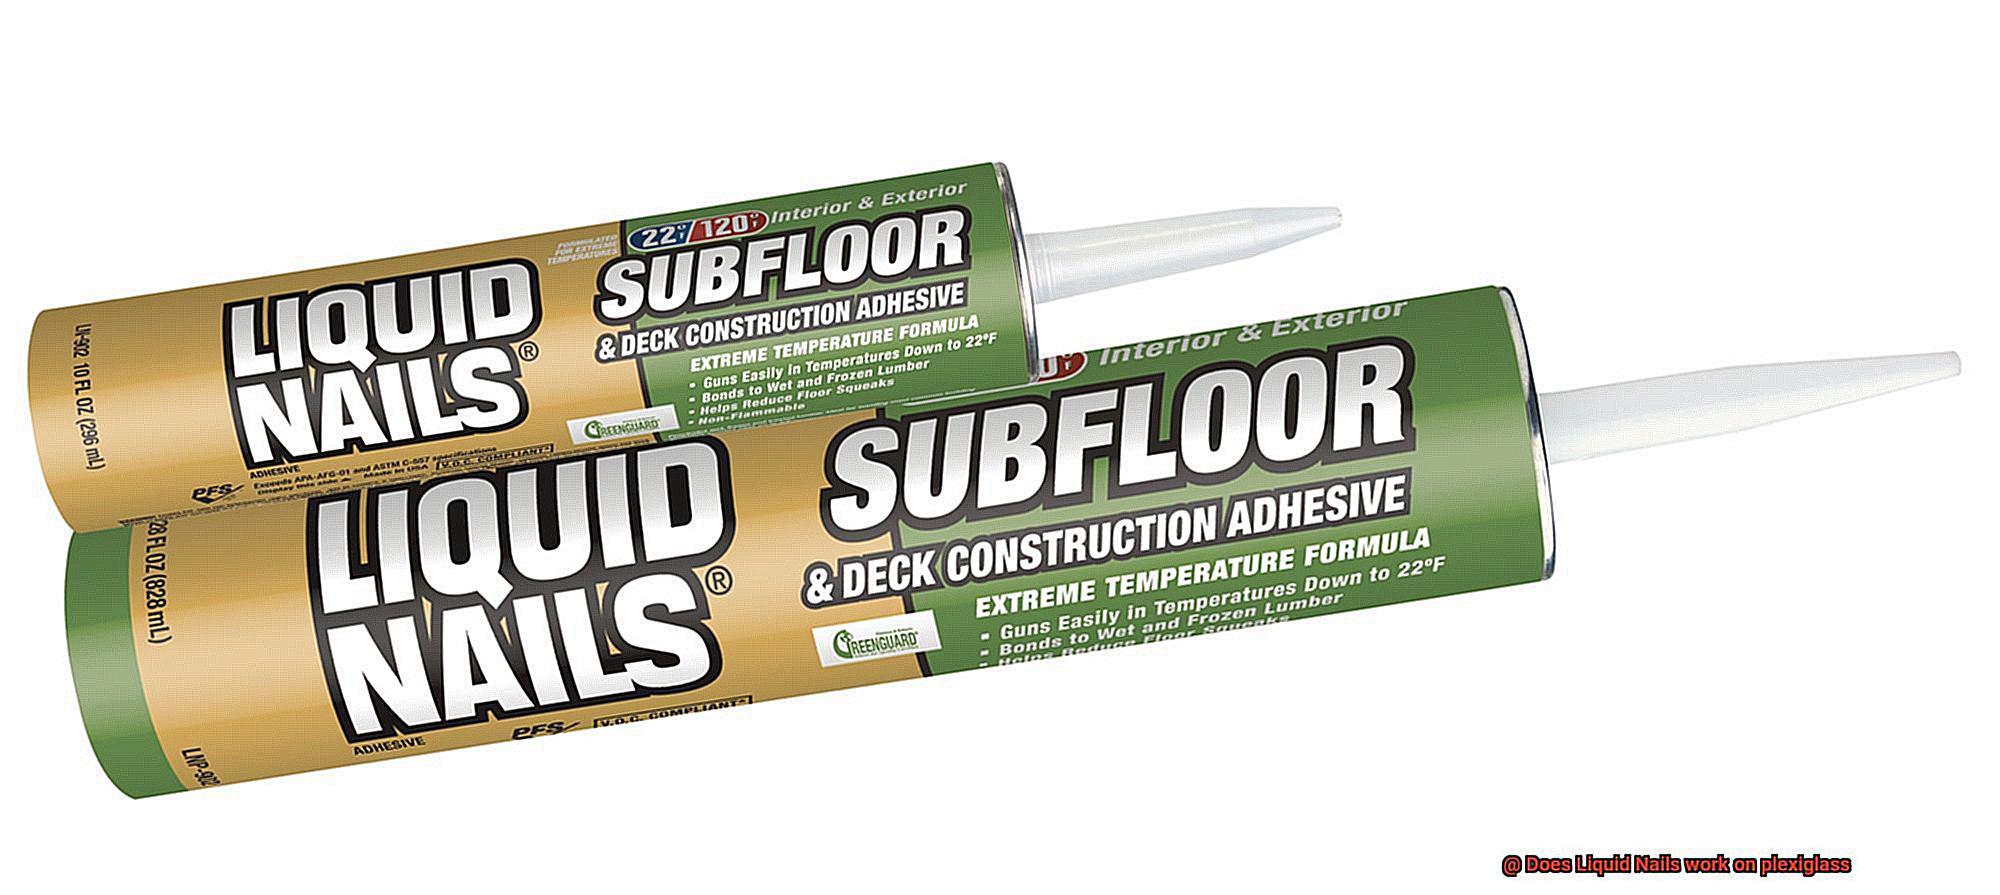
Properties of Liquid Nails
Contents
When it comes to construction and DIY projects, having a reliable adhesive is crucial. One adhesive that stands out in terms of its strong bonding capabilities and versatility is Liquid Nails.
Whether you’re working with wood, metal, concrete, ceramics, or even some plastics, Liquid Nails is your go-to adhesive. In this article, we will explore the impressive properties of Liquid Nails that make it a trusted choice for professionals and DIY enthusiasts alike.
Strong Bonding Capabilities:
Liquid Nails is renowned for its ability to create long-lasting bonds between various materials. Its unique formulation ensures a flexible and durable bond, even if the surfaces have different textures or consistencies. From securing wood trim to cement backer boards, you can trust Liquid Nails to hold your project together with unmatched strength.
Resistance to Water, Moisture, and Extreme Temperatures:
Liquid Nails is not just tough in terms of bonding; it also excels in resisting environmental challenges. Whether it’s moisture creeping into bathroom tiles or water seeping into outdoor structures, Liquid Nails remains steadfast. It can withstand the harshest weather conditions, including extreme temperatures that can cause other adhesives to weaken or fail. This makes it suitable for both indoor and outdoor applications, where exposure to these elements is inevitable. You can have peace of mind knowing that your project will stay intact regardless of the conditions.
Availability in Different Formulations:
To cater to various project requirements, Liquid Nails is available in different formulations. The original formula offers all-around bonding power for most materials. Whether you’re working on woodworking projects or general repairs, the original formula has got you covered. For heavy-duty applications that require extra strength and durability, the heavy-duty formula is the perfect choice. Need to hang a mirror or paneling? Liquid Nails has specific formulations tailored for these materials, ensuring optimal results every time.
Easy Application:
Liquid Nails comes in tube or cartridge form, making it easy to apply using a caulking gun or similar tools. Its smooth consistency allows for precise application without any mess or hassle. Simply apply the adhesive to one surface, align the objects, and watch as the strong bond forms. No need to worry about drips or spills – Liquid Nails is designed for easy and efficient application.
Availability:
Finding Liquid Nails for your project is a breeze. It is widely available at hardware stores and home improvement centers, ensuring accessibility whenever you need it. No matter where you are, you can easily get your hands on this trusted adhesive.
Properties of Plexiglass
Let’s explore the incredible powers of this versatile substance and discover why it has become such a popular substitute for glass.
First and foremost, plexiglass is renowned for its transparency. Acting like an invisible cloak, it allows excellent light transmission, making it ideal for applications that require clear visibility. Whether it’s windows, skylights, or protective covers, plexiglass lets the light shine through and banishes dull and dark spaces.
In addition to its transparency, plexiglass is impressively lightweight. It moves through the material world with the agility of an acrobat, making it easy to handle and install compared to glass. This property makes plexiglass a favorite choice for signage, displays, and any application where weight matters.
But what truly sets plexiglass apart from its competitors is its durability. Like a superhero who never breaks a sweat in the face of impact, plexiglass is much more resistant to shattering than glass. This makes it a safer option for environments where breakage is a concern, such as commercial buildings or outdoor applications. With plexiglass, you can breathe a sigh of relief knowing that it has your back.
Speaking of the great outdoors, plexiglass is also weather-resistant. It acts like a weatherproof shield that can withstand exposure to UV radiation without losing its transparency or turning yellow. Rain or shine, plexiglass will keep shining bright and maintain its pristine appearance.
Flexibility is another superpower possessed by plexiglass. It shape-shifts effortlessly into any form you desire. Cut it, drill it, shape it – plexiglass is easily molded using common tools. Let your imagination run wild, as plexiglass can bring your creative visions to life.
But that’s not all. Plexiglass also possesses chemical resistance, making it an ideal choice for laboratories or industries dealing with harsh chemicals. It withstands the likes of acids and alkalis, emerging unscathed from any chemical battle.

However, like every superhero, plexiglass does have its kryptonite – scratches. While it is more resistant to scratching compared to glass, it can still be marred by abrasive materials or improper cleaning techniques. Handle with care and use the right cleaning methods to keep your plexiglass surfaces looking pristine.
Compatibility between Liquid Nails and Plexiglass
Today, we embark on an exhilarating adventure to uncover the ultimate compatibility between two construction superheroes: Liquid Nails and Plexiglass. Will they form an unbreakable bond, or will they clash like archenemies? Let’s dive in and find out.
Understanding the Challenge:
Liquid Nails, renowned for its versatility and strength, has triumphed over various surfaces like wood, metal, and concrete. However, when it comes to plexiglass, we must tread with caution. Plexiglass, also known as acrylic glass, boasts durability and impact resistance but is susceptible to stress cracking.
The Solution:
To ensure a harmonious union between Liquid Nails and plexiglass, we need a specialized adhesive designed specifically for acrylic materials. These remarkable adhesives have been formulated to deliver a robust bond while minimizing the risk of damage or discoloration.
Preparation is Key:
Before embarking on our bonding journey, meticulous surface preparation is paramount. Thoroughly cleanse both the plexiglass and the substrate, wiping away any dust, grease, or contaminants with mild detergent or rubbing alcohol.
Application Techniques:
Now it’s time to get sticky. Apply a thin layer of adhesive, ensuring even distribution across the surface. Remember, less is more – excessive adhesive can lead to damage or discoloration. Apply ample pressure to the bonded surfaces for an adequate duration to allow the adhesive to cure effectively.
Extra Reinforcements:
For larger projects or structural applications, employing mechanical fasteners alongside the adhesive provides an added layer of security. This extra step ensures a bond that can withstand any challenge thrown its way.
The Final Showdown:
Once the adhesive has cured, meticulously inspect the bond for any signs of weakness or damage. Should any issues arise, consider reevaluating your bonding method or exploring alternative adhesives specifically tailored for plexiglass.
Preparing the Surface for Adhesion
Brace yourself because we’re about to unravel the secrets of preparing the surface for adhesion. Trust me, this step is the key to unlocking a bond that’s strong and unyielding.
Let’s start with the first commandment of surface preparation: cleanliness. Imagine a dance floor covered in dirt, dust, and debris. Would you want to waltz on that? I didn’t think so. So grab a mild detergent or glass cleaner, along with a clean cloth, and give that plexiglass surface a thorough wipe-down. Don’t forget to show some extra love to those oil and grease-prone spots.
Now that your plexiglass is squeaky clean, it’s time to eliminate any moisture lurking around. Moisture can be as welcome as a rainstorm at a picnic when it comes to adhesion. So either let the plexiglass air dry or use a dry cloth to banish any remaining wetness.
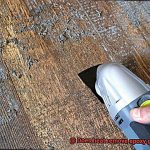
Next up, let’s get gritty. We’re talking about sanding, baby. By lightly sanding the plexiglass surface, we create a rougher texture that gives the adhesive more grip. Grab some fine-grit sandpaper (around 220 grit) and gently sand the surface in circular motions. Remember, be gentle like a breeze caressing your skin. We don’t want any scratches or damage marring our masterpiece.
Once you’ve sanded away, it’s time for a grand finale: removing loose debris. Picture yourself as a cleaning wizard, armed with a dry cloth or even some compressed air. Banish those pesky particles like they’re unwelcome guests at a party. We want our surface crystal clear so that the adhesive can work its magic.
But hold your horses, there’s more to this tale. Some experts suggest using a primer as an extra layer of defense before applying Liquid Nails to plexiglass. Think of it as a superhero cape for your bond, enhancing adhesion and strength. Just make sure to choose a primer specifically designed for plexiglass and compatible with Liquid Nails. Follow the manufacturer’s instructions, apply a thin layer of primer evenly on the plexiglass surface, and let it dry completely before applying the adhesive.
Applying Liquid Nails
Today, we will explore the art of applying Liquid Nails to plexiglass. Whether you’re an aspiring craftsman or a home improvement enthusiast, mastering the technique of applying this adhesive can mean the difference between a flimsy bond and a rock-solid connection. So, let’s dive in and discover the secrets of success.
First and foremost, cleanliness reigns supreme. Before you even think about applying Liquid Nails, ensure that both the plexiglass and the surface you’re bonding it to are squeaky clean. Just like a dance floor needs to be spotless for a flawless routine, any dirt, dust, or oils on your surfaces will hinder the bond. Grab a mild detergent or rubbing alcohol and give those surfaces a thorough wipe-down.
Now that we have a pristine canvas, let’s create some texture for our adhesive to grip onto. Grab some sandpaper or a fine-grit abrasive pad and gently roughen up the surface of the plexiglass. Think of it as giving it a dance lesson to help it stay put on the floor. This step is crucial in enhancing the adhesion of the Liquid Nails.
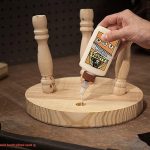
Now comes the exciting part – time to apply the adhesive. Take your Liquid Nails and apply a thin bead along the edge or surface where the plexiglass will be bonded. Remember, less is more in this case. You don’t want excess glue oozing out and ruining your masterpiece.
With the adhesive applied, it’s time for a firm embrace. Press the plexiglass firmly onto the desired surface and hold it in place for a few minutes. Allow the adhesive to work its magic, just like dancers connecting and bonding with each other on the floor.
To ensure that your plexiglass stays put while the adhesive cures, provide some support. This can be achieved by using clamps, weights, or any other method that keeps the plexiglass in place until the adhesive sets completely. Think of it as a dance partner giving you a steady hand to lean on.
Now, patience becomes your greatest ally. The curing time for Liquid Nails can vary depending on factors like temperature and humidity. Consult the product instructions to determine the specific curing time for your project. It’s like waiting for a dance routine to come together – you can’t rush perfection.
Once the recommended curing time has passed, it’s time to inspect the bond between the plexiglass and the surface. Check for any weak areas or insufficient bonding. If necessary, apply additional adhesive to strengthen the connection. Remember, a strong bond is essential for a successful dance routine.
Pressing Objects Against the Plexiglass
The act of pressing objects against plexiglass can have both practical and artistic implications. In this article, we will explore what happens when objects are pressed against plexiglass, diving into the considerations for achieving a strong bond while preserving the integrity of the plexiglass. So, let’s embark on a journey of discovery and uncover the fascinating effects of this interaction.
Weight and Size:
When pressing objects against plexiglass, it is crucial to consider their weight and size. Plexiglass, although durable, can be fragile. Applying excessive pressure or placing heavy objects on it can result in cracks or even shattered glass-like fragments. To avoid such mishaps, it is essential to stay within the recommended limits specified by the manufacturer. By adhering to these guidelines, you can ensure that your plexiglass remains intact and unscathed.
Surface Area of Contact:
To achieve a strong bond between objects and plexiglass, it is vital to provide a large surface area of contact. Liquid Nails, a popular adhesive choice for various materials, performs best when applied evenly over a wide area. If the object being pressed against the plexiglass has irregular or limited contact points, the adhesive may not be able to create a secure bond. Ensuring a good connection between the two surfaces enhances the overall strength and reliability of the bond.
Long-term Durability:
Plexiglass is known to expand and contract with temperature changes, which can exert stress on the adhesive bond over time. While Liquid Nails is a robust adhesive, it may struggle with these fluctuations, potentially leading to a weakened bond. To ensure long-term durability, it is advisable to explore specialized adhesives specifically designed for bonding plexiglass. These adhesives offer enhanced resistance to stress and temperature changes, providing a stronger and more reliable connection that stands the test of time.
Seek Professional Advice:
When venturing into the world of pressing objects against plexiglass, it is wise to seek guidance from professionals or experts in the field. Their experience and expertise can prove invaluable in selecting the right adhesive and offering tips for achieving optimal results. By consulting with these knowledgeable individuals, you can save yourself time, effort, and potential mishaps along the way.
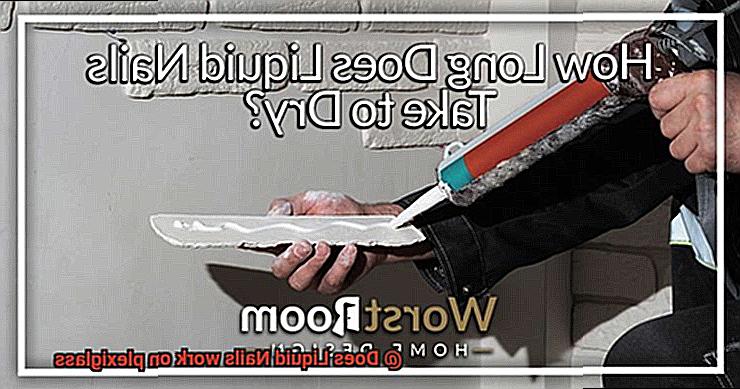
Allowing Curing Time
Today, we explore the art of bonding plexiglass using Liquid Nails. This versatile construction adhesive can work miracles, but it requires one crucial ingredient for success – allowing sufficient curing time. Join us as we delve into the significance of this vital step and uncover the secrets to achieving resilient and long-lasting bonds on your plexiglass projects.
Understanding Curing Time:
- Curing time refers to the period required for an adhesive, such as Liquid Nails, to fully dry and create a solid bond.
- Rushing this process can compromise the bond’s strength and durability.
- It is essential to follow the manufacturer’s instructions regarding the recommended curing time for Liquid Nails on plexiglass.
Plexiglass Challenges:
- Plexiglass presents a unique challenge due to its smooth and non-porous surface.
- Adhesives struggle to adhere properly without adequate curing time.
- Failing to allow enough drying time may result in weak bonds, leading to potential separation or disintegration of plexiglass pieces.
Factors Affecting Curing Time:
- Curing time for Liquid Nails can vary based on temperature, humidity, and adhesive layer thickness.
- Allocate a minimum of 24 hours for curing before subjecting the bonded plexiglass to any stress or load.
Stability During Curing:
- Keep the plexiglass pieces stable and undisturbed during the curing process.
- Movement or shifting can disrupt bond formation and weaken strength.
- Secure pieces in place using clamps or other mechanisms until full curing is achieved.
Surface Preparation:
- Thoroughly clean plexiglass surfaces before applying Liquid Nails.
- Remove dirt, dust, or grease that may hinder the bonding process.
- A clean surface ensures optimal adhesion and proper curing.
Testing and Application:
- Conduct a small test on an inconspicuous area before larger bonding projects.
- Determine Liquid Nails’ suitability for your plexiglass type and application requirements.
WSoaX4kgMeg” >
Conclusion
In conclusion, Liquid Nails is indeed a suitable adhesive for bonding plexiglass.
Its strong and durable formula ensures a secure and long-lasting bond between the two materials. Whether you’re working on a DIY project or a professional installation, Liquid Nails provides the reliability and strength needed to adhere plexiglass with ease.
So, if you’re looking for an adhesive that works wonders on plexiglass, look no further than Liquid Nails.