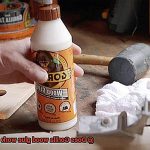
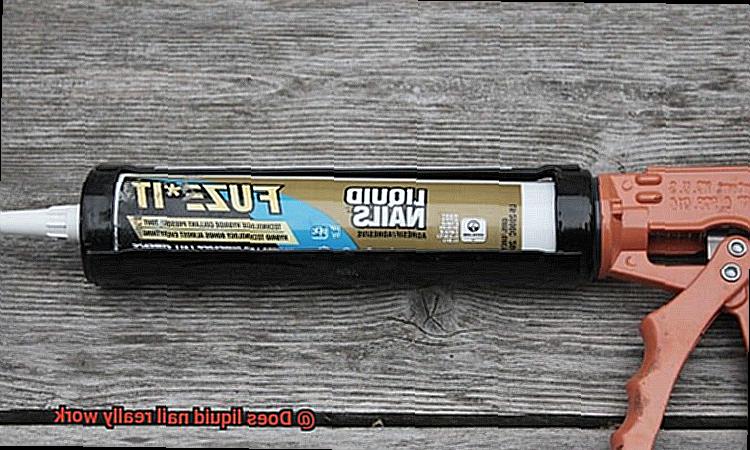
And in this realm, one name stands out: Liquid Nail. This versatile adhesive wonder has garnered quite a reputation for its ability to bond a wide range of materials, from wood and metal to plastic and concrete. But does it truly live up to the hype?
In this blog post, we’re going to dive deep into the effectiveness of Liquid Nail and explore its potential uses. Whether you’re a seasoned DIY enthusiast or just looking for a reliable solution to fix that wobbly cabinet or secure your latest crafts, get ready as we uncover the untold secrets of this beloved adhesive.
With Liquid Nail by your side, say goodbye to traditional nails, screws, and messy glues. Its unique formula promises a durable, long-lasting bond that eliminates the need for mechanical fasteners in various projects. But before we jump into the nitty-gritty details, let’s take a moment to understand the science behind this adhesive genius.
Combining advanced polymer technology with strong adhesion properties, Liquid Nail boasts a formulation specifically engineered to withstand heavy loads and resist weather-induced degradation. From sub-zero temperatures to scorching heatwaves, this adhesive claims to have your back even in the most extreme conditions.
But durability is just one aspect; versatility is where Liquid Nail shines brightest. Whether you’re working on construction projects, repairing furniture, or crafting delicate art pieces, Liquid Nail is touted as the ultimate multitasker. It effortlessly bonds different surfaces and materials flawlessly while providing a watertight seal and professional-grade finish.
However, like any product worth its salt (or adhesive), there are factors to consider. While Liquid Nail is known for its power-packed bonding abilities, proper surface preparation and application techniques are crucial for achieving optimal results. We’ll delve into these aspects too, ensuring you have all the necessary knowledge to make the most of this adhesive solution.
So, if you’re curious to find out whether Liquid Nail truly lives up to its claims, stick around (pun intended.). In the following sections, we’ll explore real-life applications, examine user experiences, and provide you with valuable tips and insights to effectively use Liquid Nail on your next project.
Whether you’re a seasoned DIYer or just venturing into the realm of adhesive solutions, understanding the effectiveness and potential uses of Liquid.
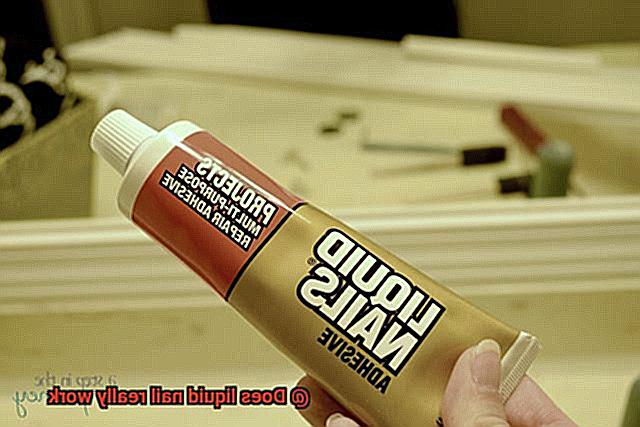
What is Liquid Nail?
Contents
In this comprehensive guide, we will delve into the world of Liquid Nail, exploring its strengths, limitations, and how it can be effectively utilized for various applications.
Strengths of Liquid Nail:
- Versatility: Liquid Nail is a multi-purpose adhesive that adheres to a wide range of materials, including wood, metal, concrete, and ceramics. This versatility makes it an indispensable tool for countless construction and renovation projects.
- Unmatched Bonding Capabilities: With its superior formula, Liquid Nail ensures a strong and durable bond that stands the test of time. Whether you’re installing baseboards, molding, or paneling, you can rely on Liquid Nail to keep your materials firmly in place.
- User-Friendly Application: Packaged in convenient tubes or cartridges, Liquid Nail simplifies the application process with its compatibility with standard caulking guns. Its thick consistency allows for precise placement, minimizing the risk of drips or messes. Additionally, it boasts a relatively quick drying time, enabling efficient project completion.
- Resilience in Challenging Environments: Liquid Nail is engineered to withstand various environmental conditions both indoors and outdoors. Its resistance to water, heat, and cold ensures that the bond remains intact even under demanding circumstances.
Limitations of Liquid Nail:
- Surface Preparation is Key: To achieve optimal results with Liquid Nail, proper surface preparation is crucial. Surfaces must be thoroughly cleaned, dry, and free from dust or debris. Neglecting these guidelines may compromise the adhesive’s performance.
- Ideal Application Conditions: Extreme temperatures or high humidity can impact the effectiveness of Liquid Nail. It is advisable to apply the adhesive when the temperature is above 50°F (10°C) and the humidity is below 60% to ensure optimal results.
- Consider Material Suitability: While Liquid Nail is highly versatile, it may not be suitable for all materials or applications. Consulting the manufacturer’s guidelines and conducting a small test before embarking on larger projects is recommended to ensure compatibility.
- Heavy-Duty Applications: Although Liquid Nail offers formidable bonding capabilities, certain heavy-duty applications may require specialized adhesives such as epoxy or polyurethane-based variants. If you’re working on projects with heavy loads or extreme stress, it is worth considering these alternatives.
Factors That Affect the Performance of Liquid Nail
The performance of this adhesive can be influenced by several key factors that demand careful consideration. By understanding and addressing these factors, you can optimize the effectiveness of Liquid Nail and achieve superior results in your projects.
Firstly, surface preparation is paramount to ensuring a successful bond. Prior to application, thorough cleaning and preparation of the surfaces to be bonded is essential. Dirt, dust, oil, or moisture can impede adhesion and weaken the bond. Therefore, it is crucial to meticulously clean and dry the surfaces before applying Liquid Nail.
Secondly, material compatibility must be taken into account. While Liquid Nail is compatible with a wide range of materials including wood, metal, concrete, ceramic, and plastic, certain types of plastics or materials with low surface energy may require special primers or surface treatments to enhance adhesion. It is imperative to consult the manufacturer’s guidelines and verify the compatibility of Liquid Nail with the specific materials being used.
Furthermore, environmental conditions during application and curing significantly impact the performance of Liquid Nail. Both temperature and humidity play vital roles in the curing process. Extreme temperatures can either slow down or accelerate curing time, while high humidity levels can prolong drying. It is advisable to apply Liquid Nail within its recommended temperature range and ensure adequate ventilation to facilitate proper curing.
The design of the joint and the amount of pressure applied during bonding are also crucial factors affecting the effectiveness of Liquid Nail. Creating a robust joint with sufficient contact between the surfaces being bonded is essential for optimal adhesion. Applying adequate pressure using clamps or weights helps ensure a tight bond and maximizes the adhesive’s performance. Adhering to the manufacturer’s instructions regarding recommended pressure and curing time is critical for each specific application.
Finally, proper storage and handling of Liquid Nail significantly impact its performance. Storing this adhesive in a cool and dry place, away from direct sunlight and extreme temperatures, is essential. Checking the expiration date and using fresh bottles of Liquid Nail ensures optimal performance. Expired or improperly stored adhesive may result in weaker bonds and less reliable results.
Preparing the Surface for Bonding
When it comes to bonding materials, choosing the right adhesive is crucial. Liquid Nail adhesive is renowned for its strength and versatility. However, to achieve optimal results, proper surface preparation is essential. In this article, we will guide you through the necessary steps to prepare your surface for a successful bonding experience.
Step 1: Cleanliness is Key
Before delving into the world of adhesive wonders, take a moment to thoroughly clean your surface. Use a mild detergent or soap and water solution to banish dirt, dust, and grease from the surface. This ensures that your adhesive has a pristine canvas to work its magic on. Rinse the surface thoroughly to eliminate any residue that could hinder the bonding process.
Step 2: Roughen it Up
Next, show your surface some texture love. Gently sand it with sandpaper or use a wire brush to create a slightly roughened texture. This allows the adhesive to grip onto the surface better. Smooth or glossy surfaces may not provide enough friction for optimal adhesion, making this step crucial.
Step 3: Dry as a Bone
Moisture is not your friend when it comes to bonding surfaces. Ensure that your surface is completely dry before applying the liquid nail adhesive. Give it a final wipe with a clean cloth or paper towel to achieve that perfect dryness. Remember, a dry surface means a strong and long-lasting bond.
Step 4: Material Matters
Different materials require different preparation methods. For example, when working with wood surfaces, consider removing any existing finishes or coatings before applying the adhesive. This allows for better penetration and adhesion, resulting in a more secure bond.
Application Conditions and Techniques
The key to a strong and reliable bond lies in the application conditions and techniques used with popular adhesives like Liquid Nails. Let’s dive into why this is so crucial.
First things first, surface preparation is everything. Make sure your surface is clean and dry before applying Liquid Nails. Dirt, dust, or grease can hinder the adhesive’s ability to bond effectively. Take the time to thoroughly clean the surface using a suitable cleaner. Trust me, this step will make all the difference.
Next up, temperature and humidity play a significant role. Liquid Nails performs best within specific ranges. Extreme temperatures, whether scorching hot or freezing cold, can mess with the curing process and compromise performance. Aim for temperatures between 40°F (4°C) and 100°F (38°C) for optimal results. Also, watch out for high humidity levels as they can drag out curing time. If needed, work in well-ventilated areas or use dehumidifiers to create the ideal environment.
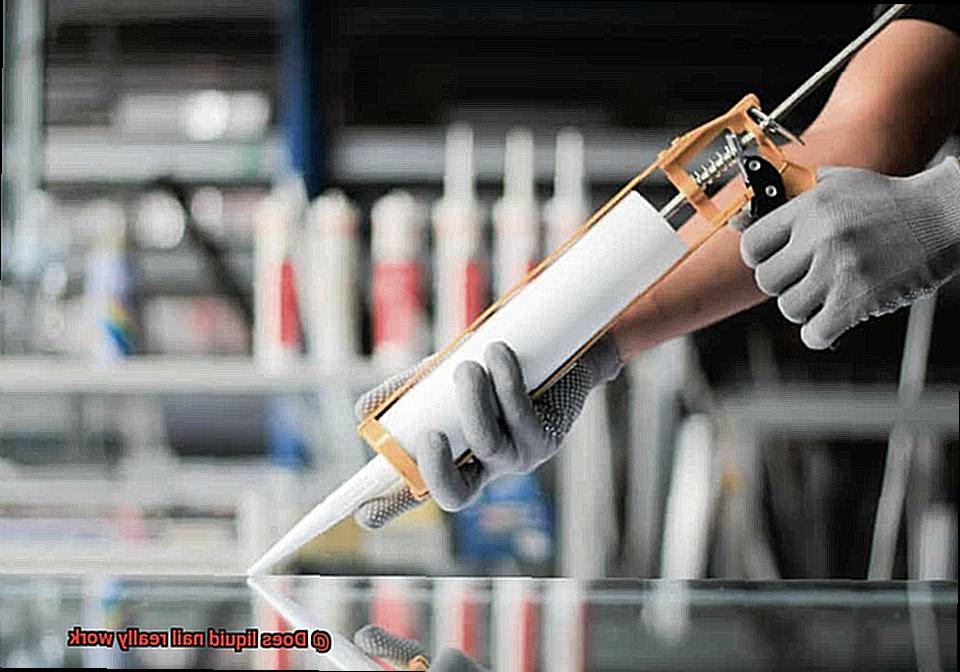
Now let’s talk technique. Applying Liquid Nails in a thin, even layer is crucial for proper bonding. Avoid applying too much adhesive as excess tends to squeeze out and create weak spots. To control the amount of adhesive applied, consider using a notched trowel or a caulk gun – these tools will be your new best friends.
Time is of the essence when working with Liquid Nails. Once applied, immediately assemble or press the bonded surfaces together. This ensures a strong initial bond and prevents any movement that could compromise effectiveness. And don’t forget to follow the manufacturer’s instructions regarding curing time for optimal results.
Lastly, different formulations of Liquid Nails may have specific application guidelines and recommendations. Always read and follow the instructions provided by the manufacturer to ensure the best possible outcomes.
Advantages and Disadvantages of Using Liquid Nail
Like any tool, liquid nail has its own set of advantages and disadvantages that should be considered before diving in. In this article, we will explore the pros and cons of using liquid nail, empowering you to make an informed decision for your next project.
Advantages:
- Strong Bond: Liquid nail is renowned for its ability to create a durable bond between various materials. Whether you’re working with wood, concrete, metal, or ceramics, this adhesive forms an unyielding connection that can withstand the test of time.
- Versatility: From baseboards to cabinets, paneling to countertops, liquid nail can tackle a wide range of applications. It excels at bonding materials that are notoriously difficult to join using traditional methods like nails or screws.
- Quick Drying Time: Unlike some adhesives that seem to take forever to set, liquid nail boasts a relatively fast drying time. Within 24 hours, your project could be completed and ready for use.
- Water Resistance: Many liquid nail formulations offer water-resistant properties once cured. This makes them suitable for both indoor and outdoor projects, ensuring the bond remains intact even in the face of moisture and humidity.
- Gap Filling: Liquid nail possesses a unique ability to fill small gaps between materials, providing added stability and reducing the risk of movement or separation over time.
Disadvantages:
- Strong Odor: As powerful as liquid nail may be, it does come with a rather pungent odor during application and curing. This can be particularly unpleasant in enclosed or poorly ventilated spaces; therefore, it is advisable to work in a well-ventilated area or wear a mask for protection.
- Difficult Removal: Once liquid nail has fully cured, it can be challenging to remove or separate bonded materials. This can pose a problem if adjustments or repairs are needed in the future.
- Limited Flexibility: While liquid nail excels in creating a strong bond, it may not offer the same level of flexibility as some other adhesives. This rigidity can be a concern when bonding materials that expand or contract due to temperature changes or movement.
- Initial Holding Strength: Liquid nail requires some time to fully cure and reach its maximum strength. During this initial period, the holding strength may not be as robust, making additional supports or clamping necessary until the adhesive sets.
- Price: Compared to traditional fastening methods like nails or screws, liquid nail can be pricier. It is essential to factor in the cost when determining whether it is the right choice for your project.
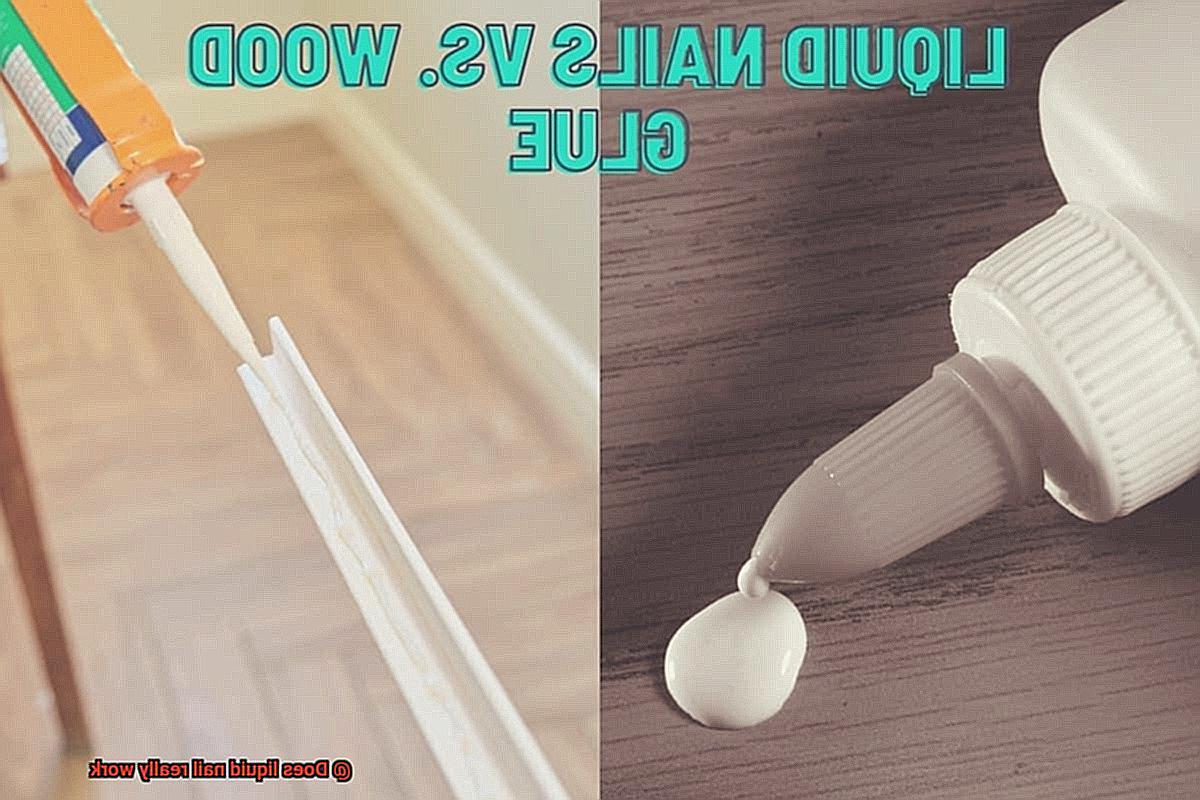
Alternatives to Liquid Nail
When it comes to bonding materials together, Liquid Nail has long been a popular choice. However, there are several alternatives that offer their own unique properties and uses. In this article, we will dive into the world of adhesive alternatives to Liquid Nail and explore the factors to consider when choosing the right one for your project.
Construction Adhesive:
For heavy-duty applications, construction adhesive is a powerhouse. It provides a strong and durable bond that can withstand the test of time. Whether you’re bonding wood, metal, or concrete, this versatile adhesive is perfect for both indoor and outdoor projects.
Epoxy Adhesive:
When exceptional strength and resistance are required, epoxy adhesive is the go-to choice. This two-part adhesive forms a permanent bond that can handle even the toughest materials like ceramics, glass, and metal. With its ability to withstand extreme temperatures, water exposure, and chemical exposure, epoxy adhesive is a top contender.
Polyurethane Adhesive:
Flexibility and resistance to temperature changes or moisture are key features of polyurethane adhesive. It provides a strong and flexible bond on surfaces such as wood, metal, plastic, and concrete. If your project requires adaptability and durability, polyurethane adhesive is a great alternative.
Double-sided Adhesive Tape:
For temporary bonding or lighter applications, double-sided adhesive tape offers convenience and ease of use. This tape requires no drying time and can be used for mounting lightweight objects or securing carpets or rugs temporarily. Don’t underestimate its strength in smaller projects.
Traditional Fastening Methods:
Sometimes, simplicity is key. Nails or screws can provide a secure and permanent bond when used correctly. They are commonly used in woodworking projects or when structural support is required. No need to overcomplicate things if traditional fastening methods suit your needs.
Factors to Consider:
- Material Compatibility: Ensure that the adhesive is suitable for the materials you are bonding.
- Strength of Bond: Consider the strength requirements of your project.
- Environmental Conditions: Determine whether the adhesive needs to withstand extreme temperatures or moisture.
- Ease of Use: Some adhesives require mixing or additional steps, so choose one that suits your comfort level.
- Manufacturer’s Guidelines: Always follow the instructions and guidelines provided by the adhesive manufacturer.
Tips for Best Results with Liquid Nail
Liquid Nail is a versatile adhesive that is widely used in construction and DIY projects. To ensure the strongest bonds, it’s important to follow a few key tips. By properly preparing the surface, using the right amount of adhesive, applying even pressure, considering temperature and humidity conditions, and storing the product correctly, you can achieve optimal results with Liquid Nail.
Clean and Prepare the Surface:
Before applying Liquid Nail, take the time to thoroughly clean and prepare the surface. Remove any dirt, dust, or grease using a mild detergent or rubbing alcohol. For smooth surfaces like glass or metal, roughen them up with sandpaper or a wire brush to create a better grip for the adhesive. These steps will help ensure a strong bond between the surfaces.
Apply in Adequate Amounts:
Using the correct amount of Liquid Nail is crucial for achieving optimal results. Applying too much adhesive can lead to messy excess squeeze-out, while using too little may compromise the strength of the bond. Follow the manufacturer’s instructions and apply an even bead of adhesive along the length of the surface to ensure proper coverage.
Use Proper Technique:
To achieve the best results, use the proper technique when applying Liquid Nail. After applying a thin bead of adhesive, press the surfaces together firmly. Hold them in place for a few minutes to allow the glue to set properly. This technique ensures a strong bond between the materials.
Consider Temperature and Humidity Conditions:
Temperature and humidity can affect how well Liquid Nail performs. It’s important to consider these conditions when using this adhesive. Avoid applying it in extreme heat or cold as this can impact its effectiveness. Choose a day with temperatures between 40°F and 100°F (4°C and 38°C) and humidity levels below 60% for optimal results.
Store Properly:
To maintain the effectiveness of Liquid Nail, store it properly. After each use, ensure that the tube is tightly closed to prevent air exposure. Store it in a cool and dry place, away from direct sunlight. This will help prolong the shelf life of the adhesive and ensure its effectiveness for future projects.
Conclusion
In conclusion, it is evident that liquid nail does indeed work.
Its strong adhesive properties make it an effective solution for bonding various materials together. Whether you’re working on a DIY project or tackling a professional construction job, liquid nail can provide the reliability and durability you need.
With its quick-drying formula and long-lasting hold, you can trust that your projects will stay intact for years to come. Say goodbye to loose tiles, wobbly furniture, or peeling wallpaper – liquid nail has got you covered.
Don’t settle for subpar adhesives when you can have the power of liquid nail at your fingertips.