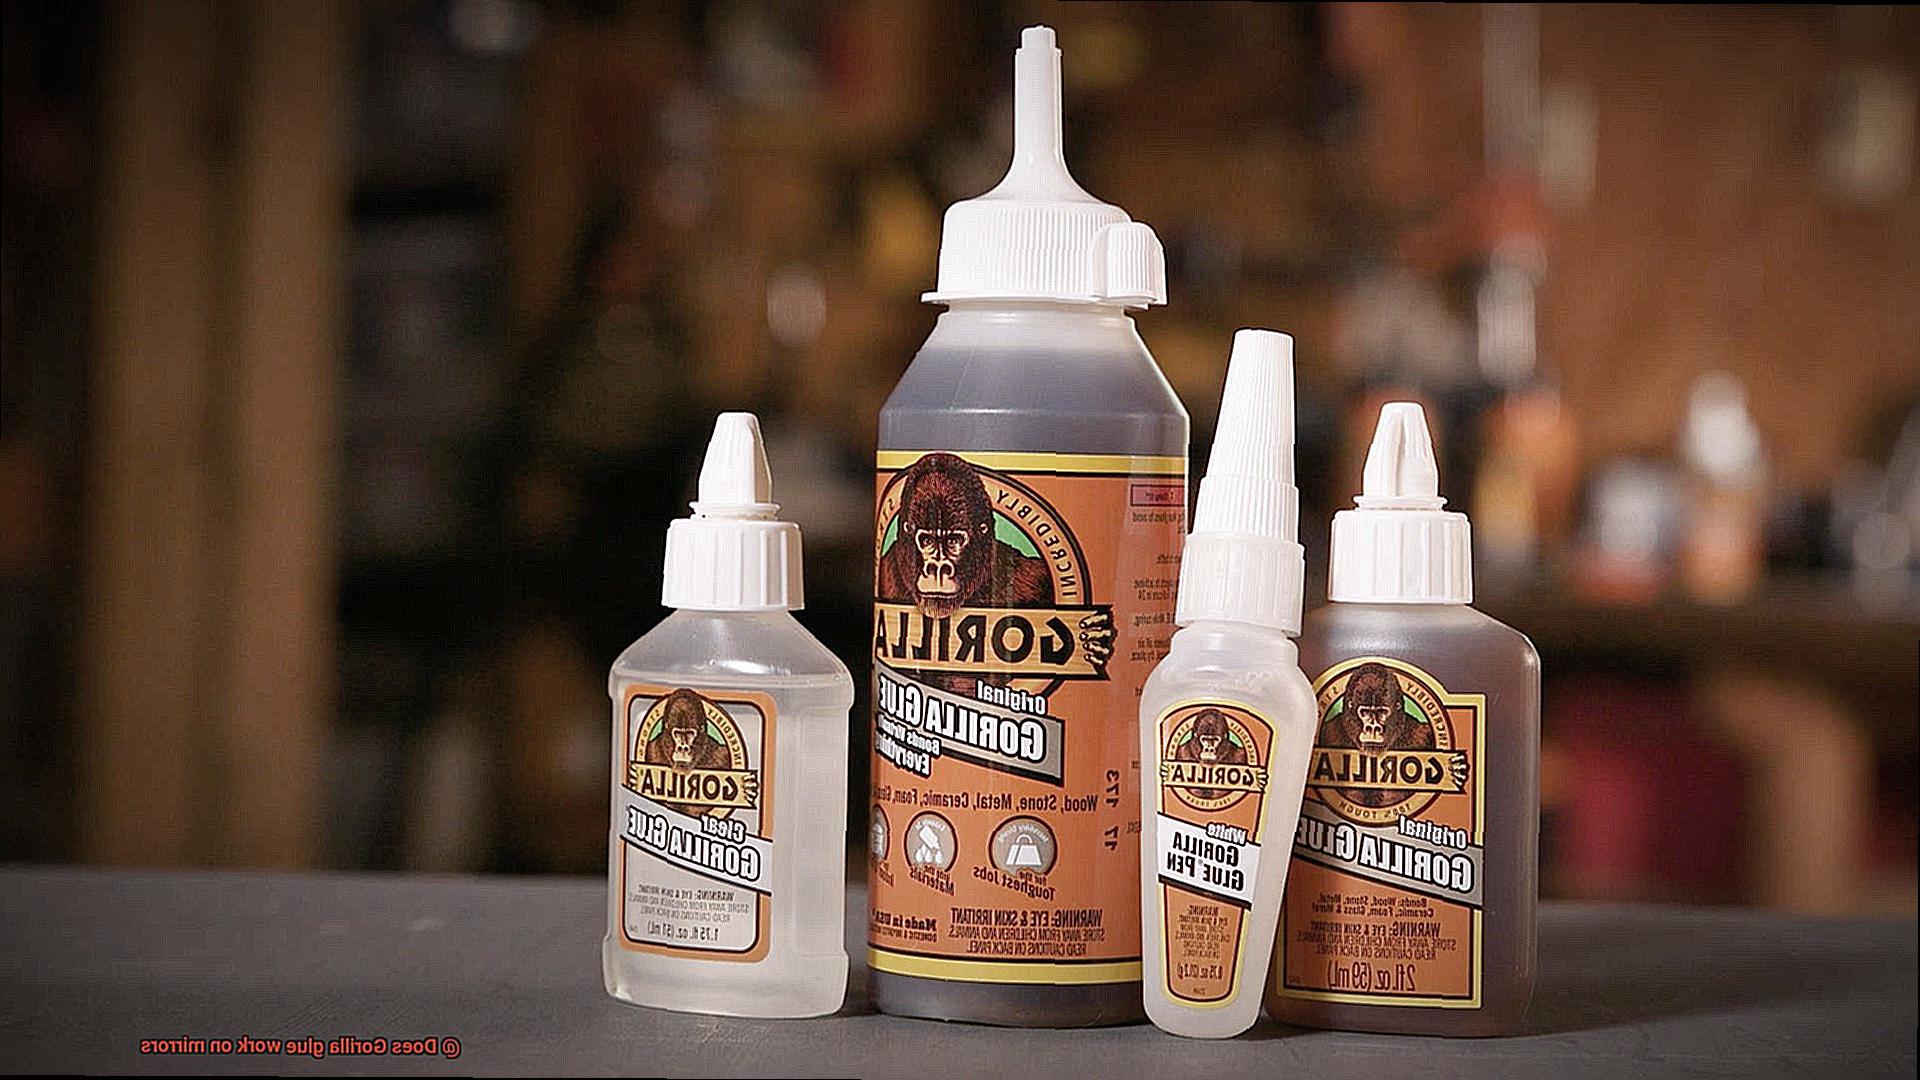
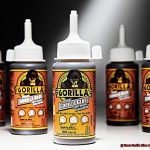
Cracked mirror got you feeling like a DIY detective? Wondering if Gorilla Glue is the secret weapon that can work its magic and save the day? Well, before you dive into this sticky situation, let’s take a closer look at whether Gorilla Glue truly has what it takes to bond with mirrors.
Gorilla Glue has earned quite the reputation for its near-indestructible bonding power, making it a go-to choice for many DIY enthusiasts. But when it comes to mirrors, does it live up to the hype? Let’s find out.
Advantages of Using Gorilla Glue on Mirrors:
- Unbreakable Bond: When it comes to creating a strong and long-lasting connection between your mirror and any surface, Gorilla Glue delivers. It’s like a superhero cape for your cracked glass.
- Jack of All Trades: Unlike those one-trick-pony adhesives that only work on specific materials, Gorilla Glue is versatile enough to bond various surfaces together. It’s like having a trusty sidekick in your toolbox.
Disadvantages of Using Gorilla Glue on Mirrors:
- Beauty vs Beast: While Gorilla Glue works wonders in repairing mirrors, there is one small catch – it may leave behind a visible glue line. This could be an issue if you’re dealing with a fancy framed or decorative mirror that needs to maintain its pristine appearance.
- Precision Matters: Here’s where things get tricky. As the glue dries, it expands like an overexcited balloon animal at a birthday party. So applying just the right amount of glue in all the right places requires some serious precision skills to avoid ending up with an unsightly mess.
Tips for Successfully Repairing Mirrors:
- Clean and Dry: Before bringing out the big guns (aka Gorilla Glue), make sure both the mirror and the surface it will be bonded to are squeaky clean, dry, and free from any debris or moisture. This will ensure a bond that can withstand even the wildest dance party reflections.
- Less is More: When it comes to applying Gorilla Glue, remember that a little goes a long way. Use small dots or thin lines of glue, as this superhero adhesive tends to expand and spread during the drying process.
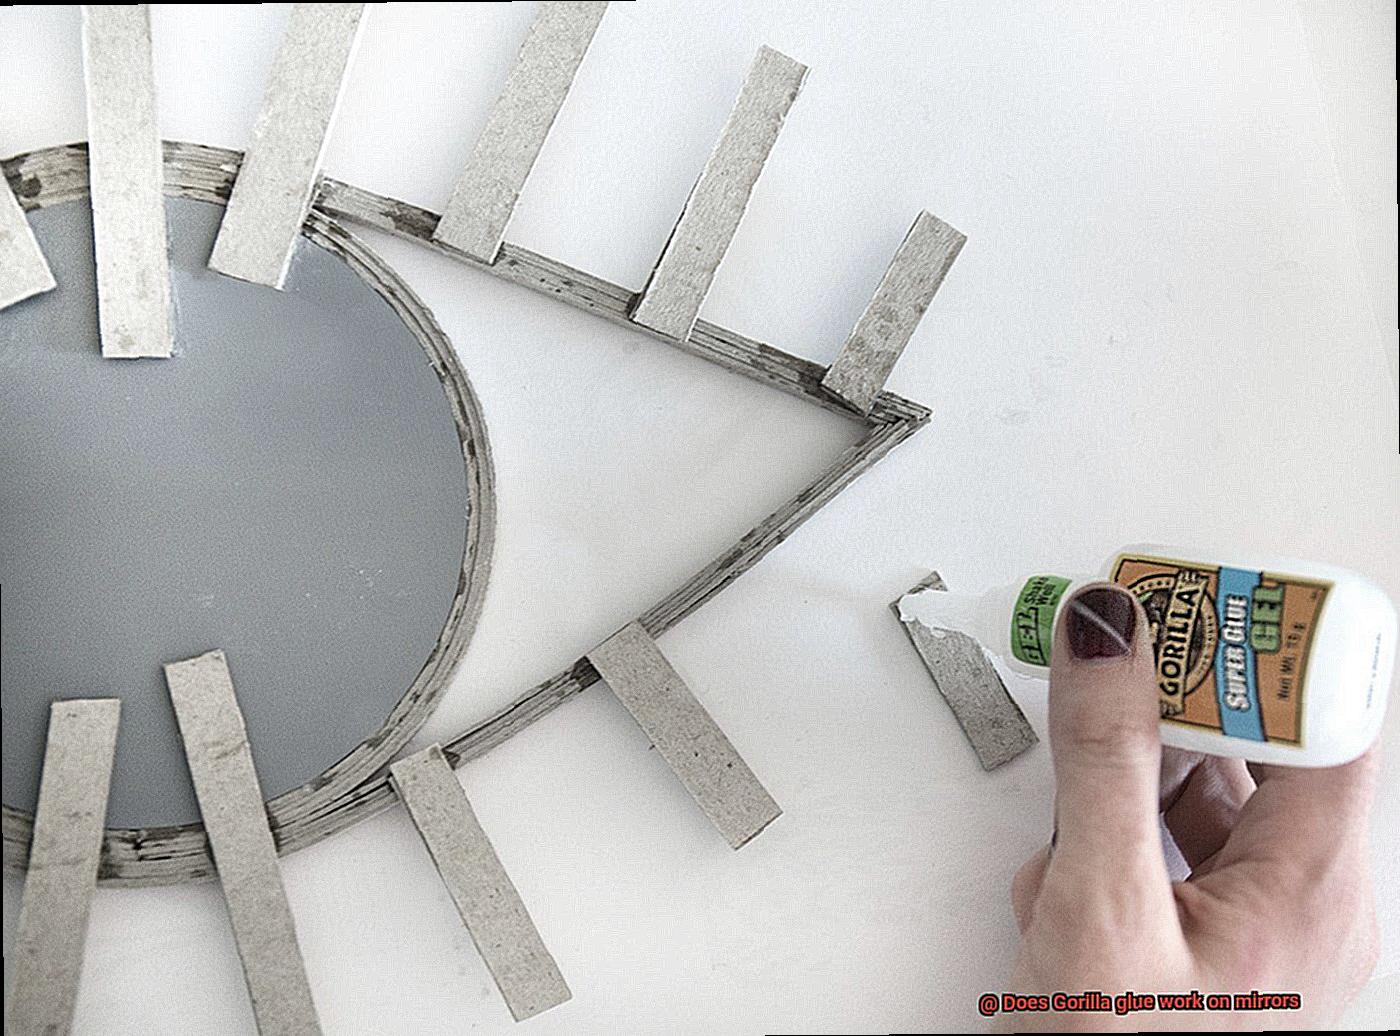
What is Gorilla Glue?
Contents
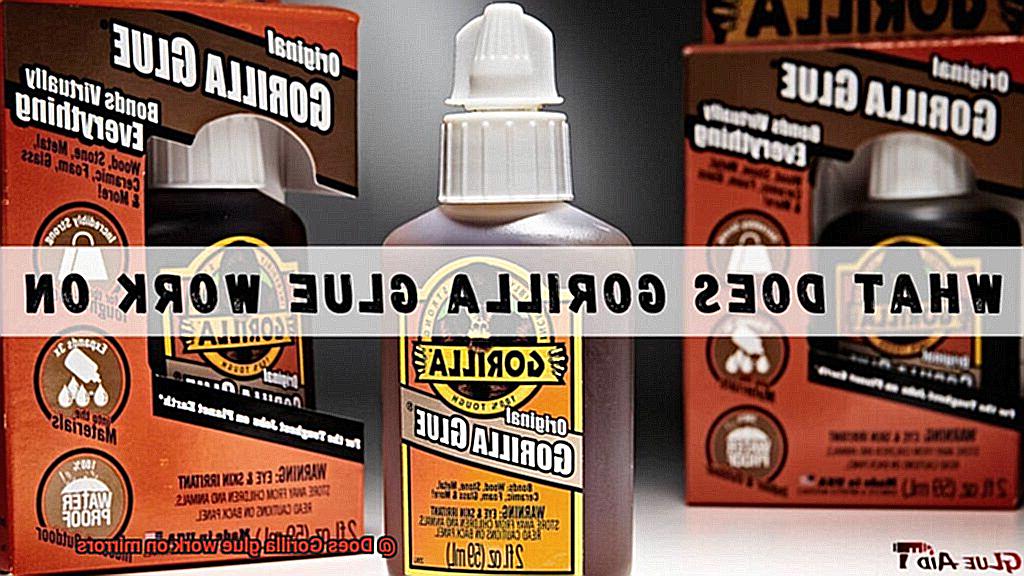
In the quest for a trustworthy adhesive that can conquer any project, look no further than Gorilla Glue. This adhesive powerhouse has earned a reputation for its unparalleled strength, remarkable versatility, and unwavering resistance to water. Whether you’re a DIY enthusiast or a seasoned craftsman, Gorilla Glue is the go-to choice for all your bonding needs.
Key Characteristics of Gorilla Glue:
Unmatched Strength:
Gorilla Glue is renowned for its exceptional bonding capabilities. It creates an unyielding and long-lasting bond capable of withstanding heavy loads and resisting impacts. This adhesive triumphs in both indoor and outdoor applications, providing a reliable solution for repairing broken household items or tackling intricate DIY projects.
Indomitable Water Resistance:
One of Gorilla Glue’s standout qualities is its ability to defy moisture and water exposure. Once cured, it transforms into an impenetrable barrier against water, making it a perfect fit for projects in high-humidity areas or those that come into direct contact with water. With Gorilla Glue, you can trust that your bond will remain steadfast, even in damp conditions.
Unrivaled Versatility:
Gorilla Glue’s versatility is another reason why it has become a favorite among professionals and DIY enthusiasts alike. This adhesive marvel works seamlessly on various surfaces, including wood, metal, stone, ceramic, and select plastics. Whether you’re mending furniture or embarking on a craft project, Gorilla Glue rises to the challenge.
Tips for Using Gorilla Glue:
- Surface Preparation: Before applying Gorilla Glue, ensure that the surface is clean and dry.
- Thin Application: Apply a thin layer of glue on one surface and firmly press the two surfaces together.
- Excess Removal: Wipe away any excess glue with a damp cloth before it dries.
- Expansion Caution: Take care as Gorilla Glue expands during the curing process; avoid applying excessive amounts to prevent overflow or excess.
- Protective Measures: Safeguard your skin by wearing gloves during application to prevent direct contact with the adhesive.
Special Considerations: Using Gorilla Glue on Mirrors
While Gorilla Glue excels in numerous projects, it’s essential to consider specific requirements when bonding mirrors. Frameless mirrors, such as bathroom or wall-mounted mirrors, necessitate a specialized adhesive designed explicitly for glass surfaces. These adhesives provide a robust bond without compromising the mirror’s reflective coating.
Types of Mirrors
Mirrors are not just simple reflective surfaces; they are fascinating objects that come in various shapes, sizes, and styles. Each type of mirror has its own unique characteristics and serves different purposes. In this guide, we will delve into the magical world of mirrors and explore the characteristics of different mirror types available in the market.
Flat Mirrors: The Reflective Truth
Step into a world of clarity with flat mirrors. These mirrors have a flat surface that perfectly reflects light, providing an accurate representation of reality. Whether you’re admiring your appearance or arranging your hair, flat mirrors offer a true reflection of yourself. They are like still lakes, faithfully mirroring everything in front of them. Flat mirrors are commonly found in bathrooms, bedrooms, and dressing rooms, where accurate reflections are essential.
Beveled Mirrors: The Artful Illusion
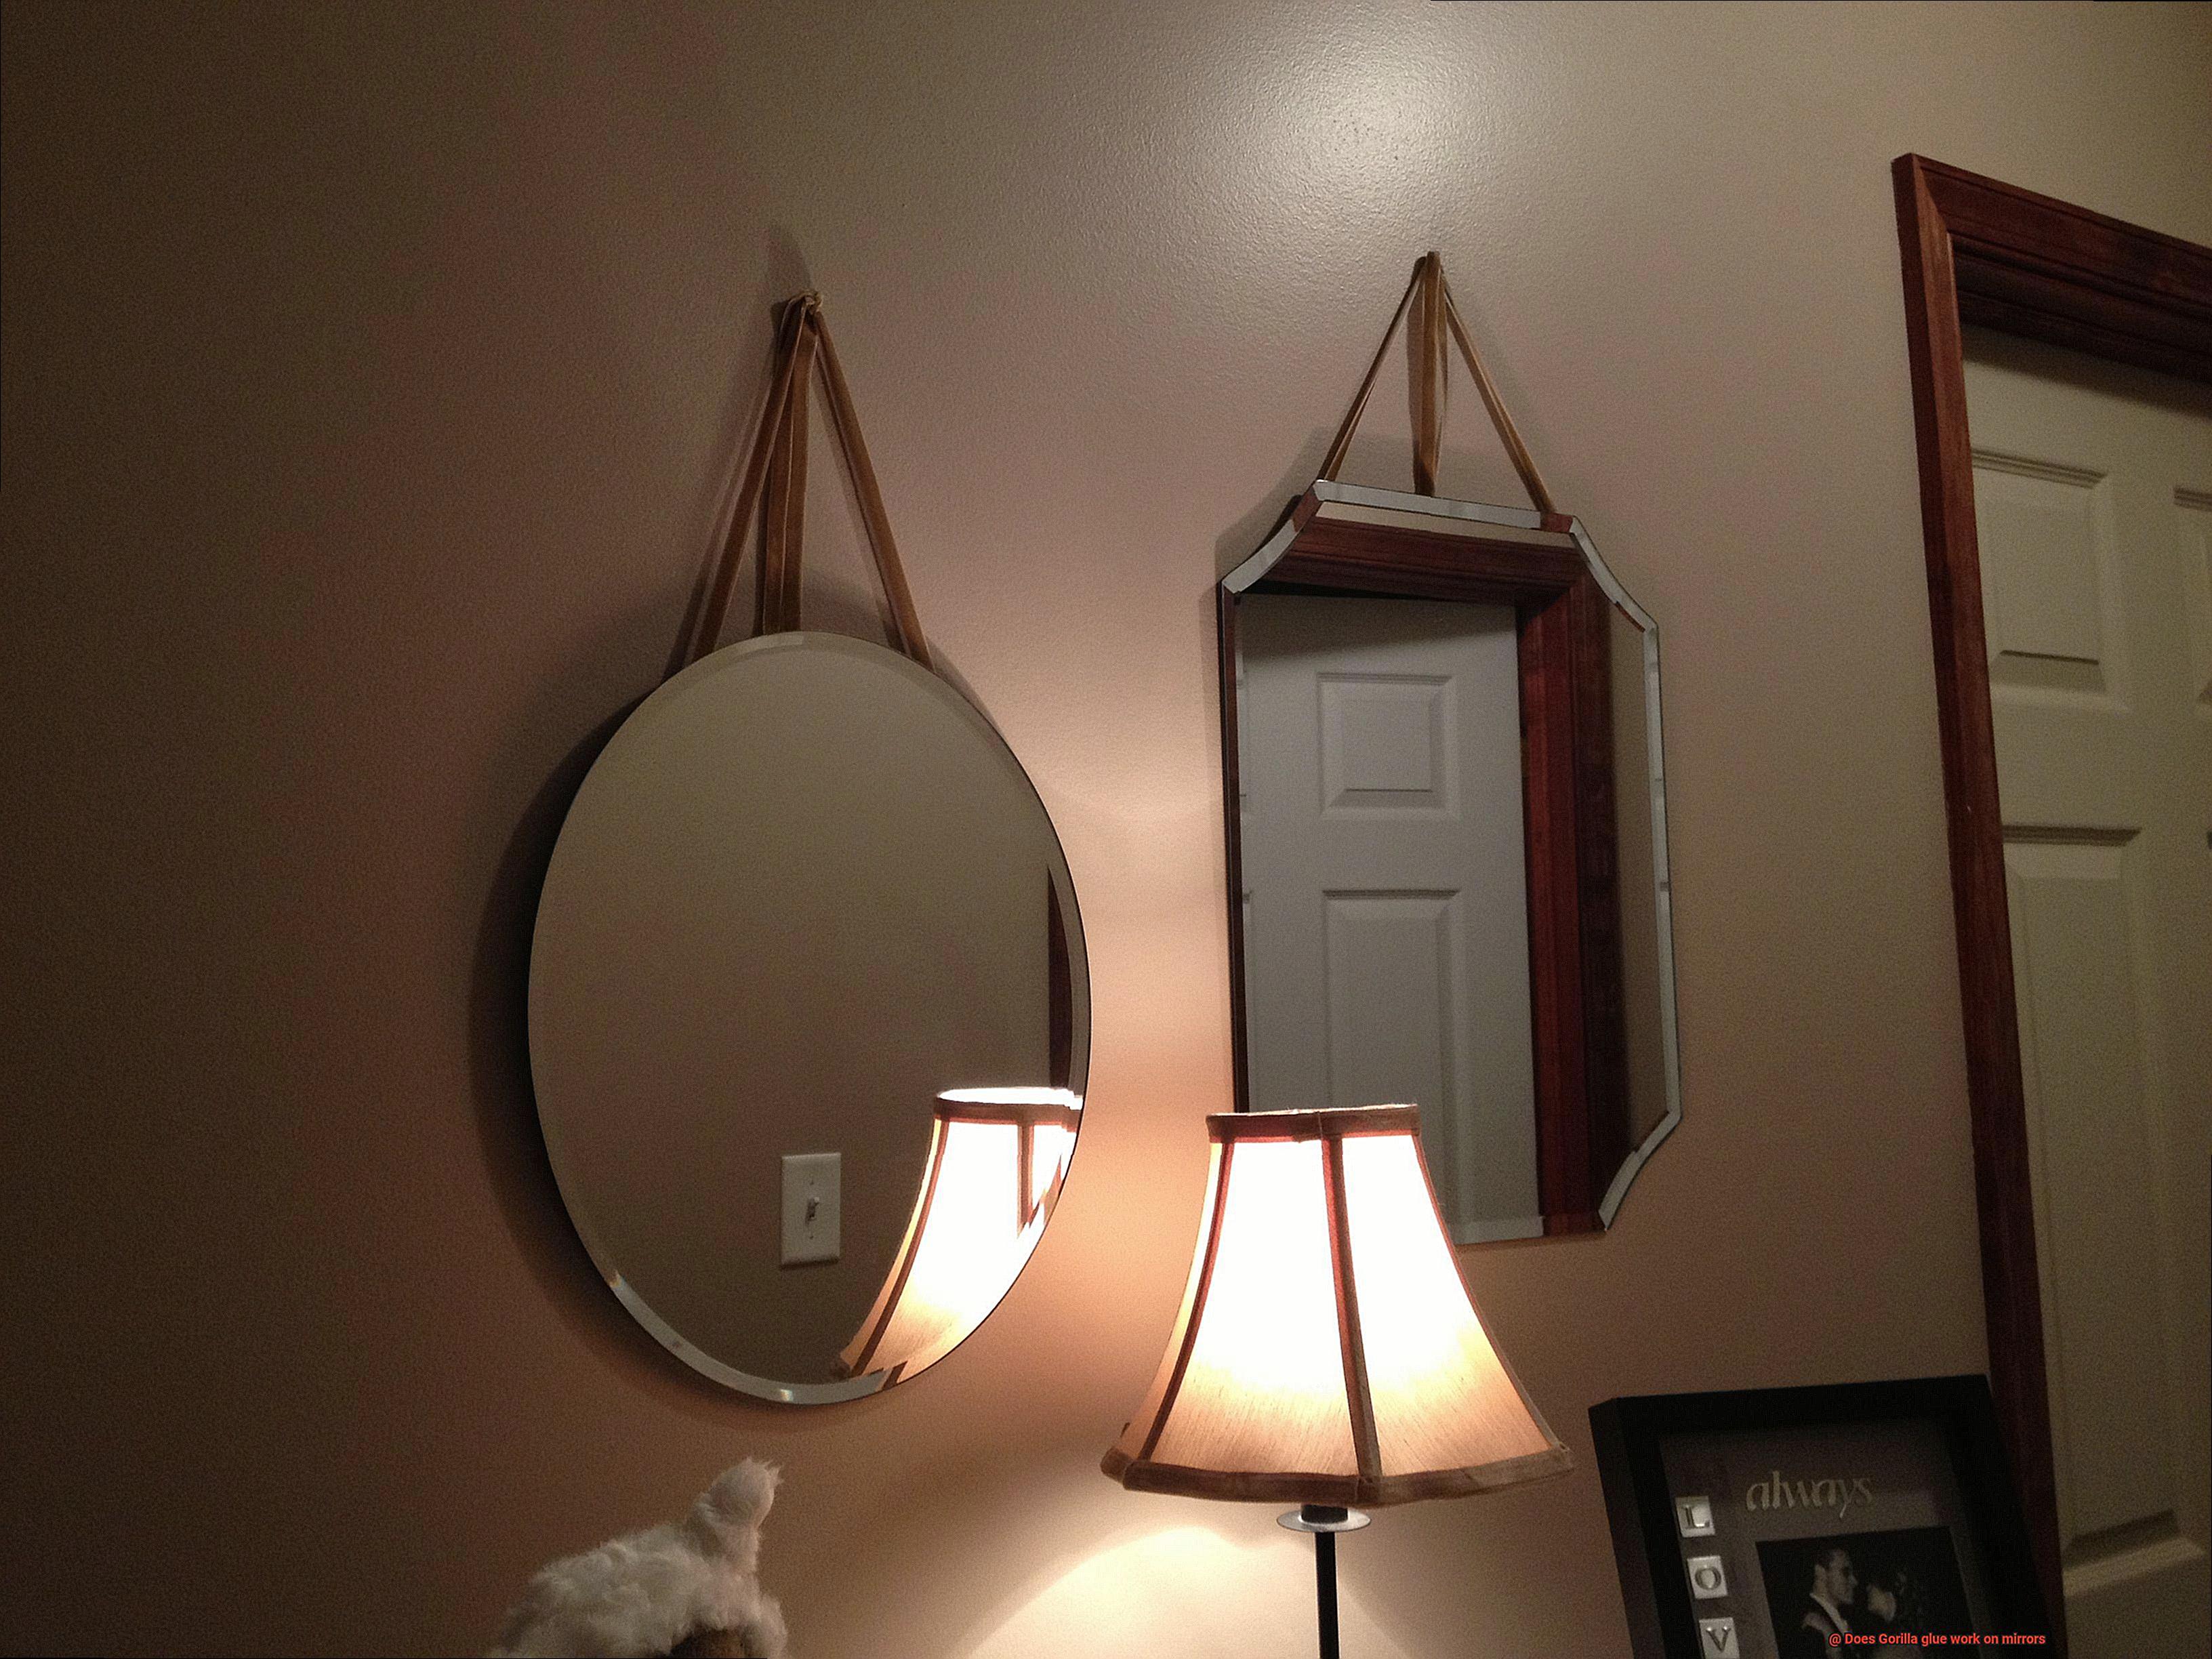
Prepare to be enchanted by the allure of beveled mirrors. With their angled edges, these mirrors create an illusion of a frame without actually having one. The beveled edge adds depth and dimension to the mirror, transforming it into a work of art. Beveled mirrors are often used as decorative pieces in living rooms, hallways, or entryways, where they add elegance and sophistication to any space.
Antique Mirrors: A Glimpse into the Past
Immerse yourself in the whispers of history with antique mirrors. These timeless treasures have weathered the test of time and carry stories from bygone eras. Adorned with ornate frames and intricate carvings, antique mirrors transport you to a world of vintage charm and timeless beauty. They are often used as focal points in traditional or eclectic interior designs, adding a touch of nostalgia and elegance to any room.
Venetian Mirrors: The Opulent Reflections
Let the dazzling beauty of Venetian mirrors take your breath away. Originating from the romantic city of Venice, Italy, these mirrors are true works of art. With their intricate designs and etched patterns, they bring a touch of opulence to any space. Venetian mirrors often feature decorative motifs such as flowers, scrolls, or geometric shapes, making them statement pieces in interior design. They are perfect for adding a touch of luxury and sophistication to living rooms, bedrooms, or dining areas.
Tinted Mirrors: A World of Mystery and Elegance
Step into a world of intrigue with tinted mirrors. These mirrors come in various shades, from subtle bronze to vibrant blue or green. The tint adds a touch of mystery and elegance to any room, casting a spell of enchantment upon all who gaze into them. Tinted mirrors are commonly used for decorative purposes, creating a unique ambiance and adding visual interest to living spaces.
Gorilla Glue and Framed Mirrors
If you’re seeking a sturdy and dependable adhesive to secure your frame to your mirror, you’ve stumbled upon the perfect guide. As a glue aficionado, I’m thrilled to share some insights and techniques that will help you achieve a seamless bond between your frame and mirror surface.
Let’s kick things off by delving into the type of frame material you’re working with. Gorilla Glue thrives on porous and rough surfaces, so if your frame happens to be smooth or non-porous, it may not deliver the robust adhesion you desire. Bear this in mind when selecting your adhesive.
Before you embark on the gluing adventure, it’s crucial to thoroughly cleanse both the mirror surface and the frame. Dust, grease, or debris can sabotage the bonding process and jeopardize the strength of the adhesive. Grab a pristine cloth and diligently wipe down both surfaces.
Now, it’s time to apply that Gorilla Glue. Remember, a little goes a long way. Spread a delicate layer of glue across the frame, ensuring an even distribution. We don’t want excessive glue oozing out like an unruly mess and detracting from the elegance of your mirror.
Once the glue is in place, gently position the frame onto the mirror surface, ensuring precise alignment. Apply gentle pressure to forge a potent connection between the two surfaces. Imagine it as a tender embrace between your mirror and frame.
Now comes the challenging part – patience. Allow ample drying time for the glue to cure. The manufacturer’s instructions will guide you on how long this process takes, usually ranging from 24 to 72 hours. During this period, resist the urge to disturb or relocate the mirror, as we aim for an unbreakable bond.
Once the glue has fully cured, scrutinize your masterpiece for any signs of feeble adhesion or unsightly gaps between the frame and mirror. If you detect any issues, don’t hesitate to reinforce the bond with a touch of additional glue. Better safe than sorry.
One crucial aspect to remember is that Gorilla Glue expands as it cures. Hence, exercise caution when using it near delicate or fragile parts of the mirror frame. The pressure exerted by expanding glue could potentially mar the beauty of your mirror or damage its exquisite frame – a nightmare we must avoid at all costs.
Now, let’s peer into the future. If you ever find yourself needing to remove the framed mirror, brace yourself for a bit of a challenge. Gorilla Glue can be rather stubborn compared to other adhesives. Fear not. Employing heat, such as a trusty hairdryer, can soften the glue and facilitate the detachment of the frame.
Gorilla Glue and Frameless Mirrors
Frameless mirrors are a stunning addition to any space, but securely attaching them can be a challenge. While Gorilla Glue is a trusted adhesive, using it on frameless mirrors requires special considerations to avoid damage. In this comprehensive guide, we will explore the necessary steps for safely and effectively applying Gorilla Glue to frameless mirrors, ensuring a seamless bond that lasts.
Step 1: Research and Test:
Understanding the unique properties of both Gorilla Glue and frameless mirrors is essential. Before proceeding, test a small dot or line of glue on an inconspicuous area of the mirror to ensure it does not cause any damage.
Step 2: Prepare the Mirror Surface:
Thoroughly clean the back of the mirror using an alcohol-based cleaner to remove dust, grease, or fingerprints. If the mirror has a protective backing paint, carefully remove it from the areas where the glue will be applied using a scraper or sandpaper.
Step 3: Apply Gorilla Glue:
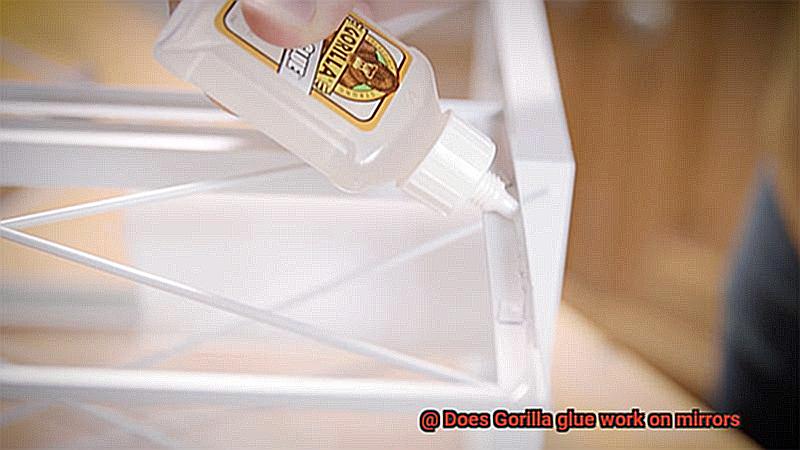
Apply Gorilla Glue sparingly, focusing on small areas rather than covering the entire surface. Avoid excessive glue, as it can create uneven pressure distribution and increase the risk of damage. Ensure that the glue does not come into contact with the visible surface of the mirror.
Step 4: Provide Additional Support:
To provide support during the curing process, strategically place clamps or weights along the edges of the mirror. This even distribution of pressure prevents warping or distortion and ensures a secure bond.
Step 5: Allow Sufficient Curing Time:
Follow the manufacturer’s instructions for curing time, as it can vary based on factors like temperature and humidity. Avoid subjecting the mirror to stress or movement until the glue has fully cured to maintain its integrity.
Specialized Mirror Adhesives
When it comes to attaching mirrors to various surfaces, specialized mirror adhesives are the ultimate choice. These adhesives are specifically formulated to provide a strong and long-lasting bond while ensuring the reflection remains undistorted. However, to achieve optimal results and avoid potential risks, it is crucial to follow the manufacturer’s instructions when using these adhesives.
Potential Risks of Not Following Instructions:
- Mirror Damage: Using the wrong adhesive or improperly applying specialized mirror adhesives can result in damage to the mirror surface, such as cracks or distortions. This not only diminishes the mirror’s aesthetic appeal but also renders it unusable.
- Weak Bonding Strength: Failure to follow instructions may lead to a weak bond between the mirror and the substrate. This poses a safety hazard, especially if the mirror falls unexpectedly.
- Inadequate Curing: Specialized mirror adhesives require specific curing times for optimal bonding. Ignoring this crucial step compromises the adhesive’s ability to securely hold the mirror in place, potentially causing accidents.
Proper Application Techniques:
- Surface Preparation: Before applying specialized mirror adhesive, ensure that both the mirror and the substrate are meticulously cleaned and free from dust, grease, or any other contaminants that may hinder bonding. A clean surface ensures maximum adhesion.
- Thin and Even Application: Apply a thin layer of adhesive evenly on both the back of the mirror and the substrate using a suitable applicator, such as a notched trowel or a brush. This promotes better coverage and bonding strength, reducing the risk of weak points.
- Firmly Press and Hold: After applying the adhesive, firmly press the mirror onto the substrate, ensuring full contact between both surfaces. Holding it in place for the recommended curing time specified by the manufacturer allows the adhesive to set properly and form a strong bond.
- Seek Professional Advice: If you have concerns or questions regarding specific applications or materials, it is always wise to consult professionals or experts in the field. Their expertise can provide valuable guidance, ensuring you achieve the best results and avoid potential pitfalls.
Cleaning the Mirror Surface
Cleaning the mirror surface is an essential step before gluing anything onto the mirror. It ensures a strong bond and keeps your reflection looking flawless for years to come. Here’s a detailed guide on how to clean your mirror surface like a pro.
- Gather your supplies: You’ll need a soft cloth or microfiber cloth, a glass cleaner designed specifically for mirrors, water, vinegar, and a clean cloth or paper towel.
- Remove loose particles: Begin by gently wiping away any dirt, dust, or grime from the mirror surface using a soft cloth or microfiber cloth. Avoid abrasive materials or harsh chemicals that could damage the mirror.
- Use the right glass cleaner: Spray a non-ammoniated and streak-free glass cleaner specifically designed for mirrors onto the mirror surface. Then, use a clean cloth to wipe it in circular motions, covering every inch of that shiny surface. Pay special attention to those sneaky edges and corners.
- Tackle stubborn stains: If you encounter stubborn stains or residue, create a natural cleaning solution by mixing equal parts water and vinegar. Apply this mixture to a cloth and gently scrub away those pesky marks. Rinse with water and dry with a clean cloth for that extra sparkle.
- Consider special coatings or finishes: Some mirrors have sensitive coatings or finishes that can be damaged by certain cleaning agents. To be safe, consult the manufacturer’s instructions or seek professional advice if you’re unsure about your mirror’s preferences.
- Ensure complete drying: Before applying any Gorilla glue, make sure the mirror surface is completely dry. Moisture can interfere with adhesive properties. Carefully dry the mirror with a clean cloth or paper towel, ensuring there are no damp spots left lurking.
Applying the Adhesive
Look no further. This comprehensive guide will walk you through the step-by-step process of applying Gorilla glue to mirrors, ensuring a robust and long-lasting bond. Whether you’re a DIY enthusiast or a professional seeking expert advice, this article is your go-to resource for gluing mirrors like a pro.
Step 1: Prepare the Surface
Before diving into the gluing process, it’s crucial to properly prepare the mirror surface. Give it a thorough cleaning using a mild detergent or glass cleaner. Wipe away any dirt, dust, or grease that might hinder the bonding process. A lint-free cloth is your best friend here.
Step 2: Roughen Up the Surface
To enhance the adhesive’s grip, lightly sand the area where you plan to apply the glue. Use sandpaper with a grit of around 200-400 to create a slightly rough texture. This step ensures maximum bond strength and guarantees that your mirror will stay put.
Step 3: Read the Instructions
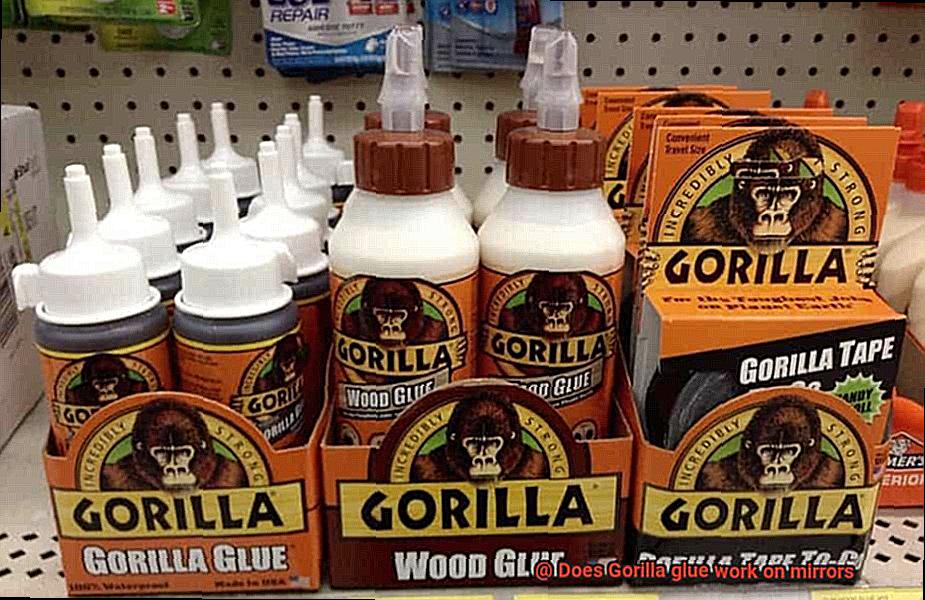
Every variant of Gorilla glue may have specific application instructions, so take a moment to read and understand them. Knowledge is power when it comes to achieving optimal results. Don’t skip this step.
Step 4: Apply the Glue
Now it’s time to apply the Gorilla glue. Start by applying a thin, even layer onto either the backside of the mirror or the object you want to attach. Avoid using too much glue as it can result in messiness and affect the bond strength. Think precision here.
Step 5: Press and Hold
Immediately after applying the glue, firmly press both surfaces together. Ensure proper alignment and apply sufficient pressure for a few minutes. This step is crucial for creating a strong bond. Don’t be shy, put some muscle into it. Remember, teamwork makes the dream work.
Step 6: Wipe Away Excess Glue
If any excess glue squeezes out during the pressing process, quickly wipe it away using a damp cloth or sponge. This will ensure a neat and professional finish. Cleanliness is next to godliness.
Step 7: Allow for Curing Time
Patience is key when it comes to curing Gorilla glue. Let the bond cure completely, which may take a few hours to a full day, depending on the type of Gorilla glue used. Avoid putting stress or strain on the bond during this time to allow for maximum strength development. Rome wasn’t built in a day.
Drying Time Considerations
Are you tired of dealing with mirrors that constantly fall off the wall? Are you looking for a reliable adhesive that can securely bond mirrors in place? Look no further than Gorilla glue. This powerful polyurethane adhesive is known for its exceptional strength and durability, making it the perfect choice for gluing mirrors.
When it comes to using Gorilla glue on mirrors, one of the most important factors to consider is the drying time. After all, nobody wants to wait around for hours on end, twiddling their thumbs, waiting for the glue to dry. But fear not. I’m here to break down the key considerations when assessing the drying time of Gorilla glue on mirrors.
First and foremost, let’s talk about surface preparation. Before applying the glue, make sure the mirror is clean and free from any dust or debris. This will ensure a solid bond and help prevent any unwanted delays in drying time. Nobody wants a dusty mirror, right?
Next up, let’s discuss temperature and humidity. These factors play a significant role in how quickly Gorilla glue dries. Higher temperatures and humidity levels can speed up the curing process, while colder temperatures may slow it down. So, make sure you’re working in an environment that’s conducive to quick drying.
Ventilation is also essential during the drying process. A well-ventilated area will allow moisture to evaporate more efficiently, leading to faster drying times. However, be mindful not to expose the glued mirror to direct sunlight or excessive heat, as this can cause uneven drying or damage to the mirror itself.
But what about the size and thickness of the glued area? Ah, great question. The size and thickness can impact drying time as well. Larger surface areas or thicker layers of glue may take longer to dry completely. So, be patient and give your adhesive ample time to cure properly.
Now, let’s get down to the nitty-gritty of drying time. While Gorilla glue typically takes around 24 hours to reach its maximum strength, it’s always best to wait for 48 hours before subjecting the glued mirror to any stress or movement. This extended drying time ensures a secure and long-lasting bond that won’t let you down.
So there you have it, folks. Drying time considerations are crucial when using Gorilla glue on mirrors. Remember to prepare the surface properly, taking temperature and humidity into account. Ensure proper ventilation and be patient with drying times. With these tips in mind, you’ll be well on your way to achieving a strong and reliable bond that will keep your mirrors securely in place for years to come.
Also Read: How to Remove Gorilla Glue from Mirror?
Conclusion
Gorilla glue, renowned for its strength and versatility, is often considered a go-to adhesive for various projects.
But when it comes to mirrors, does Gorilla glue live up to its reputation? The answer is a resounding yes.
With its powerful bonding capabilities, Gorilla glue proves to be an excellent choice for securing mirrors in place. Its strong adhesive properties create a durable bond that withstands the test of time.
Say goodbye to worries about your mirror falling off or shifting out of place – Gorilla glue has got you covered.

