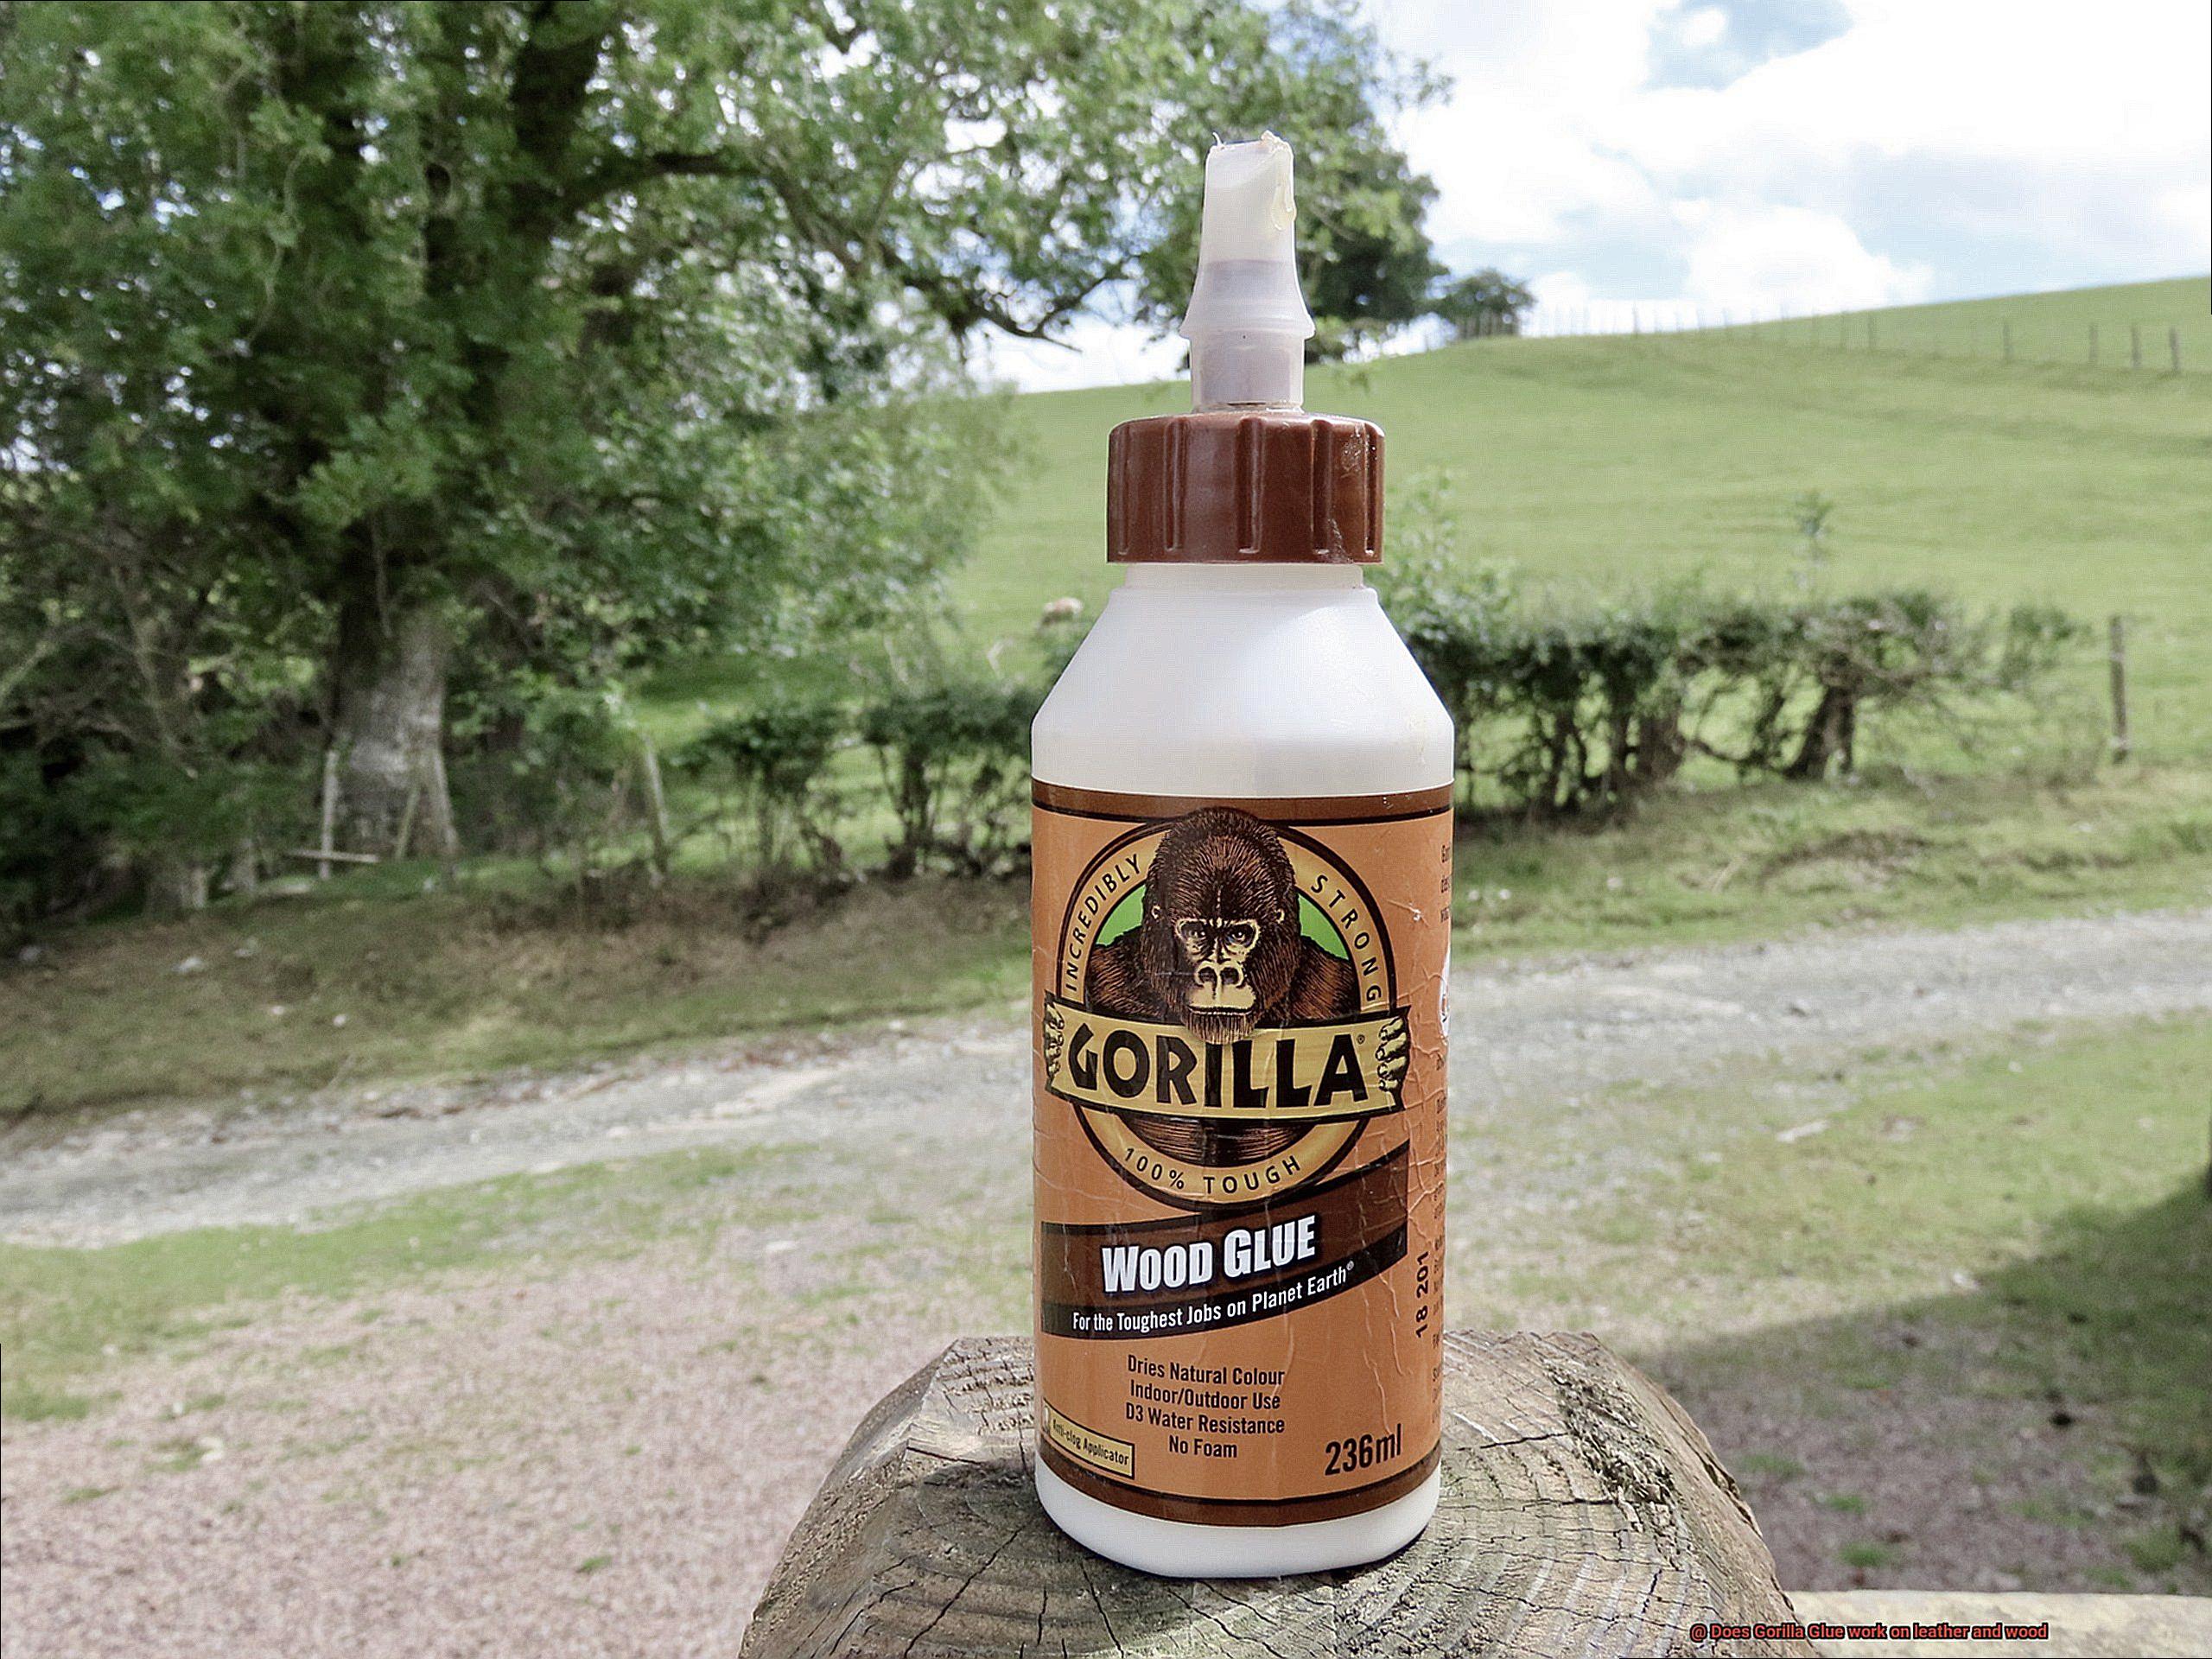
Ever found yourself in a sticky situation, wondering if Gorilla Glue can handle your leather or wood project? Well, wonder no more.
In this blog post, we’re diving into the world of adhesive wonders to explore whether Gorilla Glue is up to the task. Whether you’re a crafty creator, furniture restorer, or just curious about this versatile glue’s capabilities, we’ve got you covered.
So, sit back, grab a cuppa, and let’s uncover the fascinating truth behind this sticky mystery.
Using Gorilla Glue on Leather
Contents
- 1 Using Gorilla Glue on Leather
- 2 Factors to Consider When Applying Gorilla Glue on Leather
- 3 Benefits of Using Gorilla Glue on Leather
- 4 Using Gorilla Glue on Wood
- 5 Factors to Consider When Applying Gorilla Glue on Wood
- 6 Benefits of Using Gorilla Glue on Wood
- 7 Advantages of using Gorilla Glue for Both Leather and Wood
- 8 Conclusion
If you’ve ever wondered whether Gorilla Glue is suitable for repairing or bonding leather items, look no further. In this comprehensive guide, we will walk you through the steps involved in using Gorilla Glue on leather. We will also provide essential tips and precautions to ensure a successful and long-lasting bond. So grab your leather items and let’s dive in.
Step 1: Surface Preparation
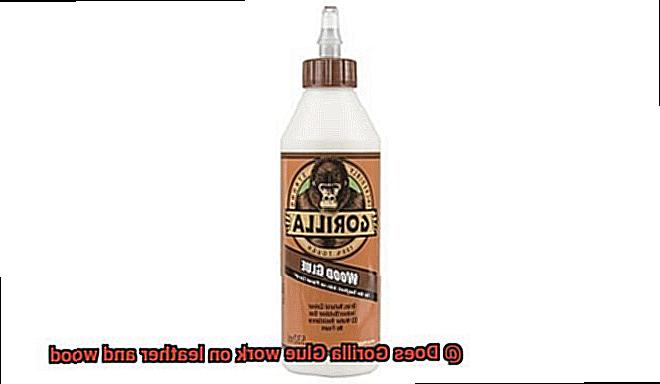
Before applying Gorilla Glue on leather, it is crucial to prepare the surface properly. Take the time to clean the area that needs to be glued, removing any dirt, dust, or grease. This meticulous cleaning process ensures better adhesion and a stronger bond between the glue and the leather.
Step 2: Applying the Glue
Now that your leather surface is clean, it’s time to apply Gorilla Glue. Begin by applying a small amount of glue to one of the surfaces you want to bond. To enhance the adhesive properties, it is recommended to dampen the surface slightly before applying the glue. The moisture helps activate the adhesive and promotes a more secure bond. However, exercise caution not to oversaturate the leather, as it may cause discoloration or damage to the material.
Step 3: Bonding the Surfaces
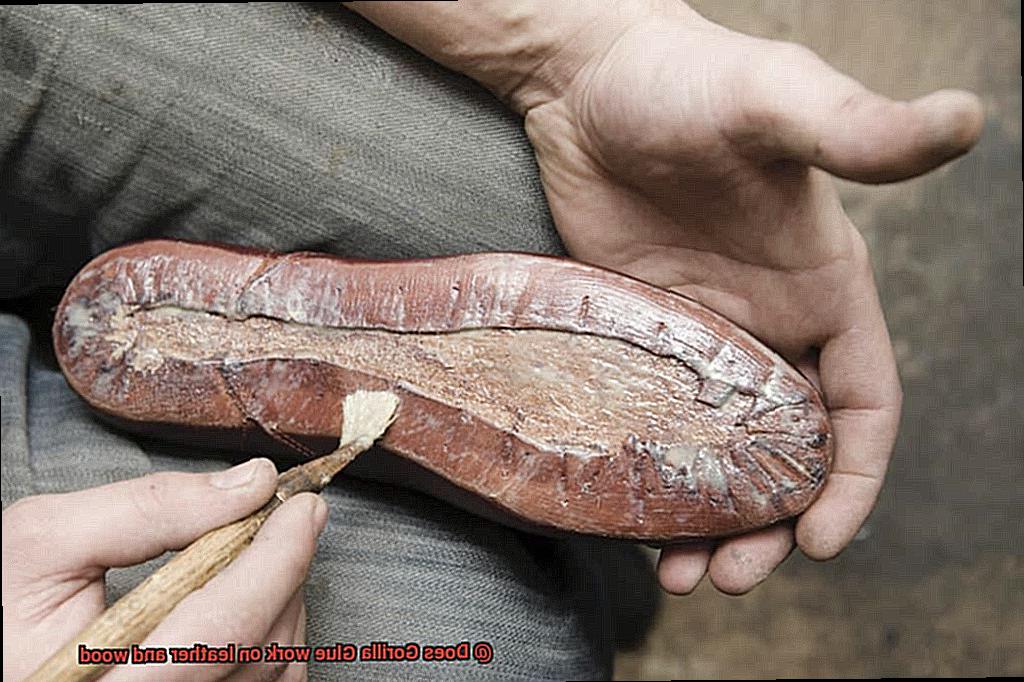
Once you have applied the glue, it’s time to bring the two surfaces together. Press them firmly and hold them in place for at least one to two hours or until the glue has fully cured. It is crucial to ensure that the surfaces are aligned correctly before applying pressure. This step guarantees a strong and seamless bond between the leather pieces.
Step 4: Checking the Bond
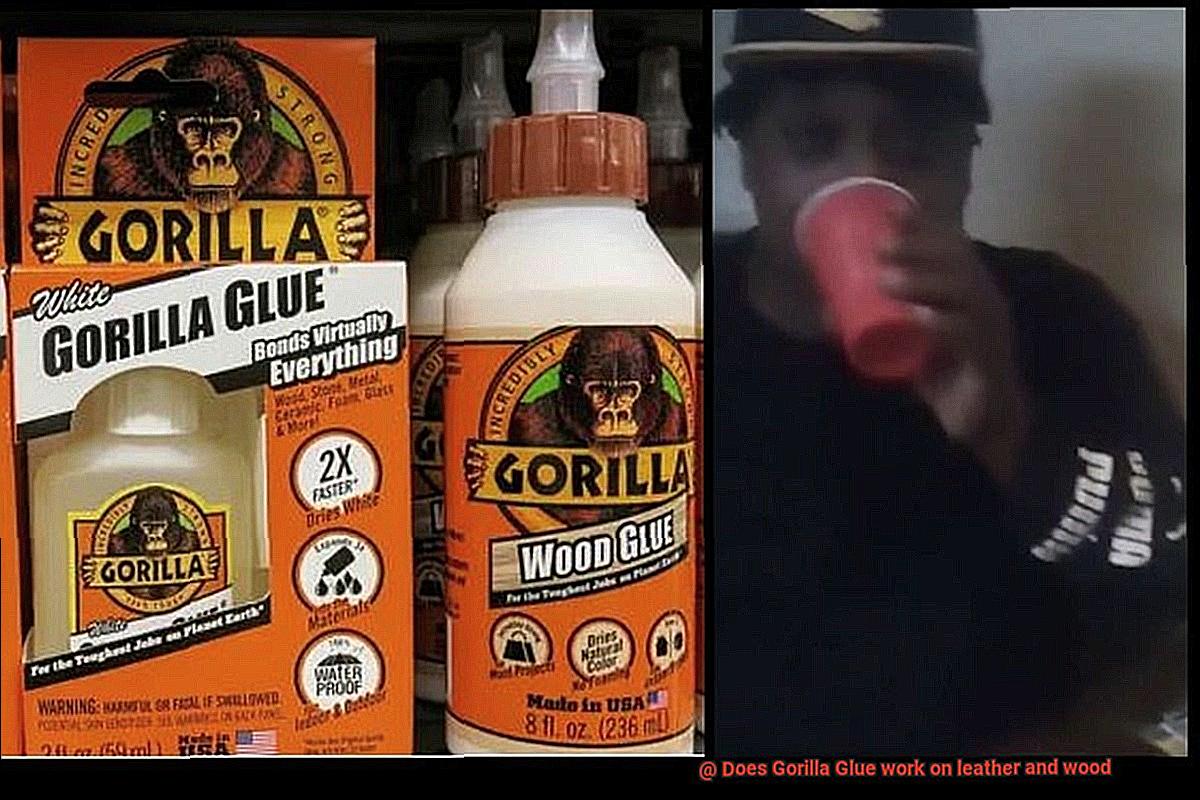
After allowing sufficient time for the glue to cure, it’s time to check if the bond is strong and secure. Gorilla Glue is known for forming an incredibly strong bond on various materials such as wood and metal. However, its effectiveness on leather may vary depending on factors such as the type of leather and the condition of the surface. Take a moment to inspect the bond and ensure it meets your expectations.
Step 5: Testing and Professional Assistance
If you are uncertain about using Gorilla Glue on your leather item, it is always wise to test the adhesive on a small inconspicuous area first. This step allows you to assess how the glue interacts with the leather and whether it provides the desired results. In some cases, contacting a professional leather repair service or using specialized leather adhesives may be a better option, especially for valuable or delicate leather items. These professionals possess the expertise and experience required to ensure a secure and long-lasting bond without compromising the integrity of the leather.
Factors to Consider When Applying Gorilla Glue on Leather
Leather, a versatile and luxurious material, demands careful consideration when it comes to repairs. For those seeking exceptional strength and durability, Gorilla Glue is a popular choice. However, achieving optimal results requires taking several key factors into account before applying Gorilla Glue on leather.
Compatibility:
Different types of leather vary in absorbency and texture, affecting the bond strength. Test Gorilla Glue on a small, inconspicuous area to ensure compatibility and avoid adverse reactions or discoloration.
Surface Preparation:
Properly preparing the leather surface is crucial for a strong bond. Clean the leather with mild detergent or leather cleaner to remove dirt, oils, or finishes that hinder adhesion. Ensure the surface is completely dry before applying the glue.
Application Technique:
Achieving a neat and effective bond relies on applying the right amount of Gorilla Glue evenly across the leather surface. Follow the provided instructions for proper application technique, as excessive or insufficient glue can result in messy residue or weak bonding.
Clamping and Drying Time:
Using clamps to hold glued leather pieces together ensures a secure bond by distributing pressure evenly and allowing effective curing. Allow ample drying time as specified by Gorilla Glue before subjecting the bonded leather to stress or load.
Flexibility and Durability:
Considering that leather items experience repeated flexing and stress, choose a Gorilla Glue variant offering excellent flexibility and durability to withstand such movements without compromising adhesive properties.
Potential Damage:
While Gorilla Glue can be effective on leather, exercise caution regarding potential damage. The glue may penetrate leather fibers, leaving marks, especially on lighter-colored or delicate leathers. Excessive glue may seep through, causing stiffness or altering the texture. Use Gorilla Glue judiciously to avoid such issues.
Benefits of Using Gorilla Glue on Leather
When it comes to leather repair, Gorilla Glue is the ultimate choice for all your bonding needs. This powerful adhesive offers a multitude of benefits that make it a rockstar option for any leather project. From its Herculean strength to its water-resistant properties, Gorilla Glue is a game-changer in the world of leather repair.
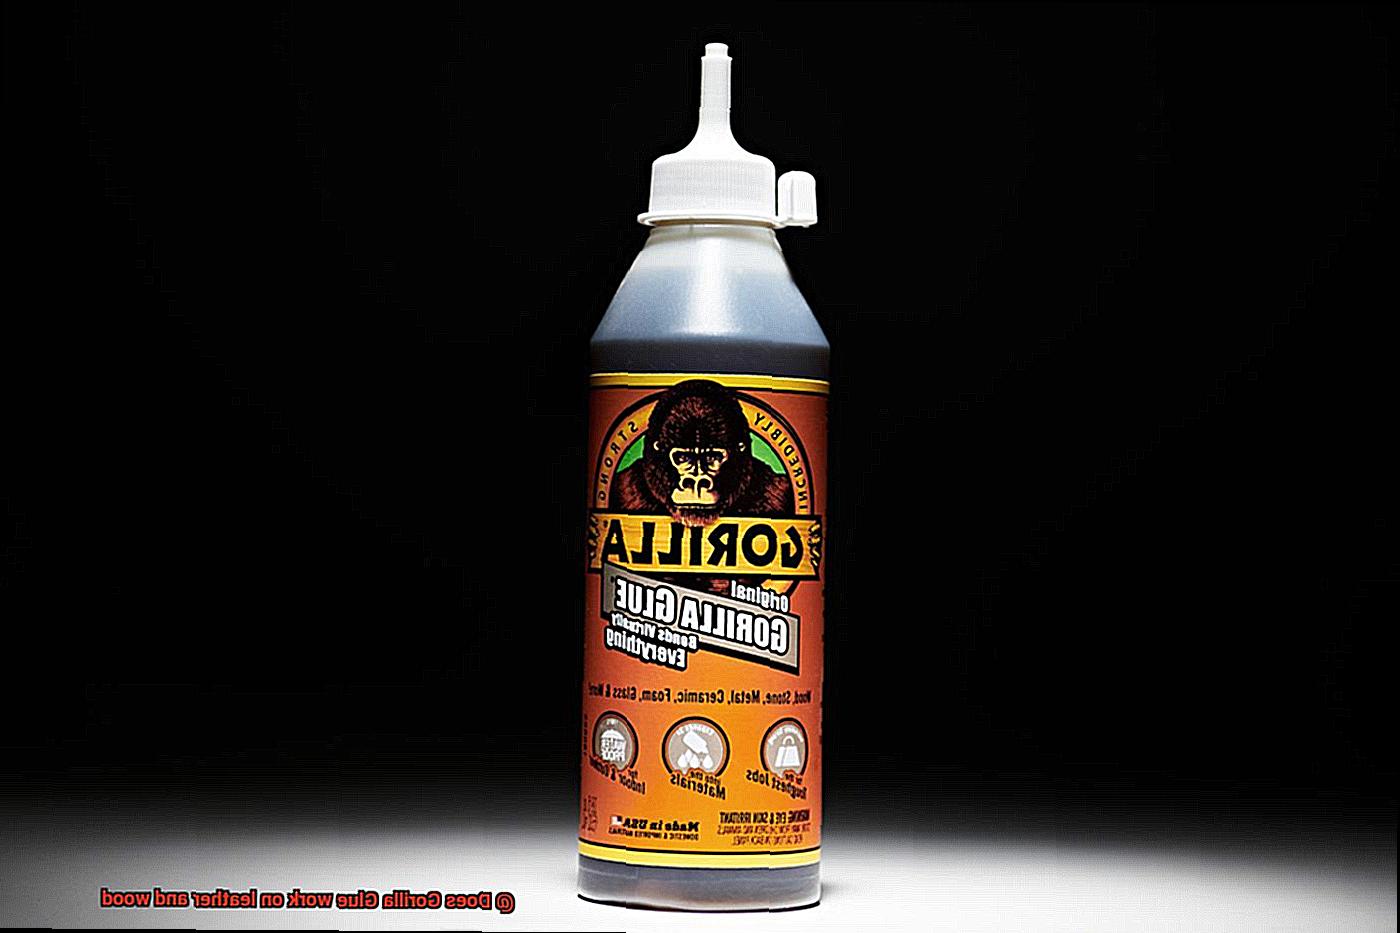
Let’s start with the bond. Gorilla Glue is renowned for its exceptional holding power, and when it comes to leather, it delivers no less. Whether you’re fixing up worn-out leather shoes or patching up a torn belt, Gorilla Glue creates an unbreakable bond that can handle the daily wear and tear of your favorite leather items. It ensures that your repairs are long-lasting and can withstand the test of time.
But what about water? Fear not. Gorilla Glue is like a superhero with its water-resistant powers. Say goodbye to worrying about your repaired leather bag getting soaked in the rain or that leather jacket losing its charm after a few encounters with the wet stuff. Gorilla Glue keeps your items intact and looking fabulous, rain or shine. It provides an extra layer of protection against moisture, ensuring that your repairs remain strong and durable.
Versatility is another advantage of using Gorilla Glue on leather. It plays nicely with all types of leather – genuine, synthetic, even suede. You don’t have to stress about whether the glue will damage or discolor your precious leather goods. Gorilla Glue has got you covered. Its compatibility with different types of leather makes it a convenient choice for repairing various items without compromising their quality or appearance.
But wait, there’s more. Gorilla Glue expands as it cures, filling in any gaps or tears in your leather items. This unique feature ensures a more secure bond and a seamless repair job. It eliminates any worries about weak spots or visible imperfections in your repaired leather treasures. Plus, it dries clear, so you won’t have to worry about any unsightly residue ruining the aesthetics of your beloved leather items.
Last but not least, Gorilla Glue’s adhesion strength on smooth or slick leather surfaces is top-notch. Whether you’re fixing up your beloved leather furniture or giving your car’s interior some TLC, Gorilla Glue will keep everything in place. It withstands the rigors of regular use and movement, ensuring that your repairs hold up even through all those adventures on the road.
Using Gorilla Glue on Wood
I’m about to spill all the secrets on how to use this extraordinary adhesive to create a bond that’s as sturdy as Hercules himself.
First things first, let’s talk preparation. Before you start slathering on that glue, make sure your wood surfaces are clean and free from any dirt or debris. Give them a quick wipe-down with a damp cloth or a light sanding to ensure a smooth and pristine surface.
Now, when it comes to applying Gorilla Glue, remember that less is more. This miraculous adhesive expands as it cures, so you only need a small amount. Trust me, you don’t want to end up with a foamy mess that would make even the messiest of craftspeople cringe.
Once you’ve applied the glue, it’s time to bring out the clamps. Grab those wood pieces and press them together firmly. This not only helps spread the glue evenly but also creates a bond that could withstand a hurricane. Make sure to wipe off any excess glue that may squeeze out during this process.
But wait, there’s more. Gorilla Glue needs moisture to activate its superpowers. So, keep your glued wood pieces in a moderately humid environment during the curing process. You can place a damp cloth over the glued area or even whip out that humidifier you never thought you’d use.
Now, my friends, exercise patience. Give that glue at least 24 hours to work its magic before subjecting your creation to any stress or heavy loads. Trust me, it’ll be worth the wait when you see the incredible strength of the bond.
Once the glue has fully cured, you’ll be left with a bond that could survive the apocalypse. It’s water-resistant, temperature-resistant, and basically resistant to anything life throws at it. And if you need to make any repairs or adjustments down the line, no worries. Just sand, stain, or paint over that bonded area without compromising its strength.
Factors to Consider When Applying Gorilla Glue on Wood
When it comes to bonding wood, Gorilla Glue is a go-to choice for many DIY enthusiasts and professionals. Its incredible strength and versatility make it ideal for a wide range of woodworking projects. However, there are several key factors to consider when using Gorilla Glue on wood to ensure optimal results.
- Type of Wood: Different woods have varying porosities, densities, and moisture content, which can affect how well the glue adheres. While Gorilla Glue generally works well on most types of wood, it may not be suitable for certain oily or resinous woods as the glue may struggle to bond effectively.
- Surface Preparation: Proper surface preparation is crucial for achieving a strong bond. Clean, dry, and debris-free wood surfaces are essential. Lightly sanding the surfaces can remove roughness or imperfections, allowing for better contact and adhesion between the glue and wood.
- Clamping Pressure: Applying sufficient clamping pressure is essential for a strong bond. Gorilla Glue expands as it cures, so using clamps or other means to keep the wood pieces tightly pressed together during the curing process is important.
- Moisture Content: Excessive moisture in the wood can prevent proper bonding and result in weaker joints. It is recommended to use wood with a moisture content of around 8-10% for best results. If working with freshly cut or green wood, allow it to dry adequately before applying the glue.
- Temperature and Humidity: Both temperature and humidity levels can influence the curing time and overall bond strength of Gorilla Glue on wood. Ideal conditions for glue application are typically around 70°F (21°C) with a humidity level between 45-55%. Extreme temperatures or high humidity can slow down the curing process, while low humidity may cause the glue to cure too quickly.
- Glue Application: Follow the manufacturer’s instructions for proper application. Apply a thin layer of glue evenly on one surface and then join the pieces together, ensuring good contact between the surfaces. Avoid using excessive amounts of glue as it can lead to messy and weak joints.
- Curing Time: Gorilla Glue requires sufficient curing time to achieve maximum strength. Leave the glued wood pieces clamped together for at least 24 hours to allow for complete curing.
Benefits of Using Gorilla Glue on Wood
Woodworking is an art form that demands precision, creativity, and the right tools. When it comes to joining wood together, one adhesive stands head and shoulders above the rest – Gorilla Glue. This mighty adhesive has become a favorite among woodworkers for its exceptional strength, versatility, and durability. Let’s delve into the world of Gorilla Glue and discover why it should be your go-to adhesive for all your woodworking projects.
Unmatched Bonding Power:
Gorilla Glue is a force to be reckoned with when it comes to bonding wood. Whether you’re working with hardwood, softwood, or engineered wood, this adhesive creates a bond that is as solid as a rock. Say goodbye to weak joints and hello to long-lasting stability.
Fills in the Gaps:
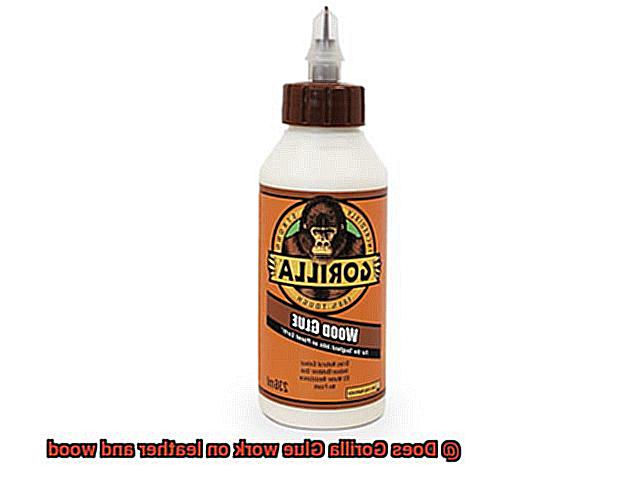
One of the standout features of Gorilla Glue is its ability to expand as it cures. This magical expansion fills any gaps or crevices in the wood, ensuring a tight and secure bond. No more worrying about unsightly gaps or weak spots in your woodworking projects.
Defying Moisture:
Woodworking projects often face the challenge of moisture exposure. With Gorilla Glue, you can bid farewell to those worries. Once cured, this glue forms a waterproof bond, making it suitable for both indoor and outdoor projects. Rain or shine, your creations will stand strong against the elements.
Herculean Strength:
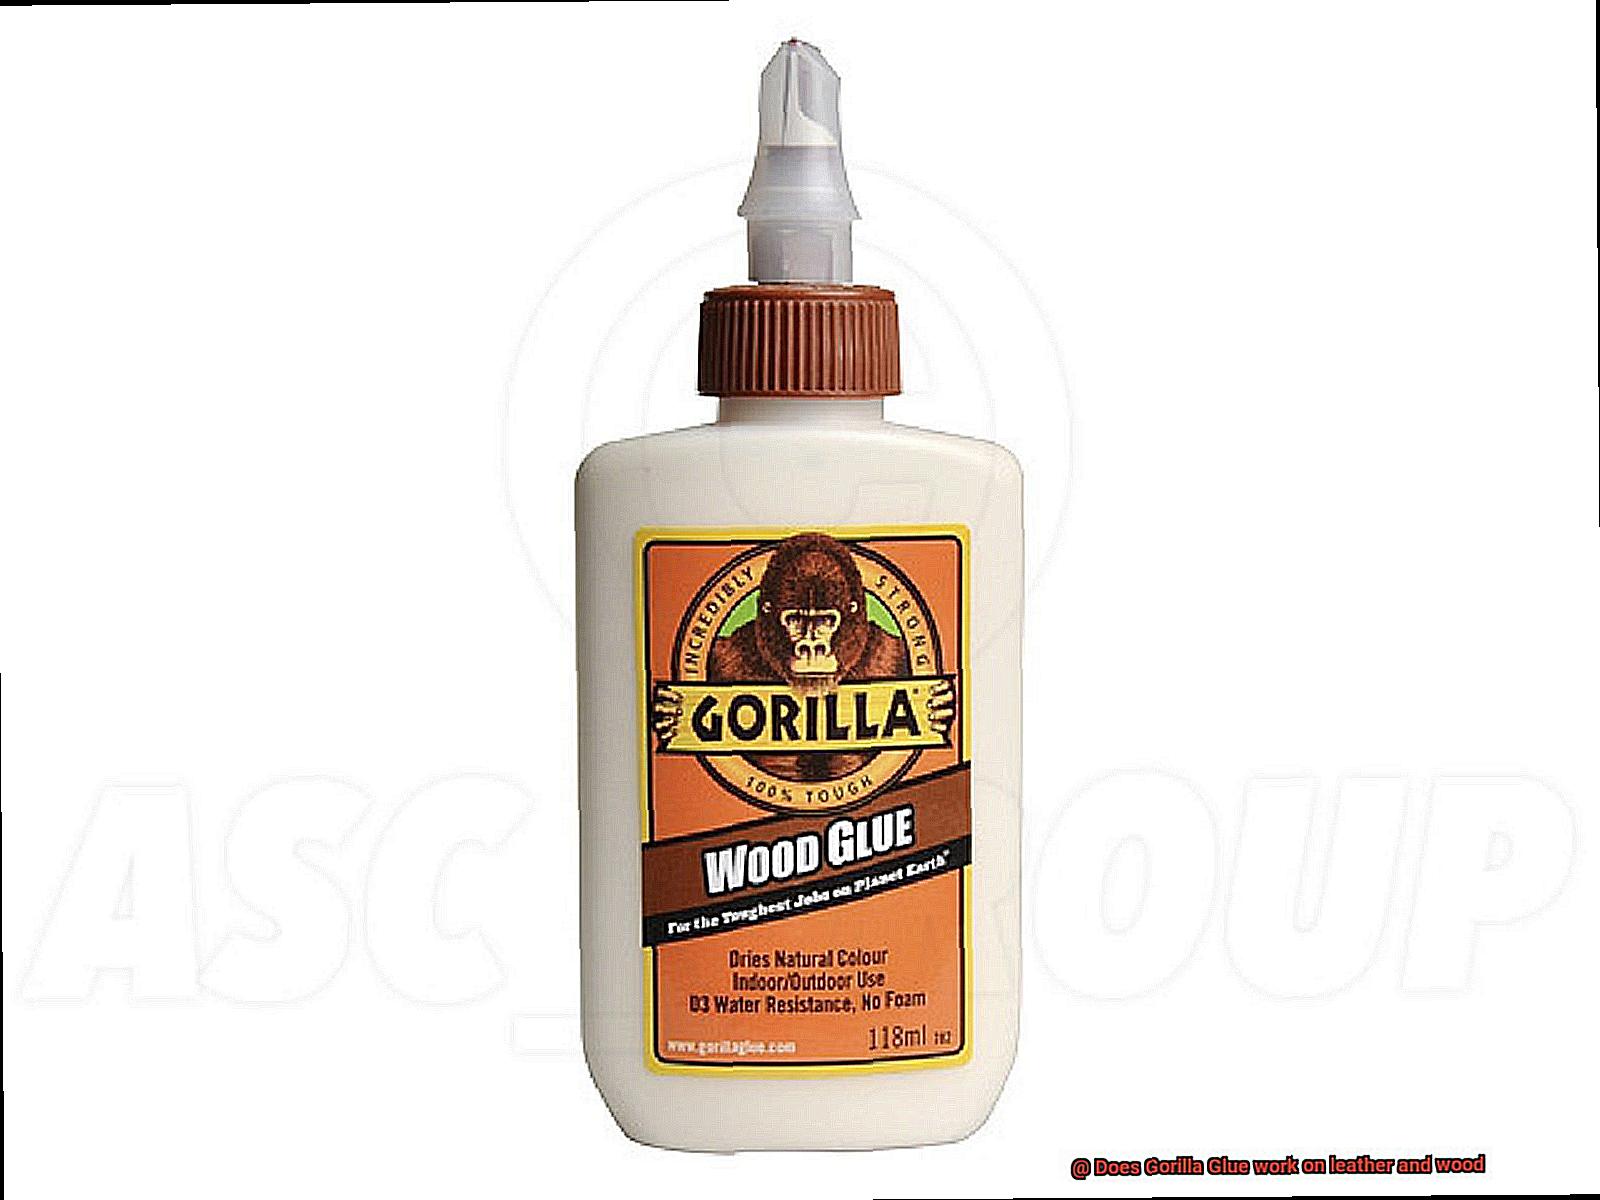
If you’re looking for an adhesive that can handle heavy loads and resist pulling forces, look no further than Gorilla Glue. Its high tensile strength ensures that your furniture, cabinets, or wooden structures will withstand the test of time.
Seamless Finish:
Gorilla Glue dries with a natural color that blends seamlessly with most types of wood. Say goodbye to unsightly glue lines that detract from your woodworking masterpiece. With Gorilla Glue, the bond is strong and the finish is flawless.
Versatile Application:
Whether you prefer a brush, roller, or spray adhesive, Gorilla Glue has got you covered. Its versatile application methods allow for easy and precise gluing, regardless of the specific woodworking project at hand.
Heat Resistance:
Some adhesives lose their grip when things heat up, but not Gorilla Glue. Its excellent heat resistance makes it the ideal choice for projects exposed to high temperatures, such as kitchen cabinets or wooden countertops. Feel the heat and embrace it.
Shelf Life Savior:
There’s nothing worse than reaching for your adhesive only to find it has turned into a useless blob. Fear not. Gorilla Glue boasts an impressive shelf life when stored properly, ensuring it will be ready to serve you in future woodworking endeavors.
Advantages of using Gorilla Glue for Both Leather and Wood
When it comes to working with leather and wood, finding the perfect adhesive can be a challenge. You need something that will create a strong bond, withstand the test of time, and keep your project looking flawless. Look no further than Gorilla Glue – the ultimate adhesive that is perfect for both leather and wood projects. Let’s explore the advantages of using Gorilla Glue for these materials.
- Versatility: Gorilla Glue is incredibly versatile. It can handle anything from repairing furniture to crafting custom pieces or attaching leather trim to wooden surfaces. Its unique polyurethane formula allows it to bond different materials together, making it a go-to choice for any project involving leather and wood.
- Durability: One of the key advantages of Gorilla Glue is its durability. It creates a strong and long-lasting bond by expanding into the material’s pores. This means that even under challenging conditions like impact or moisture, the bond between leather and wood remains intact. Say goodbye to worrying about your project falling apart.
- Waterproof: Gorilla Glue is also waterproof, forming a seal that prevents moisture from seeping into the bond. This is especially important for outdoor furniture or accessories exposed to rain or humidity. With Gorilla Glue, your project will stand up to the elements.
- Aesthetics: Unlike some other adhesives, Gorilla Glue dries clear, leaving no visible residue or marks on the surface of the materials. This ensures that the natural beauty of both leather and wood is maintained.
- Gap-Filling: Gorilla Glue has excellent gap-filling properties. It can fill in gaps and voids in the materials, ensuring a strong bond even if the surfaces are not perfectly flat or smooth. This is particularly useful when working with uneven or irregularly shaped pieces of leather and wood.
- Strength: When it comes to strength, Gorilla Glue doesn’t disappoint. It can withstand heavy weights and provides a long-lasting bond between leather and wood. You can trust that your project will stay together, no matter what.
- Ease of Use: Gorilla Glue comes in different forms, such as liquid or gel, allowing you to choose the consistency that works best for your project. Applying the adhesive is a breeze – simply brush or spread it onto the surfaces to be bonded. Plus, Gorilla Glue requires minimal clamping time, so you can get back to enjoying your finished project in no time.
V4_EaCHcyNY” >
Also Read: Gorilla Glue – Glue Things
Conclusion
In conclusion, Gorilla Glue is a reliable adhesive for both leather and wood.
Whether you’re repairing a torn leather jacket or bonding pieces of wood together, Gorilla Glue provides a strong and durable hold. Its powerful formula ensures that your projects will withstand the test of time.
So, if you’re looking for an adhesive that works wonders on leather and wood, look no further than Gorilla Glue.

