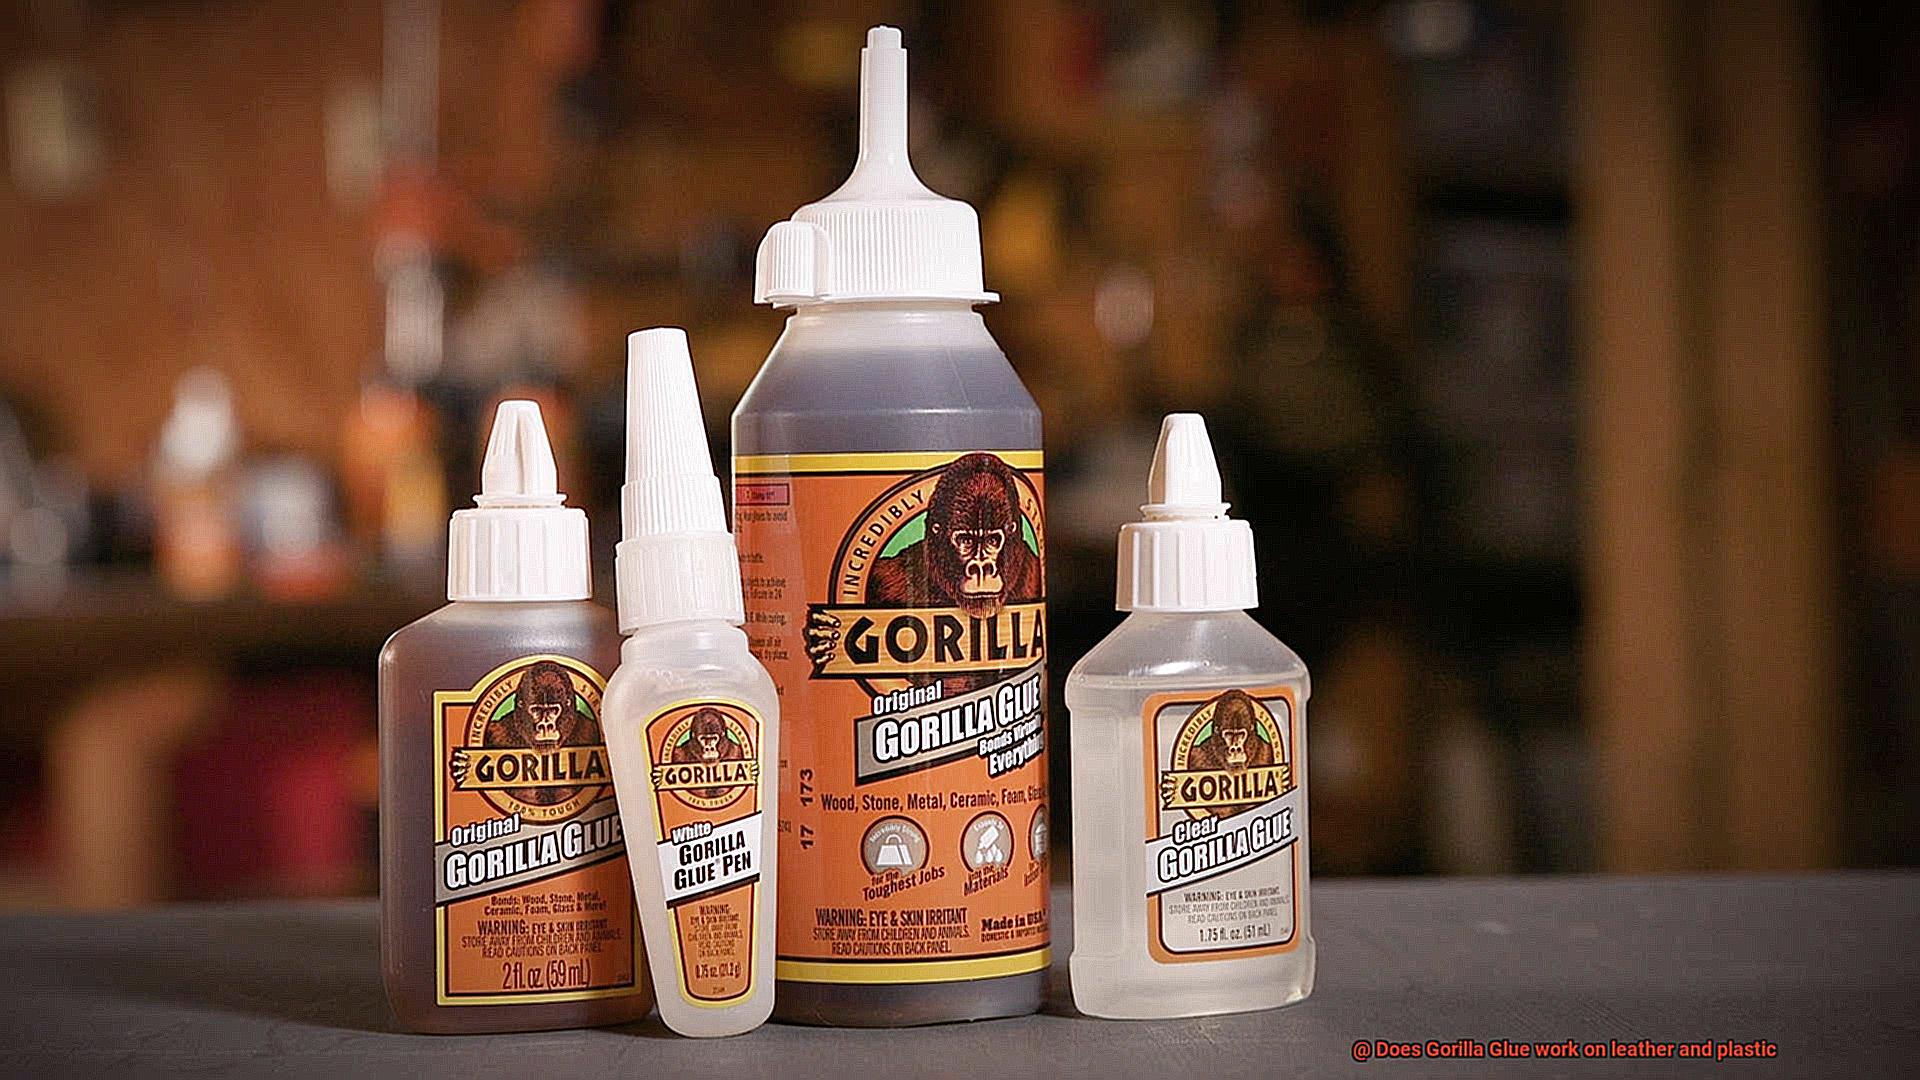
Are you tired of watching your favorite leather handbag fall apart or your trusty plastic chair lose its sturdiness? Well, worry no more. Today, we’re about to unveil the ultimate solution to these frustrating problems.
Imagine this: a super adhesive that effortlessly bonds leather and plastic, bringing your beloved belongings back to life in minutes. Welcome to the extraordinary world of Gorilla Glue – a name synonymous with strength, resilience, and unrivaled reliability.
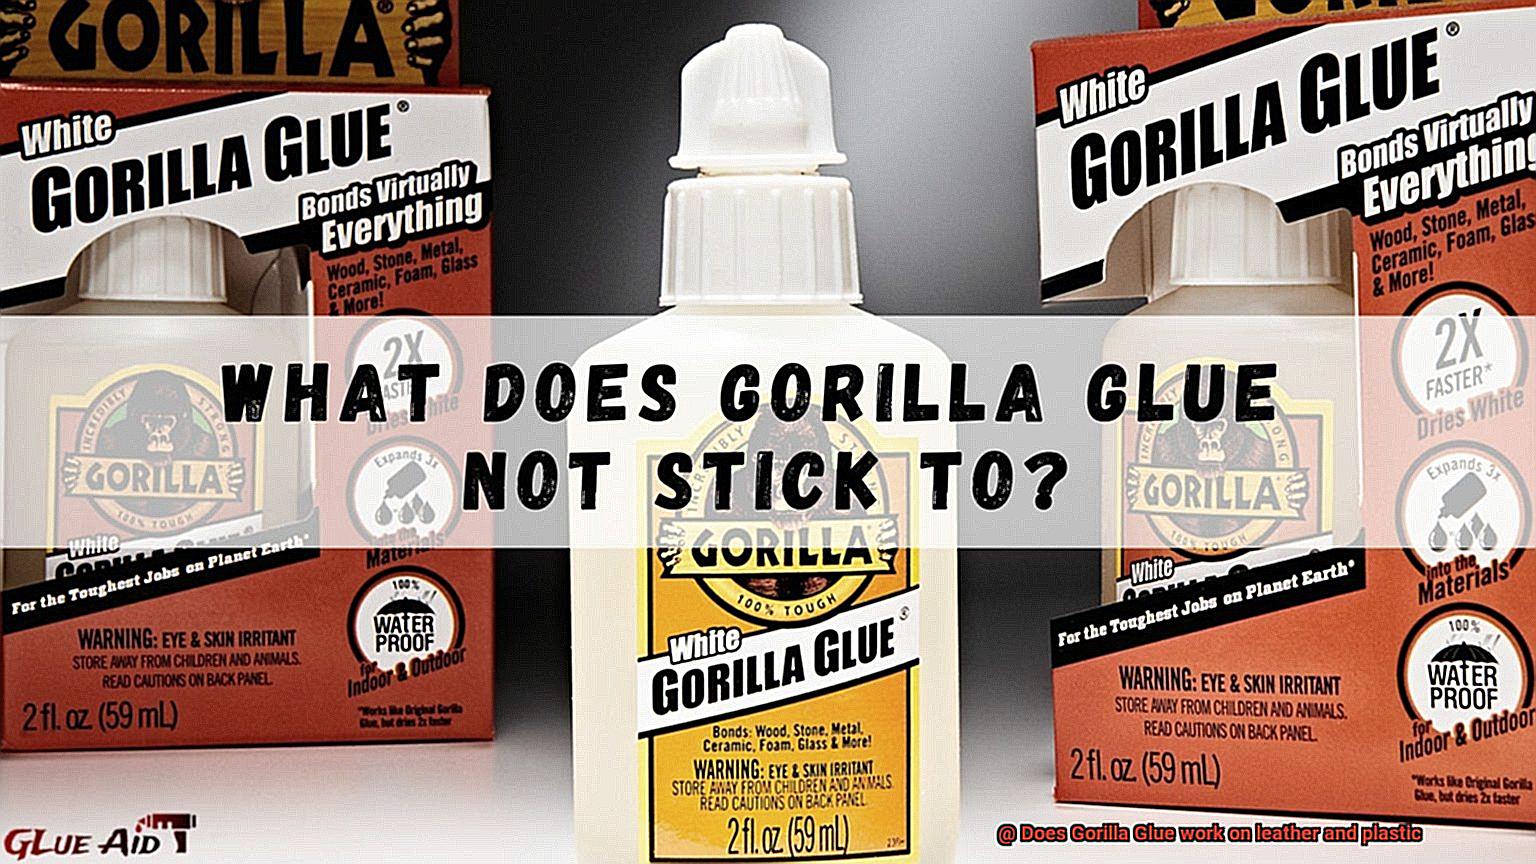
In this blog post, we’ll dive into the captivating realm of Gorilla Glue, exploring its incredible abilities and answering the burning question on everyone’s mind: “Does Gorilla Glue work on leather and plastic?” Get ready for an exciting journey that covers all you need to know.
First up, let’s explore the jaw-dropping versatility of Gorilla Glue. With its groundbreaking formula, this adhesive offers unmatched bonding power on a wide range of materials. Whether it’s delicate leather or stubborn plastic, Gorilla Glue guarantees remarkable results.
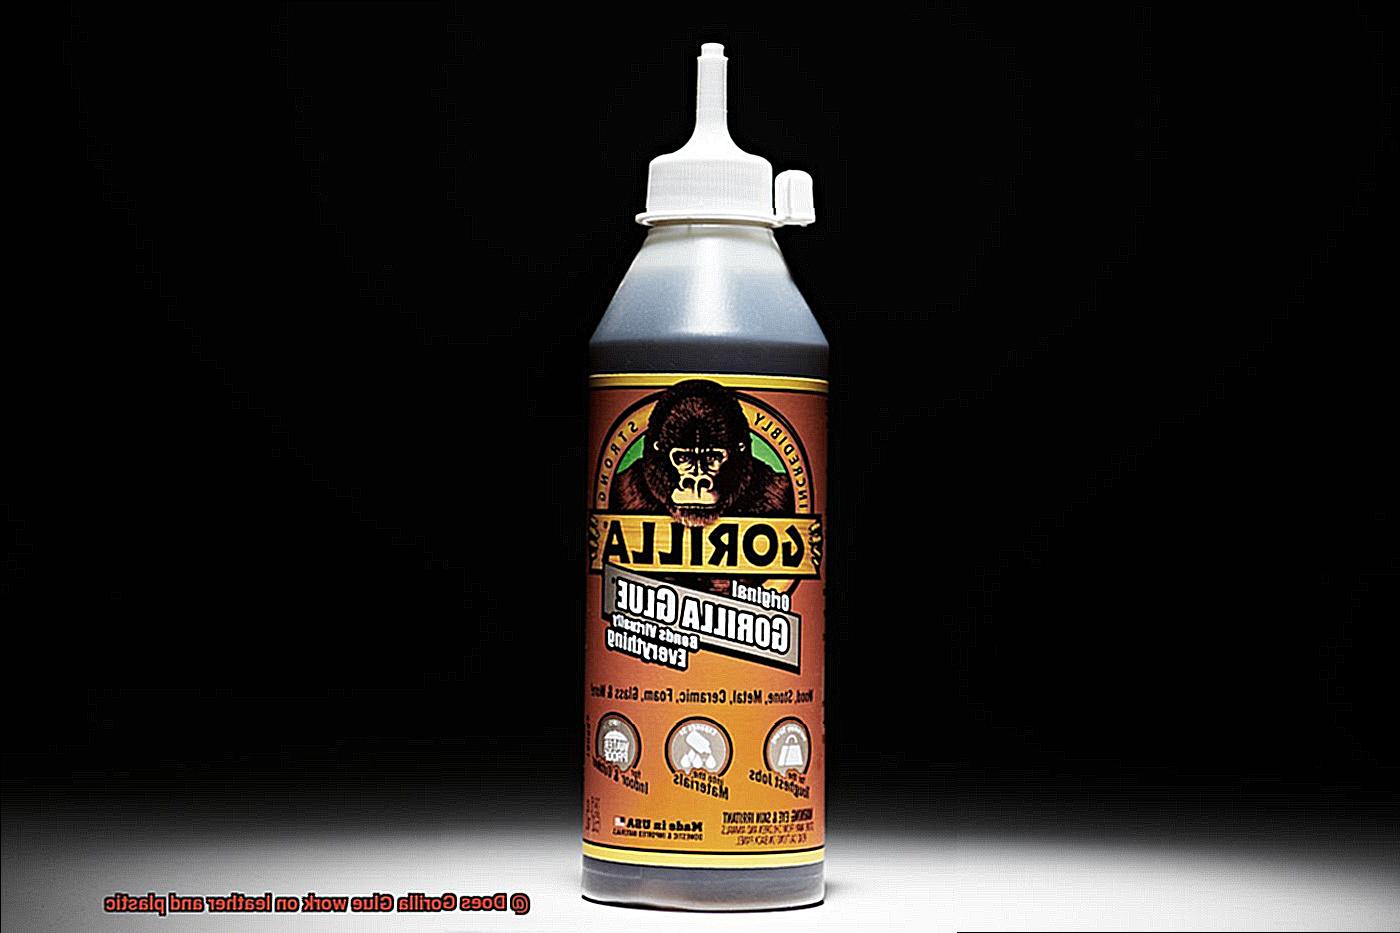
We’ll uncover the secret behind Gorilla Glue’s effectiveness on these popular materials. By examining its unique composition and chemical properties, you’ll discover why Gorilla Glue can bring back the strength and integrity of your leather goods while breathing new life into worn-out plastic objects.
Join us as we put Gorilla Glue to the ultimate test in real-world scenarios. Witness mind-blowing transformations and hear from thrilled DIY enthusiasts who swear by its efficacy.
So, if you’re ready to unlock endless possibilities for your worn-out leather and plastic possessions, buckle up. Discover how Gorilla Glue is revolutionizing repairs and restorations – ensuring cherished items regain their former glory. Stay tuned for the answers you’ve been seeking and embrace the transformative power of Gorilla Glue.
Can Gorilla Glue be Used on Leather?
Contents
- 1 Can Gorilla Glue be Used on Leather?
- 2 How to Prepare the Surface for Applying Gorilla Glue to Leather
- 3 Does Gorilla Glue Work on Plastic?
- 4 Types of Plastics Compatible with Gorilla Glue
- 5 Preparing the Surface for Applying Gorilla Glue to Plastic
- 6 Does Gorilla Glue Require Moisture to Cure Properly?
- 7 Is It Advisable to Test Gorilla Glue Before Full Application?
- 8 Conclusion
Gorilla Glue is a formidable adhesive, revered for its ability to bond materials like wood, metal, and ceramic. But when it comes to leather, this powerhouse glue should be approached with caution. In this article, we’ll uncover the reasons why Gorilla Glue is not recommended for use on leather and explore the alternatives that guarantee a secure and damage-free bond.
The Fragile Beauty of Leather:
Leather, with its natural elegance, demands gentle handling. Unlike other materials, leather possesses a delicate structure that can easily succumb to damage if not treated properly. Gorilla Glue’s unparalleled adhesive strength could inadvertently inflict irreversible harm upon leather’s intricate fibers.
The Expansion Predicament:
One of Gorilla Glue’s defining characteristics is its expansion during the curing process. While this property proves advantageous in certain applications, when applied to leather, it can lead to unsightly distortions or unsavory bulges. Hence, judicious use of Gorilla Glue on leather is advised.
A Moisture Mismatch:
Gorilla Glue relies on moisture for activation and curing. Unfortunately, leather has an aversion to excessive moisture and may respond by discoloring or weakening under its influence. This inherent moisture sensitivity renders Gorilla Glue an ill-suited partner for leather items that may encounter water or high humidity.
Enter the Leather-Specific Adhesives:
Thankfully, the market offers specialized adhesives exclusively formulated for leather bonding. These purpose-built adhesives provide the perfect solution by forging strong bonds without compromising the integrity or aesthetics of leather. Flexible, transparent, and tailor-made for leather materials, these adhesives ensure secure and unblemished connections.
Preparation is Paramount:
Achieving optimal results when bonding leather necessitates diligent surface preparation. Thoroughly cleansing the leather and eliminating any dirt or debris lays the groundwork for a superior bond. Furthermore, adhering to the manufacturer’s instructions guarantees precise application and proper curing of the adhesive, ensuring a lasting and reliable connection.
How to Prepare the Surface for Applying Gorilla Glue to Leather
Leather is a resilient and versatile material, making it a popular choice for various projects and repairs. When using Gorilla Glue to bond or repair leather, proper surface preparation is crucial for achieving a strong and durable bond. In this comprehensive guide, we will walk you through five essential steps to prepare the leather surface effectively.
Thoroughly Clean the Leather:
To ensure a successful bond, start by gently cleaning the leather surface. Use a mild soap and water solution to remove any dirt, dust, or debris that could hinder adhesion. Avoid using harsh chemicals or abrasive cleaners, as they can damage the leather. Employ a soft cloth or sponge to gently wipe away dirt or stains. Rinse the leather thoroughly and allow it to air dry completely before proceeding.
Remove Coatings and Finishes:
If your leather has any coatings or finishes, it’s important to remove them before applying Gorilla Glue. These coatings act as barriers and may prevent the glue from adhering properly. Utilize a leather deglazer or acetone to remove the coatings. Apply the deglazer or acetone onto a clean cloth and rub it gently in circular motions on the leather surface. Always follow the manufacturer’s instructions and take necessary precautions when using these products.
Create Texture with Light Sanding:
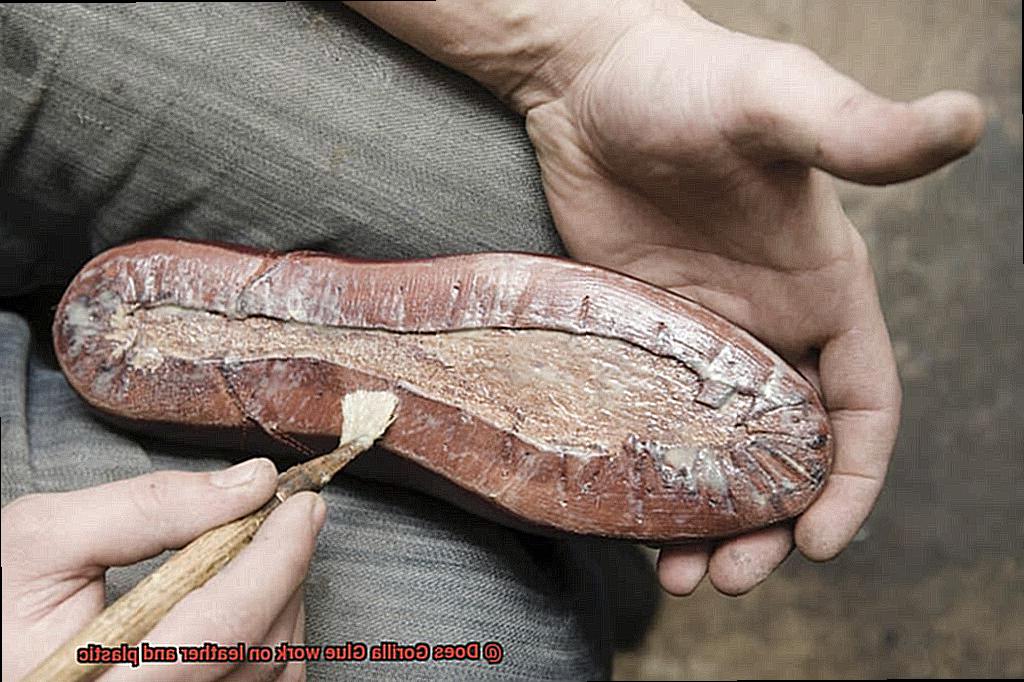
For smooth or glossy leather surfaces, creating texture is essential for better adhesion. Lightly sand the area where you plan to apply Gorilla Glue using fine-grit sandpaper. Employ circular motions while sanding, but be cautious not to damage the leather by sanding too aggressively. After sanding, use a clean, dry cloth to remove any dust or particles from the surface.
Test on a Small Area:
Before applying Gorilla Glue to the entire leather surface, it’s advisable to conduct a small test on a hidden area or scrap piece of leather. Apply a small amount of glue to the prepared surface and allow it to dry according to the manufacturer’s instructions. Check for any discoloration, damage, or adverse reactions. If everything looks good, you can proceed with gluing the rest of the leather.
Apply Gorilla Glue with Precision:
Once the surface is prepared, it’s time to apply Gorilla Glue. Squeeze a small amount of glue onto one of the surfaces you wish to bond together. Remember that Gorilla Glue expands as it dries, so apply a thin layer to prevent excessive expansion. Use a brush or a clean popsicle stick to spread the glue evenly and ensure complete coverage.
Does Gorilla Glue Work on Plastic?
Today, we embark on a thrilling exploration to uncover the truth. Buckle up and prepare for an adhesive adventure like no other.
Gorilla Glue: The Polyurethane Marvel:
Ah, Gorilla Glue, the mighty adhesive with a reputation for its Herculean bonding capabilities. This polyurethane-based wonder can triumph over wood, metal, stone, ceramic, and more. But can it tame the elusive plastic beast? Well, my friends, that’s where the plot thickens.
The Slippery Slope of Plastic:
Plastic surfaces present a formidable challenge due to their smooth and non-porous nature. Yet fear not, for Gorilla Glue may still hold the key to victory.
Cleanliness is King:
Before entering the plastic bonding battlefield, cleanliness reigns supreme. Prepare your surface by banishing dirt, dust, and grease with the almighty power of rubbing alcohol or a mild detergent. A pristine canvas is the foundation for adhesive artistry.
Less is More:
Remember this sacred mantra when applying Gorilla Glue to plastic – less is more. Begin by delicately spreading a thin layer of glue on one surface. Then, with unwavering determination, press the two surfaces together firmly. Be cautious though. Gorilla Glue is an expanding force of nature. Excessive application could lead to an overflow of foam and potential chaos.
Cracking the Moisture Code:
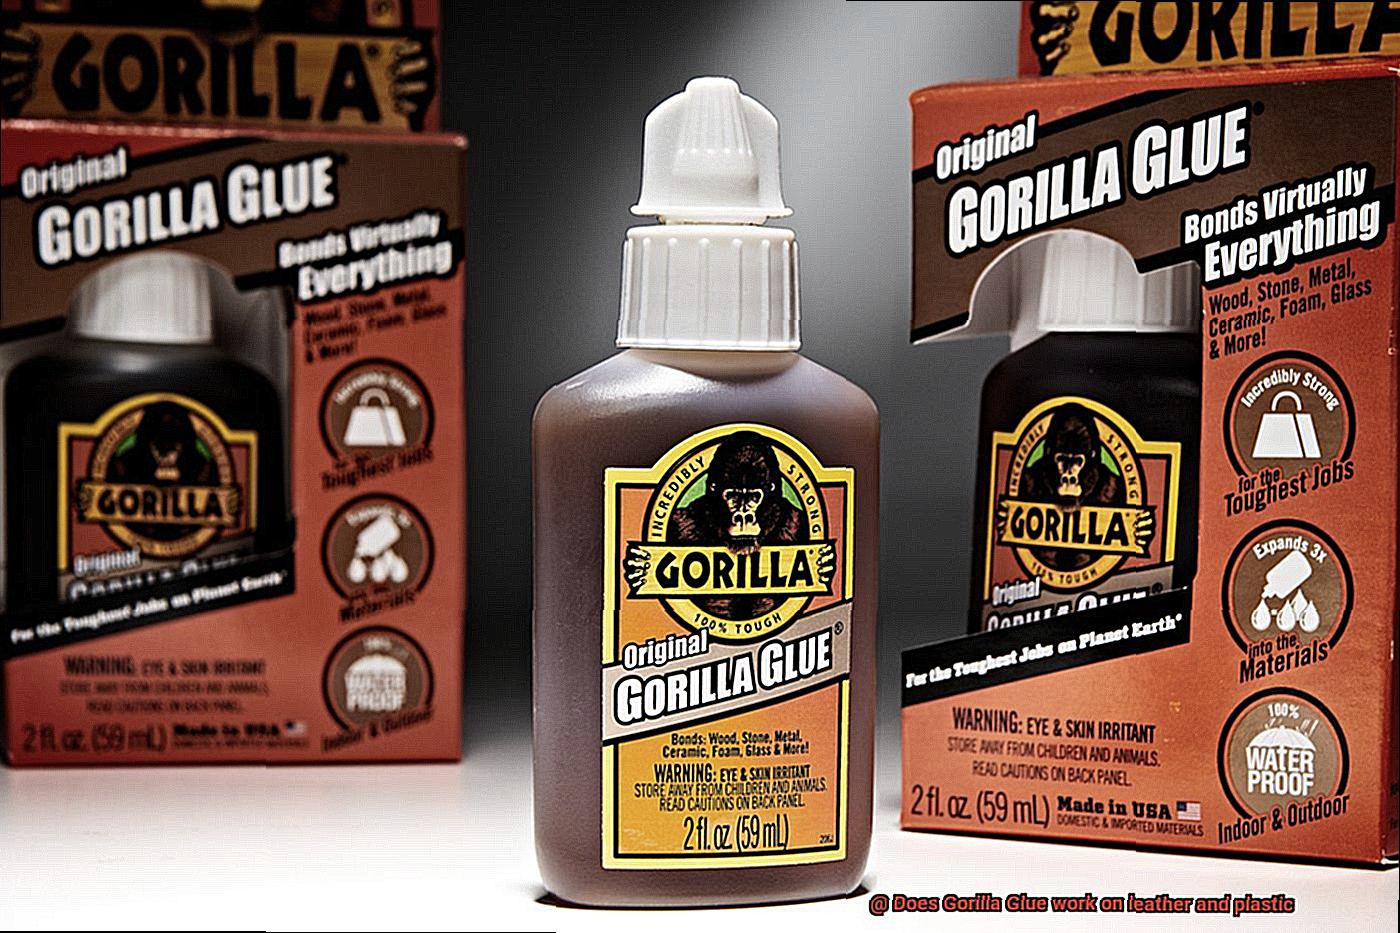
Behold the enigma of Gorilla Glue – it thirsts for moisture to unleash its true potential. Alas, plastic’s non-porous nature may withhold the necessary hydration for optimal curing. But fret not. A spritz of water or a gentle touch of a damp cloth can breathe life into the curing process. Embrace the power of moisture, my friends.
The Plastic Bonding Conundrum:
While Gorilla Glue possesses the ability to bind plastic surfaces, it may not be the invincible hero you seek in the world of plastics. Enter specialized plastic adhesives – the heroes specifically crafted for these fickle materials. With superior strength and lightning-fast curing times, they offer a secret weapon in your adhesive arsenal.
Types of Plastics Compatible with Gorilla Glue
Prepare to be amazed by the incredible bond between Gorilla Glue and plastics. In this article, we will dive into the world of plastics and uncover the top contenders that can be effectively bonded with Gorilla Glue. Get ready to witness the strength and versatility of this adhesive like never before.
PVC – The Indomitable Warrior:
Let’s kick off with the mighty polyvinyl chloride (PVC), a resilient and flexible plastic commonly used in construction and plumbing. Gorilla Glue forms an unbreakable bond with PVC, making it the ideal choice for fixing pipes or creating robust structures. Picture the power of Gorilla Glue holding your projects together, no matter what.
PP – The Lightweight Champion:
Next up is polypropylene (PP), a lightweight and durable plastic found in packaging and household items. Gorilla Glue works its magic on PP, allowing you to effortlessly repair broken products or embark on exciting DIY projects. It’s like having a trusty superhero sidekick for all your plastic bonding needs.
HDPE – The Unyielding Contender:
High-density polyethylene (HDPE) is a force to be reckoned with, commonly used in bottles, containers, and pipes. With Gorilla Glue by your side, you can fearlessly tackle repairs or bring your wildest HDPE creations to life. Unleash your creativity and let Gorilla Glue work its extraordinary wonders.
Acrylic – The Transparent Wonder:
Acrylic, the versatile plastic known for its clarity and use in display cases and signage, is not immune to Gorilla Glue’s charms. Prepare to witness the birth of an unbreakable bond as Gorilla Glue creates a stronghold with acrylic, ensuring your projects withstand the test of time. Whether you’re showcasing precious items or crafting captivating designs, Gorilla Glue has got your back.
Compatibility Challenges:
While Gorilla Glue performs miracles with most plastics, a few exceptions exist. Low-density polyethylene (LDPE) and polytetrafluoroethylene (PTFE), also known as Teflon, may present challenges due to their unique surface properties. It’s crucial to conduct a small test before committing to a full bond, ensuring a compatible match between Gorilla Glue and the plastic at hand.
Preparing the Surface for Applying Gorilla Glue to Plastic
Prepare to unlock the secrets of achieving unbreakable bonds between Gorilla Glue and plastic. The key lies in properly preparing the surface before applying this incredible adhesive. Buckle up, because I’m about to take you on a thrilling journey through the expert steps that will maximize adhesion and ensure a strong bond.
Step 1: Cleanliness is next to bonding success.
Before delving into the world of plastic bonding, it’s imperative to start with a clean canvas. We’re not talking about a casual wipe-down here – we want that surface squeaky clean. Grab a mild soap and water solution and give that plastic surface a thorough scrub. Remove any traces of dirt, dust, or grease that could sabotage our bonding triumph. Rinse away any lingering soap residue with clean water, allowing the surface to dry completely.
Step 2: Embrace the rough side.
Now that your plastic surface is spotless, it’s time to give it some texture. Imagine this as a gentle invitation for the glue to embrace the plastic. No need for a brawl – just grab some sandpaper or a sanding block and create a slightly rough texture. Carefully sand the area where you plan to apply the glue, providing an ideal gripping surface for maximum adhesion. It’s like giving your glue a secret handshake.
Step 3: A final cleanse for ultimate adhesion.
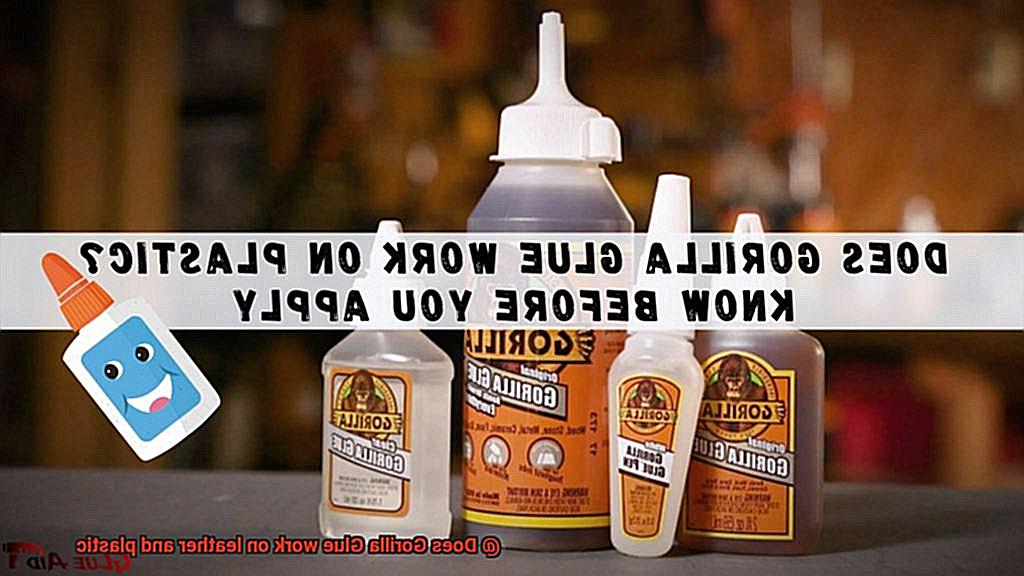
Just when you thought we were done with cleaning, there’s one more step to ensure an unbreakable bond. Grab some rubbing alcohol and wipe down the newly roughened surface. This final cleanse will remove any remaining residue, leaving behind nothing but prime conditions for Gorilla Glue and plastic to unite in perfect harmony.
Step 4: Priming for perfection.
Smooth or non-porous plastics may require an extra boost in achieving optimal bonding strength. Enter the world of primers. If your plastic falls into this category, grab a plastic primer and follow the instructions religiously. Apply the primer to the prepared surface and allow ample drying time. Consider it the superhero cape for your plastic, enabling it to unleash its full bonding potential with Gorilla Glue.
Does Gorilla Glue Require Moisture to Cure Properly?
Attention adhesive aficionados. Today, we embark on a thrilling journey into the realm of Gorilla Glue to uncover the truth behind a burning question: Does Gorilla Glue require moisture to cure properly? Brace yourselves for mind-blowing revelations as we unravel the mysteries of achieving unbreakable bonds with Gorilla Glue on leather and plastic. So don your lab coats, and let’s dive into this adhesive adventure.
The Moisture Misconception:
Let’s shatter a common myth about Gorilla Glue. It’s true that this adhesive powerhouse is activated by moisture, but not every material you bond with it necessitates moisture for proper curing.
Bonding Leather and Plastic:
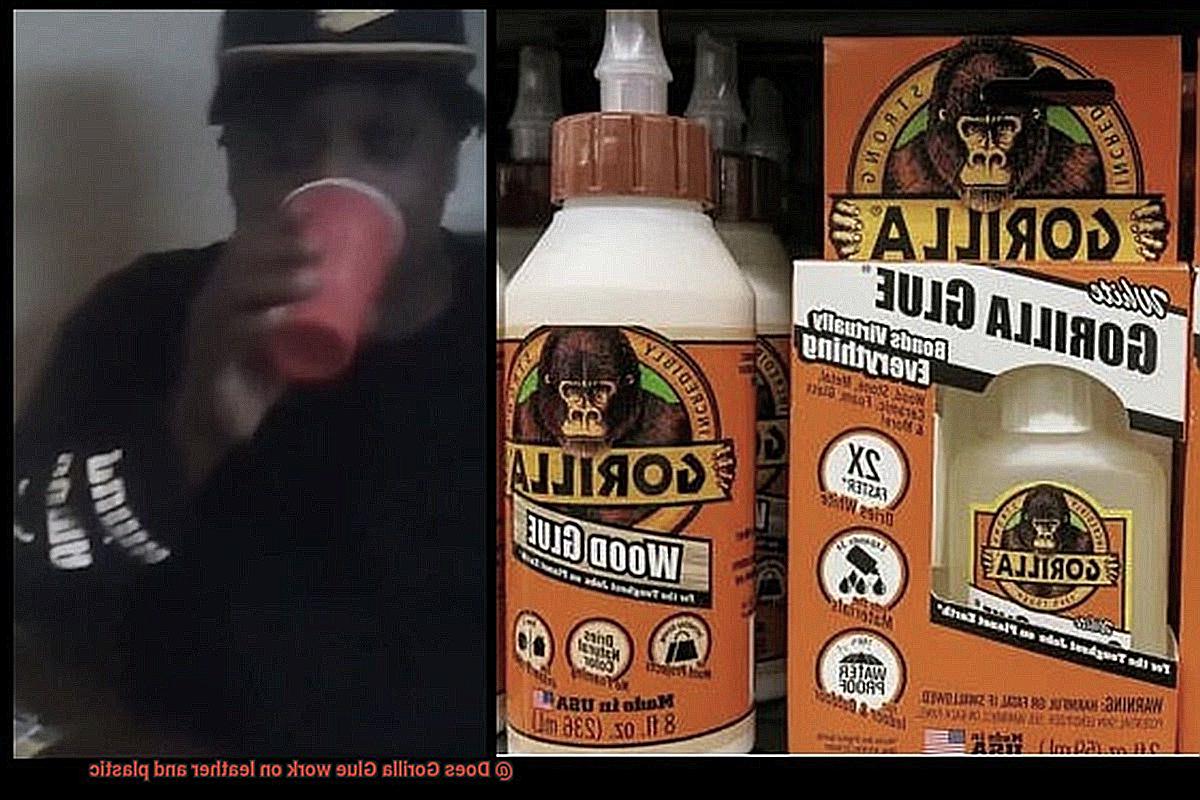
When it comes to bonding leather and plastic, moisture isn’t always the secret ingredient for successful curing. The porous nature of these materials allows them to naturally absorb and retain moisture, activating the adhesive like a hidden superpower. Mother Nature’s design is truly awe-inspiring.
The Dampening Dance:
To ensure a robust bond between Gorilla Glue and leather or plastic, it’s recommended to lightly dampen the surface before applying the adhesive. This delicate dance with moisture creates an ideal environment for the glue to work its magic. But remember, moderation is key; excessive moisture can weaken the bond. Let’s keep our adhesive superhero at maximum strength.
Specialized Formulas for Specialized Results:
Gorilla Glue understands that different materials have diverse needs. That’s why they offer specialized formulas designed explicitly for bonding specific materials like leather and plastic. These formulas may have unique requirements for curing and provide superior results for their designated applications. So, always consult the manufacturer’s instructions to unleash the full potential of your adhesive superhero.
Is It Advisable to Test Gorilla Glue Before Full Application?
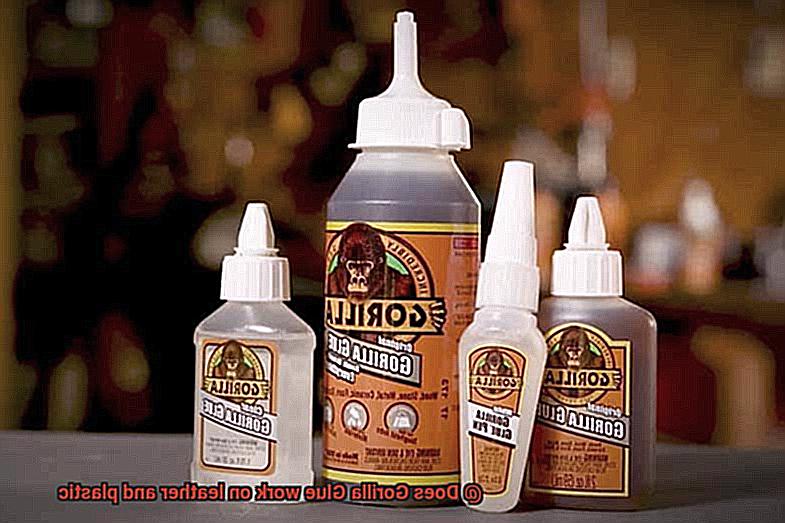
As your trusted glue guru, I’ve delved into the depths of research to shed light on this topic. So, don your lab coat and fasten your safety goggles as we embark on an enlightening journey into the world of Gorilla Glue testing. Let’s dive in.
Compatibility: The Key to Success
Just as Batman needs his trusty gadgets, Gorilla Glue needs the right surface to showcase its remarkable bonding abilities. Leather and plastic surfaces come in various compositions and finishes, making it essential to ensure compatibility with your chosen Gorilla Glue variant. By conducting a preliminary test, you gain insight into how well this adhesive marvel adheres to your specific material.
Damage Prevention: A Path to Satisfaction
Imagine painstakingly applying Gorilla Glue to your beloved leather bag, only to discover later that it has caused unsightly discoloration or warping. The horror. Fear not, my friends, for testing the glue beforehand can prevent such heart-wrenching disasters and spare you disappointment. It’s like having a mini insurance policy for your precious project.
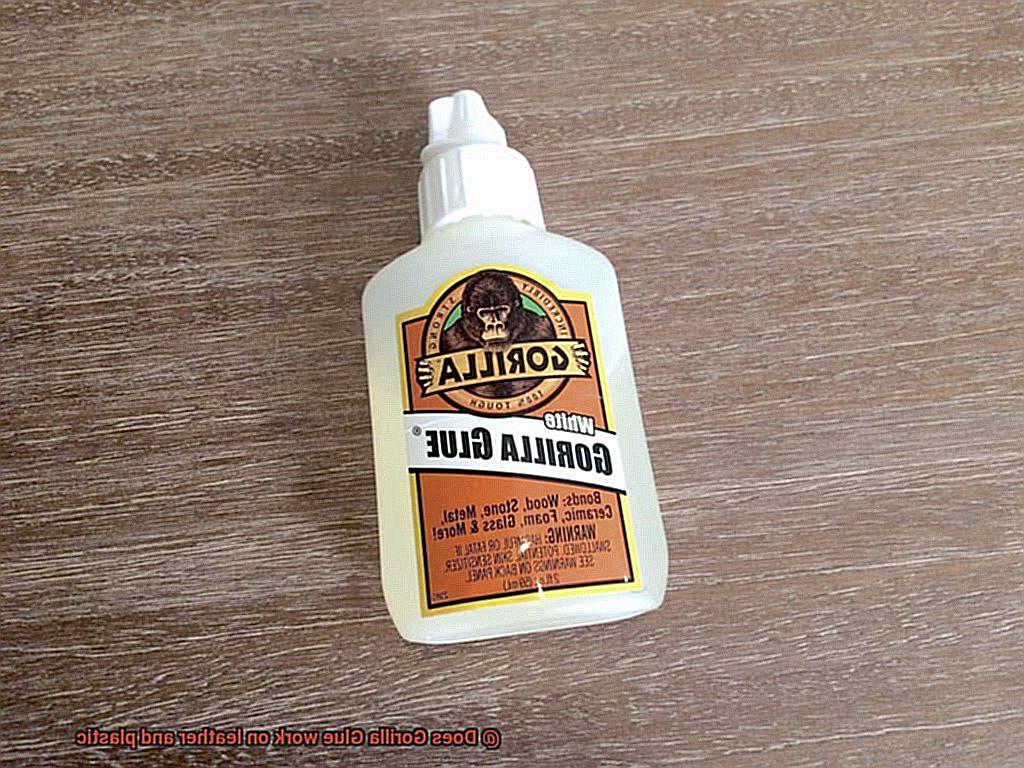
A Step-by-Step Testing Process:
To put Gorilla Glue’s powers to the ultimate test, apply a small amount to an inconspicuous area of your material and allow it to dry completely. Once dry, meticulously inspect whether the glue has formed a secure bond without any undesirable side effects like discoloration or warping. If the test passes with flying colors, consider yourself ready for action.
When Bonds Break:
Not every love story ends in eternal bliss, and the same goes for adhesives. If Gorilla Glue fails to form a proper bond or causes damage during the test, do not despair. It’s a sign that this adhesive hero might not be the perfect match for your leather or plastic project. Fear not, though, as there are specialized adhesive options available for these specific materials. It’s like finding the ideal sidekick to accompany you on your heroic mission.
Conclusion
In conclusion, Gorilla Glue is a reliable adhesive for both leather and plastic materials. Its strong bonding capabilities make it an excellent choice for repairing or creating projects involving these surfaces. Whether you’re fixing a torn leather jacket or assembling plastic components, Gorilla Glue will provide a durable and long-lasting hold.
When it comes to leather, Gorilla Glue forms a tight bond that can withstand the rigors of daily use. It securely attaches patches, mends seams, and even reattaches loose straps. No matter how tough the job may be, this adhesive will keep your leather items looking their best.
As for plastic, Gorilla Glue excels in providing a solid connection between various types of plastics. From repairing broken toys to constructing intricate models, this adhesive ensures that your creations stay intact. Its versatility allows it to work on different types of plastics like ABS, PVC, and acrylic.
What sets Gorilla Glue apart from other adhesives is its exceptional strength and durability. Once applied and cured, it forms a bond that can withstand extreme temperatures, moisture, and heavy stress. This means your repaired or crafted items will remain intact even under challenging conditions.
Furthermore, Gorilla Glue’s professional-grade formula dries clear, ensuring that no unsightly residue mars the appearance of your leather or plastic surfaces. You can confidently use this adhesive without worrying about compromising the aesthetic appeal of your projects.
In summary, if you’re looking for an adhesive that works effectively on both leather and plastic materials, look no further than Gorilla Glue. Its strong bonding capabilities combined with its versatility make it an ideal choice for any project involving these surfaces.

