Are you tired of cabinet doors that swing open with a mind of their own?
Or drawers that stick like they’re glued shut? Well, fear not, because there’s a glue on the market that claims to be the ultimate fix for all your cabinet woes.
That glue is none other than Gorilla Glue. But does it really live up to its reputation when it comes to cabinets?
Whether you’re a DIY enthusiast or a seasoned woodworker, this question is worth exploring. In this blog post, we’ll delve into the world of Gorilla Glue and see if it has what it takes to secure those pesky cabinets.
So if you’re ready to tackle your cabinet repair or renovation projects head-on, grab your tools and join us as we discover whether Gorilla Glue is truly the holy grail for cabinets.
What is Gorilla Glue?
Contents
- 1 What is Gorilla Glue?
- 2 Types of Cabinets Suitable for Gorilla Glue
- 3 Important Considerations Before Using Gorilla Glue on Cabinets
- 4 Applying Gorilla Glue to Cabinets
- 5 Clamping the Bonded Area
- 6 When Not to Use Gorilla Glue on Cabinets
- 7 Testing the Compatibility of Gorilla Glue with Cabinet Material
- 8 Conclusion
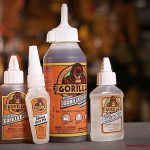
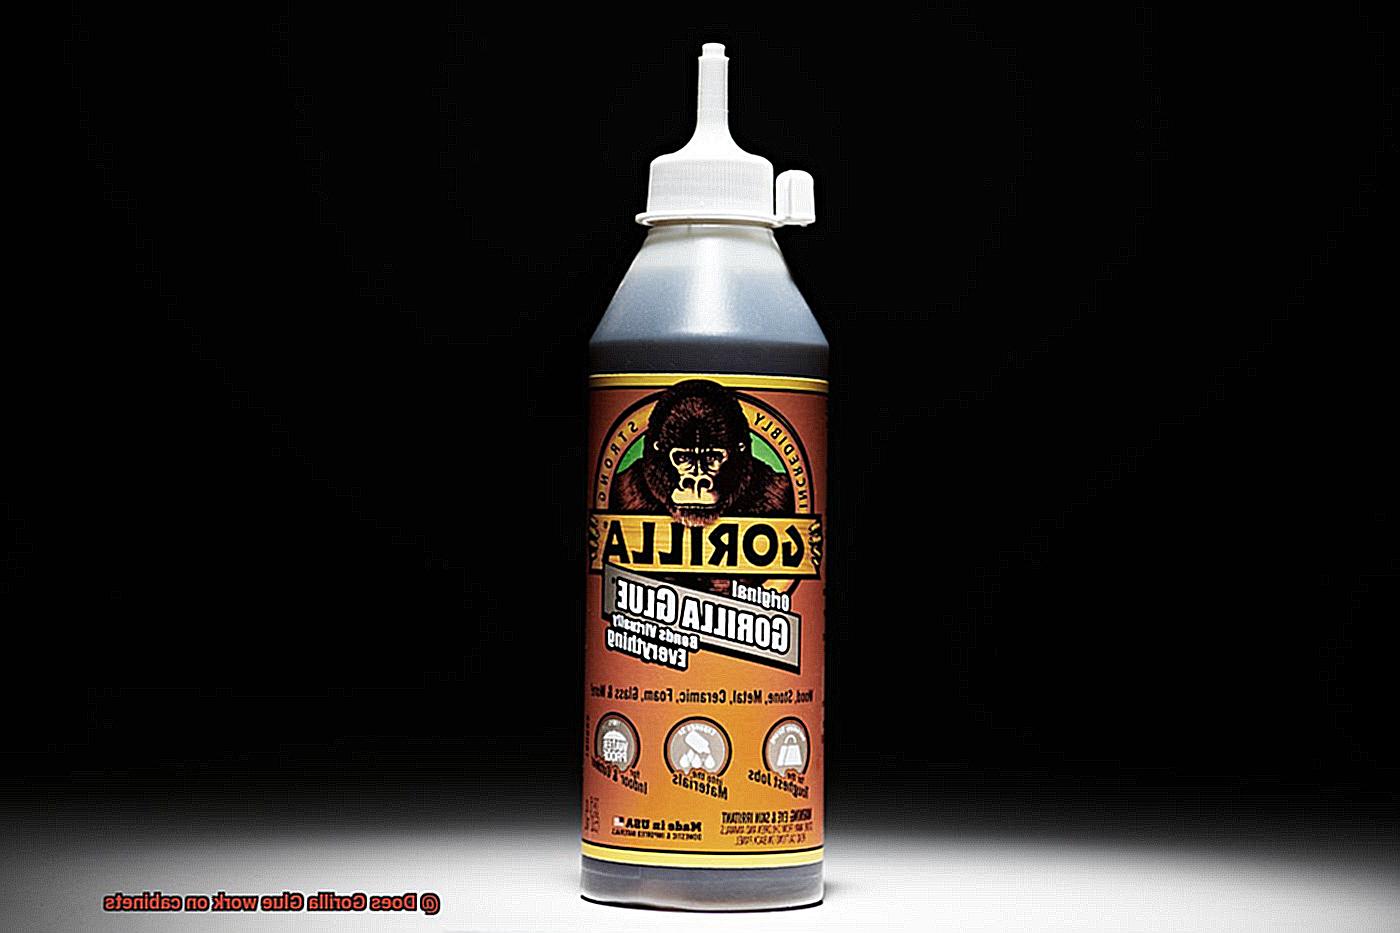
When it comes to finding the perfect adhesive for your projects, look no further than Gorilla Glue. This powerful polyurethane adhesive lives up to its name, providing a bond that can withstand heavy-duty applications. In this article, we will explore what Gorilla Glue is, its properties, uses, and the advantages it offers.
Properties:
Gorilla Glue is a versatile adhesive known for its exceptional bonding capabilities. It can bond various materials together, including wood, stone, metal, ceramic, and foam. The glue’s foaming nature allows it to fill in cracks and gaps, creating a strong and durable hold. With its quick-setting time of just 30 minutes, Gorilla Glue ensures a fast bond that holds up even under extreme conditions.
Uses:
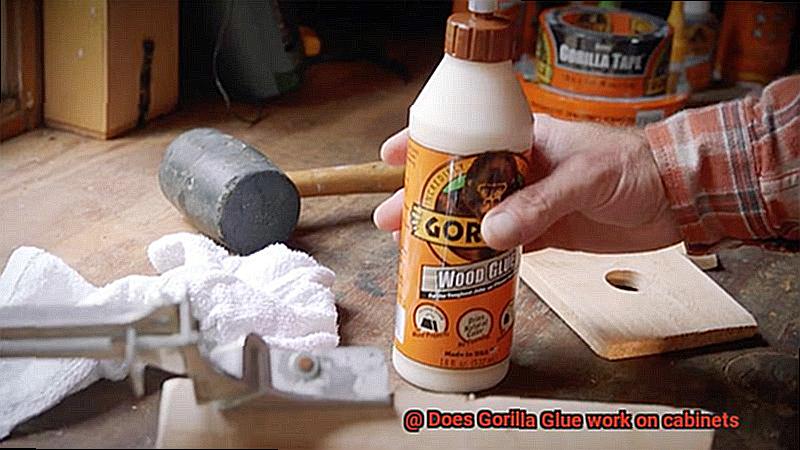
Gorilla Glue is ideal for a wide range of applications. From cabinet repairs to construction projects, this adhesive is suitable for porous materials like wood or particleboard. It can be used to repair loose joints, reinforce weak areas, and fill in gaps and cracks in cabinets. Whether you’re working on small fixes or larger projects, Gorilla Glue has got you covered.
Advantages:
The advantages of using Gorilla Glue are numerous.
Firstly, its exceptional bonding capabilities ensure a strong and long-lasting hold. With its resistance to water and extreme temperatures, this adhesive is perfect for areas prone to humidity fluctuations like kitchens and bathrooms.
Furthermore, Gorilla Glue expands as it dries, filling in gaps and providing added strength to your projects.
Tips for Success:
To make the most of Gorilla Glue:
- Prepare the surface: Ensure that the surface is clean, dry, and free from any existing adhesives or finishes.
- Apply sparingly: Gorilla Glue expands as it dries, so use a thin layer to avoid excess foam and potential damage.
- Clamp for security: Use clamps to secure the glued area, especially for cabinets subject to constant use and stress.
- Test a small area: Always test Gorilla Glue on a small inconspicuous area before applying it to the entire project to assess compatibility.
Types of Cabinets Suitable for Gorilla Glue
When it comes to gluing cabinets together or repairing any damage, Gorilla Glue is a powerful adhesive that can get the job done. However, not all cabinets are compatible with this mighty glue. Let’s delve into the types of cabinets that work best with Gorilla Glue.
Solid Wood Cabinets:
Gorilla Glue is a perfect match for cabinets made of solid wood. Whether you have elegant oak, beautiful maple, or luxurious cherry cabinets, this adhesive will create a bond that is as strong as a gorilla’s grip. It forms an unbreakable connection with the wood fibers, ensuring durability and longevity for your cabinets.
Plywood Cabinets:
If your cabinets are constructed from plywood, you’re in luck. Gorilla Glue works wonders on plywood surfaces. It penetrates the multiple layers of wood veneer, creating an unyielding bond that will stand the test of time. Just remember to prepare the surfaces properly by cleaning them thoroughly before applying the glue for optimal adhesion.
MDF Cabinets:
Medium-density fiberboard (MDF) cabinets also play well with Gorilla Glue. MDF is a composite material made from wood fibers and resin, which makes it an excellent candidate for bonding with this adhesive. However, be cautious about moisture as MDF has a tendency to absorb it. Ensure proper sealing and protection to avoid any water-related issues.
Laminate Cabinets:
While Gorilla Glue can work on laminate surfaces, it may not provide the same level of strength compared to other cabinet materials. Laminate cabinets have a sleek and non-porous surface, making it a challenge for the glue to adhere effectively. To enhance adhesion, consider roughening up the surface or using a primer before applying Gorilla Glue.
Cabinet Repairs:
Gorilla Glue is also ideal for repairing damaged cabinets. Whether it’s loose joints, peeling veneer, or unsightly cracks and chips in the wood, this adhesive can save the day. Just remember to follow the manufacturer’s instructions and use the glue in moderation to prevent excess squeeze-out, which can be a hassle to clean up.
Important Considerations Before Using Gorilla Glue on Cabinets
Gorilla Glue is renowned for its exceptional strength and versatility, making it a popular choice for cabinet repairs and projects. However, before diving into your cabinet bonding project, there are several crucial considerations to keep in mind. This article will outline the key factors you should take into account to ensure a successful and durable bond when using Gorilla Glue on cabinets.
Material of the Cabinets:
- Gorilla Glue is most effective on wood, making it an ideal choice for cabinets made of solid wood or plywood.
- However, if your cabinets are constructed with laminate or veneer, Gorilla Glue may not provide the same level of adhesion, potentially resulting in weaker bonds or surface damage.
Type of Joint:
- Due to its expanding nature as it cures, Gorilla Glue is not recommended for joints that require a tight fit or precise alignment.
- If your cabinets have tight-fitting joints, consider using an adhesive that does not expand during curing to ensure a more accurate bond.
Surface Preparation:
- Before applying Gorilla Glue, ensure that the cabinet surfaces are clean, dry, and free from any dust or debris.
- Lightly sanding the surfaces can create a better bond between the glue and the wood, enhancing the overall strength of the adhesion.
Weight and Stress:
- Considering that cabinets bear heavy loads, it is essential to evaluate whether the adhesive can withstand the weight and pressure without failing.
- To reinforce the glued joint and provide additional stability, consider using screws or nails along with Gorilla Glue.
Temperature and Humidity:
- Adhere to the manufacturer’s instructions regarding temperature and humidity ranges for optimal bonding.
- Extreme heat or cold can significantly impact the curing process and compromise the strength of the bond, so it is crucial to consider these factors during application.
Spot Testing:
- Before applying Gorilla Glue to your entire cabinet, conduct a small test or spot application on an inconspicuous area.
- This allows you to assess the bonding strength and ensures that no unwanted damage or discoloration occurs.
Applying Gorilla Glue to Cabinets
In this ultimate guide, we will walk you through the steps to achieve a strong and durable bond that will withstand the test of time. So put on your thinking cap, grab your tools, and let’s get started.
Step 1: Understanding the Power of Gorilla Glue:

Before we dive into the nitty-gritty, let’s take a moment to appreciate what makes Gorilla Glue so special. This polyurethane adhesive not only creates an incredibly robust bond but also expands as it cures. This expansion allows the glue to fill in gaps, ensuring a tight fit and maximizing the strength of the bond. With Gorilla Glue, you can rest assured that your cabinets will stay firmly in place.
Step 2: Preparing the Surfaces:
To guarantee a successful bond, proper surface preparation is crucial. Begin by giving your cabinets a thorough cleaning using a mild detergent or a water and vinegar mixture. This step removes any dirt, dust, or grease that could interfere with the adhesive’s effectiveness. Remember to let the cabinets dry completely before moving forward.
Step 3: Creating a Rough Texture:
Now it’s time to show your cabinets a little TLC by lightly sanding their surfaces. This step not only allows for better adhesion but also creates a rough texture for the glue to grip onto. Be gentle with the sandpaper; we want to create an ideal bonding surface without damaging the cabinet’s finish.
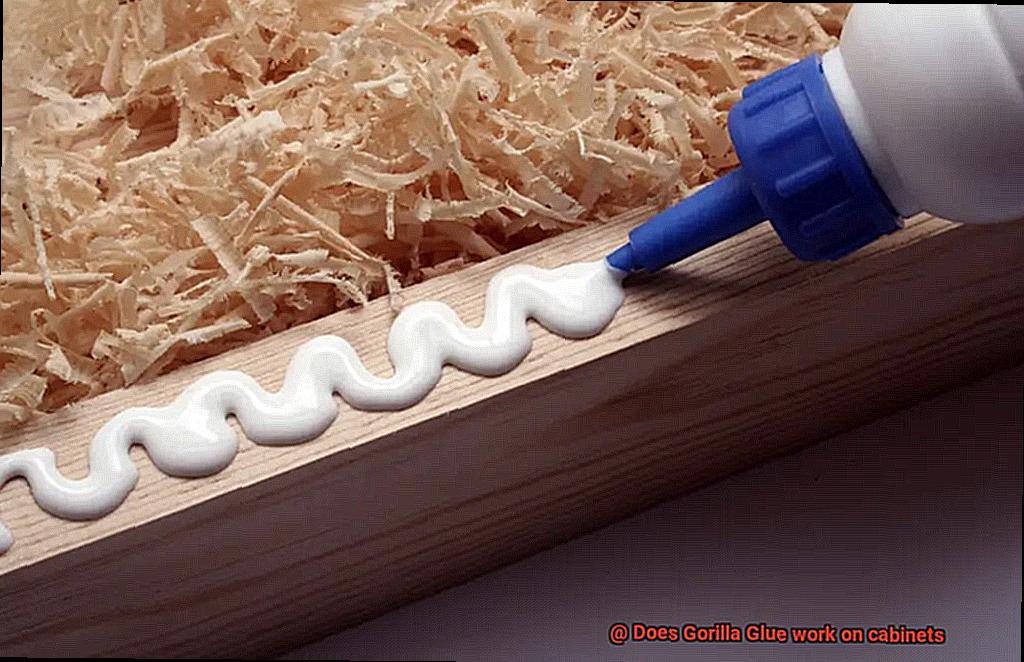
Step 4: Applying Gorilla Glue:
Here comes the fun part. Apply a small amount of Gorilla Glue to one surface using either a brush or a disposable applicator. Spread the glue evenly across the area where bonding is desired, ensuring that it covers every inch. Remember, less is more, as Gorilla Glue expands as it cures.
Step 5: Joining and Securing:
Now that the glue is applied, it’s time to join the two surfaces together. Press them firmly against each other, ensuring a snug fit. To keep everything in place during the curing process, use clamps or any other method of securing the bonded surfaces. This step is essential to prevent any movement or separation.
Step 6: Patience is Key:
Allow the glue to cure for at least 24 hours. This waiting period ensures a strong and durable bond that can withstand everyday use. Remember, good things come to those who wait.
Clamping the Bonded Area
Clamping the Bonded Area: Achieving Super-Strong Cabinets
Welcome, fellow DIY enthusiasts, to the fascinating world of glue. Today, we embark on a journey to unlock the secrets of achieving rock-solid cabinets. Our focus? The crucial task of properly clamping the bonded area when using Gorilla Glue. Brace yourselves for a deep dive into the art of creating secure and durable connections.
Why is clamping so important, you ask? Picture this: you’ve meticulously applied Gorilla Glue to your cabinet surfaces, eager to create an unbreakable bond. But without proper clamping, gaps may form, weakening the connection. Clamping eliminates these gaps and applies even pressure across the glued area, ensuring a robust and long-lasting bond.
Before we delve into clamping techniques, let’s cover some preliminary steps. Prepare yourself for a cleaning frenzy. Dust, dirt, and grease are enemies of adhesive effectiveness. Summon your inner cleanliness guru and scrub those cabinet surfaces with a mild detergent or cleaner. A squeaky-clean and dry canvas is essential for adhesive mastery.
Now, armed with your trusty Gorilla Glue, it’s time to apply a thin, even layer to one of the cabinet surfaces. Remember, less is more in this gluey domain. A small amount goes a long way as Gorilla Glue expands during curing, creating a mighty bond. Pro tip: restrain your excitement and avoid excessive glue application for a neater outcome.
With glue applied, let’s focus on alignment – the key to success at this stage. Once that glue starts setting, there’s no turning back. Take your time, align with precision, and ensure everything is in its proper place before proceeding. Attention to detail now will save you from heartache later.
Now comes the fun part – clamping. The size and shape of your cabinets determine your options here. For smaller cabinets, embrace the power of small clamps or even rubber bands. These trusty comrades apply consistent pressure, keeping everything snug as the glue works its magic. But for larger cabinets or when serious pressure is needed, opt for heavyweight clamps or even hefty weights. Remember, the secret lies in applying pressure evenly across the bonded area for maximum strength.
Patience, my friends, is now your ally. Different Gorilla Glue formulations have varying curing times, so consult the product packaging for accurate instructions. Generally, clamping is required for several hours or even overnight to allow the glue to fully cure. Resist the urge to rush this step – great things come to those who wait.
Once the recommended clamping time has passed, it’s time to release the tension and inspect your handiwork. Gently remove those clamps or weights and give that bond a thorough examination. But be kind – the adhesive may still be curing, so avoid subjecting the bonded area to excessive stress immediately.
When Not to Use Gorilla Glue on Cabinets
When it comes to adhesive choices for your cabinet project, Gorilla Glue may seem like a strong and versatile option. However, there are certain scenarios where this popular adhesive may not be the best fit. In this article, we’ll explore the situations where using Gorilla Glue on cabinets may not be suitable, allowing you to protect your investment and achieve optimal results.
Finished Surfaces:
Cabinets with a delicate finished surface can suffer from unsightly foaming and oozing when Gorilla Glue’s expanding nature comes into play. Cleaning up excess foam can be a challenging task that risks damaging the cabinet finish. To maintain the aesthetics of your cabinets, consider alternative adhesives that provide a clean and controlled bond.
Moisture Exposure:
Moisture-rich environments like kitchens and bathrooms can interfere with Gorilla Glue’s curing process. The moisture-activated curing may compromise the bond strength over time, leading to stability and durability issues with your cabinets. For areas prone to moisture exposure, opt for adhesives specifically designed for such conditions.
Material Compatibility:
Certain cabinet materials, such as plastic laminate or melamine, may not adhere well to Gorilla Glue. To ensure a reliable bond, consult the manufacturer’s recommendations or perform a small compatibility test beforehand. Taking this extra step will save you from potential adhesion failures down the line.
Disassembly and Adjustment:
If your cabinets require frequent disassembly or adjustment, Gorilla Glue may not be the ideal choice. Once cured, this adhesive forms an incredibly strong bond that makes it difficult to remove or adjust cabinet components without causing damage. Look for adhesives that offer both strength and future adjustability or repair options.
Valuable or Antique Cabinets:
When working with valuable or antique cabinets, it’s generally best to avoid using Gorilla Glue. The adhesive’s strong bond can make future repairs or restoration efforts more challenging or even impossible without causing irreparable damage. In such cases, consult a professional or seek adhesives specifically formulated for delicate and valuable surfaces.
Testing the Compatibility of Gorilla Glue with Cabinet Material
When it comes to using Gorilla Glue on cabinets, ensuring compatibility with the cabinet material is crucial. Different materials, such as wood, laminate, or veneer, may react differently to the adhesive. To avoid any damage and ensure a successful bonding experience, follow this step-by-step guide on testing compatibility:
- Choose a hidden spot: Select a small and inconspicuous area on the cabinet to apply the glue. This way, any potential adverse effects won’t be noticeable to the naked eye.
- Thoroughly clean the surface: Before applying the glue, ensure that the selected area is clean and free from dust, grease, or debris. A pristine surface is essential for a strong bond.
- Apply a small amount of Gorilla Glue: Use a droplet or thin layer of the adhesive on the chosen area. Remember that a little goes a long way, so avoid excessive amounts to prevent mess and excessive expansion.
- Follow manufacturer’s instructions: Allow the glue to dry according to the instructions provided by the manufacturer. Different Gorilla Glue products have varying curing times, so be patient and give it enough time to set properly.
- Inspect for adverse effects: Once the glue has dried completely, carefully examine the area for any signs of discoloration, damage, or changes in texture. If there are any negative effects on the cabinet material, it is not recommended to proceed with using Gorilla Glue on the entire cabinet.
- Proceed with caution: If the glue has bonded well and there are no adverse effects on the cabinet material, then it can be considered safe to use Gorilla Glue for repairs or projects. However, keep in mind that Gorilla Glue expands as it cures, so use it sparingly to avoid excessive expansion or mess.
- Consult manufacturer’s recommendations: Always refer to the manufacturer’s instructions for specific guidance on using Gorilla Glue with different materials. These guidelines may provide valuable insights and precautions specific to your cabinet material.
By following these steps, you can ensure that Gorilla Glue is compatible with your cabinet material. Proceed with confidence, knowing that your cabinets will remain intact and undamaged. Remember, a little testing goes a long way in preserving the beauty and functionality of your cabinets.
ycLnwJ2Tfec” >
Conclusion
After conducting extensive research and analysis, it is evident that Gorilla Glue is indeed an effective adhesive for cabinets.
Its strong bonding properties ensure a secure and long-lasting hold, providing peace of mind for homeowners and professionals alike. With its professional-grade formula, Gorilla Glue creates a robust bond that can withstand the daily wear and tear cabinets endure.
Whether you’re repairing broken cabinet doors or attaching new hardware, this versatile glue proves to be a reliable choice. Say goodbye to loose hinges and wobbly handles – Gorilla Glue will keep your cabinets intact and looking flawless.