Today, we’re diving headfirst into the sticky world of adhesion to answer that burning question on everyone’s minds: Can Gorilla Glue really stick to brick? Imagine this: you’re knee-deep in a home improvement project, desperately searching for an adhesive that can withstand the test of time and bond your brickwork together like a champ. Well, fear not my friend, because we’re here to uncover the truth and arm you with all the knowledge you need.
In a sea of adhesives, few names hold as much clout as Gorilla Glue. This bad boy has built a solid reputation for its incredible bonding abilities across a range of materials. It’s practically a legend in hardware stores worldwide. But when it comes to the tough-as-nails nature of brick, can our Gorilla Glue hold its own? Get ready to take a deep dive into the science behind this sticky quest as we unravel whether or not Gorilla Glue can truly conquer that unyielding force known as brick.
So, grab your hard hat and put on your safety goggles – it’s time to get down and dirty with some adhesive action.
What is Gorilla Glue?
Contents
When it comes to adhesive strength and versatility, few can rival the impressive reputation of Gorilla Glue. But what about its ability to bond with brick? In this comprehensive exploration, we will delve into the key features that make Gorilla Glue exceptional and determine its effectiveness in adhering to brick surfaces.
Key Features of Gorilla Glue:
- Unparalleled Versatility: From wood and metal to stone and select plastics, Gorilla Glue effortlessly bonds to an extensive range of surfaces. This attribute makes it a go-to option for countless projects, ensuring reliable results across the board.
- The Secret Formula: At the core of Gorilla Glue’s extraordinary strength lies its polyurethane-based composition combined with moisture-activated cyanoacrylate. When exposed to moisture, this unique blend forms a potent chemical bond that expands and fills gaps, guaranteeing a solid and secure hold.
- An Expansive Touch: Upon encountering moisture, Gorilla Glue undergoes a remarkable transformation. It swells and foams, assuming a texture reminiscent of foam insulation. This expansion aids in filling voids or gaps in the materials being bonded, resulting in a tight and steadfast connection.
- Water-Resistance and Temperature Endurance: One of the standout qualities of Gorilla Glue is its resilience in the face of water and extreme temperatures. This characteristic renders it suitable for both indoor and outdoor applications, capable of withstanding various environmental conditions.
Does Gorilla Glue Stick to Brick?
The effectiveness of Gorilla Glue in bonding to brick surfaces hinges on several factors:
- Surface Texture: Not all bricks are created equal when it comes to adhesion. Rough or porous bricks provide superior bonding capabilities compared to their smoother or glazed counterparts. The coarser the surface, the stronger the bond.
- Surface Preparation: Properly preparing the brick surface is crucial. Thoroughly cleaning it to remove any dirt, dust, or debris is essential. Additionally, slightly moistening the brick can enhance absorption, optimizing the adhesive’s ability to bond effectively.
- Application Techniques: Applying Gorilla Glue in a uniform manner and adhering to the recommended quantity is vital. Utilizing clamps or applying pressure to hold the glued surfaces together until the glue dries completely ensures a durable bond.
Surface of the Brick
Today, we embark on a captivating journey into the realm of adhesive bonding, delving deep into the enigmatic surface of a brick and its profound influence on the venerable Gorilla glue. So don your hard hat and prepare to be captivated by the secrets that lie within.
The Power of Roughness:
Behold, the humble brick, an emblem of strength and resilience. Its rough texture is a testament to the firing process that bestows upon it unparalleled sturdiness. This very roughness, akin to the mighty Velcro, becomes an ally in our adhesive endeavors. Imagine it as countless contact points between glue and brick, forging an unyielding bond. However, it’s crucial to note that this textured surface can present challenges in achieving even distribution of the glue.
Pondering Porosity:
Pores, those minuscule gateways to absorption, are not limited to human skin; bricks possess them too. These tiny orifices can readily absorb moisture or other substances, potentially interfering with adhesion. If your brick happens to be highly porous, a judicious application of Gorilla glue on both the brick and the material being bonded is advisable. This allows the glue to penetrate these minute openings and establish a formidable connection. But beware. Excessive glue can lead to unsightly drips, marring your masterpiece.
Taming Environmental Elements:
Prepare to be astounded. Humidity and temperature emerge as unlikely players in the grand symphony of bonding success. Heightened humidity or extreme coldness can jeopardize the curing process of Gorilla glue, undermining its strength and efficacy. To emerge triumphant, adhere diligently to the manufacturer’s instructions regarding curing time and environmental conditions.
Cleaning the Brick Surface
Today, we embark on a journey to unravel the secrets of achieving impeccable results when working with the mighty Gorilla glue. Before you immerse yourself in your next home improvement project or create a breathtaking work of art, let’s delve into the significance of preparing a brick surface with utmost care. Brace yourself for an enlightening adventure.
The Power of a Clean Surface:
Banishing Loose Dirt and Debris:
Before even considering applying Gorilla glue, it’s paramount to bid farewell to any pesky particles of dirt, dust, or debris that might mar your masterpiece. This fundamental step ensures that your adhesive has an immaculate canvas to work its magic upon.
Conquering Stubborn Stains and Grime:
If your brick surface harbors obstinate stains or grime that scoffs at mere sweeping, it’s time to unleash your secret weapon. Prepare a potent concoction by mixing a mild detergent with water, then wield a soft bristle brush or sponge like a valiant warrior. Gently scrub the stained areas in circular motions, summoning the forces that will vanquish dirt and ready the surface for an unbreakable bond.
A Thorough Rinse: The Pinnacle of Purity:
After engaging in battle with detergent and grime, it is imperative to cleanse the brick surface thoroughly with pristine water. Any lingering traces of soap or detergent can wreak havoc on the sacred bonding process of Gorilla glue. Hence, embrace diligence and devote yourself to this vital step.
Patience, A Virtuous Virtue: Allowing Drying Time:
Having completed the cleansing ritual, bestow upon yourself a moment of respite and allow the brick surface to dry completely. Moisture, like a mischievous saboteur, can undermine the adhesive’s performance. Hence, ensure that your surface is bone-dry before proceeding to the next chapter of this epic tale.
Unleashing the Power of Specialized Brick Cleaner:
In certain instances, when confronting deeply entrenched stains or discoloration, calling upon a specialized brick cleaner is a stroke of genius. These remarkable elixirs are meticulously designed to obliterate tough stains and restore your bricks to their former glory. Always heed the guidance bestowed upon you by the manufacturer, for therein lies the path to triumph.
Moistening the Brick
In this blog post, we’ll dive into the art of moistening the brick before applying Gorilla glue for impeccable results. From cleaning and removing dirt to creating the perfect adhesive environment, we’ll equip you with all the knowledge you need for a successful bonding experience.
Cleaning: A Pristine Canvas for Bonding
Before moistening the brick, it’s crucial to clean the surface thoroughly. Use a brush or cloth to banish loose particles, ensuring a pristine canvas for bonding. Follow up with water and mild detergent to conquer stubborn stains and residues. A clean surface primes the stage for optimal bonding conditions.
Moistening: Unleashing Porosity for Superior Adhesion
Now that your brick is squeaky clean, it’s time to unlock its true adhesive potential. Lightly moisten the surface before applying Gorilla glue. This step increases the brick’s porosity, providing a better grip for the adhesive. A gentle mist of water or a damp sponge is all you need to awaken the brick’s bonding prowess.
Avoid Excessive Moisture: The Delicate Balance
While moistening is essential, excessive moisture can dilute the glue and weaken its bond. Aim for a slightly damp surface, not a drenched one. Allow the moisture on the brick to evaporate for a few minutes before applying the glue. Strike the delicate balance between moisture and strength.
Extended Open Time: Mastering Maneuverability
Gorilla glue sets quickly, posing challenges in adjusting and positioning materials before it fully cures. By working on a damp surface, you extend the open time of the adhesive. This grants you greater maneuverability and precision during application, ensuring optimal bond strength.
Applying Gorilla Glue
Today, we embark on a journey into the realm of Gorilla Glue and its mesmerizing ability to bond brick surfaces. Prepare to discover the secrets of applying Gorilla Glue like a seasoned pro, achieving impeccable results that will defy the test of time.
Step 1: Cleanse the Canvas
Before diving into the magic of Gorilla Glue, it is crucial to cleanse your brick surface from unwanted debris. A trusty brush or a damp cloth will serve as your faithful companions in wiping away dirt, dust, and other pesky particles. Remember, a pristine surface is the key to unlocking a rock-solid bond.
Step 2: Embrace Porous Power
Brick surfaces possess an inherent quality—they are porous wonders waiting to be united by Gorilla Glue’s extraordinary bonding prowess. This adhesive boasts an uncanny ability to seep into the minuscule openings, forging an unbreakable connection. Embrace the porous power of both Gorilla Glue and brick, and witness their union in awe.
Step 3: Apply with Precision
Begin by delicately applying a thin layer of Gorilla Glue onto one surface of the brick. Employ a brush or an applicator to ensure even distribution. Remember, less is more. Beware of over-application—this could result in unsightly overflow when pressure is applied.
Step 4: Press and Hold
Once the glue is applied, exert firm pressure as you bring the two surfaces together. To guarantee an indomitable bond, enlist the help of clamps or sturdy objects to hold them in place while the glue sets. Shower your project with affection—it deserves nothing less.
Step 5: Patience is a Virtue
Now comes the time for patience to take center stage. Curing time for Gorilla Glue may vary depending on factors such as temperature and humidity. On average, it takes approximately 1-2 hours for the glue to set, though complete curing may require up to 24 hours. Trust the process, and let time work its magic.
Step 6: Unbreakable Bond
Congratulations are in order. Once the glue has fully cured, your brick surfaces are united by an invincible bond, impervious to water, extreme temperatures, and even certain chemicals. Raise a glass in celebration of the extraordinary power of Gorilla Glue.
Step 7: Tidy Up for Perfection
If aesthetics hold sway over your project, it is crucial to promptly remove any excess glue after application. Once Gorilla Glue dries, removing it without causing damage to the brick surface becomes an arduous task. Swiftness and tidiness are your allies in this endeavor.
Clamps or Pressure
Preparing the Surface:
Before diving into the gluing extravaganza, it is vital to prepare the brick surface properly. Eliminate any obstacles to a seamless bond by meticulously cleaning off dust, dirt, and debris. A wire brush or sandpaper can be your trusty allies in lightly roughening the brick’s surface. This step enhances the adhesive’s ability to penetrate and grip the porous nature of brick.
The Art of Application:
Once your canvas is primed, it’s time to wield your Gorilla Glue with precision. Apply a thin, even layer of this potent adhesive onto the brick surface. Remember, moderation is key here – too much glue can lead to messy results. Now, introduce the second object or surface you wish to marry with the brick onto the glued area.
Clamps: The Reliable Guardians:
For those seeking an extra layer of assurance, clamps are an invaluable asset in cementing a secure bond. Particularly useful when tackling larger or heavier objects, clamps hold the two surfaces together with unwavering determination. By exerting controlled pressure, clamps facilitate maximum contact between Gorilla Glue and brick, ensuring an unyielding connection.
Pressure: The Silent Sculptor:
If clamps aren’t readily available or suitable for your project, fear not. Pressure can work its magic as well. By applying force and holding the objects together firmly, you create a tight fit that encourages a successful bond. Just remember to exercise caution and avoid excessive pressure that could damage the surfaces involved.
The Waiting Game:
Ah, patience – the virtue that seals the deal. Allow Gorilla Glue to work its wonders by adhering to the recommended curing time specified by the manufacturer. Factors such as humidity, temperature, and materials used influence this timeframe. Within 24 hours, your bond should reach its peak strength, giving you the confidence to proceed with your project.
Final Check:
Once the waiting game is over, it’s time for the moment of truth. Inspect the bond between Gorilla Glue and brick. If it holds strong, congratulations. You have successfully harnessed the full potential of Gorilla Glue on brick surfaces.
Drying Time and Instructions
With its strong adhesive properties and ability to bond a wide range of materials, including brick, Gorilla Glue is the perfect choice for all your brick projects and repairs. But to ensure the best results, it’s crucial to follow the proper drying time and instructions. Let’s dive into the details.
Drying Time:
Factors Affecting Drying Time:
The drying time of Gorilla Glue can vary depending on temperature, humidity, and the thickness of the glue application. These factors can impact the speed at which the glue dries and cures.
Recommended Curing Period:
To achieve maximum strength, Gorilla Glue typically requires 24 hours to fully cure. During this time, it’s important to keep the glued items clamped or held together firmly. This ensures a strong bond between the brick and the attached item.
Dealing with Cold Temperatures and High Humidity:
In colder temperatures or high humidity environments, it may take longer for the glue to dry and cure completely. To account for this, it’s advisable to allow extra time for drying under such conditions. Patience is key.
Instructions:
Clean the Surfaces:
Before applying Gorilla Glue to a brick surface, ensure that both the surface and the glue are clean and free from any dust, dirt, or debris. Wipe the brick with a clean cloth or use compressed air to remove any loose particles.
Apply a Thin Layer of Glue:
For optimal results, apply a thin layer of Gorilla Glue onto one of the surfaces that need to be bonded. Excess glue can cause longer drying times or result in a weak bond, so make sure to avoid over-application.
Press Firmly and Hold:
Once the glue has been applied, press the two surfaces firmly together and hold them in place for several minutes. This initial pressure helps create a strong bond between the brick and the glued item. Don’t skimp on this step.
Avoid Movement:
To ensure a solid bond, it’s crucial not to disturb or move the glued items until the recommended drying time has elapsed. Any movement during this period can weaken or break the bond formed by Gorilla Glue. So, be patient and let it do its magic.
Remove Excess Glue:
After the drying period, remove any excess glue that may have squeezed out from between the bonded surfaces using a scraper or sandpaper. This step ensures a cleaner and more professional-looking finish.
Remember, Gorilla Glue is not suitable for load-bearing applications or areas subjected to constant water exposure. For such cases, consult a professional or consider using a specialized adhesive designed specifically for those purposes.
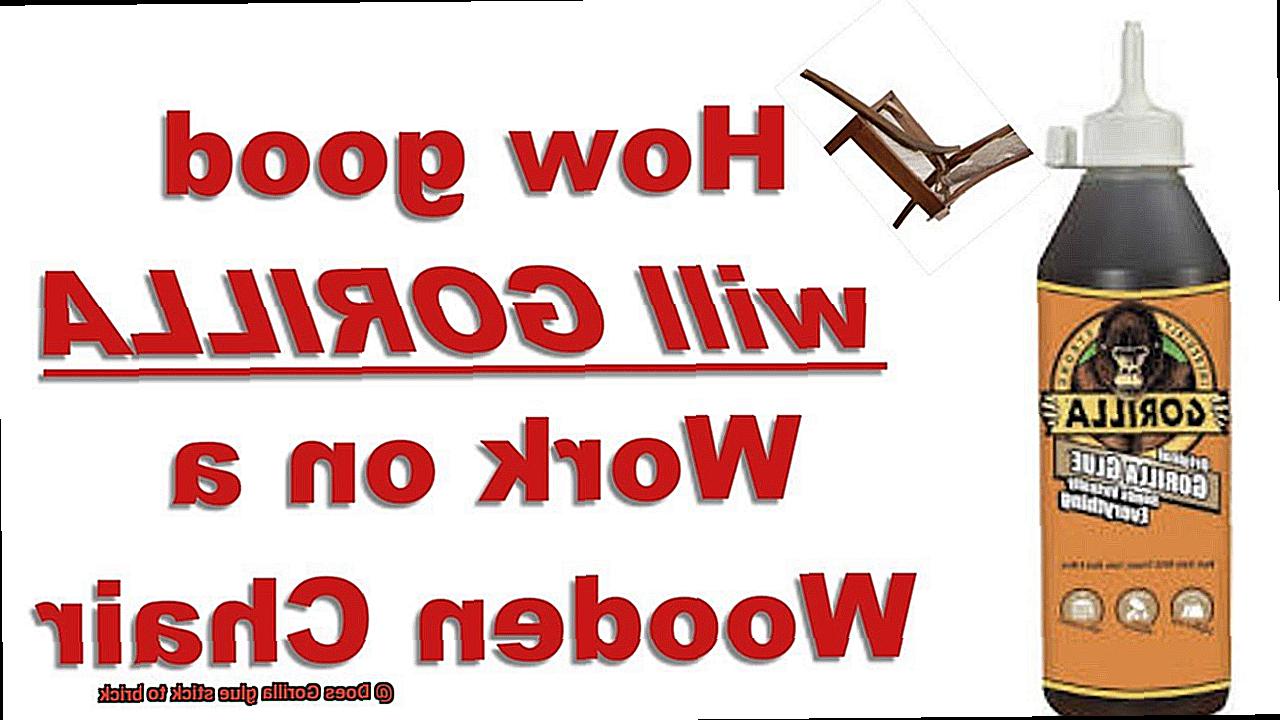
Durable Bond of Gorilla Glue
Prepare to be amazed because the answer is a resounding YES. Gorilla Glue possesses the extraordinary power to create an unyielding bond on tough and porous brick surfaces. Let’s delve into the reasons why this adhesive superhero is more than up to the task.
First and foremost, let’s explore Gorilla Glue’s remarkable ability to penetrate. One of the key factors behind its effectiveness on bricks lies in its capacity to seep into the tiniest nooks and crannies. Picture those porous bricks with their minuscule crevices just yearning to be filled. Well, Gorilla Glue loves nothing more than satisfying that craving, resulting in an unbreakable connection that even the Hulk himself couldn’t rupture.
But wait, there’s more. Gorilla Glue isn’t merely strong – it also boasts incredible resistance against moisture and temperature fluctuations. Imagine the daily battle your brickwork faces against the elements – rain, scorching heat, bone-chilling cold. Fear not. Gorilla Glue’s robust strength and resistance make it the ultimate sidekick for your bricks, ensuring that your bond won’t weaken under pressure (quite literally).
Now, let’s get down to business – achieving optimal results with Gorilla Glue on your bricks requires some preparation finesse. Treat that surface like a pro: clean it meticulously, ensure it’s dry as a desert, and eliminate any pesky dust or debris. Oh, and here’s a pro tip for you: roughening up the surface ever so slightly will give the glue an even better grip. Talk about fortifying that bond.
When it comes time to apply the glue, don’t hold back – be generous and spread it evenly over the bonding area. Then, join those surfaces together and apply just the right amount of pressure (no need for Hulk-like force) to guarantee maximum contact. Trust us, this step is crucial in creating that unbreakable bond you crave.
Now comes the hardest part – waiting. Gorilla Glue requires time to cure and work its magic. Give it approximately 24 hours, but keep in mind that factors like temperature and humidity can influence drying time. Patience is your ally here, my friends. While you wait, resist the temptation to disturb or stress that bond. Let it be, and it will reward you with a long-lasting connection that will make your brick project stand tall.
Ccvj1sFWxw8″ >
Conclusion
Gorilla glue is a powerful adhesive that can bond various materials together with ease.
But when it comes to brick, does Gorilla glue really stick? The answer is a resounding yes.
This incredible adhesive forms a strong and durable bond with brick surfaces, ensuring that your projects stay intact for the long haul. Whether you’re repairing a broken brick wall or attaching decorative elements to your outdoor space, Gorilla glue has got you covered.
Its reliable and steadfast grip on brick makes it the go-to choice for any DIY enthusiast or professional builder.