Have you ever marveled at the sheer power and adaptability of Gorilla Glue epoxy?
This stuff is like the superhero of adhesives, saving DIY enthusiasts and professionals from countless sticky situations. But here’s a burning question that often pops up: does Gorilla Glue epoxy harden like a rock once it’s applied?
You bet your tool belt it does. Brace yourself for an exhilarating dive into the captivating world of epoxy hardening.
So, grab your safety goggles and get ready to unleash the full might of this extraordinary adhesive.
What is Gorilla Glue Epoxy?
Contents
- 1 What is Gorilla Glue Epoxy?
- 2 How Does Gorilla Glue Epoxy Harden?
- 3 The Importance of Following Instructions
- 4 Curing Time for Gorilla Glue Epoxy
- 5 Stages of the Curing Process
- 6 Benefits of Using Gorilla Glue Epoxy
- 7 Factors That Affect the Strength of Gorilla Glue Epoxy Bond
- 8 Proper Surface Preparation
- 9 Conclusion
When it comes to adhesive solutions, Gorilla Glue Epoxy stands head and shoulders above the rest. Whether you’re a DIY enthusiast or a seasoned professional, this versatile two-part epoxy formula is your go-to for unmatched strength, durability, and a wide range of applications. In this guide, we’ll delve into the remarkable properties, benefits, and various uses of Gorilla Glue Epoxy that make it an indispensable tool in your project arsenal.
Properties:
Gorilla Glue Epoxy is renowned for its exceptional strength and durability. Once its resin and hardener components are mixed, brace yourself for an unbreakable bond that can withstand heavy loads and resist impacts. Its high-strength formula guarantees a reliable connection on all materials, including wood, metal, ceramic, glass, plastic, and more.
Benefits:
- Versatility: From indoor fix-ups to outdoor projects, Gorilla Glue Epoxy is your trusty adhesive companion. Its compatibility with different materials makes it the ultimate adhesive solution for a wide variety of applications.
- Water and Temperature Resistance: Once cured, Gorilla Glue Epoxy fearlessly faces water exposure and extreme temperatures ranging from -40°F to 200°F (-40°C to 93°C). This unwavering resistance ensures its reliability in any environment.
- Gap-Filling Properties: Imperfections don’t stand a chance against Gorilla Glue Epoxy. Its masterful gap-filling abilities ensure a rock-solid bond even on uneven surfaces and irregular materials. Repairing damaged items or creating connections between unconventional shapes has never been easier.
Uses:
- Woodworking: Joining wooden pieces, reinforcing joints, or fixing broken furniture becomes a breeze with Gorilla Glue Epoxy. Its iron-like bond guarantees long-lasting results.
- Metal Repairs: Withstanding extreme temperatures and resisting chemicals, Gorilla Glue Epoxy is the ultimate savior for bonding metal parts or repairing metal objects.
- Ceramic and Glass Projects: Delicate materials like ceramic and glass find solace in Gorilla Glue Epoxy. Whether you’re mending shattered treasures or creating awe-inspiring decorative pieces, this adhesive delivers a seamless bond.
- Automotive and Construction: From bonding plastic parts to fixing cracked surfaces, Gorilla Glue Epoxy is a reliable adhesive for all your automotive and construction needs.
- DIY Crafts: Jewelry, sculptures, or any craft project you embark on finds its strength in Gorilla Glue Epoxy. Its unwavering bond withstands wear and tear for lasting creations.
Tips for Success:
Follow Instructions: To achieve optimal results, diligently adhere to the manufacturer’s instructions regarding mixing ratios, application techniques, and curing times.
How Does Gorilla Glue Epoxy Harden?
Prepare to embark on a captivating journey into the world of adhesive chemistry as we explore the intricate process of how Gorilla Glue epoxy hardens. Strap on your safety goggles and join us as we dive deep into the fascinating science behind this remarkable adhesive.
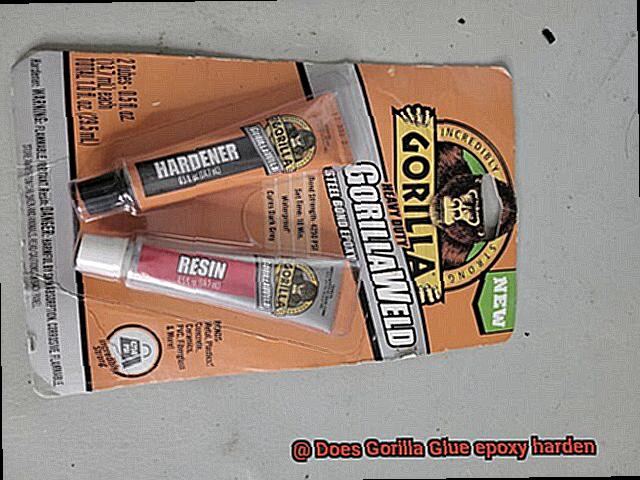
Mixing the Components:
Gorilla Glue epoxy comprises two distinct components – the resin and the hardener. These two elements are stored separately to prevent premature curing. When it’s time to use the glue, these components are mixed together, setting in motion a chemical reaction that initiates the hardening process.
The Role of Moisture:
Moisture acts as the catalyst that triggers the curing process of Gorilla Glue epoxy. Whether present in the air or on the surfaces being bonded, moisture plays a pivotal role in kick-starting a captivating chemical reaction.
Curing – The Magic Unfolds:
During the curing process, the resin and hardener molecules engage in a spectacular dance of molecular transformation. They react with one another, forming robust covalent bonds that give birth to a three-dimensional network of interconnected molecules. Picture an invisible army of molecular soldiers locking hands to create a solid and rigid structure.
Pressure Matters:
Applying pressure is vital for optimal adhesion and curing of Gorilla Glue epoxy. This essential step helps expel any trapped air bubbles within the adhesive and ensures maximum contact between the bonded surfaces. So, grab those clamps or weights, and apply gentle pressure to achieve extraordinary results.
Temperature – Handle with Care:
Temperature also plays a significant role in the hardening process. Adhering to the manufacturer’s recommended temperature range is crucial for successful curing. Extreme temperatures can hinder proper bonding, so avoid using Gorilla Glue epoxy in excessively hot or cold conditions.
The Importance of Following Instructions
Step right up, curious readers. Today, we embark on an adhesive adventure, delving into the vital significance of following instructions when using the mighty Gorilla Glue epoxy. Whether you’re a seasoned DIY enthusiast or a glue novice seeking knowledge, this captivating journey will illuminate the reasons why adhering to instructions is paramount for unlocking the true potential of this bonding powerhouse.
Unleashing the Power of Gorilla Glue Epoxy
Prepare to be amazed. Gorilla Glue epoxy boasts an extraordinary ability to create unparalleled strength and durability. However, to harness its full potential, we must uncover the secrets hidden within the instructions provided by the esteemed manufacturer.
The Recipe for Success
Listen closely and learn. The instructions that accompany Gorilla Glue epoxy hold valuable insights into application methods, curing times, and safety precautions. By meticulously following these guidelines, we ensure that our projects withstand the test of time and conquer environmental challenges.
Safety First
Caution, my friends. It is crucial to recognize that certain glues, including Gorilla Glue epoxy, may harbor chemicals that pose risks if mishandled. By diligently following the instructions, we minimize the peril of accidents or injuries, safeguarding our well-being and preserving harmony in our creative spaces.
Failure is Not an Option
Attention to detail is key. Neglecting or disregarding the instructions could lead to feeble bonds or incomplete adhesion, compromising the integrity of our cherished projects. By embracing the guidance provided, we guarantee a triumphant outcome that exceeds our expectations.
One Size Does Not Fit All
Hold tight, knowledge seekers. Different glues demand different techniques. Each product requires specific handling methods and application approaches. Therefore, it is vital to acquaint ourselves with and meticulously follow the unique instructions tailored specifically for Gorilla Glue epoxy.
Curing Time for Gorilla Glue Epoxy
Today, we’ll be delving into the topic of curing time for Gorilla Glue epoxy. If you’re curious about how long it takes for this powerful adhesive to reach its full strength and durability, you’ve come to the right place. So buckle up and get ready for an exciting journey into the world of curing time.

Let’s start by discussing the factors that can influence the curing time of Gorilla Glue epoxy. Temperature and humidity are two crucial players in the curing process. In warmer temperatures, the epoxy will cure faster, while colder temperatures can slow down the process. Likewise, higher humidity levels can extend the curing time. So, keep an eye on those weather conditions when working with Gorilla Glue epoxy.
- Now, onto the burning question: how long does it take for Gorilla Glue epoxy to cure? Well, my friend, the general rule of thumb is to allow at least 24 hours for the epoxy to fully cure. This timeframe gives it ample opportunity to undergo a chemical reaction and form an unbreakable bond. However, remember that this is just an estimate. The amount of glue applied and the materials being bonded can also impact the curing time.
- Here’s a pro tip: don’t be fooled if the epoxy appears dry to the touch after a few hours. It may not have fully cured yet. Patience is key here, my friend. Give it a full day before you start handling or applying pressure to your glued items to ensure maximum strength.
But what if you’re in a hurry? Fear not. Gorilla Glue offers quick-curing epoxy options for those urgent projects. These formulas are designed to bond rapidly but may not provide the same level of strength as regular curing epoxy. So, bear that in mind when selecting which product to use.
To achieve optimal results with Gorilla Glue epoxy, preparation is key. Ensure that the surfaces you’re bonding are clean and dry before applying the epoxy. This will promote better adhesion and enhance the overall strength of the bond.
Stages of the Curing Process
The curing process of Gorilla Glue epoxy can be broken down into several distinct stages, each playing a crucial role in transforming the adhesive from a liquid to a rock-solid bond. Understanding and following these stages is essential for achieving optimal results with this powerful adhesive.
The first stage is the application of the epoxy. It is important to carefully follow the instructions provided by the manufacturer to ensure proper application. This step sets the foundation for the curing process and lays the groundwork for a strong bond.
Once the epoxy is applied, it enters the second stage – the initial curing phase. During this phase, the epoxy starts to harden and become tacky to the touch. It’s like witnessing a transformation as the liquid adhesive begins to solidify and take shape.
The duration of this initial curing phase can vary depending on factors such as temperature and humidity. It is important to allow enough time for the epoxy to properly cure before moving on to the next stage. Rushing into things can compromise the strength and durability of the bond, so patience is key here.
Next up is stage three – the intermediate curing phase. In this stage, the epoxy continues to harden and gain strength. It’s like watching a superhero grow stronger with each passing day. However, it is important to let the epoxy do its thing undisturbed during this phase. Any disturbances can disrupt the curing process and weaken the bond.
Just like before, the length of the intermediate curing phase can vary depending on factors such as temperature and humidity. Consulting the manufacturer’s instructions for specific guidance on curing times is highly recommended. Following these guidelines ensures that you give your epoxy enough time to fully develop its strength.
And finally, we reach stage four – the complete curing phase. At this point, your epoxy has fully hardened and reached its maximum strength. It has gone through an incredible transformation from a liquid adhesive to a solid bond capable of withstanding significant stress.
However, even though the epoxy has reached its maximum strength, it is important to note that complete curing may take several days or even weeks, depending on various factors. It is crucial to allow sufficient time for the epoxy to fully cure before subjecting it to any stress or load-bearing activities.
During the curing process, proper ventilation in the workspace is essential. This helps in expelling any fumes or odors that may be emitted during curing, ensuring a safe and comfortable working environment.
Additionally, it is crucial to handle cured epoxy with caution and follow proper safety procedures. Wearing gloves and protective eyewear, as well as following all the safety guidelines recommended by the manufacturer, is of utmost importance.
Benefits of Using Gorilla Glue Epoxy
When it comes to strength, versatility, and durability, Gorilla Glue epoxy stands out as the ultimate bonding solution. Let’s explore the benefits that make this adhesive a game-changer for all your bonding needs.
Versatility at Its Best:
Gorilla Glue epoxy is a true jack-of-all-trades adhesive that can bond metal, wood, ceramics, glass, plastics, and more. Whether you’re mending a broken chair leg, creating stunning crafts, or tackling a complex repair project, this trusty adhesive has got you covered.
Waterproof Wonder:
Say goodbye to worries about moisture or water exposure ruining your hard work. Once fully cured, Gorilla Glue epoxy becomes completely waterproof. This makes it ideal for outdoor projects like fixing garden furniture or even sealing leaks in pipes.
Strength That Withstands It All:
You can trust Gorilla Glue epoxy to provide an unyielding bond that can handle heavy loads and vibrations. From repairing stress-prone items like furniture and machinery to securing delicate pieces together, this adhesive ensures a lasting bond that won’t let you down.
Temperature Resistant:
Extreme temperatures are no match for Gorilla Glue epoxy. It can withstand scorching heat and freezing cold without losing its bond strength or integrity. Whether your project takes place indoors or outdoors, this adhesive is up for the challenge.
No Shrinking or Expanding:
Unlike adhesives that shrink or expand as they cure, Gorilla Glue epoxy maintains its original size. This ensures a solid bond without any gaps or weak spots that could compromise the integrity of your project.
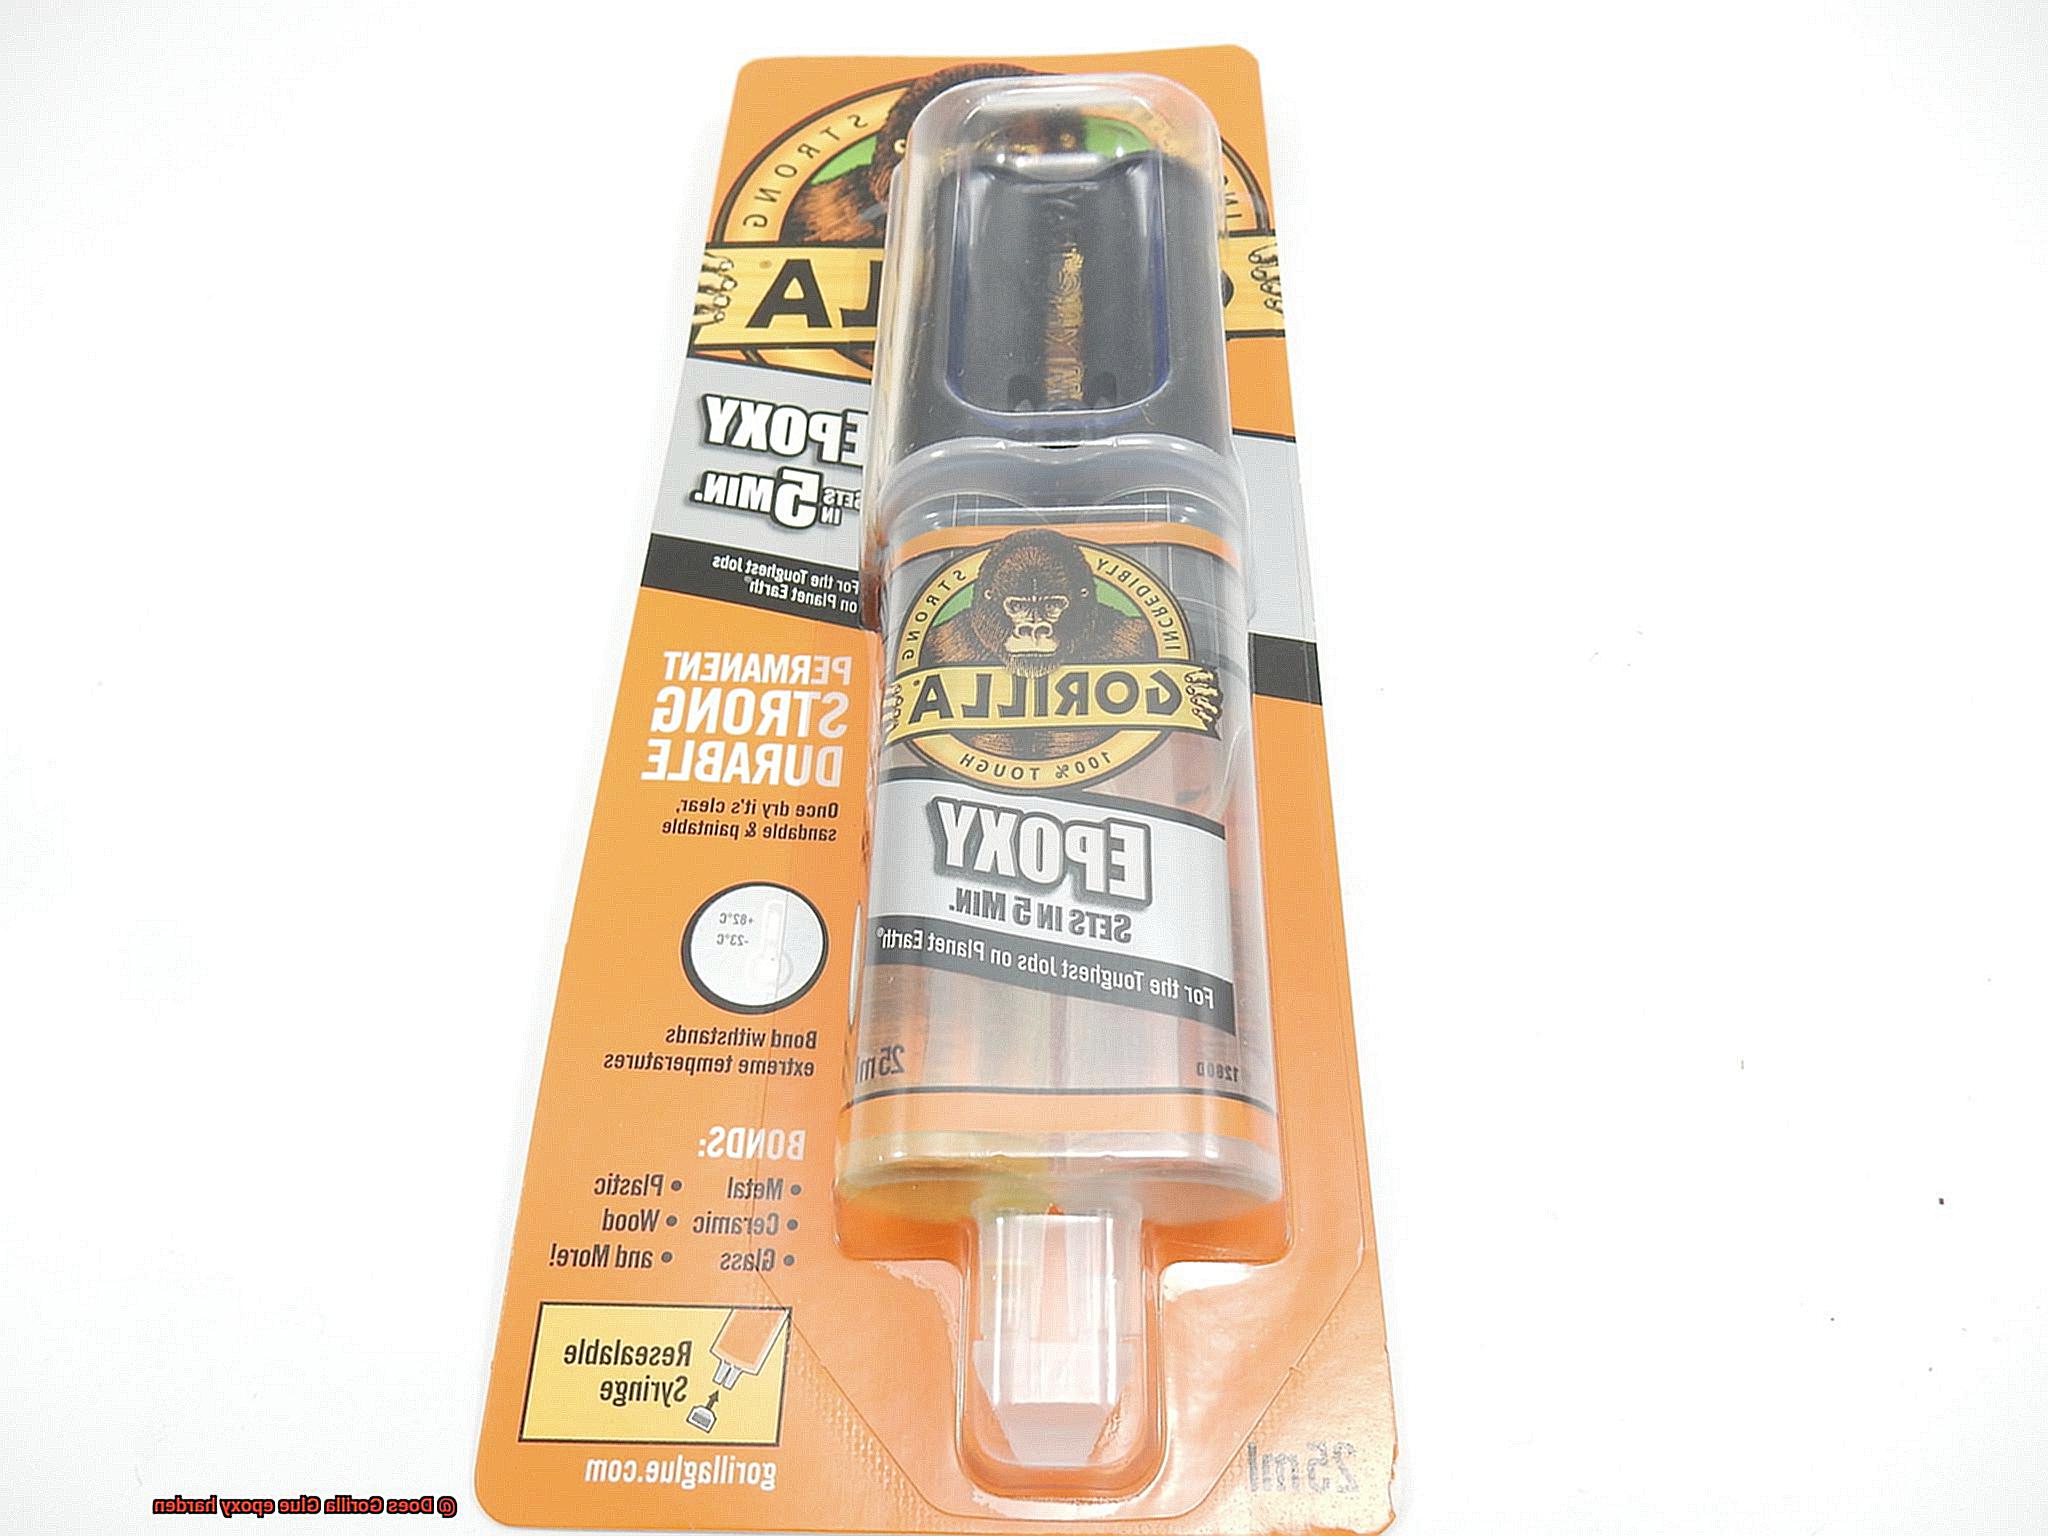
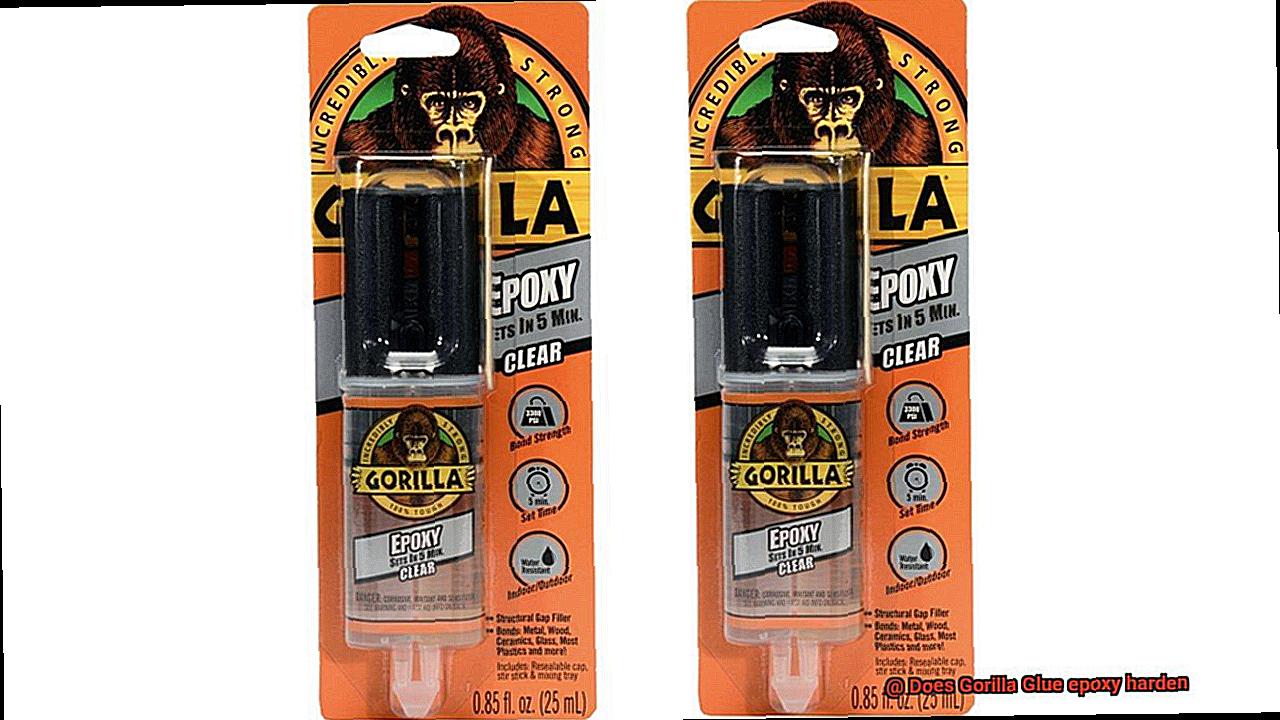
Rapid Curing Time:
Time is always of the essence, and Gorilla Glue epoxy understands that. With a quick curing time of just 5 minutes and full handling capability within 30 minutes, you can complete your projects efficiently and move on to the next task with ease.
User-Friendly Formula:
Gorilla Glue epoxy comes in a two-part system with clear instructions on achieving the perfect resin-to-hardener ratio. This user-friendly approach makes it easy for anyone to use, ensuring optimal results every time.
Durability That Stands the Test of Time:
Once cured, Gorilla Glue epoxy forms a bond that can withstand the test of time. It remains strong and durable for years, making it a reliable adhesive solution for all your future projects.
Readily Available:
No need to search high and low for this superhero adhesive. Gorilla Glue epoxy is widely accessible and can be found at most hardware stores, home improvement centers, and online retailers. It’s always within reach when you need it.
Factors That Affect the Strength of Gorilla Glue Epoxy Bond
Look no further. This article will delve into the intricate details of what makes Gorilla Glue epoxy bonds so unyielding. Whether you’re a seasoned DIY enthusiast or a professional craftsman, understanding these factors will empower you to create bonds of unrivaled strength that withstand the test of time.
Factor 1: Surface Preparation:
To lay the foundation for an unbreakable bond, proper surface preparation is paramount. Prior to applying the adhesive, ensure that both surfaces are meticulously clean, dry, and free from contaminants. The removal of oil, grease, dust, or dirt can be effortlessly achieved by employing mild detergent or rubbing alcohol. Remember, cleanliness is the key to forging an unshakeable bond.
Factor 2: Mixing Ratio:
Achieving the perfect harmony between Gorilla Glue epoxy components is pivotal. Following the manufacturer’s instructions with precision guarantees that the resin and hardener blend seamlessly. Straying from the recommended mixing ratio jeopardizes bond strength. Thus, take care to measure accurately and mix thoroughly for an extraordinary bond.
Factor 3: Application Technique:
The application technique employed can make or break your bond. Apply a uniform layer of epoxy on both surfaces being bonded – insufficient adhesive may result in feeble bonding, while excessive usage leads to wastage. Additionally, ensure proper contact between the two surfaces during curing for an unwavering bond that refuses to relinquish its hold.
Factor 4: Curing Time:
When it comes to curing Gorilla Glue epoxy, patience is virtue incarnate. Allocate ample time for the adhesive to solidify and achieve its maximum strength. During this period, avoid disturbing the glued materials to safeguard optimal bond strength. Take note that temperature and humidity influence curing time, so consult the product instructions for precise guidelines.
Factor 5: Environmental Factors:
The environment in which Gorilla Glue epoxy is applied significantly impacts bond strength. Extreme temperatures or high humidity can impede the curing process and weaken the bond. Thus, adhere to the manufacturer’s recommended temperature range and apply the adhesive in a moderately humid environment for optimal results.
Factor 6: Material Compatibility:
Not all materials are created equal, and compatibility with Gorilla Glue epoxy is no exception. While this adhesive is versatile and compatible with various materials, it is crucial to ensure its compatibility with the specific materials being bonded. Some materials may necessitate additional surface preparation or priming to enhance adhesion and bolster bond strength.
Proper Surface Preparation
Proper Surface Preparation: The Key to Unbreakable Bonds with Gorilla Glue Epoxy
When it comes to DIY projects, nothing is more frustrating than a weak bond that doesn’t stand the test of time. That’s why I’m here to reveal the secret to creating unbreakable bonds with Gorilla Glue epoxy – proper surface preparation. Trust me, this step is absolutely crucial if you want your project to be a success.
So, why is surface preparation so important? Let me break it down for you. When you apply Gorilla Glue epoxy to a surface, whether it’s wood, metal, or even concrete, you need it to stick like glue (pun intended). And for that to happen, the surface must be clean, dry, and free of any contaminants.
Imagine trying to stick two pieces of paper together with dirt and grease in between – it just wouldn’t work. The same principle applies to epoxy bonding. Any dirt, dust, or grease on the surface can hinder the epoxy from adhering properly, resulting in weak bonds that are prone to failure.
Now let’s dive into the steps of proper surface preparation. First and foremost, start by thoroughly cleaning the surface. Grab a mild detergent or cleaner and scrub away any dirt or grime using a brush. Rinse it off with water and make sure it’s completely dry before moving on.
Next up is roughening the surface. This step is all about creating a rough texture that gives the epoxy something to cling onto. You can achieve this by lightly sanding the surface with sandpaper or using a wire brush. Just remember not to go overboard – a gentle roughening will do the trick.
Once you’ve roughened up the surface, it’s time to eliminate any loose particles. Use a clean cloth or compressed air to remove any dust or debris created during the roughening process. You want the surface to be squeaky clean before applying the epoxy.
But wait, there’s more – priming. Certain materials, like wood or concrete, may require a primer to enhance adhesion. Think of it as giving the epoxy an extra boost for maximum strength and durability. Simply follow the manufacturer’s instructions for selecting and applying the right primer for your specific application.
Now that your surface is prepped and primed (if needed), it’s time for the main event – applying the Gorilla Glue epoxy. Remember to mix the components thoroughly and apply an even coat onto the prepared surface using a brush or applicator. Be cautious not to go overboard with the epoxy – too much can lead to uneven curing and poor adhesion.
Here comes the final step – patience. After applying the epoxy, give it enough time to cure. The curing time can vary depending on factors like temperature and humidity, so it’s crucial to follow the manufacturer’s instructions. Trust me, rushing the curing process will only lead to disappointment.
tU5bCl8WMoc” >
Also Read: Does Gorilla Glue Work on Plastic?
Conclusion
Gorilla Glue epoxy is known for its incredible strength and durability.
But does it really harden as promised? The answer is a resounding yes.
Once applied, Gorilla Glue epoxy undergoes a chemical reaction that transforms it from a liquid to a solid state. This process, known as curing, ensures that the epoxy hardens into a strong and resilient bond.
So whether you’re fixing a broken vase or creating intricate DIY projects, you can trust Gorilla Glue epoxy to deliver rock-solid results.