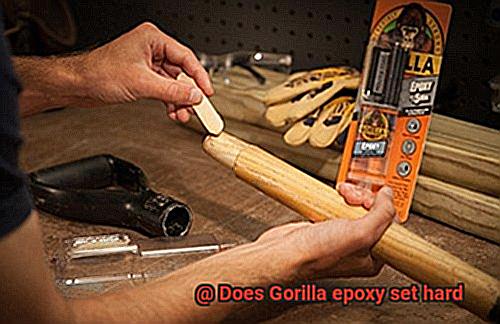
Sick of dealing with flimsy adhesives that just can’t hold up? Look no further than Gorilla epoxy – the ultimate solution for all your bonding needs. This stuff has earned a serious reputation among DIY enthusiasts, construction workers, and artists alike. But what’s the secret behind its success? Well, it all comes down to one thing – Gorilla epoxy sets hard.
When it comes to epoxy adhesives, you want something that not only bonds strong but also lasts long. Gorilla epoxy delivers on both fronts. Unlike other adhesives that stay flexible or pliable after curing, this stuff sets rock-hard. That means you can count on a firm and reliable bond that won’t let you down.
So how does Gorilla epoxy achieve such rock-solid hardness? It’s all in the formula. This epoxy is made up of two components – the resin and the hardener. When these two parts are mixed together in the right ratio and applied to your surface of choice, a chemical reaction kicks off the curing process. This reaction forms tough cross-linked molecular chains that create a rigid, solid bond.
The great thing about a hard-setting epoxy like Gorilla is its ability to withstand impacts, vibrations, and mechanical stress. Whether you’re fixing a busted tool, crafting a sculpture, or joining metal pieces together, Gorilla epoxy ensures a bond that stands the test of time. Its hard-set nature means unbeatable strength without sacrificing flexibility or risking cracks and shrinkage.
But wait, there’s more. Gorilla epoxy isn’t just tough as nails – it also boasts excellent resistance to chemicals and incredible adhesive properties. It can bond to pretty much anything: metal, wood, glass, ceramics – even plastic. That versatility makes it an ideal choice for countless applications indoors and outdoors.
So if you’re tired of weak adhesives that leave you high and dry when you need them most, give Gorilla epoxy a shot. With its unbeatable strength, durability, and ability to handle extreme conditions, this adhesive is a game-changer for all your bonding needs. Say goodbye to disappointment and hello to rock-solid masterpieces – courtesy of Gorilla epoxy.
What is Gorilla Epoxy?
Contents
- 1 What is Gorilla Epoxy?
- 2 How Does Gorilla Epoxy Set Hard?
- 3 Advantages of Using Gorilla Epoxy
- 4 Preparing the Surfaces for Bonding
- 5 Mixing the Resin and Hardener
- 6 Allowing Sufficient Curing Time
- 7 Bonding to Various Materials with Gorilla Epoxy
- 8 The Durability and Strength of Gorilla Epoxy Bonds
- 9 Conclusion
When it comes to adhesive strength and durability, look no further than Gorilla Epoxy.
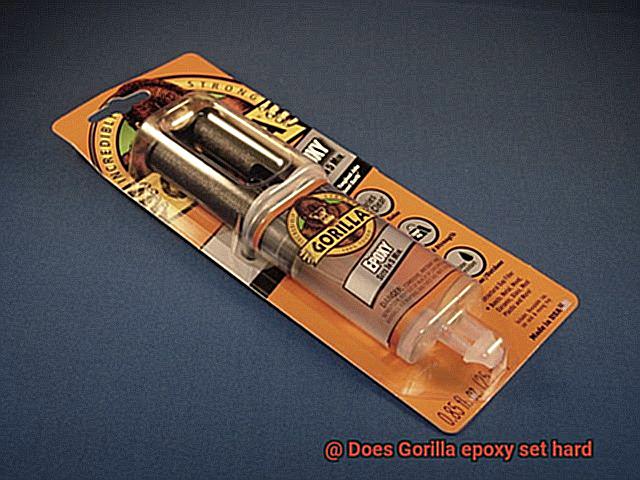
This versatile two-part epoxy adhesive is the go-to choice for professionals and DIY enthusiasts alike. Whether you’re repairing household items or working on construction projects, Gorilla Epoxy offers a reliable solution for all your bonding needs.
Here, we will explore what Gorilla Epoxy is, its key features and benefits, as well as how to use it effectively.
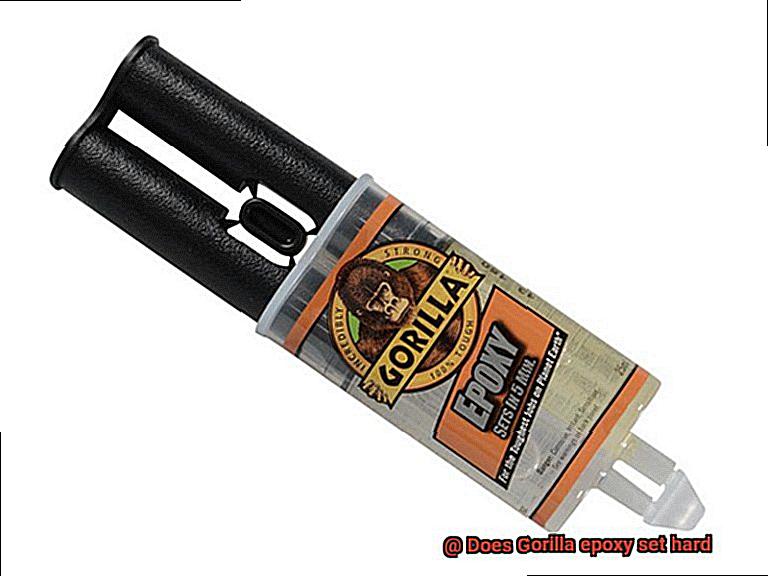
- A two-part epoxy adhesive consisting of resin and hardener.
- Forms a strong and rigid bond when the components are mixed.
- Versatile, bonding to materials like wood, metal, ceramics, glass, and plastics.
Key Features and Benefits:
- High strength and durability: Withstands heavy loads and resists impacts.
- Waterproof and chemical-resistant: Creates a barrier against moisture and chemicals.
- Fast curing time: Can cure within 5 minutes to several hours depending on the variant.
How to Use Gorilla Epoxy:
- Prepare the surfaces: Clean, dry, and free from grease or debris.
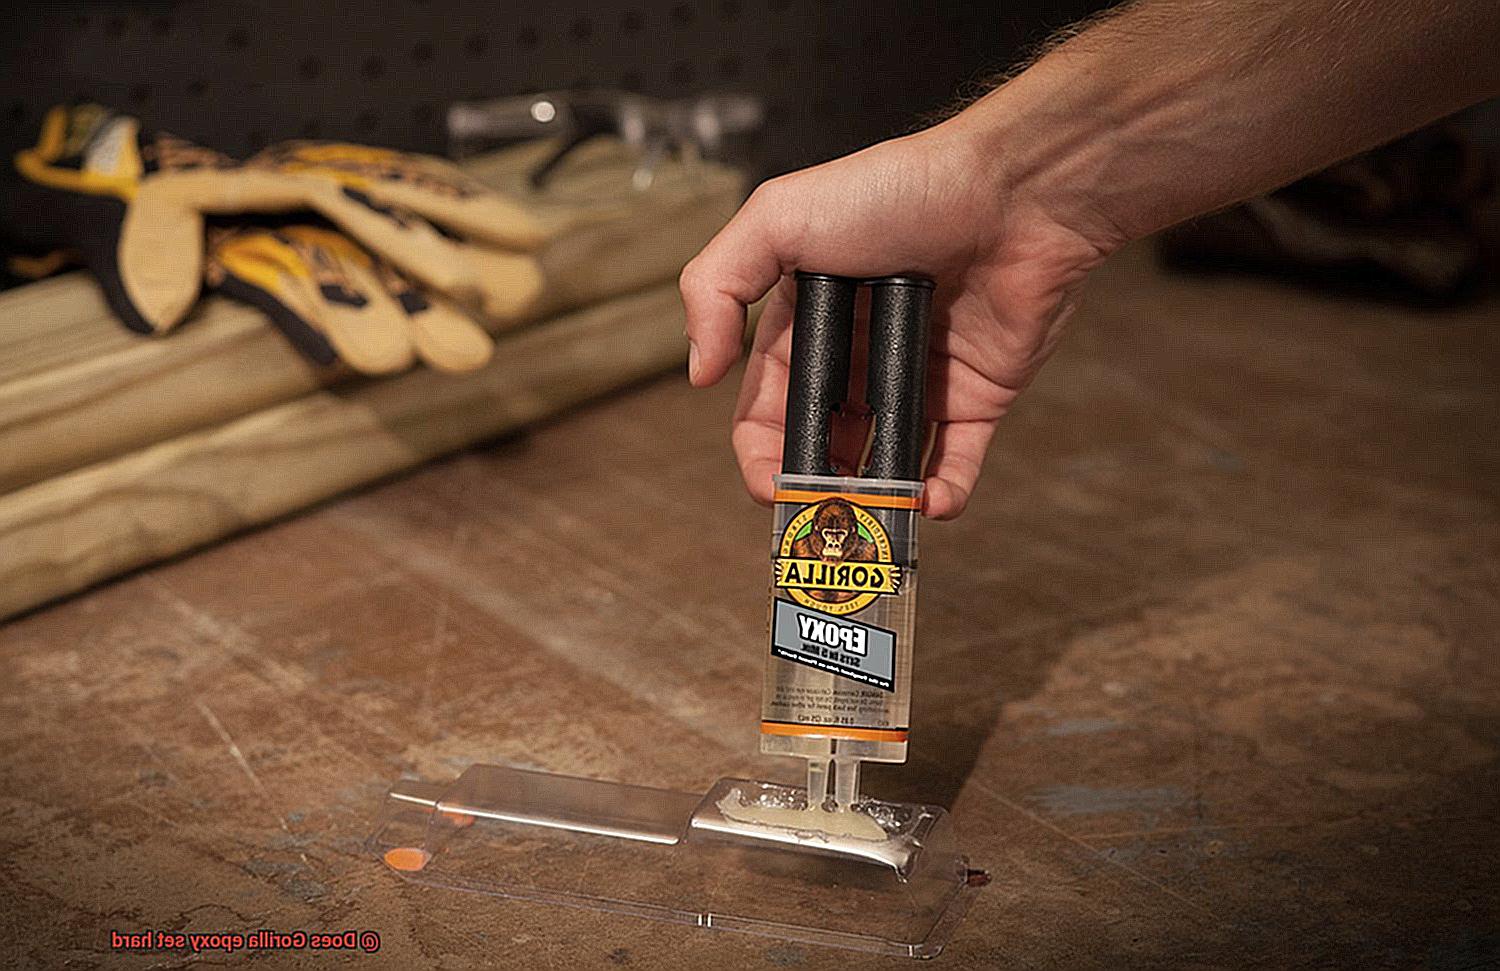
- Dispense equal amounts: Easy-to-use syringe dispenser for accurate mixing.
- Mix thoroughly: Stir the components until fully blended.
- Apply the epoxy: Spread evenly on both surfaces using a brush or applicator.
- Clamp or hold in place: Apply pressure or use clamps to hold surfaces together.
- Allow sufficient curing time: Follow manufacturer’s instructions for specific times.
How Does Gorilla Epoxy Set Hard?
For those who appreciate the power of a strong adhesive, Gorilla Epoxy is a well-known name. This incredible epoxy adhesive is renowned for its unbeatable strength and durability, making it the go-to choice for a wide range of applications. But have you ever wondered how Gorilla Epoxy sets hard? Prepare to be amazed as we delve into the science behind its rock-solid bond and explore the factors that contribute to its impressive strength.
- Gorilla Epoxy consists of two components: a resin and a hardener. When these two components are combined, a chemical reaction takes place, triggering the curing process. During this reaction, the resin and hardener molecules cross-link, creating a solid network that spreads throughout the epoxy. As the epoxy cures, it gradually hardens and becomes rigid, providing an incredibly strong bond.
- The curing process of Gorilla Epoxy occurs in two stages: the initial cure and the full cure. Initially, the epoxy begins to harden, but it may still retain some flexibility and tackiness. However, as time passes and the curing process continues, the epoxy reaches its full cure, becoming completely rigid and impressively durable.
Several factors can influence how quickly Gorilla Epoxy sets hard. Temperature is one of the key factors to consider. Higher temperatures accelerate the curing time, while lower temperatures slow it down. It’s crucial to follow the manufacturer’s instructions regarding the ideal temperature range for curing Gorilla Epoxy to ensure optimal results.
The ratio of resin to hardener also plays a crucial role in determining how hard Gorilla Epoxy will set. Mixing the components in the correct proportions is essential for proper curing and maximum strength. Deviating from the recommended ratio can result in incomplete curing or weakened bond strength.
Proper surface preparation is another vital factor in achieving a hard bond with Gorilla Epoxy. Before applying the epoxy, thorough cleaning and drying of the surfaces to be bonded are necessary. Any contaminants or moisture can hinder the curing process and compromise the bond’s strength.
Once Gorilla Epoxy has fully cured and set hard, it forms an incredibly strong bond that can withstand various stresses, including impact, vibration, and temperature changes. Its high resistance to chemicals and water further enhances its durability, making it suitable for even the toughest applications.
It’s worth noting that the curing time and strength of Gorilla Epoxy may continue to improve over several days or even weeks after the initial cure. This post-cure hardening process allows the epoxy to gradually become even stronger and more resistant.
Advantages of Using Gorilla Epoxy
Gorilla Epoxy is a game-changer when it comes to adhesives, offering a plethora of advantages that make it the ultimate choice for all your bonding and repair needs. Here’s why Gorilla Epoxy stands out from the crowd:
- Exceptional Strength and Durability: When Gorilla Epoxy sets hard, it becomes incredibly strong and durable. This makes it perfect for applications where a reliable bond is crucial.
- Versatility: Gorilla Epoxy can bond a wide range of materials, including wood, metal, glass, ceramics, plastics, and more. No matter what your project entails, Gorilla Epoxy can handle it with ease.
- Water and Temperature Resistance: Whether your project is exposed to moisture or extreme temperatures, Gorilla Epoxy remains unaffected. Its water and temperature resistance ensure that the bond stays intact, making it suitable for both indoor and outdoor applications.
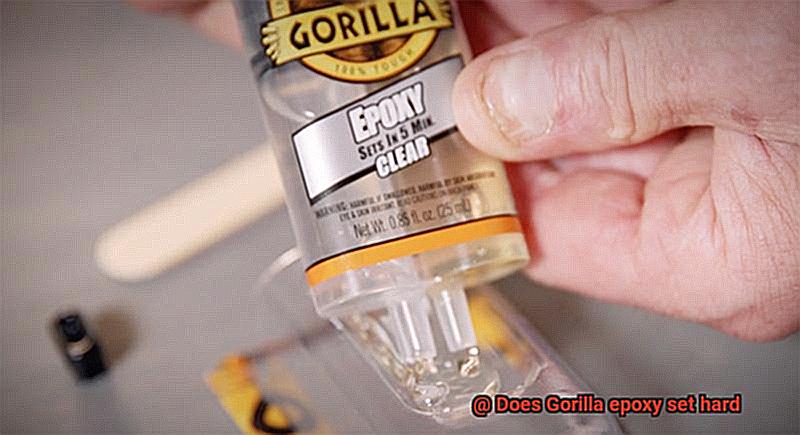
- Quick Curing Time: With Gorilla Epoxy, you don’t have to wait around for hours. Once mixed, it sets within 5 minutes and reaches full strength within 24 hours, allowing you to complete your project efficiently and on time.
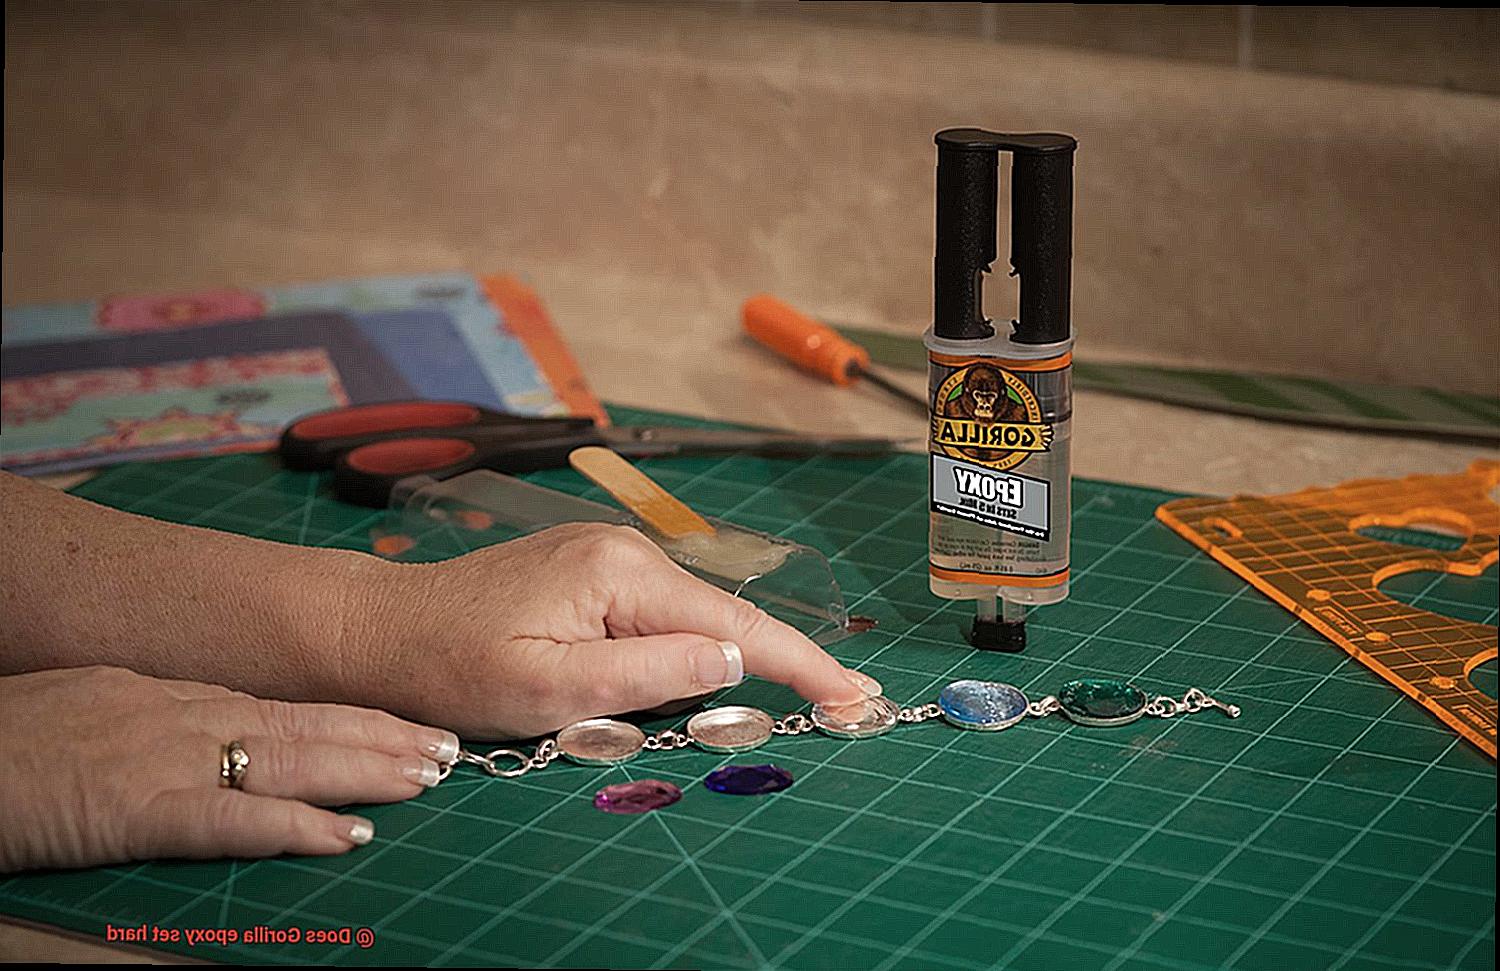
- User-Friendly Application Process: Gorilla Epoxy comes in a dual syringe packaging, making it easy to mix the resin and hardener components accurately. No additional measuring tools are required – it’s simple and straightforward.
- Strong Adhesive Properties: Gorilla Epoxy forms a bond that resists impacts, vibrations, and stress. This makes it ideal for heavy-duty projects or everyday use where reliability is paramount.
- Gap-Filling Capabilities: Gorilla Epoxy can fill in minor gaps or imperfections between surfaces, ensuring a seamless bond. It’s especially useful when working with uneven surfaces or repairing damaged items.
- Excellent Chemical Resistance: Gorilla Epoxy can withstand exposure to various chemicals and solvents without compromising its bond strength. This makes it suitable for use in environments where contact with chemicals is expected.
- Clear and Non-Yellowing Bond: If aesthetics matter to you, Gorilla Epoxy won’t disappoint. It provides a clear and non-yellowing bond, ensuring that the repaired item looks as good as new.
Preparing the Surfaces for Bonding

For a bond that’s strong, reliable, and versatile, Gorilla Epoxy is the superhero of adhesives. But before you start sticking things together, proper surface preparation is essential. In this blog post, we’ll guide you through the step-by-step process of prepping surfaces for bonding with Gorilla Epoxy. So grab your gloves and let’s dive in.
Step 1: Cleanse Away the Contaminants
To achieve a rock-solid bond, squeaky clean surfaces are a must. Use a mild detergent or solvent and a clean cloth to remove any dirt, grease, or contaminants. Ensure the surfaces are thoroughly dry before moving on to the next step.
Step 2: Roughen Up for a Mechanical Marvel
Smooth surfaces don’t stand a chance against Gorilla Epoxy’s strength. Lightly sand both surfaces using fine-grit sandpaper to create a slightly rough texture. This increased surface area provides an excellent mechanical bond for the epoxy to grip onto. Afterward, wipe away any dust or debris with a clean cloth.
Step 3: Primer Power-Up
Certain materials like metals or plastics benefit from the use of a primer to enhance adhesion. Choose a primer that is compatible with both the surface material and Gorilla Epoxy. Follow the manufacturer’s instructions carefully during application.
Step 4: Mix and Apply Like a Pro
Now it’s time to mix and apply the Gorilla Epoxy. Follow the manufacturer’s instructions regarding mixing ratios and application methods. Thoroughly mix the epoxy to ensure proper curing and bonding.
Step 5: Spread It Evenly
Using a brush or applicator tool, evenly coat both surfaces being bonded with epoxy. Avoid excessive pressure, as it can weaken the bond by squeezing out excess epoxy.
Step 6: Press and Hold
Align the surfaces carefully, then apply firm pressure for a few minutes to ensure good contact between the epoxy and surfaces. Any excess epoxy that oozes out can be wiped away with a clean cloth or scraped off once it has cured.
Step 7: Wait for the Magic to Happen
Allow the epoxy to fully cure before subjecting the bonded surfaces to stress or load. Curing times vary depending on the Gorilla Epoxy product and environmental factors. Follow the manufacturer’s instructions for precise curing times and conditions.
Mixing the Resin and Hardener
Mixing the Resin and Hardener: The Secret to Gorilla Epoxy’s Super Strength
So, you’ve prepped your surfaces, cleaned away those pesky contaminants, and roughened them up for a mechanical marvel. Now it’s time for the real magic to happen – mixing the resin and hardener to activate Gorilla Epoxy and achieve an unbeatable, rock-solid bond.
Here’s what you need to know about mixing Gorilla Epoxy like a pro:
- Follow the instructions: Gorilla epoxy is a two-part adhesive that consists of a resin and a hardener. The ratio of resin to hardener may vary depending on the specific Gorilla epoxy product you’re using. It’s crucial to read and follow the instructions provided by the manufacturer to ensure optimal performance.
- Measure accurately: To achieve a strong bond, you must measure the resin and hardener accurately. Using an incorrect ratio can result in a weak bond or incomplete curing. So grab your measuring tools and dispense equal amounts of both components onto a clean mixing surface, like a disposable mixing cup or a piece of cardboard.
- Mix thoroughly: Now it’s time to blend those two powerful components together. Grab a stir stick or a small spatula and start mixing the resin and hardener. The manufacturer will recommend a specific mixing time, usually ranging from 1-3 minutes. Make sure to scrape the sides and bottom of the container to ensure all parts are mixed properly.
- Clear is key: As you mix, you’ll notice that the initial cloudy appearance of the mixture gradually becomes clear. This is a sign that the resin and hardener are fully combined. Keep stirring until there are no streaks or swirls left in the mixture. Once it’s clear and free of imperfections, you’re good to go.
- Working time matters: Remember, once you mix the resin and hardener, the epoxy will start to cure. That means you have a limited working time before it starts to harden. The working time can vary based on factors like temperature and humidity. To maximize your working time, it’s best to mix small amounts of epoxy at a time, especially if you’re new to using Gorilla epoxy.
- Apply with care: Now that your epoxy is perfectly mixed, it’s time to apply it to the surface you’re bonding. Grab a brush, spatula, or any other appropriate tool and ensure even coverage. Follow the manufacturer’s instructions for proper adhesion techniques.
- Patience is a virtue: Finally, sit back and let the epoxy work its magic. Allow it to cure according to the recommended curing time specified by the manufacturer. This can range from a few hours to several days depending on the specific Gorilla epoxy product and environmental conditions. Remember, good things come to those who wait.
Allowing Sufficient Curing Time
If you’re seeking the ultimate bond strength with Gorilla epoxy, then you’ve come to the right place. In this blog post, we’ll delve into the importance of allowing sufficient curing time for Gorilla epoxy and explore the factors that can affect the process. So grab your favorite adhesive and let’s embark on this journey together.
The Power of Curing:
Curing is the alchemical process that transforms ordinary epoxy into an extraordinary adhesive. It is during this phase that the epoxy solidifies, forming an unyielding bond between materials. Just like a fine wine, Gorilla epoxy needs time to reach its full potential.
Temperature and Humidity: Allies or Adversaries?
Temperature and humidity hold sway over the curing time of Gorilla epoxy. Cold temperatures slow down the process, while warmer temperatures hasten it. However, extreme temperatures can compromise the quality of the bond. To ensure success, adhere to the recommended temperature range stipulated by the manufacturer.
Patience: An Indispensable Virtue:
Gorilla epoxy demands patience, as it typically requires a minimum of 24 hours to cure properly. During this period, resist the urge to touch or disturb the adhesive joint. Even the slightest movement can disrupt the bonding process and compromise its strength. So sit back, relax, and allow Gorilla epoxy to weave its magic.
From Semi-Cured to Fully Cured:
Appearances can be deceiving. Although Gorilla epoxy may feel dry or tack-free after a few hours, it does not indicate that it has achieved its maximum hardness. It may still be in a semi-cured state and need additional time to unlock its full potential. Remember, patience is a virtue that pays off handsomely.
Embrace the Differences:
Different types of Gorilla epoxy may have slightly varying curing times. Some products offer expedited curing options for time-sensitive projects, while others require longer curing periods for specific applications. To navigate this adhesive landscape successfully, consult the manufacturer’s instructions for precise guidance.
Bonding to Various Materials with Gorilla Epoxy
Look no further than Gorilla Epoxy. With its unrivaled strength and versatility, this adhesive is the key to seamless bonding. In this comprehensive guide, we’ll explore how Gorilla Epoxy can bond to various materials. From surface preparation to curing times, we’ll cover it all. So, grab your goggles and let’s dive in.
Metal Bonding:
- Clean the surface with degreasing agent or rubbing alcohol.
- Apply thin epoxy layers to both surfaces, pressing them together firmly.
- Allow complete curing for robust bonds that resist heavy loads and vibrations.
Wood Bonding:
- Create a rough texture by sanding the wood surface.
- Apply epoxy to both surfaces, clamping them until cured.
- Revel in durable bonds resilient against moisture.
Ceramic and Glass Bonding:
- Clean ceramics with water and mild detergent; dry glass surfaces.
- Sparingly apply epoxy, gently joining the pieces.
- Cure as recommended for temperature-resistant bonds.
Fabric Bonding:
- Test adhesive on a small, hidden area first.
- Thinly apply epoxy to both surfaces, pressing firmly.
- Allow full curing before handling or washing fabric.
Plastic Bonding:
- Thoroughly clean plastic surfaces; slightly roughen with sandpaper.
- Sparingly apply epoxy to both surfaces, joining them firmly.
- Embrace chemical and moisture-resistant bonds.
The Durability and Strength of Gorilla Epoxy Bonds
This adhesive powerhouse delivers unrivaled durability and strength, making it the go-to choice for any project that demands a reliable bond.
What sets Gorilla Epoxy apart is its ability to bond with a wide range of materials. Wood, metal, ceramic, glass, plastics – you name it, Gorilla Epoxy can handle it. It forms a tight connection that can withstand heavy loads and resist impacts, ensuring your project stays intact.
But it’s not just the material compatibility that makes Gorilla Epoxy so powerful. Its resistance to water and extreme temperatures is equally impressive. Whether you’re working in a humid bathroom or tackling an outdoor project, Gorilla Epoxy maintains its bonding properties without weakening.
The secret lies in its two-part formula. Gorilla Epoxy consists of a resin and a hardener that must be mixed together before application. Once mixed, a chemical reaction occurs, creating a bond that is not only strong but also resistant to shear forces.
Once fully cured, Gorilla Epoxy sets hard and becomes extremely tough. It can withstand bending, twisting, or pulling forces without breaking a sweat. This makes it perfect for projects where high strength and durability are essential.
However, it’s important to note that while Gorilla Epoxy is a powerful adhesive, it may not be suitable for all materials or applications. Always consult the manufacturer’s guidelines to ensure proper usage and compatibility.
tU5bCl8WMoc” >
Conclusion
Gorilla epoxy is renowned for its ability to set incredibly hard.
Once it cures, it becomes as solid as a rock, providing a durable and long-lasting bond. This epoxy doesn’t mess around – it sets with an unyielding firmness that can withstand even the toughest of challenges.
Its hardness is unmatched, giving you the confidence that your projects will remain intact and secure.