Sick of rubber items that just won’t stick back together? Well, you’re in the right place.
Today, we’re diving into the world of adhesives and exploring a burning question: Does Gorilla epoxy bond to rubber? You know, that trusty Gorilla brand that seems to tackle all your sticky situations.
Join us as we unravel the mystery behind this powerful adhesive and its ability to bond rubber. Whether you’re a DIY enthusiast, a crafty artist, or just someone looking for a reliable solution, we’ve got you covered with all the essential info.
So, let’s put on our lab coats and find out if Gorilla epoxy and rubber make a match made in adhesive heaven.
What is Gorilla Epoxy?
Contents
Gorilla Epoxy is the ultimate adhesive for all your bonding needs. This remarkable adhesive is known for its ability to create a reliable bond in just a matter of minutes. Whether you’re a DIY enthusiast, craftsman, or professional, Gorilla Epoxy is the go-to solution for all your bonding projects.
What makes Gorilla Epoxy so special? Let’s take a closer look at its advantages:
- Versatility: Gorilla Epoxy can be used on a wide range of materials, including metal, wood, ceramics, and some plastics. This versatility makes it a popular choice for various applications, from repairing broken pottery to bonding metal parts together.
- Strong and Durable Bond: Once Gorilla Epoxy has cured, it forms a tough and resilient bond that can withstand heavy loads and constant stress. This makes it ideal for applications where strength and durability are crucial, such as in construction or automotive repairs.
- Excellent Gap-Filling Properties: Gorilla Epoxy has outstanding gap-filling properties, allowing it to fill in uneven surfaces or gaps between materials. This ensures a secure and seamless bond, even when working with materials that have irregular shapes or surfaces.
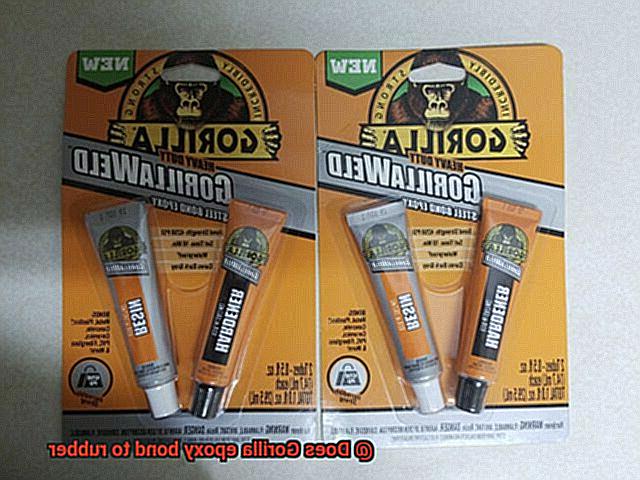
- Easy to Use: Gorilla Epoxy comes in a two-part formula – resin and hardener – which are mixed together before application. The separate tubes or syringes allow for precise measurement and mixing. The epoxy also has a relatively long working time, giving you enough time to apply and position the adhesive before it hardens. Once applied, it dries clear, leaving no visible traces of the adhesive.
So, how can you use Gorilla Epoxy effectively? Here are some simple steps:
- Prepare the surfaces: Clean the surfaces you want to bond thoroughly and ensure they are dry.
- Mix the epoxy: Squeeze out equal amounts of resin and hardener from their separate tubes or syringes. Mix them together thoroughly until the colors blend evenly.
- Apply the epoxy: Use a brush, spatula, or applicator to apply the mixed epoxy to one of the surfaces.
- Join the surfaces: Press the two surfaces together firmly, applying even pressure to ensure a secure bond.
- Allow curing time: The epoxy will start to harden in just a few minutes, but it is recommended to allow it to cure for at least 24 hours for maximum strength.
What is Rubber?
Rubber, a remarkable material that has been around for centuries, never ceases to astonish us with its extraordinary elasticity and durability. Derived from the sap of rubber trees found in tropical regions, rubber is a natural polymer known as latex. It’s like tapping into nature’s own source of superpowers. The sap is carefully collected by making incisions in the tree’s bark and then processed to create raw rubber, free from impurities.
What makes rubber truly special is its incredible elasticity. It can stretch and bounce back to its original shape when released from a force that deforms it. Imagine a material that can withstand pressure and still emerge unscathed. This remarkable property is due to the flexible molecular structure of rubber. Long chains of repeating units called polymers allow rubber to stretch and deform under stress. And when the stress is removed, the chains snap back into place, giving rubber its impressive ability to rebound.
But elasticity is not the only superpower of rubber. It also boasts exceptional durability. Resistant to wear, abrasion, and impact, rubber is perfect for applications that demand toughness. Additionally, it possesses excellent electrical insulation properties, making it a go-to material for insulating gloves and cables.
Surprisingly, there are different types of rubber available. Natural rubber comes from the sap of rubber trees we mentioned earlier. However, synthetic rubbers are chemically created and can be customized for specific applications by adjusting their chemical composition. This ability to tailor-make rubbers grants them even more superpowers.
But there’s more to this superhero material—vulcanization. This process involves treating rubber with sulfur or other chemicals and exposing it to heat. Vulcanization cross-links the polymer chains, resulting in a stronger and more durable material. Vulcanized rubber can withstand heat, chemicals, and deformation like a true superhero.
Challenges of Bonding Rubber
Bonding rubber may seem like a daunting task, but fear not. In this article, we will explore the challenges of bonding rubber and how Gorilla epoxy can conquer them. From the composition of rubber to temperature and humidity concerns, we’ll navigate the obstacles you may face. So grab your glue guns and let’s embark on this rubber bonding adventure.
Rubber’s Composition:
Rubber’s molecular structure resists bonding due to its high elasticity and low surface energy. To achieve a successful connection, it is crucial to select the right adhesive. Gorilla epoxy steps up to this challenge.
Additives in Rubber:
Rubber often contains sneaky additives that migrate to the surface over time, creating a barrier between the adhesive and rubber. But fear not. Gorilla epoxy is ready to defeat these culprits and ensure a strong bond.
Temperature and Humidity:
Rubber’s dynamic nature brings another challenge during bonding – its expansion and contraction with temperature changes. This movement can stress the adhesive bond. Additionally, high humidity can affect curing, resulting in weaker bonds. But don’t fret. Gorilla epoxy is designed to withstand these conditions and emerge victorious.
Surface Preparation:
Cleanliness is the key to successful bonding. However, rubber’s low surface energy makes thorough cleaning tricky. Enhance adhesion with special treatments like roughening the surface or using primers designed for rubber bonding. Trust Gorilla epoxy to create a strong foundation for your bond.
Compatibility:
Not all adhesives work well with every type of rubber. Different rubbers have unique properties requiring compatible adhesives for optimal bonding. Gorilla epoxy offers a range of products tailored to various rubber types, ensuring a perfect match for your bonding needs.
Flexibility and Durability:
Rubber materials endure constant bending, stretching, and compression, straining adhesive bonds. Gorilla epoxy’s flexibility and durability make it the ultimate contender for rubber bonding. With its strength, your bond will withstand any superpower rubber throws its way.
Gorilla Epoxy’s Two-Part Formula
Gorilla Epoxy’s two-part formula is a true superhero when it comes to bonding rubber. Its incredible strength and durability have made it a popular choice among professionals and DIY enthusiasts alike. But what sets Gorilla Epoxy apart from other adhesives?
The secret lies in its dynamic duo of resin and hardener. These two components work together to create a powerful adhesive that can conquer even the toughest rubber bonding challenges. The resin provides the necessary strength and durability, while the hardener ensures a fast and secure bond.
To achieve the best results, it’s important to prepare the rubber surface properly. Clean it thoroughly with mild detergent and water to remove any dirt, oil, or contaminants that could interfere with the bonding process. Once clean, allow the surface to dry completely before moving on.
Next, mix equal parts of the resin and hardener components of Gorilla Epoxy. Follow the manufacturer’s instructions carefully to ensure proper mixing. Once mixed, apply a thin layer of the epoxy onto the rubber surface using a brush or applicator. Make sure to spread it evenly over the area you wish to bond.
Now comes the exciting part – pressing the rubber surface onto the desired object or material. Apply consistent pressure for a few minutes to ensure a strong bond. If needed, use clamps or other means of securing the rubber in place until the epoxy fully cures.
Patience is key when working with Gorilla Epoxy. It typically takes around 24 hours to fully cure and achieve maximum strength. During this time, avoid any excessive movement or stress on the bonded surface.
Once fully cured, your bond with rubber will be highly durable and resistant to moisture, heat, and chemicals. Gorilla Epoxy’s two-part formula truly lives up to its reputation as a reliable sidekick for all your rubber bonding adventures.
Types of Rubber and Their Compatibility with Gorilla Epoxy
Rubber is a tricky material to stick together, but fear not. In this blog post, we’ll explore the compatibility of Gorilla epoxy with different types of rubber. So, let’s dive in and find out if Gorilla epoxy can stick it to rubber.
The Rubber Spectrum: A World of Possibilities
Rubber comes in various forms, such as natural rubber, synthetic rubber, neoprene rubber, silicone rubber, and EPDM rubber. Each type has its own unique properties and characteristics that make it suitable for different applications. From the elastic bounce of natural rubber to the heat resistance of silicone rubber, there’s a wide range of possibilities.
Natural and Synthetic Rubber: A Strong Bond
Gorilla epoxy generally bonds well with natural rubber and synthetic rubber, like neoprene and EPDM. These rubbers have good surface energy, allowing for a strong and durable bond. The adhesive penetrates the surface of the rubber, creating a secure connection that can withstand the test of time. Just make sure to clean the surface thoroughly before applying the epoxy to ensure optimal adhesion.
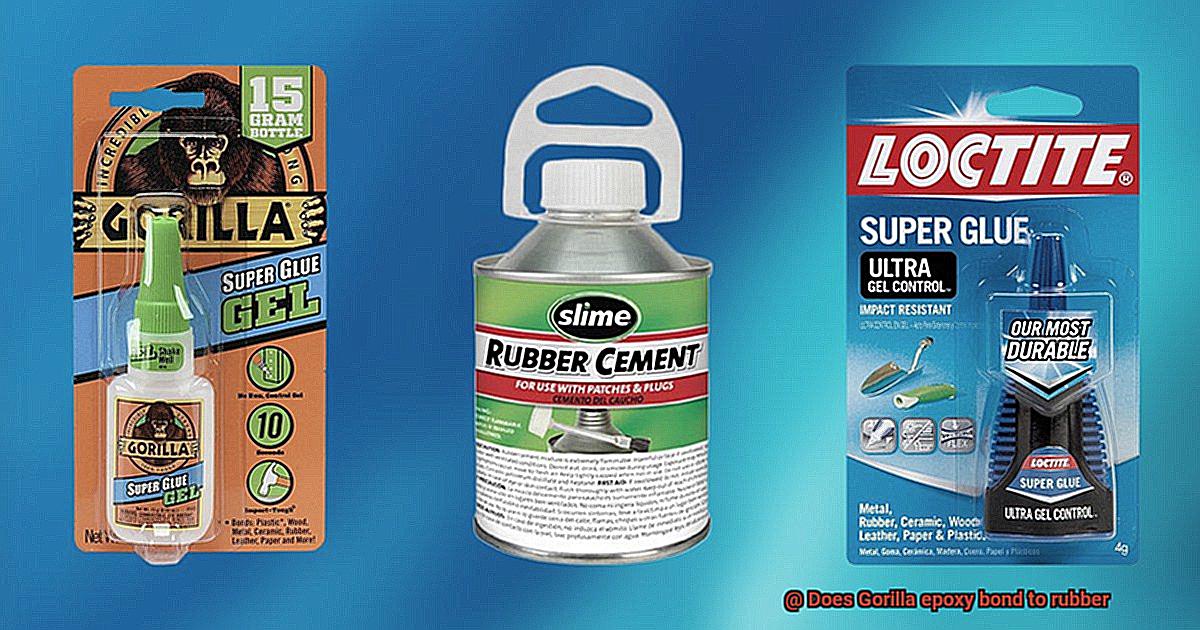
Silicone Rubber: The Slippery Challenge
Silicone rubber, on the other hand, poses a challenge for Gorilla epoxy. With its low surface energy and non-stick nature, silicone rubber makes it difficult for most adhesives to form a strong bond. The smooth surface of silicone rubber repels the adhesive, preventing it from fully gripping the material. For bonding silicone rubber, specialized silicone adhesives are recommended. These adhesives are formulated to work specifically with silicone materials and provide a reliable bond.
Test Before You Bond: Ensuring Compatibility
To avoid any mishaps or disappointment, it’s always a good idea to perform a small test before applying Gorilla epoxy to your rubber surfaces. This test will help you determine the compatibility and bonding strength of the adhesive with your specific type of rubber. Simply apply a small amount of epoxy to a inconspicuous area and let it cure. Then, test the bond by applying pressure or pulling on the material. If the bond holds strong, you can proceed with confidence.
Surface Preparation is Key: The Secret to Success
To achieve the best bond between Gorilla epoxy and rubber, proper surface preparation is crucial. Clean the surfaces thoroughly using soap and water or a mild solvent to remove any dirt, grease, or oils that may hinder adhesion. Once clean, ensure the surfaces are completely dry before applying the adhesive. Following the manufacturer’s instructions for applying even pressure and allowing sufficient curing time is essential for a successful bond.
Preparing the Surfaces for Bonding
Preparing surfaces for bonding is an essential step in achieving a strong and durable bond, especially when working with rubber and using Gorilla epoxy. By following a few simple guidelines, you can ensure that your bond withstands the test of time and holds up to even the toughest conditions.
First and foremost, cleanliness is key. Before applying any adhesive, it is crucial to thoroughly clean both the rubber surface and the material it will be bonded to. Grab a mild detergent or soap and water solution and give that rubber a good scrub. Use a soft brush or sponge to reach every nook and cranny, ensuring that dirt, dust, and grease are completely removed. Rinse the rubber thoroughly and let it dry completely.
Don’t forget about the other surface you’ll be bonding to. Each material may have specific cleaning guidelines recommended by the manufacturer, so be sure to follow them diligently. A clean surface provides a solid foundation for a successful bond.
Now that everything is squeaky clean, it’s time to roughen up those surfaces a bit. Grab some fine-grit sandpaper and gently sand both the rubber and the material. This will create tiny grooves on the surface, allowing the adhesive to penetrate and grip more effectively. Be careful not to go overboard and damage the surfaces – a light sanding will do just fine.
After sanding, don’t forget to remove any residue left behind. Use a clean cloth or compressed air to get rid of those pesky particles that might interfere with the adhesive’s effectiveness. A clean surface free from debris ensures maximum adhesion.
Now comes the moment of truth – test fit. Place the rubber piece onto the material it will be bonded to and make sure everything fits snugly. This step allows you to make any necessary adjustments before applying the epoxy. It’s better to identify any issues beforehand rather than later when it might be too late.
Speaking of epoxy, it’s crucial to read and follow the manufacturer’s instructions carefully. Different formulations may have specific application requirements, so pay close attention. Following the instructions ensures that you achieve the best results possible.
When it’s time to apply Gorilla epoxy, grab a small brush or applicator and spread a thin layer of adhesive onto both surfaces. Make sure the epoxy covers the entire surface area that will come into contact during bonding. This ensures a uniform distribution of the adhesive, maximizing its bonding strength.
Now, carefully align the rubber piece with the material and firmly press them together. Apply consistent pressure for a few minutes to ensure a strong bond. This step is crucial for creating proper contact between the surfaces and allowing the adhesive to establish a strong grip.
But don’t rush things. Allow sufficient curing time for the epoxy to work its magic. The specific curing time will depend on the epoxy formulation, so refer to those trusty instructions for guidance. Giving the adhesive enough time to fully cure ensures that your bond reaches its full strength potential.
Applying Even Pressure and Curing Time for a Strong Bond
Whether it’s a shoe sole that keeps peeling off or a rubber handle that won’t stay attached, it can be frustrating. But don’t worry, because I have some expert advice on how to achieve a strong bond between Gorilla epoxy and rubber.
Applying even pressure during the curing process is a key factor in creating a robust bond. Imagine you’re at the gym, working out and only focusing on one arm while neglecting the other. The result? One super buff arm and one puny arm. Well, the same principle applies to bonding rubber with Gorilla epoxy. Applying even pressure ensures that the epoxy spreads evenly across the surface of the rubber, creating a secure and durable bond.
To achieve this even pressure, use clamps or other tools to hold the rubber in place while the epoxy cures. This prevents any movement or shifting that could ruin your bonding efforts. Consistency is key.
Now let’s talk about curing time. Just like patiently waiting for your favorite TV show to return from a cliffhanger, allowing sufficient curing time is crucial for a strong bond. Curing time refers to the period during which the epoxy hardens and solidifies, creating a lasting connection between the rubber surfaces.
The specific curing time will depend on factors such as temperature, humidity, and the type of epoxy you’re using. Follow the manufacturer’s instructions for the recommended curing time. They know their stuff.
During curing, avoid unnecessary movement or stress on the bonded rubber surfaces. Treat it like a fragile newborn baby – no excessive handling or placing heavy objects on top of it. Any unnecessary stress could compromise the bond’s integrity and result in a weaker connection.
Keep in mind that environmental factors can also affect curing time. Higher temperatures speed up the process, while colder temperatures slow it down. So consider these factors when planning your bond.
xsvpAsSM7Do” >
Conclusion
In conclusion, Gorilla epoxy is the go-to adhesive for bonding rubber surfaces with unwavering reliability. Its versatility, strength, durability, and exceptional gap-filling properties make it a top choice for countless applications. The dynamic duo of resin and hardener in Gorilla epoxy’s two-part formula creates an unbreakable bond capable of withstanding hefty loads and relentless stress.
But don’t underestimate the challenges that come with bonding rubber. Factors like rubber composition, additives, temperature fluctuations, humidity levels, surface preparation, compatibility with different rubber types, as well as flexibility and durability requirements must be carefully considered.
To achieve a bond that’s truly solid between Gorilla epoxy and rubber surfaces, meticulous surface preparation is paramount. Cleanliness is key – rid those surfaces of dirt and contaminants. Roughen them up using sandpaper to ensure maximum adhesion. And don’t forget the test fit before applying the adhesive; it’s a crucial step.
During the curing process, maintaining even pressure is non-negotiable for creating a bond that can weather any storm. Utilize clamps or other tools to firmly secure the rubber while the epoxy works its magic. And remember to give it ample time to cure according to the manufacturer’s instructions – this is where true strength takes shape.
All things considered, Gorilla epoxy stands tall as your trusty companion when it comes to bonding rubber surfaces. By following proper application techniques and taking into account your specific rubber material requirements, you can forge a bond that’s unyielding in any situation life throws at you.