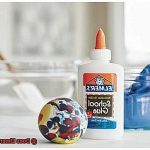
Woodworking is a timeless art that requires a delicate hand and careful attention to detail. One of the most crucial aspects of this craft is gluing wood pieces together, which creates a bond that’s strong enough to withstand everyday use. But what about using Elmer’s glue on wood? Can this household name live up to its reputation when it comes to woodworking?
If you’re a fan of working with wood or just starting out, you might be curious about whether Elmer’s glue works on wood. After all, it’s readily available and has been trusted for decades for various arts and crafts projects. However, when it comes to woodworking, you need a glue that can hold up under pressure.

In this blog post, we’ll explore the effectiveness of Elmer’s glue in woodworking. We’ll dive into the different types of Elmer’s glue available on the market and discuss their suitability for various woodworking tasks. Whether you’re an experienced woodworker or just starting, keep reading to find out if Elmer’s glue is the right choice for your next project.
Does Elmer’s Glue Work on Wood?
Contents
- 1 Does Elmer’s Glue Work on Wood?
- 2 What Type of Glue is Elmer’s?
- 3 How to Prepare the Wood Surface for Gluing
- 4 Tips for Applying Elmer’s Glue to Wood
- 5 Clamping the Surfaces Together for a Strong Bond
- 6 The Benefits of Using Elmer’s Glue on Wood
- 7 Common Mistakes When Using Elmer’s Glue on Wood
- 8 Alternatives to Elmer’s Glue for Working with Wood
- 9 Conclusion
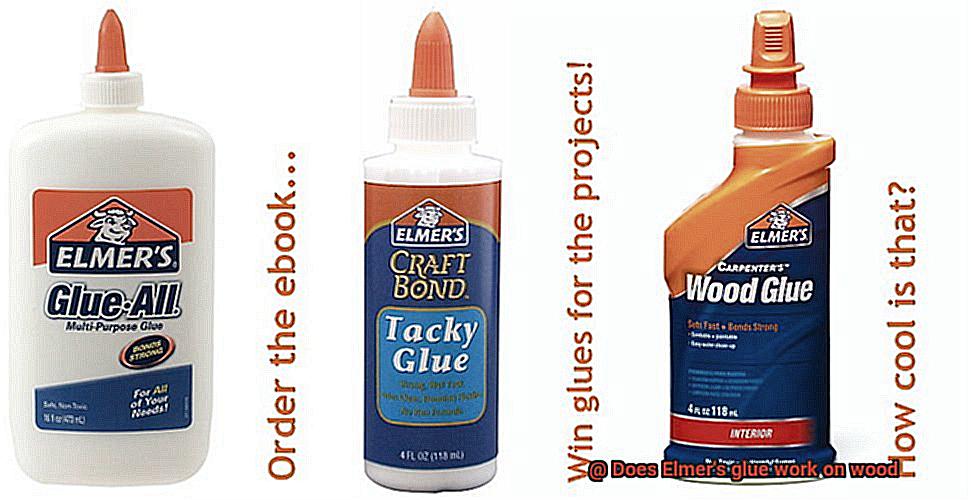
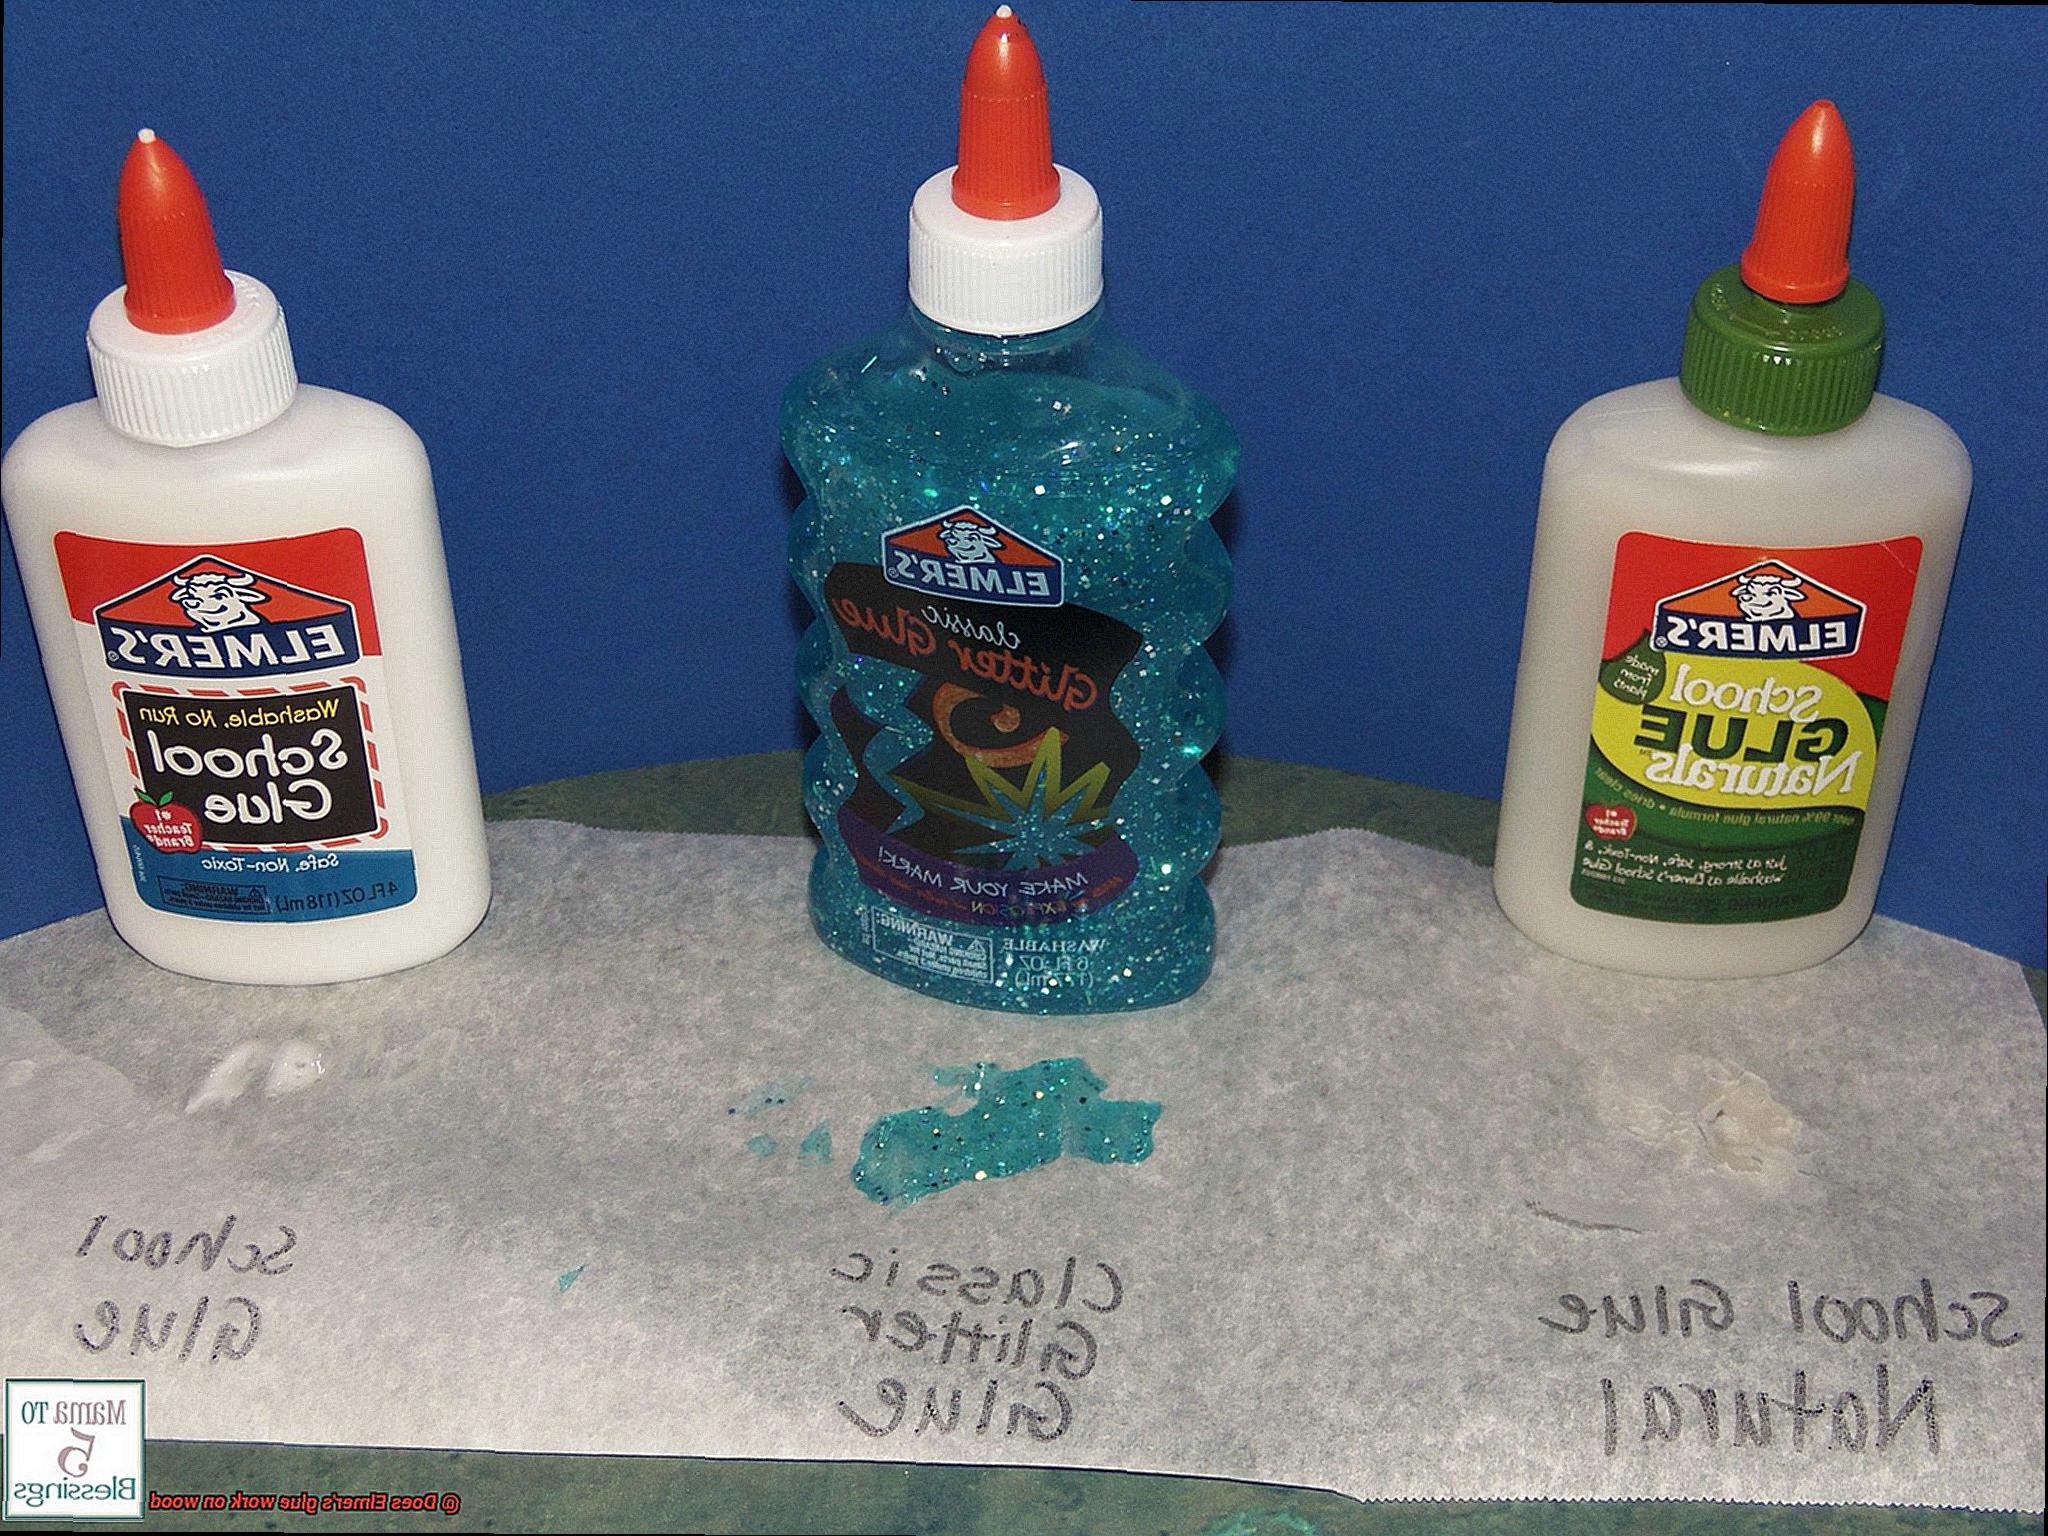
To start, it’s important to understand that there are different types of Elmer’s glue available in the market. The white glue is a water-based adhesive that dries clear and is ideal for use on porous surfaces like paper, cloth, and cardboard. On the other hand, carpenter’s glue is an aliphatic resin specially designed for use on wood. Therefore, if you’re working with wood, it’s best to use carpenter’s glue.
Next, preparing the surface properly before applying the adhesive is crucial to achieving a strong bond. Ensure that the surface is clean, dry, and free from any dirt or debris. Lightly sanding the surface also creates a rough texture that helps the glue bond better with the wood.
Another crucial factor that affects the effectiveness of Elmer’s glue on wood is the type of wood being used. Some woods are more porous than others, and this can affect how well the glue adheres to them. For example, softwoods like pine and cedar are more porous than hardwoods like oak and mahogany. Therefore, you may need to apply multiple coats of glue or use a stronger adhesive for certain types of wood.
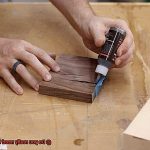
When using Elmer’s glue on wood, it’s essential to apply it evenly and thinly on both surfaces to be joined. Applying too much glue can cause it to seep out from the edges and create a mess. Clamping the glued surfaces together until the glue dries completely is also crucial to achieving a strong bond.
What Type of Glue is Elmer’s?
Produced by Elmer’s Products Inc., this brand has been a trusted name in adhesives since 194But what type of glue is Elmer’s, you ask? It’s a type of polyvinyl acetate (PVA) glue.
PVA glue is a water-based adhesive that forms a strong bond when it dries. This makes it a fantastic choice for porous materials like wood, paper, and cloth. Using Elmer’s PVA glue for your woodworking project guarantees a secure bond that will last.
One of the most significant benefits of using Elmer’s glue is that it’s non-toxic and safe to use. You can rest easy knowing that harmful chemicals won’t be seeping into your system or harming the environment. Additionally, it cleans up with ease while it’s still wet.
While Elmer’s produces other types of adhesive products like epoxy and super glue, it’s important to note that they aren’t recommended for use on wood surfaces. These types of glues are designed for bonding non-porous materials like metal, plastic, and glass.
To ensure that your Elmer’s glue works effectively on wood, consider these tips:
- Choose the right type of glue.
- Prepare the surface properly by sanding it down and cleaning off any debris.
- Consider the type of wood being used.
- Apply the glue evenly and thinly.
- Give it time to bond by clamping it together until it dries completely.
How to Prepare the Wood Surface for Gluing
By following these five steps, you can ensure a strong and secure bond between your wood pieces.
Step 1: Clean the Surface
To create a strong bond, start by ensuring that the wood surface is free of any dirt, dust, or debris. Use a damp cloth or vacuum to remove any loose particles.
Step 2: Sand the Surface
Sanding the wood surface creates a rough texture that allows for better adhesion of the glue. Use a fine grit sandpaper and sand along the grain of the wood to create a smooth and even surface. Sanding also helps to remove any old finishes or coatings that may interfere with the glue’s ability to bond with the wood.
Step 3: Remove Sawdust
After sanding, it’s essential to remove any sawdust left on the surface. Use a tack cloth or a clean, dry cloth to wipe down the wood surface thoroughly. Any remaining sawdust or debris can compromise the strength of the bond.
Step 4: Apply a Wood Conditioner
Some woods have a tendency to absorb glue more than others, which can result in weak joints. Applying a wood conditioner can help prevent this by sealing the wood pores and creating a more uniform surface for gluing. A conditioner can also help prevent blotching or uneven staining when finishing the project.
Step 5: Apply Glue Evenly and Clamp
When applying glue, make sure to apply it evenly and thinly on both surfaces to be joined. This ensures that the glue dries evenly and forms a strong bond. Applying too much glue can cause it to seep out from the edges and create a mess. After applying glue, hold the pieces together with clamps until the glue has fully cured. Clamping ensures that there is enough pressure on the joint for optimal bonding and prevents any movement that may result in gaps or weak spots.
Tips for Applying Elmer’s Glue to Wood
If you’re working with wood and using Elmer’s glue, it’s important to know how to apply it correctly to achieve a strong and long-lasting bond. Here are some tips and tricks to keep in mind:
Prepare the Surface
To ensure a successful bond, prepare the surface of the wood by cleaning it thoroughly and removing any dust or debris. Use a dry cloth or compressed air to get rid of any particles. Additionally, sanding the surface lightly can help create a better bond.
Apply a Thin Layer
It’s crucial to use a thin layer of Elmer’s glue when applying it to wood. Applying too much glue can weaken the joint or cause it to take longer to dry. A thin layer will also prevent any excess glue from oozing out of the joint, which can create a messy bond.
Use Clamps or Weights
After applying the glue, use clamps or weights to hold the pieces of wood together until the glue dries. This will help ensure a strong bond by preventing the wood from shifting or moving during the drying process.
Apply Pressure
When joining the two surfaces together, apply enough pressure to ensure a strong bond. This can be achieved through clamps or weights, as mentioned above, but also by pressing down firmly on the surfaces with your hands.
Wait for the Glue to Dry
It’s essential to give the glue enough time to dry completely before removing the clamps or weights. Elmer’s glue typically takes around 24 hours to fully cure, so be patient and avoid disturbing the joint during this time.
Clamping the Surfaces Together for a Strong Bond
If you’re looking for a way to ensure that your woodworking projects stay firmly in place, clamping is the solution. Clamping is a crucial step when using Elmer’s glue on wood, as it ensures a strong and long-lasting bond. Let’s dive into why clamping is so important.
Firstly, clamping ensures that the glue is evenly distributed between the surfaces. This even distribution creates a cohesive bond that will stand up against wear and tear. Secondly, clamping prevents any movement that could weaken the bond. Even the slightest shift can lead to the glue breaking down over time.

To properly clamp your woodwork, follow these steps:
- Start with clean and dry surfaces: It’s important to ensure that your surfaces are free from any dirt or dust before applying glue.
- Apply Elmer’s glue: Using a brush or roller, apply a thin layer of Elmer’s glue to one of the surfaces.
Place surfaces together: Place the other surface on top of the glue and press firmly.
- Choose the right clamp: For smaller projects, a hand screw or bar clamp may suffice, but for larger projects, such as woodworking projects, a pipe or parallel clamp may be necessary.
- Don’t over-tighten: Be careful not to over-tighten the clamp, as this can damage the wood or cause warping.
Wait for glue to dry: Allow the glue to dry completely before removing the clamp.
Sand excess glue: Once the glue is dry, remove any excess using sandpaper.
The Benefits of Using Elmer’s Glue on Wood
As an expert on the benefits of using Elmer’s glue on wood, I can attest to its numerous advantages.
First and foremost, Elmer’s glue is water-based, which makes it easy to clean up without any harmful fumes. Moreover, it is non-toxic, making it safe for use by both children and adults alike. These features make Elmer’s glue a convenient choice for many woodworking projects.
One of the most significant benefits of using Elmer’s glue on wood is that it dries clear, leaving no visible marks or residue on the surface. This is particularly important for projects that require a seamless finish. Additionally, once the glue has dried, it is easy to sand, allowing you to achieve a smooth and even surface.
But that’s not all – Elmer’s glue also provides a strong bond that penetrates deep into the fibers of the wood, creating a firm hold that is resistant to impact and vibration. This makes it an ideal choice for projects that require durability and longevity. And in case there are any gaps or cracks in the wood, Elmer’s glue can be used as a filler. It dries hard and can be sanded down to create a smooth and even surface. This makes it an excellent choice for repairing furniture or other wooden objects.
Moreover, when used with clamps during application, its bonding capabilities are maximized as the clamps help distribute the glue evenly and prevent any movement that could weaken the bond.
Common Mistakes When Using Elmer’s Glue on Wood
It’s time to take a closer look at your Elmer’s glue application technique. As an expert in the field, I have compiled some common mistakes to avoid when using Elmer’s glue on wood.
Firstly, one of the most frequent mistakes is not using enough glue. It’s essential to create a strong bond between the two pieces of wood. So, make sure you apply enough glue to cover the entire surface area and ensure a secure connection.
Another critical mistake to avoid is not allowing enough time for the glue to dry. Elmer’s glue is water-based and requires sufficient drying time for a robust bond. Impatience will risk weakening the bond or even breaking it altogether. So, be patient and give your project enough time to dry completely before handling or working with it.
Using the wrong type of Elmer’s glue can also cause problems. Not all Elmer’s glues are created equal, and each one has a specific use. Using a general-purpose glue may not provide the same level of strength and durability as the appropriate adhesive for your specific project needs. For example, if you’re working with wood, use Elmer’s Carpenter’s Wood Glue Max for a more robust and durable bond.
Finally, not preparing the surface of your wood properly before gluing can also cause issues. A clean surface is essential for maximum adhesion. Ensure that you remove any dirt, dust, or debris from the surface, and consider sanding it down to create a better adhesive bond.
By avoiding these common mistakes, you’ll be able to use Elmer’s glue effectively on wood and create long-lasting bonds that won’t let you down. Here’s a quick recap:
- Use enough glue to cover the entire surface area
- Allow sufficient drying time for a robust bond
- Choose the appropriate adhesive for your specific project needs
- Prepare the surface of your wood properly before gluing
Alternatives to Elmer’s Glue for Working with Wood
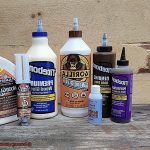
When it comes to woodworking, choosing the right glue is crucial to the success of your projects. While Elmer’s glue is a popular choice, there are times when it may not be the best option for the job. Luckily, there are several alternatives available that can better suit specific needs.
One option worth considering is polyurethane glue, also known as Gorilla glue. This type of glue is known for its high-strength bonding capability and waterproof properties, making it ideal for outdoor woodworking projects. It also expands as it dries, filling any gaps in the wood joints. So, if you’re looking for a strong and durable bond that can withstand heavy loads and stress, polyurethane glue is an excellent choice.
Epoxy is another two-part adhesive that consists of a resin and a hardener. When mixed together, they create a bond that can withstand heavy loads and stress. Epoxy is often used in woodworking projects that require a strong bond, such as furniture construction or boat building. If you’re looking for a long-lasting adhesive that will hold up well over time, then epoxy is definitely worth considering.
For those who prefer natural alternatives, hide glue may be the best choice. Made from animal collagen, hide glue has been used for centuries in woodworking. It has excellent bonding strength and can be easily sanded and stained. Additionally, it allows for easy disassembly if needed, making it a great option for projects that may need to be taken apart in the future.
Lastly, cyanoacrylate glue, also known as superglue, can be used as an alternative to Elmer’s glue in certain situations. It works well on small-scale projects or for fixing small cracks or splits in wood. However, it’s important to note that cyanoacrylate glue does not have the same bonding strength as other alternatives mentioned above.
Also Read: Can you use Elmer’s glue as a sealant?
Conclusion
In conclusion, the answer to the question “Does Elmer’s glue work on wood?” is a resounding yes, but with some important caveats. To get the best results, it’s crucial to choose the right type of Elmer’s glue for your specific woodworking project. Carpenter’s glue, in particular, is specially formulated for use on wood and offers superior bonding strength.
But even with the right glue in hand, proper surface preparation is key. Sanding the surfaces to be joined and removing any debris will create a rough texture that allows for better adhesion of the glue. Once you’re ready to apply the Elmer’s glue, make sure to do so evenly and thinly on both surfaces. Clamping them together until the glue dries completely will help ensure a strong bond.
While Elmer’s PVA glue is an excellent choice for many woodworking projects due to its non-toxic nature and reliable bonding capabilities, there are other options available that may better suit your needs. Polyurethane glue or epoxy may provide even stronger bonds in certain situations.
To avoid common mistakes when using Elmer’s glue on wood, make sure you’re using enough adhesive and allowing sufficient drying time before moving or handling your project.