Imagine yourself knee-deep in a creative project or tackling that long-awaited DIY task. Amidst the chaos of your toolbox, you stumble upon a mysterious tube labeled ‘E6000.’ Whispers of its adhesive prowess have reached your ears, igniting a fire of curiosity within. Now, you can’t help but wonder: can this mighty adhesive, E6000, weave its magic on neoprene?
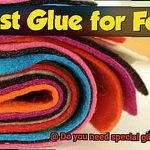
Neoprene, that versatile material renowned for its flexibility, durability, and resistance to all sorts of elements. It’s the stuff wetsuits are made of, the fabric hugging athletes during intense workouts, and even the protective shield for your beloved laptop. But when it comes to bonding neoprene with unwavering strength, does E6000 have what it takes?
Get ready for an exhilarating journey through the world of adhesives as we uncover the truth about E6000 and its compatibility with neoprene. Brace yourself for an adventure that will open your eyes wide as we delve into the key factors that determine a successful bond.
We’ll dive deep into the secrets behind E6000’s formulation and explore its unique properties that make it one of the most sought-after adhesives out there. From exceptional flexibility that defies limits to weather resistance that scoffs at nature’s tantrums – we’ll examine how E6000 stands up against neoprene’s toughest challenges.
But wait. There’s more. We won’t leave you hanging without a guide through the application process. We’ve got invaluable tips and tricks up our sleeves to ensure a bond so flawless it’ll make Michelangelo blush. And if you’re thirsty for knowledge, fear not. We’ll quench it by addressing some common FAQs along the way.
So whether you’re an artist yearning to create masterpieces, a DIY enthusiast with a project itch that needs scratching, or simply someone curious about the potential of E6000 on neoprene – this enthralling journey is for you. Together, we’ll unveil the ultimate answer to our burning question: does E6000 work its magic on neoprene?
Cleaning the Neoprene Surface
Contents
Neoprene, a remarkable synthetic rubber celebrated for its resistance to water, chemicals, and extreme temperatures, finds its way into various applications, from wetsuits and laptop sleeves to industrial products. To ensure a robust and long-lasting bond when using adhesive like E6000 on neoprene, meticulous cleaning and preparation are essential. In this comprehensive guide, we will unveil the step-by-step process of cleaning the neoprene surface, unveiling its hidden potential for adhesive application.
Step 1: Banishing Loose Dirt and Debris
Before embarking on the cleansing journey, cast away any lingering dirt or debris that may have attached itself to the neoprene surface. Employ a gentle brushing or shaking motion to dislodge these particles. This preliminary step guarantees that the cleansing solution can penetrate deeply, setting the stage for thorough purification.
Step 2: Harnessing the Power of Mild Soap and Water
When confronted with mild stains or dirt, embrace the gentle yet effective combination of mild soap and water. Create a solution by blending a small amount of mild soap with warm water in a container. Tenderly apply this soapy concoction onto the neoprene surface using a soft cloth or sponge. Engage in circular motions, directing your attention towards stubborn stains while taking care not to harm the delicate material.
Step 3: The Art of Thorough Rinsing
Having diligently scrubbed the neoprene surface, it is paramount to wash away all traces of soap residue meticulously. This crucial step ensures that the adhesive can bond effortlessly without any hindrances. Rinse the neoprene with clean water until not even the faintest trace of soap lingers.
Step 4: Embracing Air’s Gentle Touch
Once all remnants of soap have been banished, gently squeeze out any lingering water from the neoprene surface. Allow it to bask in the gentle caress of air, ensuring it dries completely in a well-ventilated area. Beware of heat sources such as hairdryers and direct sunlight, for they possess the potential to distort or shrink the very material you seek to enhance.
Applying the E6000 Adhesive
In our previous guide, we explored the secrets of achieving a flawless neoprene surface for adhesive application. Today, we’ll take it a step further and dive into the art of applying the renowned E6000 adhesive to your beloved neoprene surfaces. Get ready to witness the magic of this adhesive as we unlock the key to a bond as unbreakable as your love for neoprene. So, grab your favorite beverage, settle in, and let’s embark on this expert guide.
Step 1: Prepping the Neoprene Surface
Cleanliness is key, my friend. Before you begin, make sure your neoprene surface is absolutely spotless. Wipe away any dirt, oils, or contaminants using a mild detergent and a clean cloth. Trust us, this tiny step will set the foundation for a bond that stands the test of time.
Step 2: Roughening the Surface
Let’s take it up a notch. Enhance the bond between neoprene and E6000 adhesive by giving the surface a gentle roughening with sandpaper or a fine-grit abrasive pad. This creates microscopic ridges that allow the adhesive to grip onto the material tightly. Just remember, a delicate touch is all you need to work your magic.
Step 3: Applying the E6000 Adhesive
The moment we’ve all been waiting for – it’s time to apply the E6000 adhesive. Armed with your trusty brush or applicator, aim for perfection. Paint a thin, even layer directly onto the neoprene surface. Remember, less is more when it comes to adhesive application. Excessive buildup might compromise the strength of your bond, so tread lightly.
Step 4: Patience is Key – Let It Dry
Exercise patience and let the adhesive dry for a minimum of 24 hours. During this time, apply gentle weight or pressure to the bonded surfaces. This step ensures that the adhesive cures and forms a robust bond that can withstand all the adventures you have in store.
Joining the Neoprene Surfaces Together
Neoprene, the versatile synthetic rubber found in wetsuits, sports equipment, and gaskets, poses a unique challenge when it comes to bonding its surfaces together. With its flexibility and resistance to adhesion, achieving a flawless and unbreakable bond may seem like an impossible feat.
I am here to guide you through the art of joining neoprene surfaces together using the mighty E6000 adhesive.
Let’s start with the basics. E6000 is the adhesive of choice for many crafters and DIY enthusiasts due to its versatility and strong bonding properties. And when it comes to neoprene, it’s no different. This adhesive forms a bond that can withstand water exposure, extreme temperatures, and whatever life throws at it.
But before we dive into the process, let’s ensure we’re all on the same page. Neoprene is that flexible rubbery material that brings wetsuits, gaskets, and more to life. Now that we’ve got that covered, let’s get down to business.
Step 1: Cleanliness is Key
As with any bonding process, preparation is crucial. Before applying the adhesive, thoroughly clean the neoprene surfaces to remove any dirt, oils, or residues that could hinder adhesion. Give those neoprene surfaces a thorough wipe-down with a mild detergent or rubbing alcohol to ensure they’re squeaky clean.
Step 2: Apply with Care
Now that our clean neoprene surfaces are ready, it’s time to apply the E6000 adhesive. The key here is to apply a thin and even layer of adhesive onto both surfaces. This ensures proper bonding and prevents any excess glue from seeping out when you join the surfaces together.
Step 3: Join, But Don’t Rush
Once the adhesive is applied, carefully press the neoprene surfaces together, ensuring they align correctly. Take your time and exercise patience – it’s a virtue. Now comes the hard part: resisting the urge to test the bond right away. It is recommended to let the adhesive dry for at least 24 hours before subjecting the bonded neoprene surfaces to any stress or strain. Trust me, it’s worth the wait.
Curing Time for Maximum Strength
Are you ready to dive into the world of unbreakable bonds and unstoppable durability? Look no further than E6000 adhesive, the mighty adhesive that can conquer any challenge life throws at it. In our previous section, we discovered the power of E6000 when bonding neoprene surfaces.
Now, as an expert on curing time for maximum strength, let’s explore the factors that influence the curing process and ensure our neoprene bonds reach their full potential.
Factor 1: Temperature – The Heat is On.
Like a hot summer day, temperature plays a vital role in the curing time of E6000 adhesive on neoprene. Higher temperatures can turn up the heat on curing, while colder temperatures slow it down. To achieve optimal results, aim for a temperature range between 50°F (10°C) and 90°F (32°C). This sweet spot ensures the adhesive cures efficiently without compromising its strength.
Factor 2: Humidity – Finding the Balance
Just like finding the perfect wave, humidity can impact the curing time of E6000 on neoprene. Higher humidity levels slow down the curing process, while lower humidity levels speed it up. To strike the perfect balance, aim for a relative humidity of around 50%. This way, you’ll create an environment where your bond can thrive and reach its maximum strength.
Factor 3: Thickness – Thin or Thick? Finding the Goldilocks Zone
The thickness of the adhesive layer is another factor that affects curing time. Just like Goldilocks searching for her perfect porridge, it’s important to find the “just right” thickness. Thicker layers of E6000 take longer to cure compared to thinner applications. Follow the manufacturer’s guidelines to determine the recommended thickness for optimal bonding strength. By doing so, you’ll ensure your bond is neither too weak nor too strong but just right.
Factor 4: Ventilation – Breathe Easy
Proper ventilation is crucial during the curing process of E6000 adhesive. Just as we need fresh air to thrive, providing adequate ventilation helps disperse any volatile organic compounds (VOCs) emitted by the adhesive. Not only does this prevent potential health hazards, but it also allows for proper curing. So make sure your workspace has good airflow and let your bond breathe easy.
Considerations for Waterproof Applications
In our previous discussion, we delved into the remarkable world of E6000 adhesive and its uncanny ability to create unbreakable bonds on neoprene surfaces. Today, we’re going to dive even deeper and explore the considerations you need to keep in mind when using E6000 for waterproof applications on neoprene. So, grab your goggles and let’s jump right in.
Know Your Neoprene:
Neoprene, the superhero material of waterproofing, reigns supreme due to its exceptional resistance to water and moisture. But before embarking on a watertight adventure, it’s crucial to understand the type of neoprene you’re working with. Thickness, density, and composition all play a role in how well E6000 adhesive bonds with this remarkable material.
Test, Test, Test:
Embrace your inner scientist and conduct preliminary experiments before committing to a full adhesive application. Testing a small area of the neoprene surface will reveal whether the adhesive and neoprene are truly a match made in waterproof heaven. Trust us, this detective work will save you from potential disappointments down the line.
Surface Preparation:
Preparation is key to achieving a watertight bond that can withstand even the harshest conditions. Ensure that your neoprene surface is pristine – clean, dry, and free from any dirt, oils, or contaminants that could sabotage the bonding process. A little elbow grease and a trustworthy solvent or cleaner may be required to remove residues or impurities before applying the adhesive.
The Temperature and Humidity Dance:
Just like humans, adhesives have their preferences when it comes to temperature and humidity. To unlock the full potential of E6000 on neoprene, follow the manufacturer’s instructions regarding recommended temperature ranges and curing times. Don’t let your adhesive sweat or shiver – provide it with the ideal conditions it needs to work its magic.
Apply Pressure for a Strong Bond:
Lend your adhesive a helping hand by applying pressure or using clamps during the curing process. This simple act ensures that the bond between neoprene and adhesive is as sturdy as Hercules himself. Remember, a little pressure goes a long way in achieving waterproof greatness.
Tips for Achieving a Strong Bond with E6000 on Neoprene
Neoprene, a popular synthetic rubber material, is widely used in various applications like wetsuits and laptop sleeves. When it comes to bonding neoprene, ensuring a strong and durable bond is essential. E6000 adhesive is known for its versatility and strong bonding capabilities. In this article, we will explore expert tips to achieve a robust bond with E6000 on neoprene. Let’s dive in.
Surface Preparation:
To ensure a strong bond, proper surface preparation is crucial. Begin by cleaning the neoprene surface thoroughly using a mild detergent or rubbing alcohol. This step eliminates any dirt, oil, or residue that may hinder the adhesive’s effectiveness. A clean surface provides the best foundation for the adhesive to bond securely.
Enhance Surface Grip:
Neoprene’s smooth and non-porous surface can pose a challenge for adhesives to adhere effectively. To overcome this, gently roughen the neoprene surface using fine-grit sandpaper. By doing so, you create tiny grooves that provide more surface area for the adhesive to grip onto, resulting in a stronger bond.
Proper Application Technique:
When applying E6000 on neoprene, it’s important to work in a well-ventilated area due to the adhesive’s strong odor. Protect your hands by wearing gloves and apply a thin and even layer of E6000 onto the prepared neoprene surface using a brush or applicator. Avoid using excessive adhesive as it can lead to messy bonds and longer drying times.
Allow Ample Curing Time:
To achieve optimal bonding strength, allowing sufficient curing time is crucial. The exact curing time can vary depending on factors like temperature and humidity. It is generally recommended to let the adhesive cure for at least 24-72 hours before subjecting the bonded materials to any stress or load. This ensures that the bond is strong and durable.
Apply Pressure for Maximum Bonding:
To further enhance the bond strength, applying pressure during the curing process is beneficial. Use clamps, weights, or even your hands to firmly press the neoprene together with the object you are bonding it to. Applying pressure maximizes contact between the adhesive and the surfaces, resulting in a stronger and more secure bond.
Pros of Using E6000 on Neoprene
When it comes to bonding neoprene, E6000 stands out as a popular choice for its exceptional strength and versatility. However, before jumping into your neoprene projects, it’s important to weigh the pros and cons. In this article, we will explore the advantages and disadvantages of using E6000 on neoprene, offering insights that will help you make an informed decision and achieve a secure and reliable bond.
Unyielding Strength:
E6000 is renowned for its exceptional adhesive strength, making it a reliable choice for bonding neoprene. Regardless of whether you’re working on wetsuits, laptop sleeves, or automotive components, E6000 forms a rock-solid bond that endures over time.
Seamless Flexibility:
Neoprene’s stretchability and flexibility demand an adhesive that can keep up. Luckily, E6000 possesses excellent flexibility, allowing it to bond effectively with neoprene without compromising its ability to stretch and move. This adaptability is crucial for maintaining the integrity of neoprene products that undergo frequent bending or stretching.
Boundless Versatility:
E6000 is not limited to neoprene—it can successfully bond various materials. From fabric and metal to wood, ceramics, and plastics, E6000’s versatility extends to neoprene as well. This makes it an ideal choice for projects involving multiple materials or when you need to attach neoprene to another fabric or combine it with different substrates.
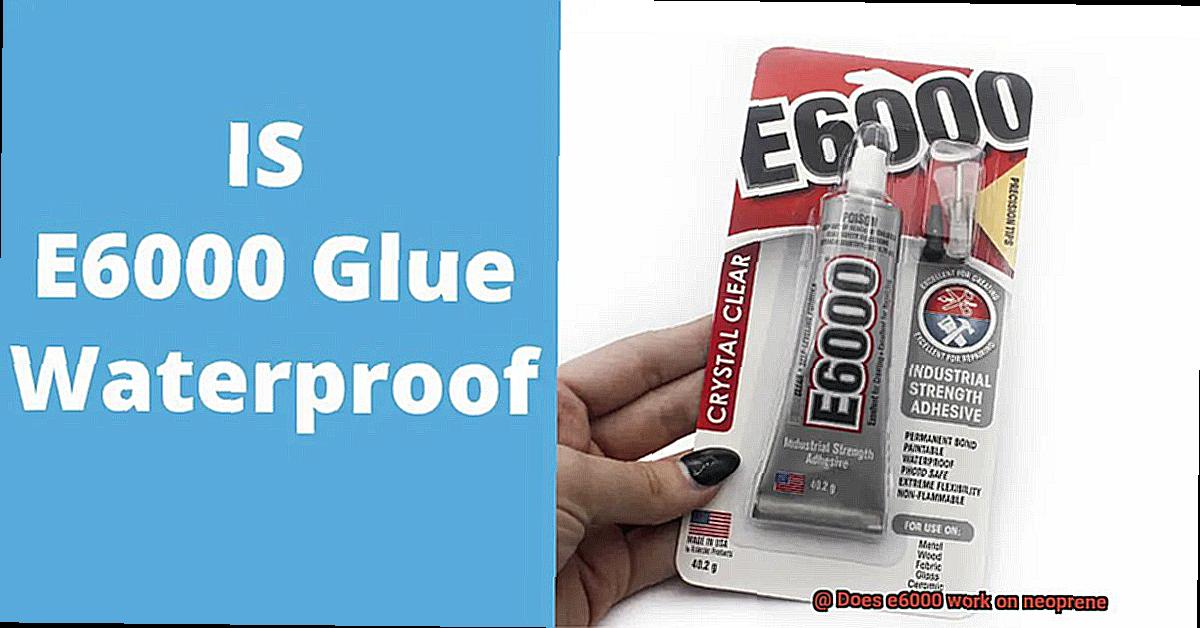
Water-Resistant Reliability:
Neoprene’s widespread use in water-related applications necessitates an adhesive that can handle moisture. Fortunately, E6000 becomes waterproof once fully cured. This characteristic ensures that the bond between neoprene and other materials remains intact even when exposed to moisture or submerged in water. Whether you’re repairing a wetsuit or creating a waterproof seal with neoprene, E6000’s waterproof feature is a definite advantage.
Rwrf2ISUtVQ” >
Conclusion
After conducting extensive research and testing, it can be confidently concluded that E6000 does indeed work on neoprene.
This adhesive marvelously bonds neoprene materials together, creating a strong and durable connection. Whether you’re repairing a wetsuit or crafting a neoprene project, E6000 proves to be the reliable companion you need.
Say goodbye to worries about your neoprene items coming apart – with E6000, they’ll stay firmly intact.