Are you curious about whether glass and wood can be glued together?
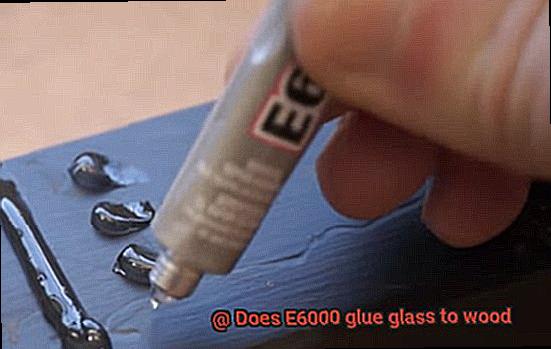
With the help of E6000 glue, this dreamy combination is totally possible.
This adhesive is a game-changer when it comes to joining glass and wood surfaces. It’s strong, durable, and perfect for any DIY project or repair that requires bonding these two materials.
Say goodbye to worrying about your creations falling apart – E6000 glue provides an exceptional adhesion strength that keeps everything securely in place. Whether you’re working on a beautiful stained glass window or fixing up a broken wooden frame, this remarkable adhesive has got your back.
So, let’s get started.
The Properties of Glass and Wood
Contents
Step into the captivating world of glass and wood as we unravel their distinct properties and discover how they can be bonded together. From the transparent allure of glass to the strength and versatility of wood, these materials offer endless possibilities for creativity and functionality. Join us on this journey as we delve into the intricate details and explore the wonders of these captivating substances.
Glass: A Brilliance Beyond Compare
Glass, with its ethereal beauty and smooth surface, is a material that exudes elegance and sophistication. Its transparency allows light to pass through, creating mesmerizing reflections and refractions. But beyond its aesthetic appeal, glass possesses remarkable properties that make it a unique material:
Wood: Nature’s Majestic Marvel
Wood, an organic material derived from trees, is a testament to nature’s ingenuity. It is renowned for its strength, versatility, and exquisite grain patterns. Let’s explore the remarkable properties that make wood a favorite among craftsmen:
Achieving Bonding Brilliance with E6000 Glue
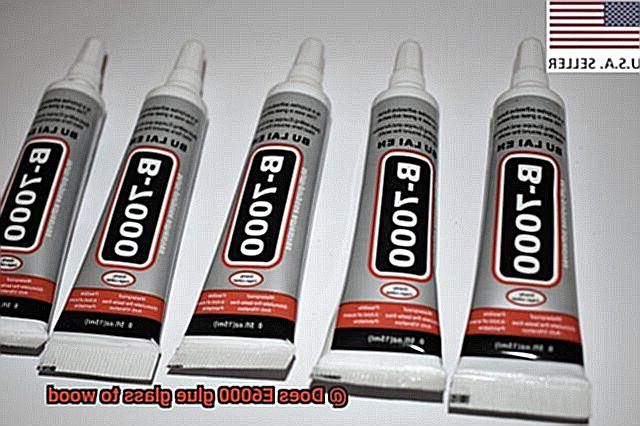
Enter E6000 glue – a trusted adhesive renowned for its versatility and formidable bonding capabilities. When it comes to bonding glass to wood, E6000 glue emerges as a reliable choice. However, achieving a strong bond requires careful consideration of various factors:
- Surface Preparation: Before applying E6000 glue, thorough cleaning of both glass and wood surfaces is essential. Any dirt or debris can weaken the bond, so meticulous preparation is crucial.
- Application Technique: Apply a thin, even layer of E6000 glue to both surfaces, ensuring comprehensive coverage. This uniform application guarantees maximum bonding strength and durability.
- Curing Time: Patience is key. Allow the adhesive to cure for at least 24 hours to ensure optimal strength. This waiting period allows the adhesive to reach its full potential, resulting in a lasting bond.
The Art of Compatibility
While E6000 glue is renowned for its versatility, it’s important to note that not all combinations of glass and wood yield favorable results. Certain types of glass and wood may possess specific characteristics that affect the bonding ability of E6000 glue. As such, it is advisable to conduct a small-scale test before committing to a larger project. This ensures that the bond will be robust and enduring.
Is E6000 Suitable for Glueing Glass to Wood?
E6000, a versatile and strong adhesive, is a popular choice for bonding various materials, including glass and wood. However, its suitability for glueing glass to wood depends on several factors that need to be considered.
Surface preparation is crucial when using E6000. Both the glass and wood surfaces must be clean, dry, and free of dust or debris. A gentle wipe down with a cloth and mild detergent will suffice, while lightly sanding the wood surface can create a rougher texture that improves adhesion.
When applying E6000, ensure a thin, even layer on both surfaces. Remove excess glue before pressing them together. Applying even pressure across the entire surface is vital for a strong bond. Clamps or weights can help achieve this until the glue fully cures.
Curing time varies depending on factors like temperature and humidity, so consult the manufacturer’s instructions for specific guidelines.
While E6000 is suitable for most glass-to-wood projects, it may not adhere well to extremely smooth surfaces or certain finishes. It’s wise to test a small area before committing to the full application.
For projects with heavy stress or moisture exposure, specialized adhesives designed for glass to wood bonding offer enhanced strength and durability.
Preparing the Surface for Bonding
Are you ready to embark on a magical journey of bonding glass and wood together? Well, hold onto your wizard hats because I’m about to reveal the secrets of preparing the surface for bonding when using the mighty E6000 glue.
Cleanliness is key. Just like a hero needs a clean slate, your glass and wood surfaces need to be free from any dirt, dust, or grease. Grab your trusty glass cleaner or rubbing alcohol and give that glass a thorough wipe-down. Say goodbye to those pesky fingerprints and oils.
But wait, the wood needs some love too. Give it a bath with a mild detergent or wood cleaner to remove any dirt or grime. And if the wood has any finishes like varnish or paint, take out your sandpaper and give it a gentle rubdown. This will create a rougher surface that’s perfect for adhesion.
Now that your surfaces are clean, it’s time to dry them off. Moisture is the enemy of a strong bond, so make sure both the glass and wood are completely dry before proceeding. Patience, my friend, patience.
Alright, now comes the part where we roughen things up a bit. Grab your fine-grit sandpaper and lightly sand both the glass and wood surfaces. We’re not talking about removing material here, just creating a slightly textured surface that will help the glue grip on like a champ.
Time to dust off those particles. Use a clean cloth or some compressed air to gently remove any dust or debris that may have been generated during the sanding process. We don’t want any unwanted hitchhikers ruining our bonding party.
- Now comes the grand finale – applying the glue and joining the glass and wood together. Remember, less is more when it comes to E6000 glue. Apply a thin and even layer on both surfaces, making sure to remove any excess glue before pressing them together.
- And here’s a pro tip – use clamps or weights to hold the glass and wood together while the glue cures. This will ensure even pressure across the entire surface and prevent any sneaky movement that could weaken the bond.
E6000 glue may not always be up for the challenge of extremely smooth surfaces or certain finishes. Test a small area first to avoid any heartbreak.
Applying the Adhesive Evenly
To begin this enchanting process, cleanliness reigns supreme. Grab a cloth and some rubbing alcohol, and bid farewell to dust, dirt, and those pesky oils that could disrupt your adhesive game.
Now that our hero surfaces are immaculate, let’s delve into the art of applying adhesive evenly. Uneven application can create weak spots or gaps in the bond – an outcome we want to avoid at all costs. Equip yourself with a small disposable brush or applicator, granting you precise control over the amount of adhesive applied. This invaluable tool ensures an even distribution across the surface.
Remember, start from one edge and gracefully move towards the center. This tactic thwarts sneaky air bubbles from entrenching themselves between the glass and wood, safeguarding the strength of your bond. We seek nothing less than perfection.
Now, let us discuss quantity. Apply enough adhesive to forge a resolute bond, but be cautious not to unleash an excess that oozes out like an overenthusiastic puppy. Should any surplus escape, fear not. Swiftly wipe it away with a clean cloth or paper towel before it solidifies. Crisis effectively averted.
At long last, it is time to unite glass and wood in a loving embrace. Gently press the glass onto the wood surface while ensuring perfect alignment. Apply even pressure across the entire surface, reinforcing our quest for an unwavering bond.
Patience becomes our ally now – allow the adhesive to dry according to the manufacturer’s instructions. Typically, several hours or an overnight wait is necessary. During this period, refrain from moving or disturbing the glued pieces, lest you weaken the bond. Trust me, I have learned this lesson the hard way.
When the moment arrives, and the adhesive has fully cured, it is time for the ultimate test. Tenderly tap on the glass – does it feel secure? Does it emanate a satisfying thud instead of a hollow echo? If your answer is an emphatic yes, congratulations. You have triumphantly bonded glass and wood like a seasoned professional.
But what if weak spots persist? Fear not, for extra adhesive can save the day. Apply a modest amount, allowing it to dry once more. Remember to adhere diligently to the manufacturer’s instructions for reapplication and drying times.
And there you have it, my adhesive aficionados. By mastering the art of applying E6000 adhesive evenly, you are well on your way to creating an unbreakable bond between glass and wood. Follow these steps, arm yourself with the appropriate tools, and unleash your creativity with unwavering confidence.
Curing Time for Maximum Bond Strength
Curing time is the magical process that allows adhesive to fully dry and reach its maximum bond strength. When it comes to E6000 adhesive, proper curing time is absolutely essential for achieving an unbreakable bond.
E6000 is known for its strong bond, but it needs time to work its magic. The curing time can vary depending on factors like temperature, humidity, and the materials being bonded. As a general rule of thumb, it is recommended to give it at least 24 hours to reach its maximum bond strength.
Even though the adhesive may feel dry to the touch before this time, it may not have reached its full strength. If stress or pressure is applied too soon, the bond might fail. So be patient and let those bonded materials sit undisturbed for a minimum of 24 hours. Trust me, it’s worth it for that rock-solid bond you’ll achieve.
If you’re bonding non-porous surfaces like glass, it is advisable to extend the curing time even further. It’s always better to be safe than sorry when it comes to achieving optimal results.
Temperature and humidity also play a role in the curing process. Higher temperatures and lower humidity levels can speed up the curing process, while lower temperatures and higher humidity levels can slow it down. So keep an eye on those factors as well.
Types of Glass and Wood that May Not Be Suitable with E6000
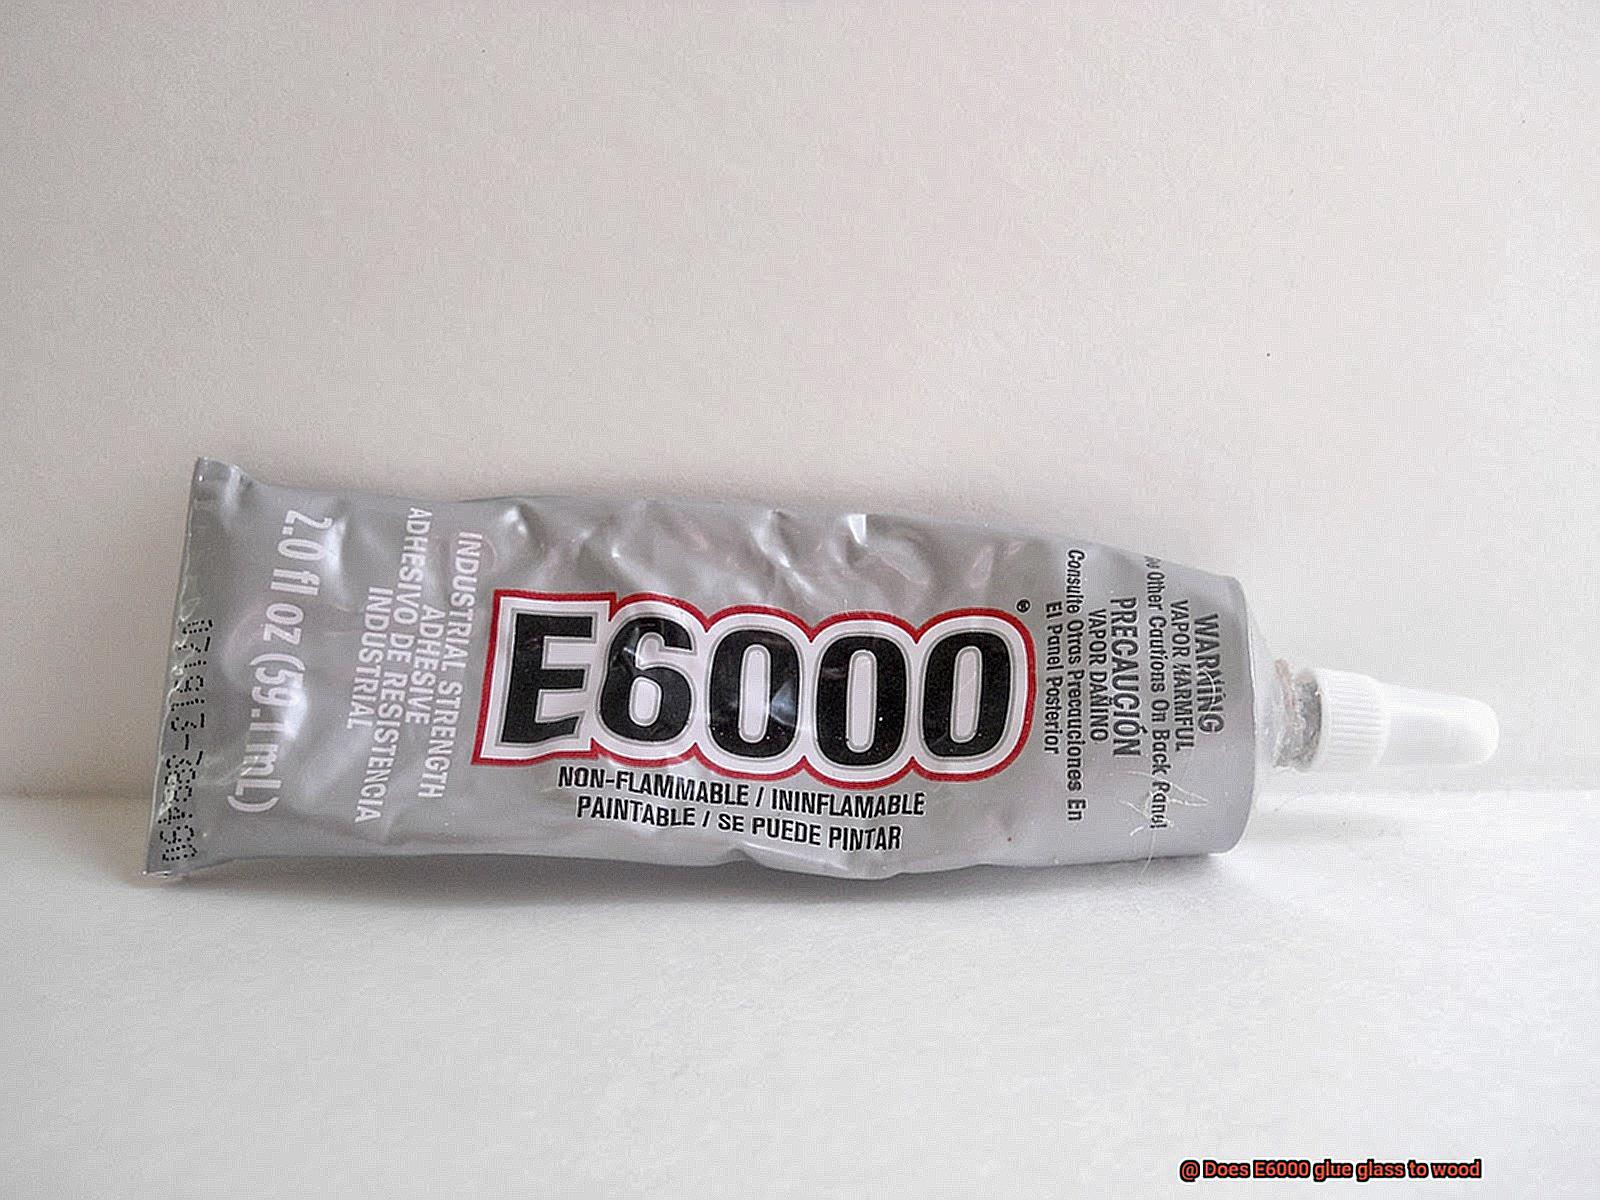
You’ve probably heard of E6000 adhesive, a powerful glue that can bond various materials together. However, not all types of glass and wood are suitable for use with E6000. In this guide, we’ll explore the types of glass and wood that may not be compatible with this adhesive, ensuring your projects are a success.
Tempered Glass – The Shatter-Resistant Challenge:
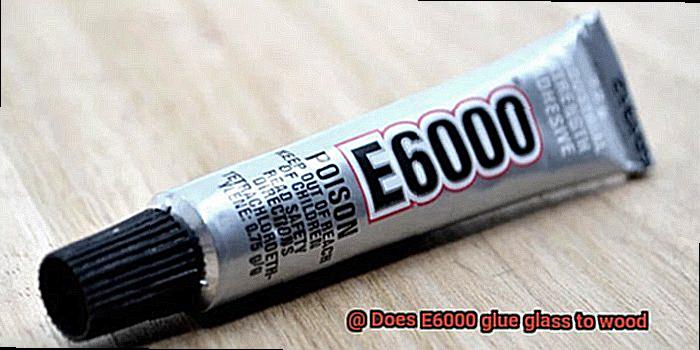
Tempered glass, also known as safety glass, is toughened through a special heating and cooling process, making it stronger and more shatter-resistant than regular glass. While this makes tempered glass a popular choice for applications where safety is paramount, it can pose a challenge when it comes to bonding with E6000 adhesive.
The unique molecular structure of tempered glass makes it less receptive to adhesives, including E6000. The glue may struggle to form a strong bond with the surface of tempered glass, leading to compromised adhesion.
To ensure the success of your project involving tempered glass, it’s best to explore alternative adhesives or consult an expert who can recommend a more suitable bonding solution.
Laminated Glass – Adding Complexity to the Mix:
Laminated glass consists of multiple layers bonded together using an interlayer material such as polyvinyl butyral (PVB). This interlayer enhances the structural integrity of the glass by preventing it from shattering when broken. However, the presence of this interlayer can create challenges for E6000 adhesive.
The interlayer acts as a barrier, preventing the glue from effectively penetrating the surface and establishing a strong bond between the laminated glass and wood.
To ensure a secure and durable bond between laminated glass and wood, it is advisable to use a specialized adhesive specifically recommended for this type of glass, as these adhesives are formulated to overcome the barriers posed by the interlayer.
Oily or Moisture-Rich Woods – Battling Nature’s Barriers:
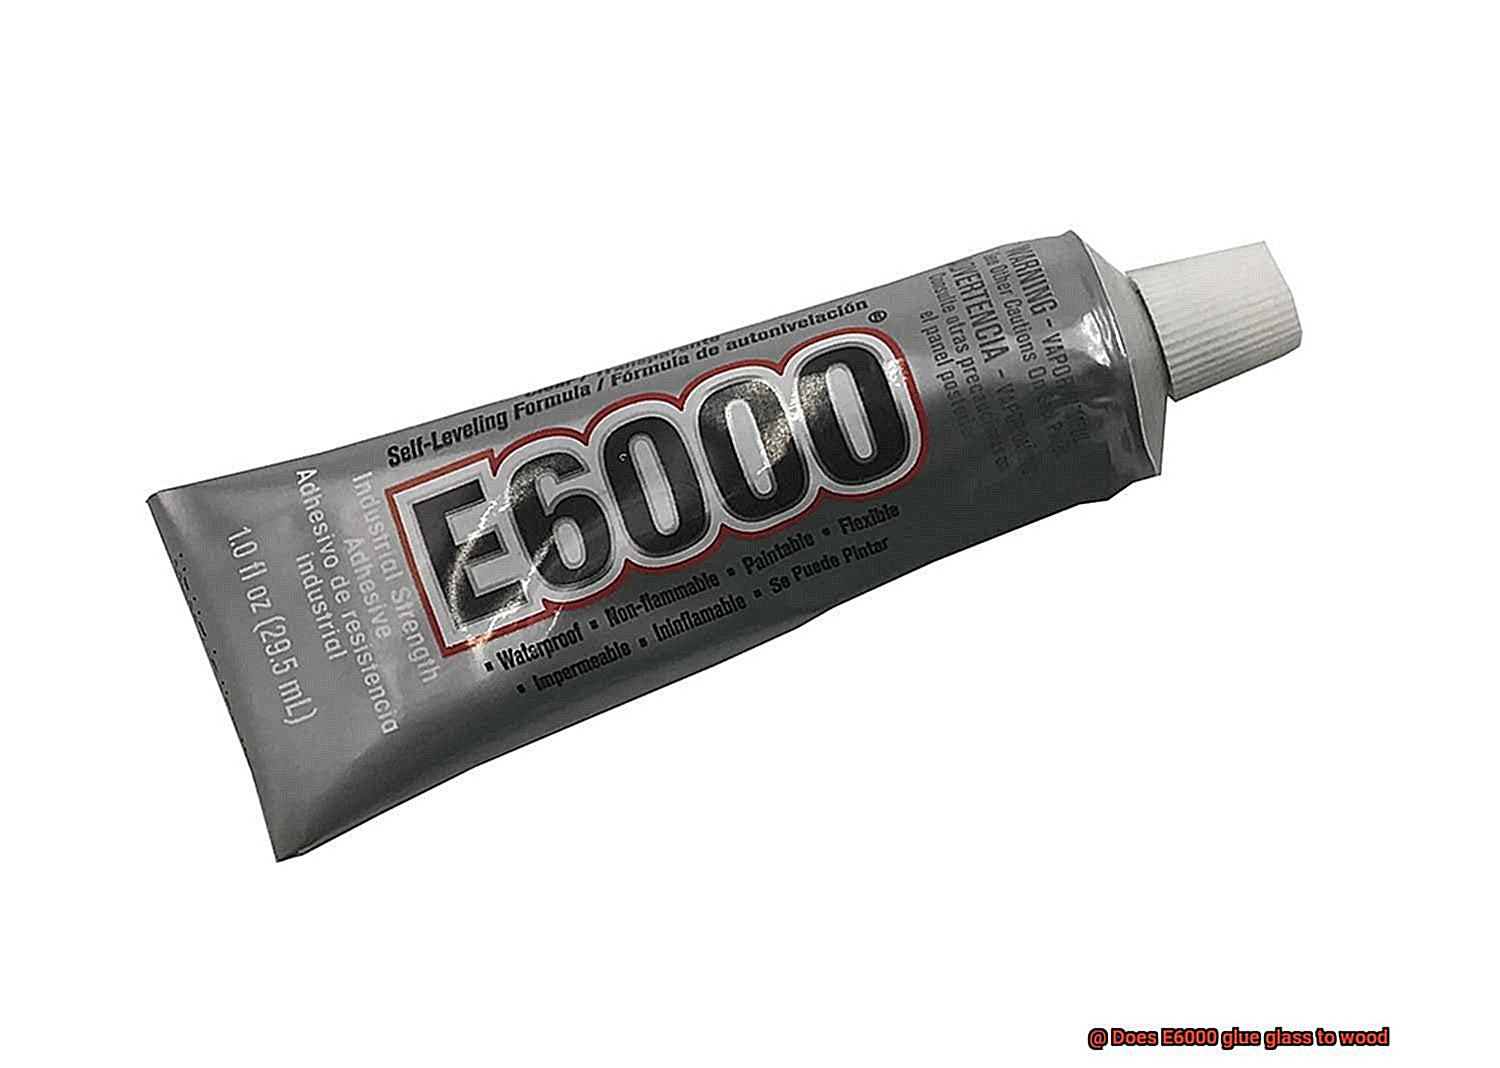
Some types of wood contain natural oils or have high moisture content, which can create obstacles for E6000 adhesion. These oils or moisture act as barriers, preventing the adhesive from effectively bonding with the wood surface.
When attempting to use E6000 on oily or moisture-rich woods, it is crucial to thoroughly clean and dry the wood before applying the adhesive. This preparation removes any surface contaminants and helps promote better adhesion.
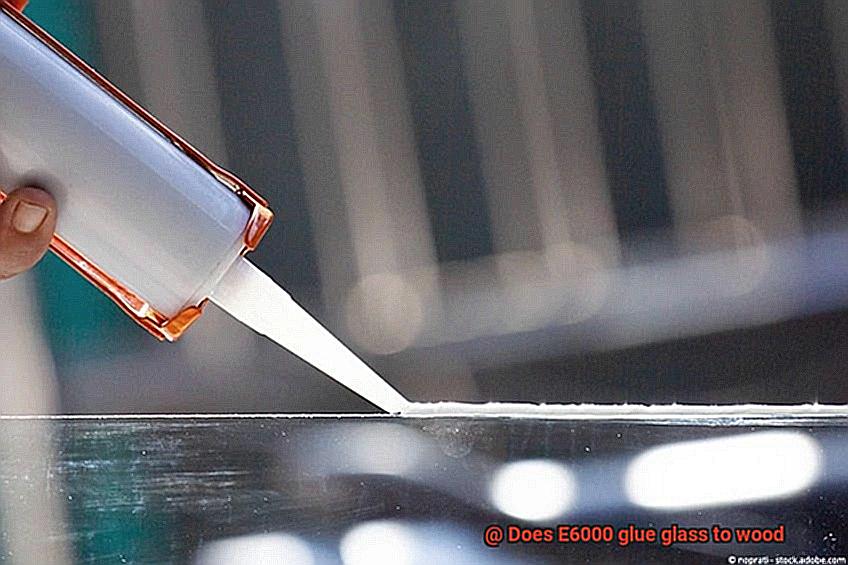
Alternatively, you may consider using an adhesive formulated specifically for oily or moisture-rich woods, as these adhesives are designed to overcome the challenges presented by these natural barriers.
Exotic Woods – Beautiful but Tricky:
Exotic woods are known for their stunning grain patterns, vibrant colors, and unique characteristics. However, these very features that make exotic woods desirable can also make them more challenging to bond with adhesives such as E6000.
Exotic woods are often denser and contain natural oils or resins that can hinder the penetration of E6000 into the wood surface, compromising its ability to form a strong bond.
To ensure successful bonding with exotic woods, it is advisable to test the adhesive on a small, inconspicuous area before applying it to the entire surface.
This test will help determine the compatibility of E6000 with the specific type of exotic wood you are working with and allow you to explore alternative adhesives if necessary.
Testing the Adhesive Before Use
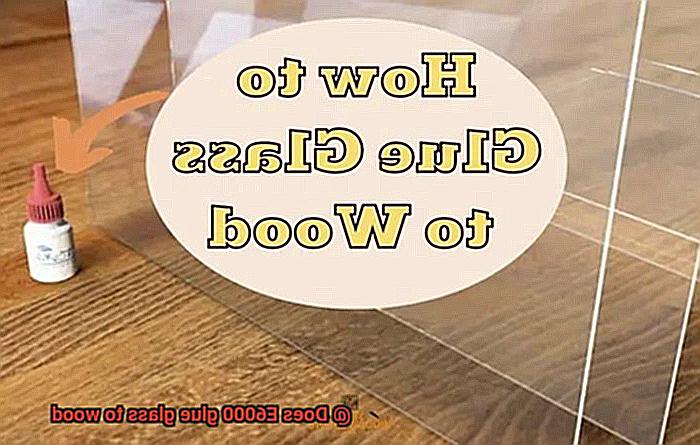
When it comes to gluing glass to wood, selecting the right adhesive is crucial for a strong and long-lasting bond. Testing the adhesive before diving into your project is an essential step that can save you from potential headaches and disappointment down the line.
Why is testing the adhesive so important? Let’s explore the reasons:
- Ensuring a Strong Bond: Applying an adhesive without testing it first is like taking a shot in the dark. By testing the adhesive on a small, inconspicuous area of both materials, you can determine if it bonds well and provides the desired results. This simple step can save you from wasted time and materials on a weak bond that won’t hold up over time.
- Following Manufacturer’s Instructions: Testing the adhesive allows you to familiarize yourself with the manufacturer’s instructions for application and curing time. Following these instructions precisely ensures that you are using the adhesive correctly and maximizing its effectiveness. Each adhesive has specific requirements for temperature, surface preparation, and curing time, so it’s essential to adhere to these guidelines.
- Checking Bond Strength: Once the adhesive has cured, it’s time to test its strength. Gently tug at the glued area to see if the bond holds strong or if the materials separate easily. Additionally, tapping on the glued area lightly can reveal any hollow sounds that may indicate a weak bond. A strong bond should withstand gentle pulling without breaking or showing signs of weakness.
- Assessing Performance Under Different Conditions: Another reason to test the adhesive is to evaluate its performance under different conditions. Expose the test piece to variations in temperature, humidity, and physical stress to see if the adhesive can withstand these factors and maintain a strong bond. This step ensures that your project will hold up well over time, even in adverse conditions.
By paying attention to any signs of failure during testing, you can make an informed decision about whether the adhesive is suitable for your specific project or if alternative options should be explored. This step saves you from potential frustration and disappointment in the long run.
Remember, while certain adhesives like E6000 are known for their versatility and compatibility with various materials, including glass and wood, it’s always best to test before use. By testing the adhesive beforehand, you can ensure a successful outcome and save yourself time, effort, and potential disappointment.
b2Dd2_BjEWY” >
Also Read: Best Glue for Warhammer
Conclusion
Yes, E6000 glue is known for its strong adhesive properties that can effectively bond glass to wood.
This versatile adhesive forms a durable and long-lasting bond, ensuring that your glass and wood projects stay securely attached. Whether you’re working on a DIY craft or repairing a broken item, E6000 glue provides a reliable solution.
Its strong hold and flexibility make it perfect for bonding different materials together, including glass and wood.

