When you’re knee-deep in a woodworking project or fixing up your humble abode, finding the right adhesive is like finding the perfect partner – it’s gotta be strong, reliable, and stick around for the long haul. That’s where construction adhesive swoops in to save the day. But does this stuff really hold its own against wood? Buckle up, because we’re about to dive into the world of construction adhesive, exploring its wood-sticking powers and why it’s a top pick for both pros and DIY enthusiasts.
Construction adhesive is no ordinary glue – it’s like the superhero of adhesives, specially designed to bond heavy-duty materials like wood, metal, and even concrete. This stuff means business. With its mighty grip and ability to stand the test of time, construction adhesive has become a go-to choice for all sorts of wood-related projects. From joining panels to securing trim or assembling furniture pieces, this adhesive has got carpenters everywhere doing happy dances.
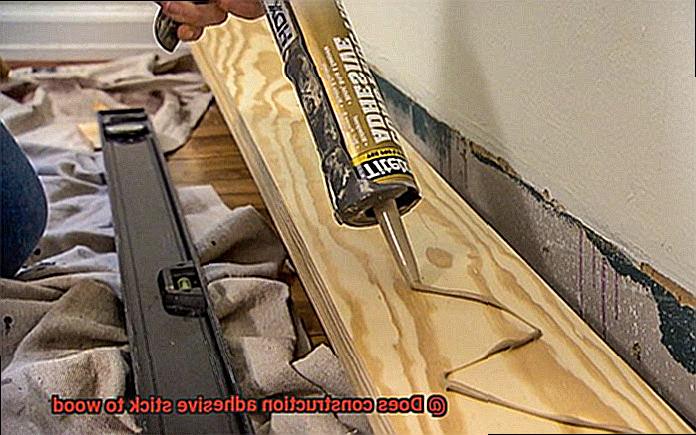
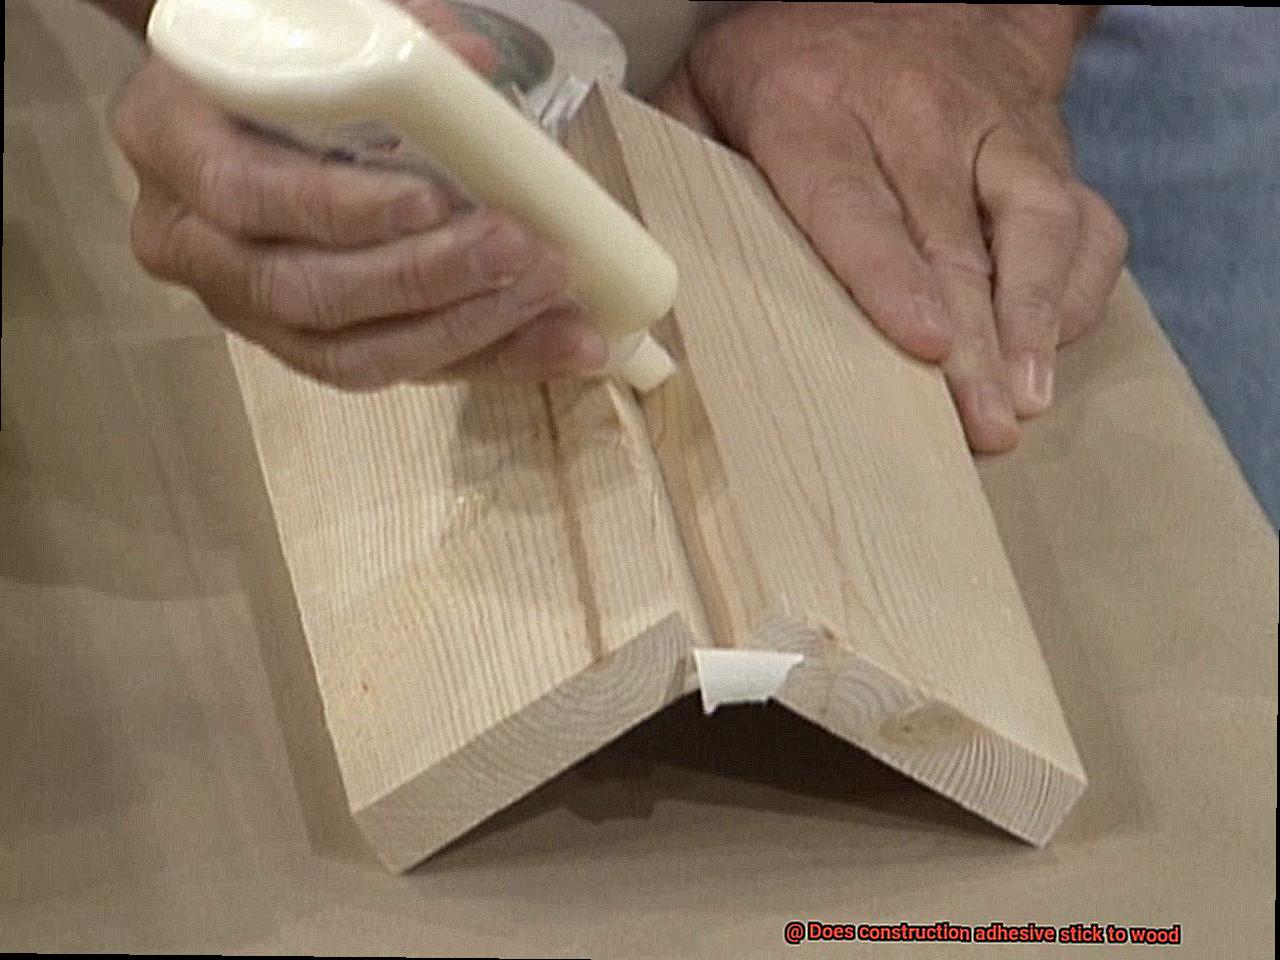
But before you get too excited about slapping some glue on your wood pieces, let’s talk prep work. Surface preparation is key here. Make sure those surfaces are squeaky clean – no dust bunnies allowed – and completely dry. Apply the adhesive in a fancy zigzag pattern (it adds extra strength), leaving about an inch gap from the edges. Then comes the satisfying part – press those surfaces together like there’s no tomorrow. Just make sure you follow any specific instructions on the packaging and give it enough time to cure before putting any stress on those bonded pieces.
Now, let’s address potential risks because we’re all about safety first here. Construction adhesives can pack a punch when it comes to odors, so make sure you’ve got some fresh air circulating while using them. And hey, consider wearing a mask if things get a little too intense. Some adhesives also have specific temperature and humidity requirements for optimal bonding, so be sure to read the fine print and follow those guidelines like a boss.
One of the reasons construction adhesive is the cool kid on the block is its ability to handle whatever Mother Nature throws at it. It can brave temperature swings, resist moisture like a champ, and even forgive slight gaps or wonky wood pieces. Talk about a forgiving adhesive. Plus, it forms such a strong bond that you won’t have to worry about your wooden creations falling apart anytime soon.
What is Construction Adhesive?
Contents
- 1 What is Construction Adhesive?
- 2 Does Construction Adhesive Stick to Wood?
- 3 Benefits of Using Construction Adhesive on Wood
- 4 Preparation of Surfaces for Bonding with Construction Adhesive
- 5 Different Types of Construction Adhesives and Their Recommended Applications
- 6 How to Apply Construction Adhesive on Wood
- 7 Factors That Can Affect the Performance of Construction Adhesive on Wood
- 8 Conclusion
Whether you’re an architectural virtuoso, a devoted DIY hobbyist, or simply someone fascinated by the art of construction, it is imperative to comprehend the true power of construction adhesive.
This remarkable adhesive, a silent hero in countless successful building projects, possesses unparalleled versatility and strength, forging steadfast bonds between a myriad of materials.
In this all-encompassing guide, we will delve deep into the captivating world of construction adhesive, exploring its multifaceted uses, extraordinary benefits, and invaluable tips for achieving flawless application.
The Versatile Bonding Marvel:
Construction adhesive, also referred to as construction glue or construction sealant, is an adhesive explicitly engineered to bond the materials commonly employed in construction projects.
From the grace of wood to the resilience of metal, the solidity of concrete to the flexibility of plastic, this adhesive conquers even the most formidable bonding challenges with unwavering ease.
Its superlative ability to create robust connections between dissimilar materials sets it apart from other adhesive varieties.
Forms and Applications:
Available in liquid, paste, or gel forms, construction adhesive ensures effortless application and guarantees comprehensive coverage on surfaces. Whether you’re embarking on installations such as cabinets, countertops, trim work, flooring, or paneling, construction adhesive stands as your unwavering ally. It also boasts an esteemed reputation in woodworking projects like furniture making and joinery.
Strength and Reliability:
One of the most striking features of construction adhesive lies in its exceptional bonding properties. With a remarkable resilience against high temperatures, moisture, and vibrations, this adhesive offers unmatched strength and durability. It fearlessly endures even the harshest conditions indoors and outdoors alike, cementing its position as the go-to choice for professionals and enthusiasts alike.
Selecting the Right Adhesive:
Choosing the appropriate type of construction adhesive is paramount to achieving optimal results. With an array of strengths and formulations available, it is essential to consider factors such as project requirements and the materials being bonded. Delving into product labels and seeking counsel from experts can significantly aid in selecting the most suitable adhesive for your specific application.
Tips for Successful Application:
To unlock the full potential of construction adhesive, meticulous surface preparation is key. Surfaces ought to be impeccably clean, dry, and devoid of any contaminants that may compromise the bond. Employing sandpaper to create a textured surface enhances adhesion by providing a rougher terrain for the adhesive to grasp onto. Additionally, adhering to the manufacturer’s instructions for application and curing time is paramount in achieving an enduring bond.
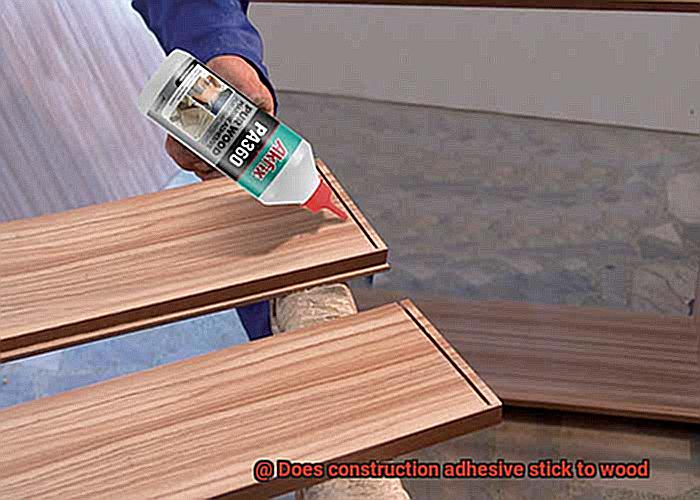
Does Construction Adhesive Stick to Wood?
If you’ve ever wondered if construction adhesive sticks to wood, prepare to be amazed. The answer is a resounding YES. This versatile adhesive is your secret weapon for creating rock-solid connections between wood surfaces. So, grab your tool belt and let’s dive into the world of construction adhesive and its incredible bonding power.
Choosing the Right Adhesive:
Before we embark on our woodworking journey, it’s crucial to choose the right adhesive for the job. Not all adhesives are created equal, my friends. Different types are formulated for specific materials or applications, so read those labels carefully.
Surface Preparation:
To achieve a bond that could withstand a hurricane (well, almost), proper surface preparation is crucial. Cleanliness is key, so ensure your wood surfaces are free from dust, grease, or any old adhesive residue. A thorough cleaning will pave the way for a strong and lasting bond.
Application Techniques:
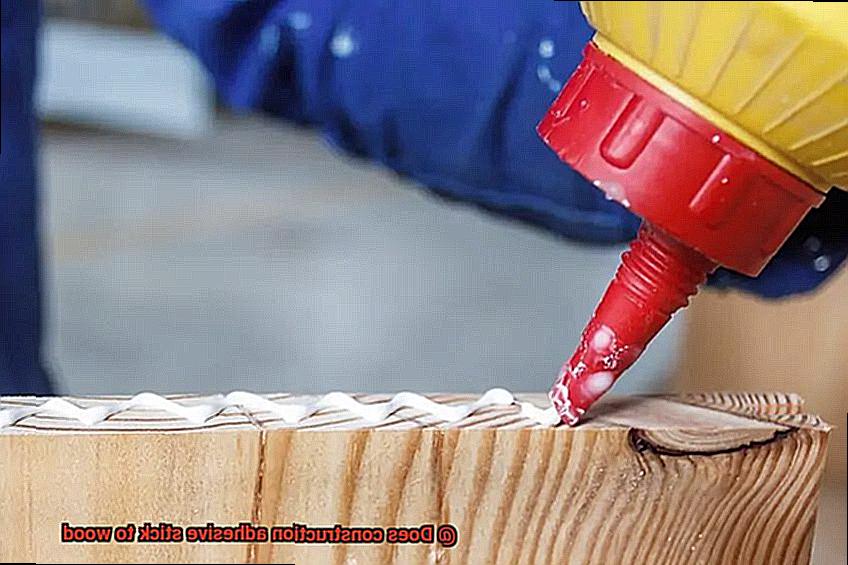
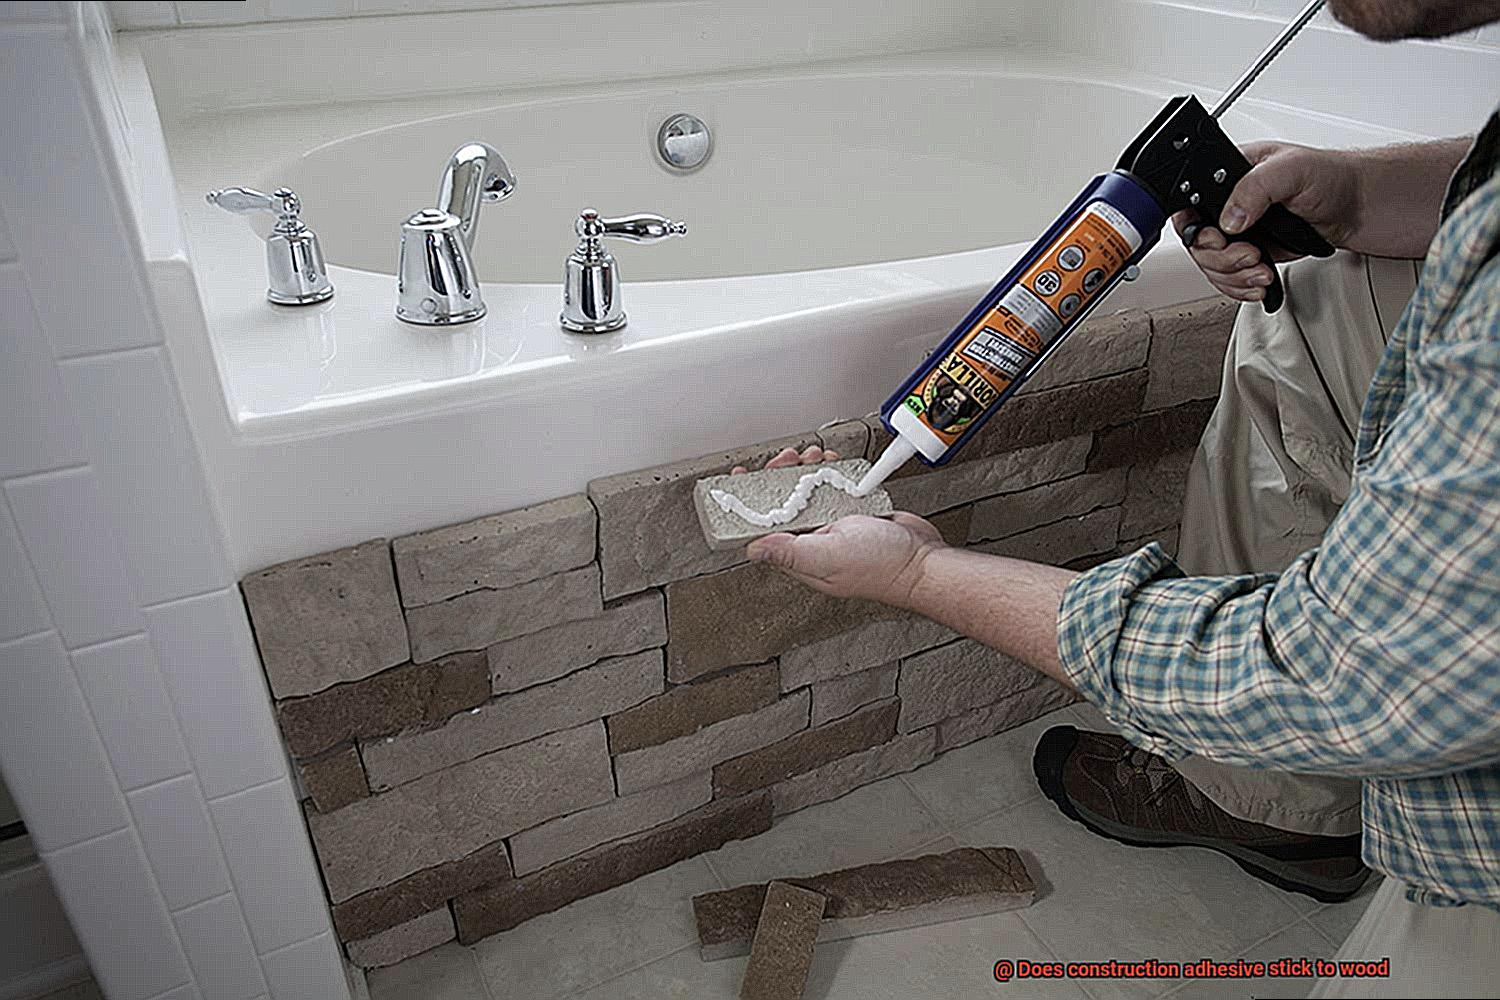
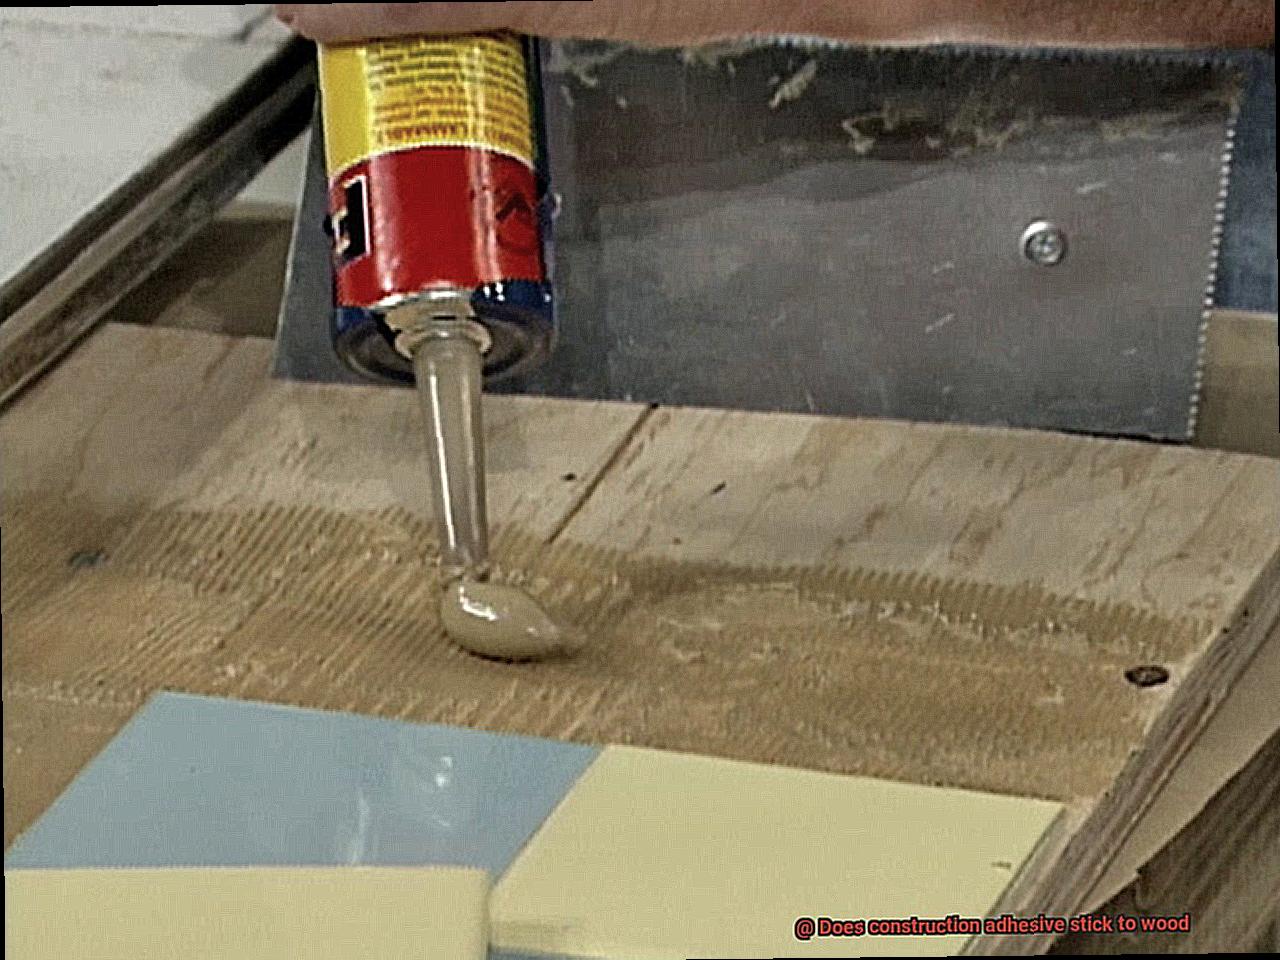
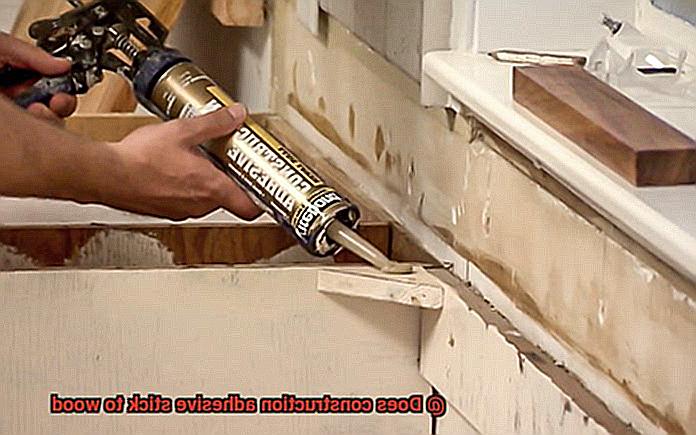
Now that we have our adhesive and clean surfaces ready, it’s time to apply that sticky goodness. Be generous with your adhesive, slathering it evenly and generously on both surfaces to be bonded. Use a notched trowel or caulking gun to ensure consistent coverage without going overboard.
Pressing it Together:
Once the adhesive is applied, the magic happens when those wood surfaces come together. Press them firmly, my friends. Apply pressure evenly across the entire bonded area using clamps or weights. This ensures that the adhesive spreads evenly and creates a bond that even Hercules would admire.
Curing Time:
Patience is a virtue when it comes to construction adhesive. Allow sufficient curing time for the adhesive to work its magic and reach its maximum strength. Different adhesives have varying curing times, so follow the manufacturer’s guidelines for best results.
When Extra Measures Are Needed:
While construction adhesive is fantastic for most woodworking applications, sometimes extra measures are necessary. In situations where high structural strength is required or when working with certain types of wood, consider using nails, screws, or dowels in conjunction with the adhesive. It’s like having a backup plan for your bond.
Benefits of Using Construction Adhesive on Wood
First and foremost, construction adhesive is stronger than superglue. Specially formulated to bond materials together, it excels at sticking wood surfaces. When applied correctly, it forms a durable and long-lasting bond that can withstand heavy loads and vibrations. Say goodbye to wobbly joints and hello to a sturdier, more reliable finished product.
But that’s not all – construction adhesive also seals the deal. One of its greatest advantages is its ability to create a tight seal between surfaces. This means no more unsightly gaps or movement between your wood pieces. The result? Improved structural integrity and a project that stands the test of time.
In addition, construction adhesive bids farewell to fragility. Traditional nails or screws can put stress on specific points, increasing the risk of splitting or cracking in the wood. Construction adhesive distributes the stress evenly across the entire surface area, reducing the chances of damage and adding strength to your wooden creations.
But here’s where things get really exciting – using construction adhesive means less is more. No need for additional fasteners like nails or screws. Not only does this save you time and effort, but it also provides a cleaner and more visually appealing finish. Who doesn’t love a sleek and seamless look?
Now let’s talk about durability. Construction adhesive is resistant to moisture, making it ideal for both indoor and outdoor wood applications. It acts as a shield, preventing water from seeping into the wood – safeguarding against rotting, warping, or swelling over time.
But wait, there’s more. Construction adhesive is versatile at its best. No matter what type of wood you’re working with – hardwood, softwood, plywood, or engineered wood products – construction adhesive has your back. Its flexibility allows it to bond with a wide range of wood materials, expanding your creative possibilities.
And it doesn’t stop there. Construction adhesive provides added insulation properties, reducing sound transmission and improving energy efficiency by sealing any gaps or voids in your woodwork. Enjoy a quieter and more energy-efficient space with this adhesive wizardry.
But what about aesthetics? Don’t worry – construction adhesive has you covered. When applied correctly, it dries clear, leaving no visible residue or marks on the wood surface. This ensures a clean and professional-looking finish, perfect for those projects that demand a flawless appearance.
Preparation of Surfaces for Bonding with Construction Adhesive
Unlocking the secrets of surface preparation for bonding with construction adhesive is the key to achieving a bond that is strong, long-lasting, and reliable. Get your tools ready and let’s dive into the necessary steps.
Step 1: Clean and Clear
Before applying adhesive, ensure that your wood surface is pristine. Remove any dirt, dust, grease, or other contaminants by brushing or vacuuming. Then, wipe it down with a clean cloth dampened with a mild detergent solution. This ensures that your adhesive can adhere directly to the wood without any interference.
Step 2: Tackle the Tricky Types
Certain woods, like cedar or redwood, may have natural oils or resins that hinder the bonding process. If you’re working with these woods, remove these substances using a solvent or sandpaper before applying the adhesive. This extra step ensures a bond as strong as possible.
Step 3: Rough it Up
To improve adhesion, lightly sand the wood surface with fine-grit sandpaper in the direction of the wood grain. This creates a slightly textured surface that gives the adhesive something to grip onto. We want a bond so strong it’ll never let go.
Step 4: Dampen for Success
Before applying the adhesive, slightly dampen the wood surface. This opens up the wood pores and enhances adhesion. Be careful not to oversaturate the wood – too much moisture can negatively affect your adhesive’s performance.
Step 5: Primer Power
When bonding non-porous surfaces like metal and wood together, primers or adhesion promoters can be a game-changer. These products enhance the bond by improving adhesion between the adhesive and substrate. Don’t be afraid to reach for the primer when working with challenging materials.
Step 6: Follow the Instructions
Before applying that adhesive, read and follow the manufacturer’s instructions carefully. Different adhesives may have specific requirements regarding application temperature, curing time, and recommended thickness. Trust me, following these instructions will save you headaches down the road.
Step 7: Apply with Confidence
When it comes time to apply the construction adhesive, use an adequate amount to ensure proper coverage and bonding. Too little adhesive results in weak bond strength, while too much creates excessive squeeze-out and a messy situation. Find that sweet spot and apply with confidence.
Step 8: Press it Tight
Once the adhesive is applied, firmly press the surfaces together to maximize contact and eliminate air pockets. Depending on the size and weight of the objects being bonded, clamps or heavy weights may be necessary. This step ensures a solid bond.
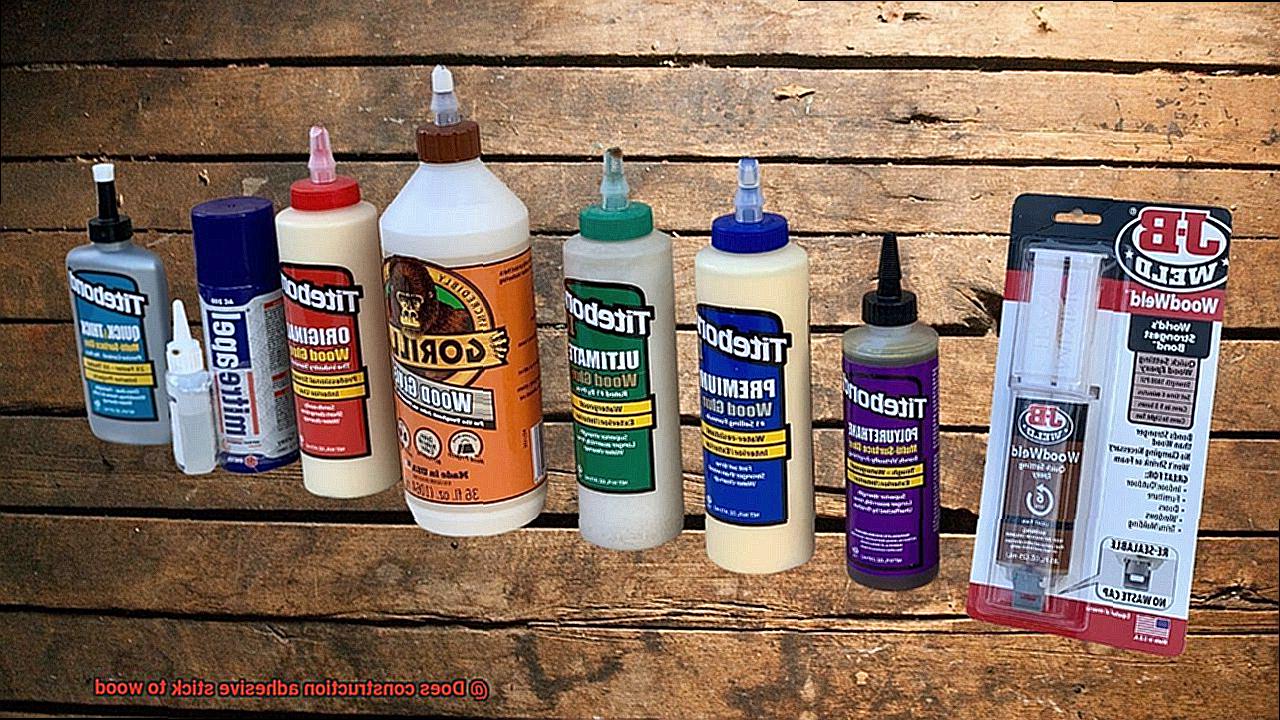
Different Types of Construction Adhesives and Their Recommended Applications
Selecting the appropriate adhesive is crucial for achieving a strong and enduring bond when working with wood. Construction adhesives have been specifically formulated to bond various materials, including wood, and come in different types with distinct properties. In this comprehensive guide, we will explore the diverse range of construction adhesives available for wood projects and their recommended applications.
Polyurethane-Based Adhesive:
Polyurethane-based adhesives are renowned for their exceptional bond strength and durability, making them the go-to choice for bonding wooden beams, panels, and moldings. These adhesives chemically react with moisture in the air or on the wood surface, resulting in a powerful bond that can withstand both indoor and outdoor environments.
Epoxy Adhesive:
For those seeking unparalleled strength and durability, epoxy adhesives are an excellent option. Comprising two parts – a resin and a hardener – these adhesives create a chemical reaction when mixed together, forming an incredibly strong bond. Epoxy adhesives are particularly well-suited for bonding large wooden surfaces like tabletops or countertops, as well as for structural repairs.
Acrylic-Based Adhesive:
Acrylic-based construction adhesives offer commendable initial tack and flexibility, rendering them perfect for bonding wood trims, baseboards, and other decorative elements. These adhesives provide reliable bonding capabilities and are best suited for interior wood projects.
Solvent-Based Adhesive:
Solvent-based construction adhesives contain solvents that evaporate during the curing process, leaving behind a robust bond. This type of adhesive boasts fast-drying properties and delivers high initial bond strength. Woodworking projects requiring swift assembly, such as bonding wood veneers and laminates, commonly employ solvent-based adhesives.
Specialty Adhesives:
In addition to the aforementioned common types, there are also specialty construction adhesives available for specific wood applications. These adhesives have been tailored with unique properties to meet the demands of flooring or paneling installations, ensuring a strong and long-lasting bond.
How to Apply Construction Adhesive on Wood
Woodworking projects can be a lot of fun and a great way to showcase your creativity. However, to ensure that your projects are sturdy and long-lasting, it’s essential to use the right materials and techniques.
One key tool in your woodworking arsenal is construction adhesive. This versatile glue is specially designed to bond wood and other materials together.
In this guide, we will walk you through the steps of applying construction adhesive on wood, so you can create projects that are not only beautiful but also strong and durable.
Step 1: Prepare the Wood Surface
Before applying construction adhesive, it’s crucial to prepare the wood surface properly. Start by giving it a thorough cleaning. Use a soft cloth or a brush to remove any dust, dirt, or debris that may prevent the adhesive from adhering properly. This step ensures that the adhesive can create a strong bond with the wood.
Step 2: Load the Adhesive
To apply construction adhesive with precision and control, load the adhesive tube into a caulking gun. This tool allows for smooth and even dispensing of the adhesive. Before you start, cut off the tip of the nozzle at a 45-degree angle. This will ensure that the adhesive flows smoothly as you squeeze the trigger of the caulking gun.
Step 3: Apply the Adhesive
Now comes the exciting part – applying the adhesive. Squeeze the trigger of the caulking gun to dispense a continuous bead of adhesive along the surface of the wood. The size of the bead will depend on the size of your project and the bonding strength required. If you’re working on a larger project, it’s advisable to apply the adhesive in sections to prevent it from drying out before you attach the materials together.
Step 4: Press and Hold
Once you’ve applied the adhesive, it’s time to press the surfaces together. Firmly press the wood against the surface you want it to stick to. Apply even pressure to ensure maximum contact between the wood and the adhesive. If needed, use clamps or weights to hold the materials in place while the adhesive cures. This step is crucial for creating a strong and durable bond.
Step 5: Clean Up Excess Adhesive
As with any glue application, it’s essential to clean up any excess adhesive before it dries. Immediately wipe away any spills or smears using a damp cloth or a solvent recommended by the adhesive manufacturer. This final touch will help you achieve a clean and professional finish for your woodworking project.
Step 6: Test the Bond
After the adhesive has cured according to the manufacturer’s instructions, it’s time to test the strength of your bond. Gently apply pressure or give it a light tug to ensure that everything holds well. If your woodwork remains securely bonded, congratulations. You’ve successfully applied construction adhesive on wood and created a strong and durable connection.
Factors That Can Affect the Performance of Construction Adhesive on Wood
In the world of woodworking, construction adhesive is a game-changer. It has the power to create robust bonds between wood surfaces, ensuring the longevity and durability of your projects. However, to fully harness the potential of this adhesive, it’s essential to understand the factors that can affect its performance on wood. In this blog post, we will delve into these factors, providing you with valuable insights from an expert perspective.
Surface Preparation:
Just like building a house on shaky ground, applying construction adhesive on an unprepared wood surface is a recipe for disaster. Surface preparation is paramount for a strong bond. Ensure that the wood surface is clean, free from dust, dirt, and moisture. These contaminants can hinder adhesion and weaken the bond. Take the time to meticulously clean and dry the wood surface before applying the adhesive.
Type of Wood:
Wood comes in various species, each with unique properties that can impact adhesive performance. Hardwoods like oak or maple are denser and less porous than softwoods like pine or cedar. The porosity and texture of the wood can affect how well the adhesive bonds. Consider the specific characteristics of the wood you’re working with and choose an adhesive suitable for that type.
Temperature and Humidity:
Mother Nature can be fickle, and environmental conditions can heavily influence adhesive performance. Extreme temperatures, whether scorching hot or freezing cold, can affect viscosity, making it challenging to apply or compromising bond strength once cured. Similarly, high humidity levels can interfere with drying, resulting in weakened bonding. Always follow manufacturer instructions regarding temperature and humidity requirements for optimal performance.
Application Technique:
Applying construction adhesive is an art form. Too little adhesive may result in weak bonding, while too much can lead to excessive squeeze-out and compromise integrity. Apply an even layer, ensuring full coverage of the wood surface, and exert pressure on the bonded materials for the recommended time to enhance bond strength.
Age and Condition of Adhesive:
Like a fine wine, construction adhesive has a shelf life. Using expired or deteriorated adhesive can result in poor bonding. Check the expiration date and inspect the adhesive for any signs of degradation before use. Remember, fresh and properly stored adhesive is key to maximizing its effectiveness.
JyudWdOgrNc” >
Conclusion
In conclusion, construction adhesive does indeed stick to wood.
Its strong bonding capabilities make it an ideal choice for various woodworking projects. Whether you’re building furniture, installing trim, or constructing cabinets, this adhesive forms a reliable bond that withstands the test of time.
So, if you’re looking for a dependable solution to join pieces of wood together securely, construction adhesive is the way to go.